


 UK
UK  A pair of hands wearing a bright pink long-sleeved top using a stylus to design a artwork featuring the word "KRFT" on a tablet screen, set against a green background.
 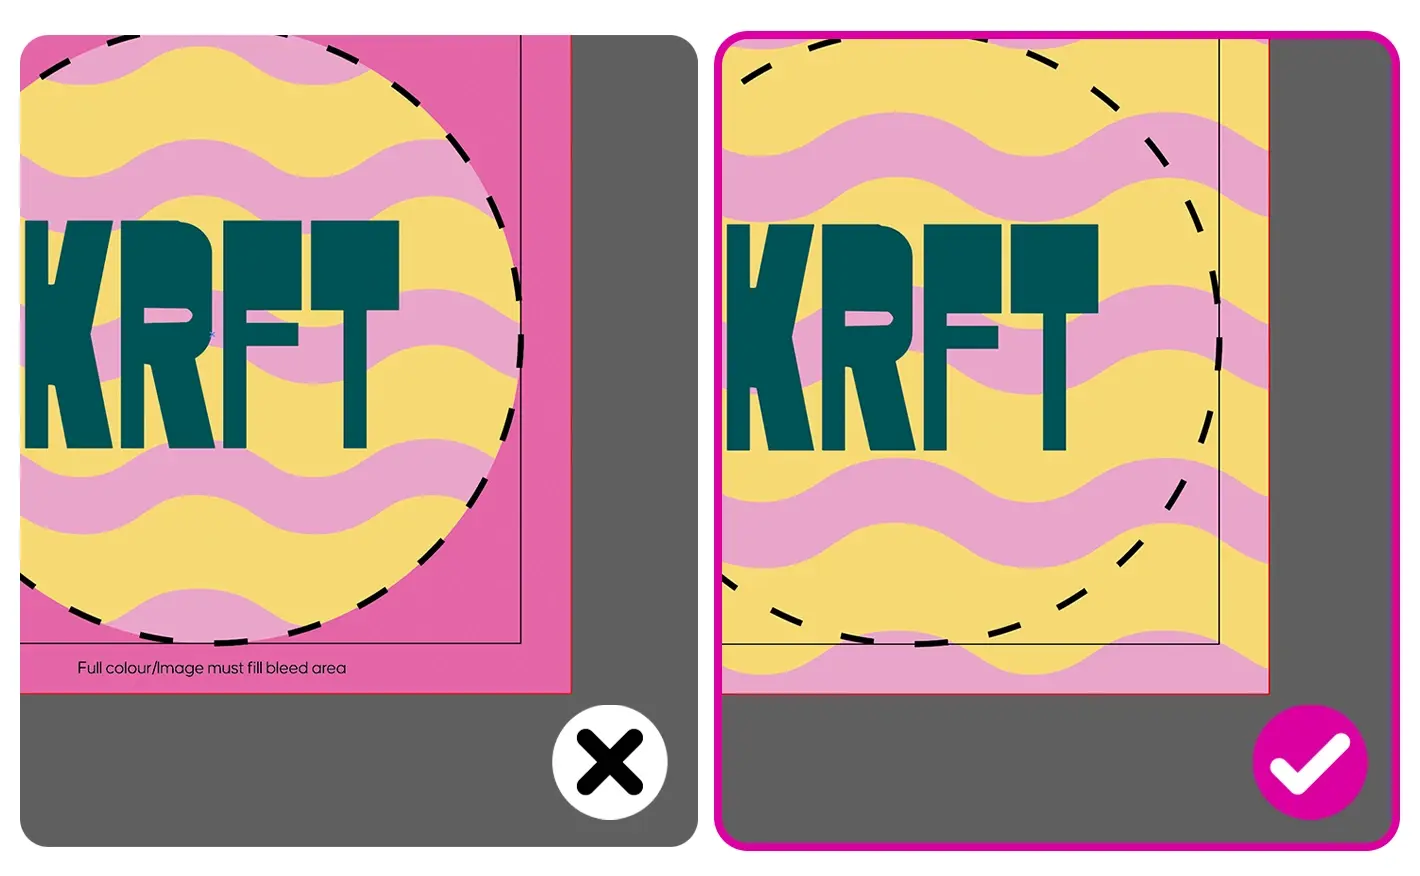 Two side-by-side artwork diagrams showing an incorrect example where the background pattern fails to fill the pink bleed area marked with a cross, and a correct example where the pattern extends fully to the bleed line marked with a tick.
 Just like with most of our print products, your Sticker artwork must include bleed. This is an area of your artwork that extends beyond the cut line, helping to prevent any white space appearing around the edges of your Sticker after it’s cut.
For Stickers, we recommend extending your bleed all the way to the edges of the downloadable square or rectangle template, even if your Sticker is a different shape, such as a circle. This ensures there’s enough artwork around the edges to allow for accurate cutting.
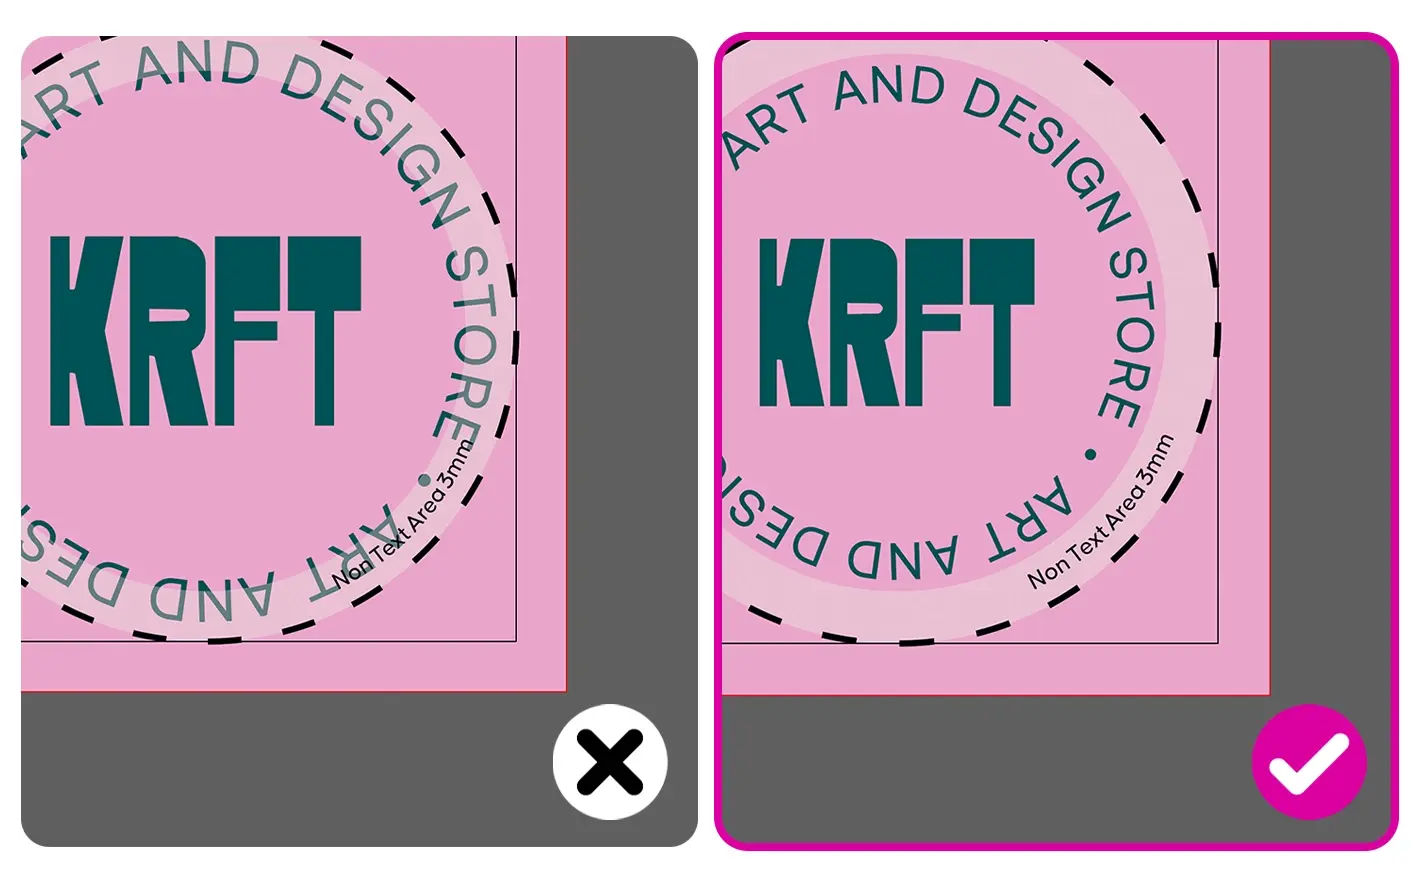 Two side-by-side sticker design diagrams showing an incorrect example with text overlapping the dashed cut line marked with a cross, and a correct example with text placed safely inside the non-text area marked with a tick.
 Keep all text and important design elements away from the safe area shown on our downloadable Sticker templates. This helps prevent them from being too close to the cut line and accidentally trimmed.
Your background colour or design should be different: extend it through the safe area and all the way into the bleed, as shown in tip 1. This ensures your Sticker has a full, seamless background right up to the edge after cutting.
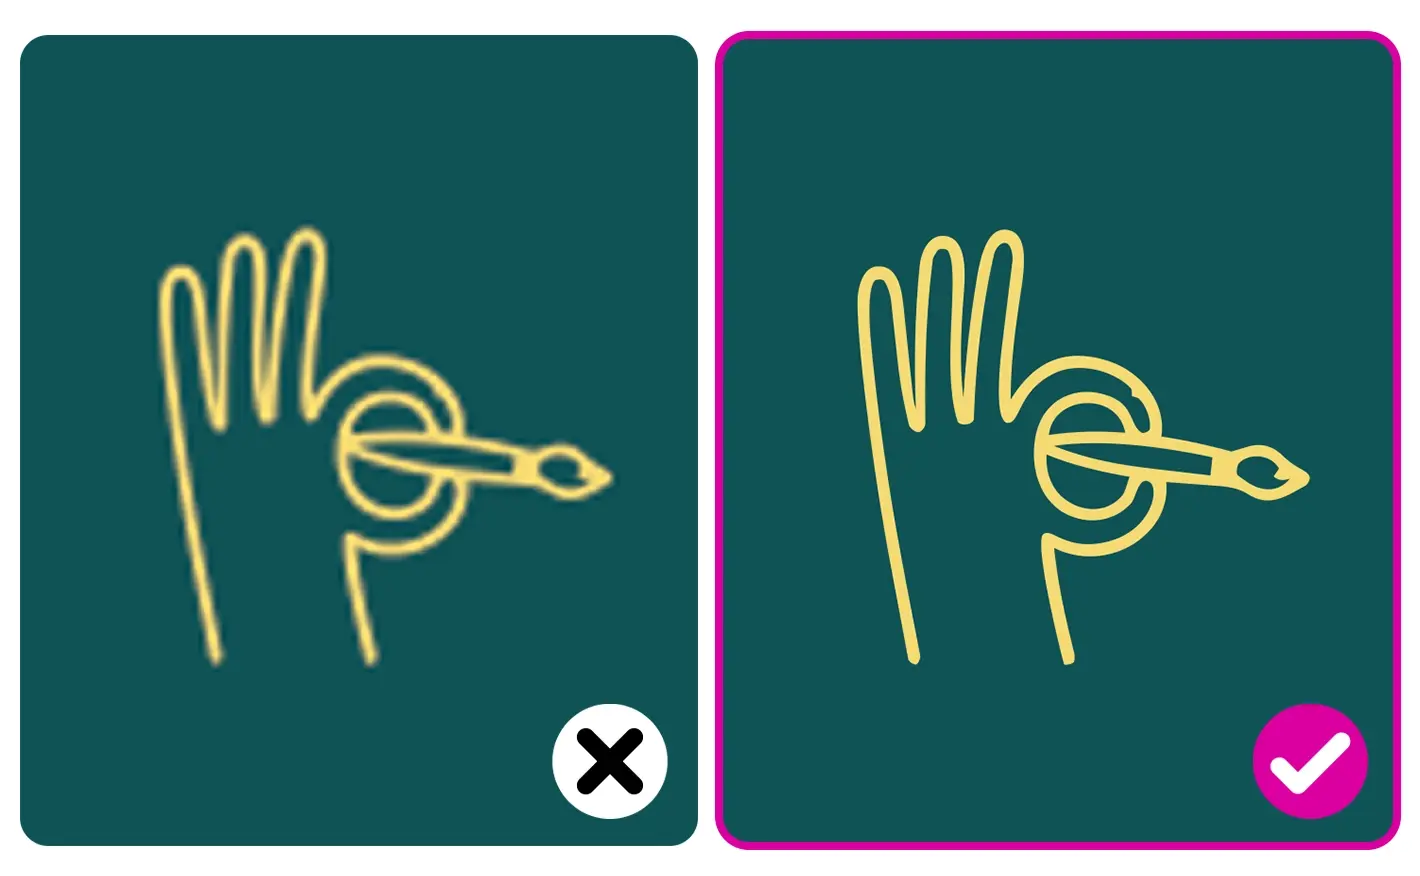 Two side-by-side comparison graphics showing a blurry low-resolution icon marked with a cross next to a sharp high-resolution icon marked with a tick.
 For the best print quality, your Sticker artwork should be created at a resolution of 300 DPI (dots per inch). Using high-resolution artwork helps keep text, logos, images and other design elements sharp and clear when printed.
Low-resolution artwork can appear blurry, pixelated or less detailed, particularly around fine lines and small text, so always use the highest-quality artwork available.
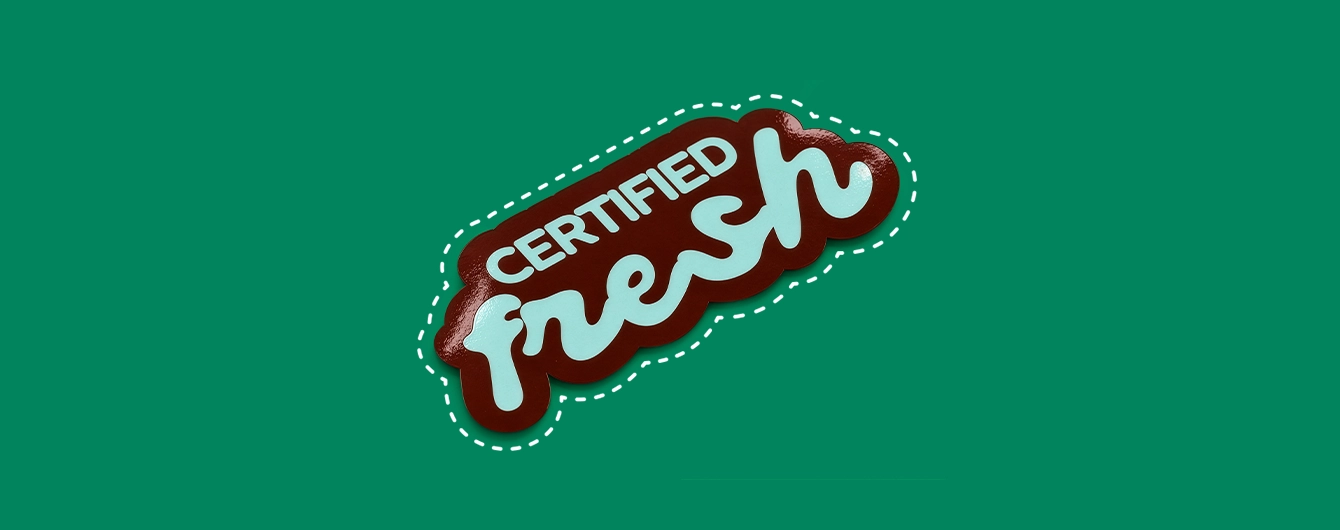 A custom die-cut sticker that reads "CERTIFIED fresh" outlined with a white dashed cut-line against a green background
 Custom Shape Die Cut Stickers
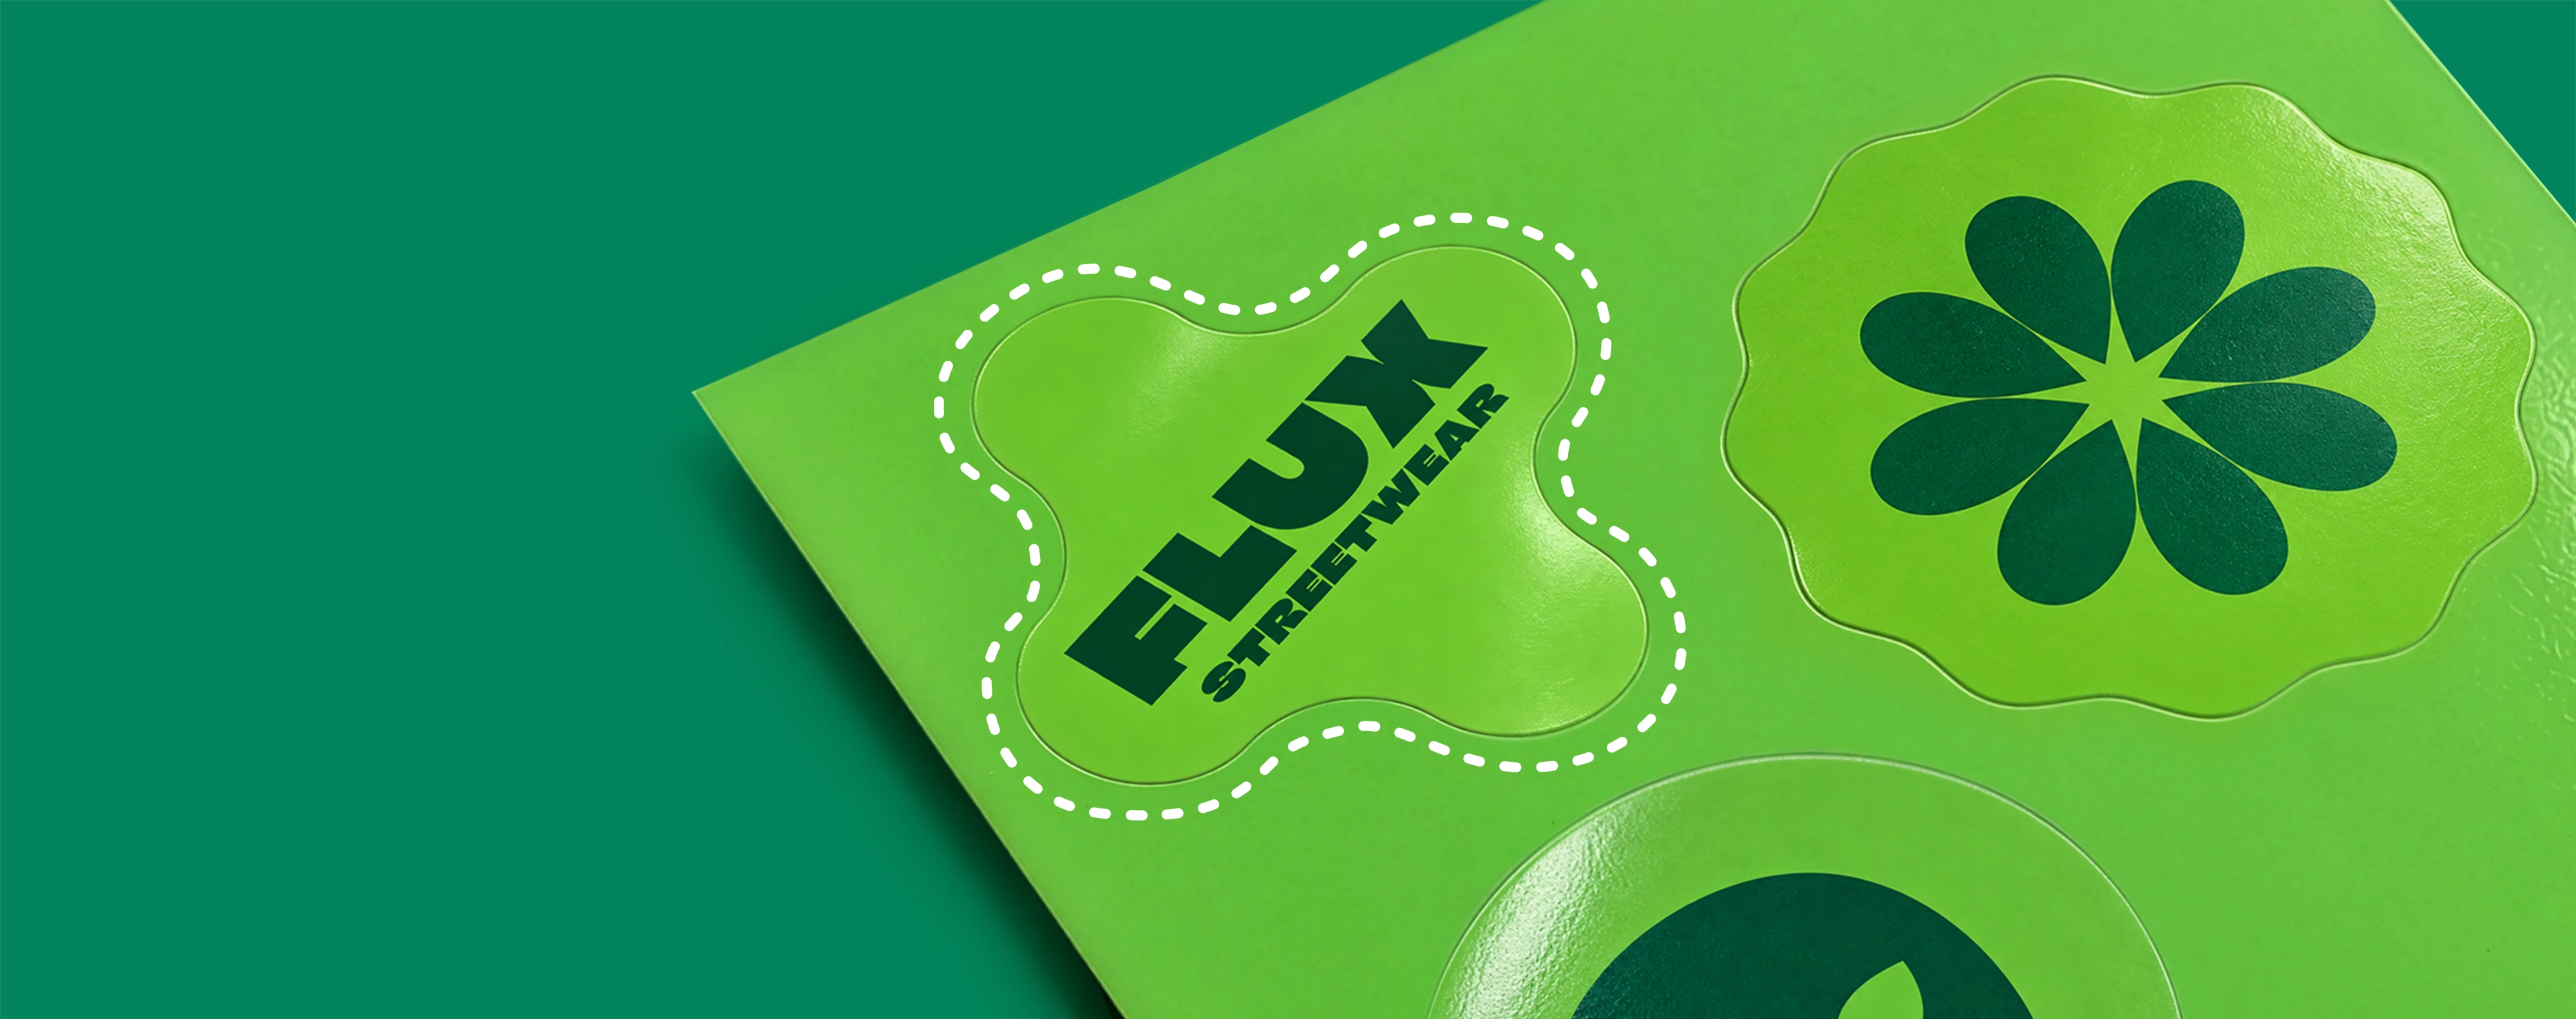 A sheet of green stickers featuring various shapes and designs, including one reading "FLUX STREETWEAR" outlines with a white dashed cut-line.
 Custom Sticker Sheets
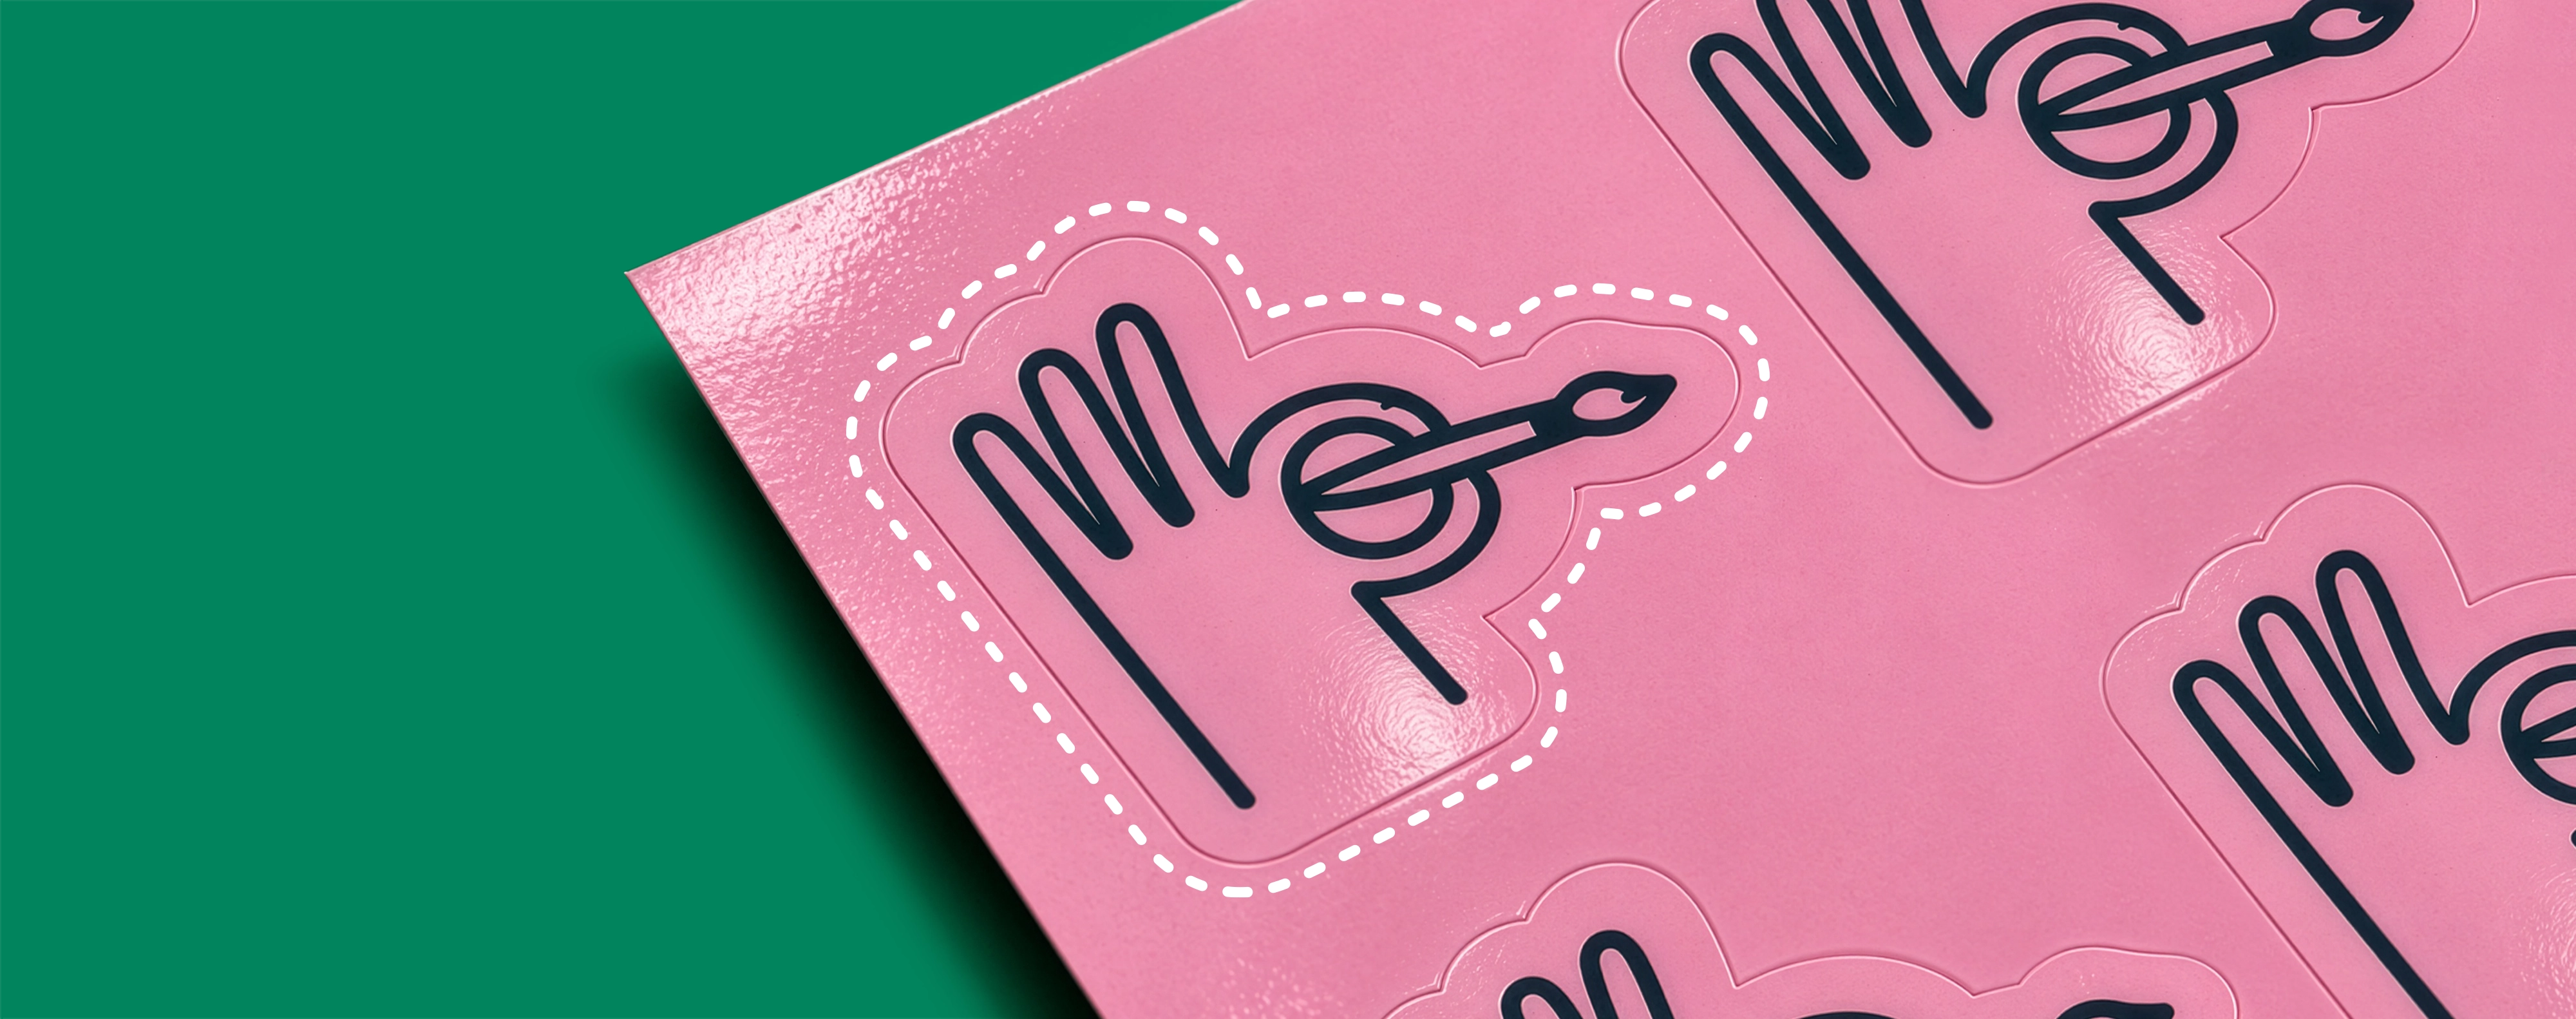 A sheet of pink stickers printed with a hand-and-paintbrush logo, showing a white dashed cut-line around one design.
 Custom Shape Sticker Sheets
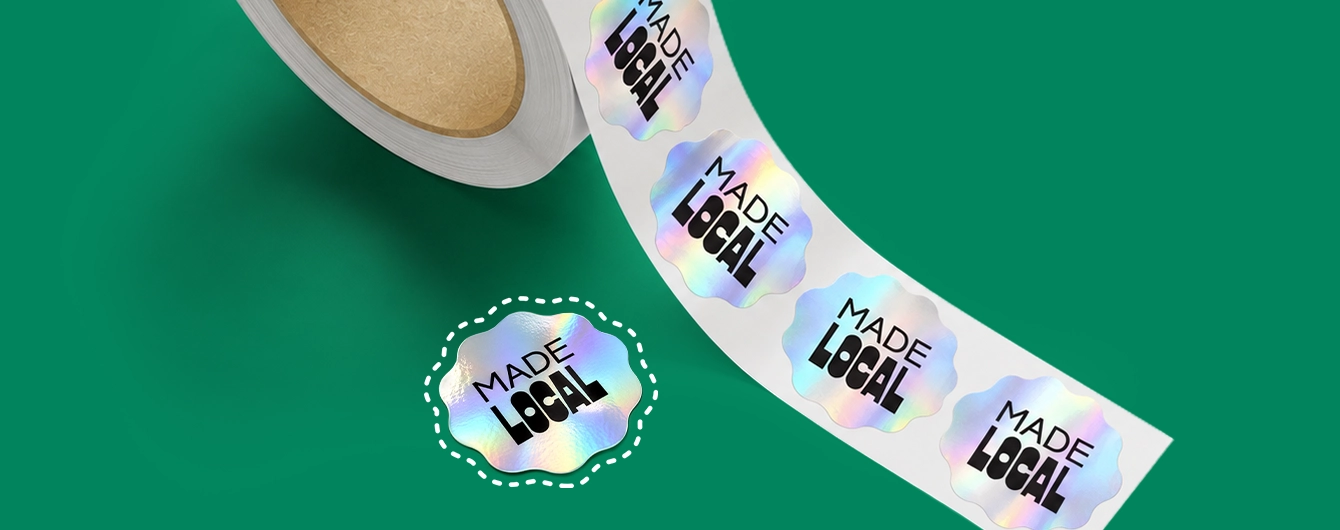 A roll of scalloped holographic stickers reading "MADE LOCAL", with one peel-off sticker highlighted by a white dashed cut-line.
 Custom Shape Sticker Rolls
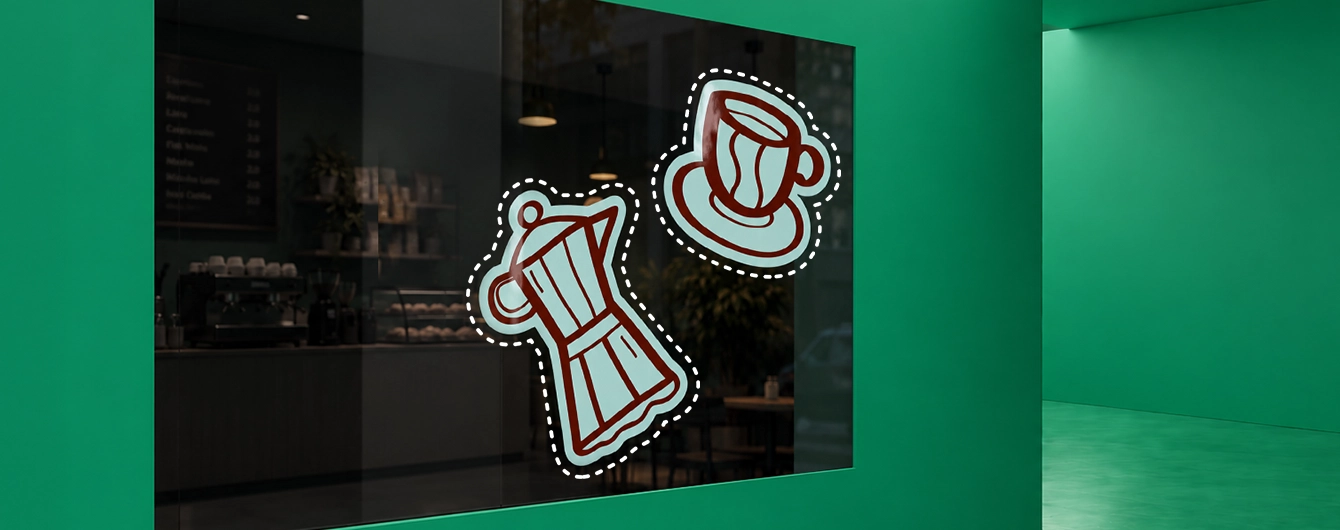 Two custom-shaped vinyl window decals featuring a moka pot and a coffee cup displayed on a café window, surrounded by white dashed cut-lines.
 Custom Vinyl Decals
Not sure which size is right for your design? That largely depends on the space you have available, but here's a quick guide to our bestselling Sticker sizes, and what they're best used for.
- 25mm Round — Our smallest bestseller. Perfect for packaging seals, mini giveaways, or adding a finishing touch to gift bags and envelopes.
- 37mm Round — Our most popular size overall. Ideal for product labels, jar and bottle seals, or branding small packaging where every millimetre counts.
- 51mm Round — A step up in size, great for logo Stickers on laptops, water bottles, and notebooks, or as eye-catching packaging Stickers.
- 64mm Round — Roomy enough for more detailed artwork. A favourite for product branding and merchandise drops.
- 60mm Square — Bold and versatile. Works well for retail packaging, or promotional giveaways at events.
- 96mm x 51mm — Our go-to rectangular size, perfect for name and address labels, or shipping Stickers.
- A6 — Postcard-sized and ideal for small retail signage, promotional flyers-as-Stickers, or larger illustrative designs.
- A5 — The largest of our bestsellers. Great for posters, displays, and statement pieces where your design is the star of the show.
Whatever the size, shape, or scope of your project, we've got you covered — and if you need something completely bespoke, our dedicated Bespoke Team is always on hand to help.
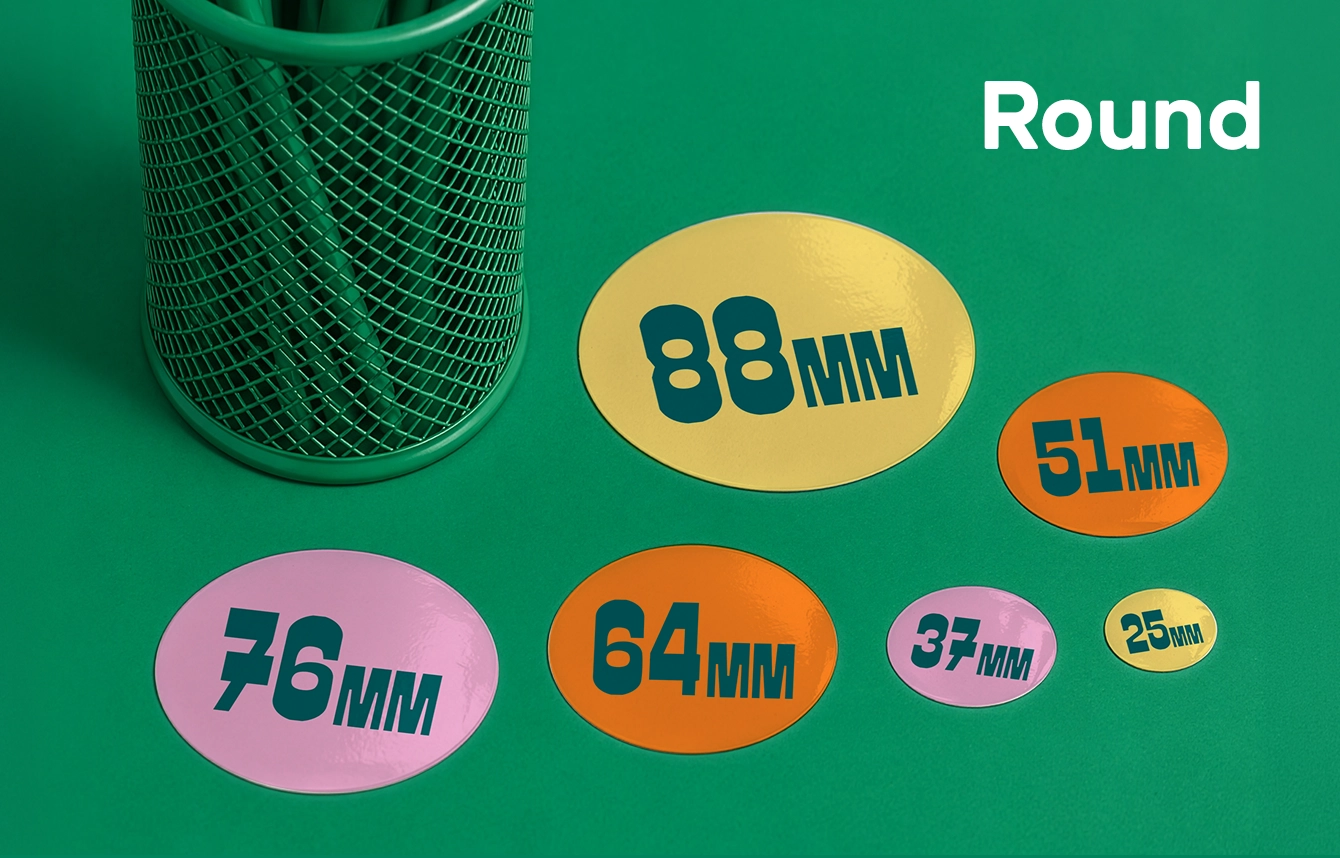 Six round stickers in various colours and sizes ranging from 25 mm to 88 mm, displayed next to a green pencil pot
 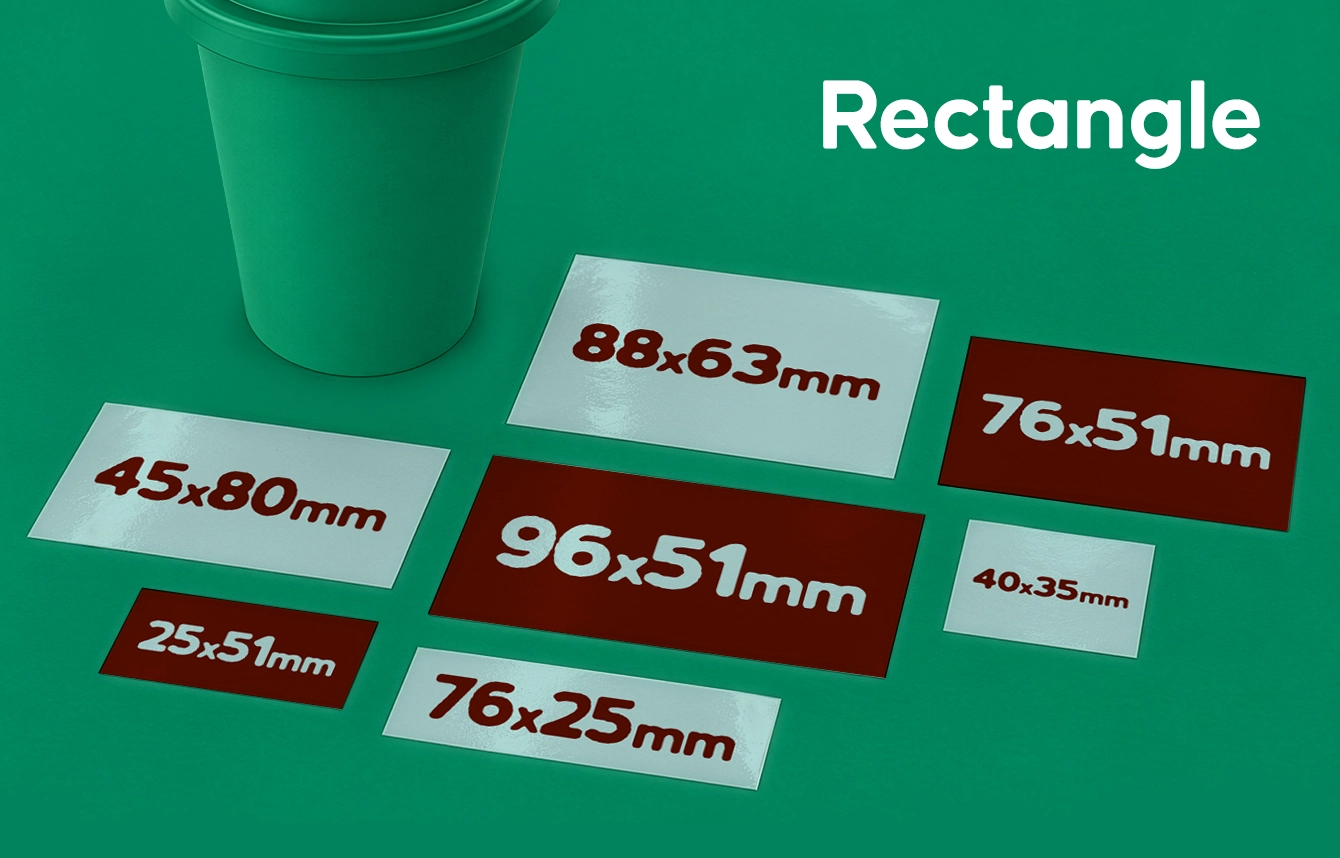 Seven rectangular stickers of various dimensions displayed on a green surface alongside a green cup.
 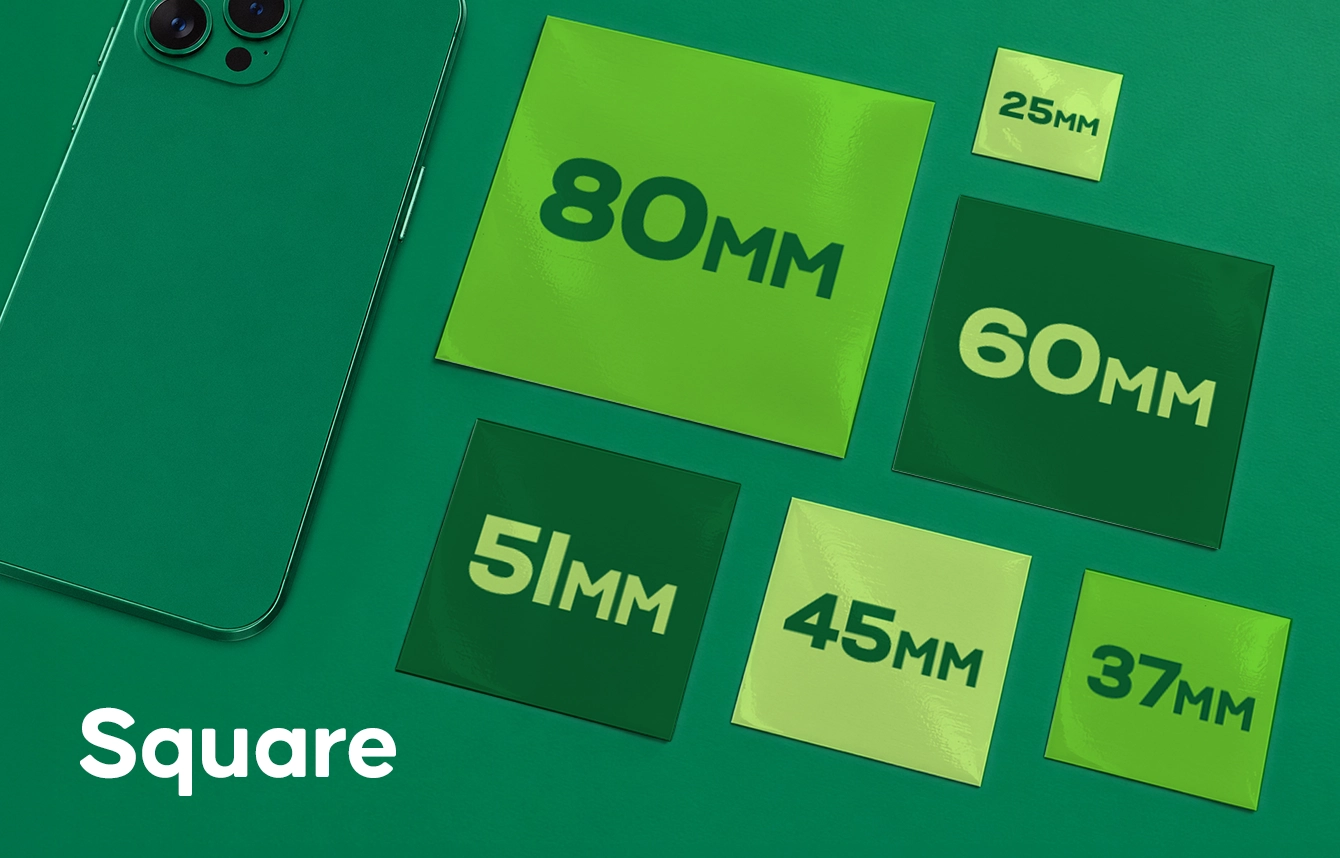 Six square stickers in shades of green ranging from 25 mm to 80 mm, set beside a green smartphone.
 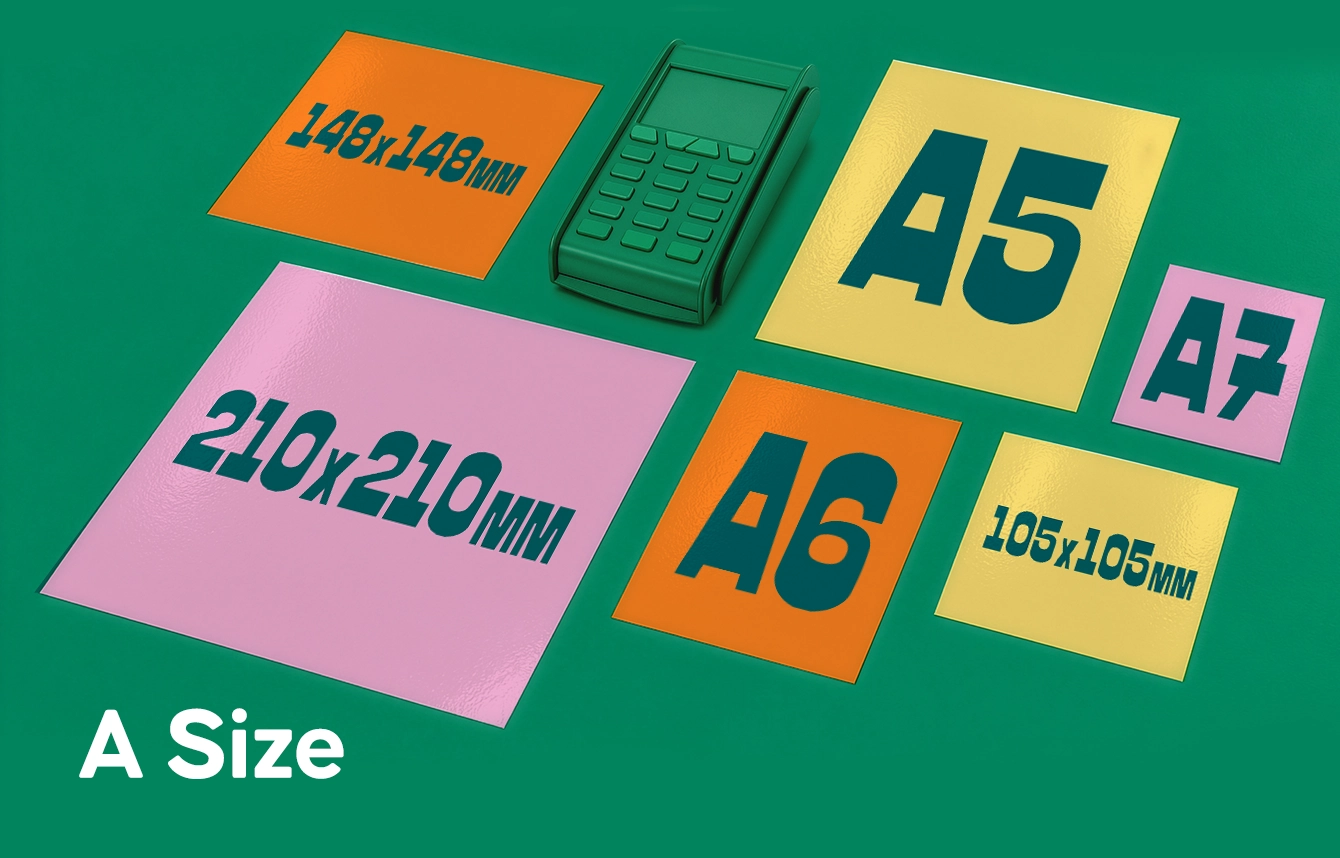 A collection of colourful square and A-standard sized stickers arranged on a green background next to a card payment terminal.
  Two rolls of circular sticker labels alongside a gold foil sticker sheet, all displaying the text "KRFT", set against a green background.
 Bleed is an area of print outside the document that must be added to your artwork before it’s sent off for print. By adding the all-important bleed (typically a minimum of 3mm on all edges), when the paper is cut or trimmed in our factory, there’ll be no risk of white space left around the edges.
To make sure you've got the correct amount of bleed for your specific product, we recommend using our downloadable templates available above, or from each product page. These already include the correct amount of bleed and you don't need to amend them.
For Stickers, we recommend extending your bleed all the way to the edges of the downloadable square or rectangle template, even if your Sticker is a different shape, such as a circle.
The safe area is the space just inside the edges of where your print will be trimmed or cut.
Keeping any important parts of your design, such as text or images, away from this area will make sure that they aren’t accidentally trimmed off due to the natural movement while your print gets cut in our factory.
If your background colour is not white, we recommend extending this into the safe area to avoid any unwanted white areas on your final print, just keep in mind these areas may be trimmed off or not visible.
To make sure you have the correct safe area, we recommend using our downloadable templates available above, or from each product page. These indicate the correct amount of safe area to make sure your final print is perfect.
We recommend using PDFs to upload the artwork for your book or brochure, which will help to ensure the very best print result.
Our preferred Adobe PDF preset is PDF/X-4:2008 as this is best for printing with.
RGB is the colour gamut used to display images on a computer screen, and stands for Red, Green and Blue.
CMYK is the colour gamut used for conventional printing, and stands for Cyan, Magenta, Yellow and Black.
No matter which type of Sticker you're printing, please set up your artwork in CMYK. If your artwork is supplied in RGB format, our team will convert it into CMYK before printing which may result in some colour changes. Bright colours will appear with a muted effect, which may not be the finish you're expecting.
What are the best values of black in CMYK?
Using 100% black is perfect for text but not for large, solid areas. If you're printing large areas of black, to achieve a nice rich colour, we recommend using the formula of 20% cyan, 20% magenta, 20% yellow and 100% black.
Yes, you need to embed or outline all fonts in your artwork.
If you don’t embed fonts and your document is opened on another computer system that doesn’t have access to the original fonts, different fonts will be substituted instead. Embedding fonts into your original design will stop them from changing.
What is bleed?
What is bleed?
Bleed is an area of print outside the document that must be added to your artwork before it’s sent off for print. By adding the all-important bleed (typically a minimum of 3mm on all edges), when the paper is cut or trimmed in our factory, there’ll be no risk of white space left around the edges.
To make sure you've got the correct amount of bleed for your specific product, we recommend using our downloadable templates available above, or from each product page. These already include the correct amount of bleed and you don't need to amend them.
For Stickers, we recommend extending your bleed all the way to the edges of the downloadable square or rectangle template, even if your Sticker is a different shape, such as a circle.
What is safe area?
What is safe area?
The safe area is the space just inside the edges of where your print will be trimmed or cut.
Keeping any important parts of your design, such as text or images, away from this area will make sure that they aren’t accidentally trimmed off due to the natural movement while your print gets cut in our factory.
If your background colour is not white, we recommend extending this into the safe area to avoid any unwanted white areas on your final print, just keep in mind these areas may be trimmed off or not visible.
To make sure you have the correct safe area, we recommend using our downloadable templates available above, or from each product page. These indicate the correct amount of safe area to make sure your final print is perfect.
Which file types can I use?
Which file types can I use?
We recommend using PDFs to upload the artwork for your book or brochure, which will help to ensure the very best print result.
Our preferred Adobe PDF preset is PDF/X-4:2008 as this is best for printing with.
Why is resolution important?
Why is resolution important?
What's the difference between RGB and CMYK?
What's the difference between RGB and CMYK?
RGB is the colour gamut used to display images on a computer screen, and stands for Red, Green and Blue.
CMYK is the colour gamut used for conventional printing, and stands for Cyan, Magenta, Yellow and Black.
No matter which type of Sticker you're printing, please set up your artwork in CMYK. If your artwork is supplied in RGB format, our team will convert it into CMYK before printing which may result in some colour changes. Bright colours will appear with a muted effect, which may not be the finish you're expecting.
What are the best values of black in CMYK?
Using 100% black is perfect for text but not for large, solid areas. If you're printing large areas of black, to achieve a nice rich colour, we recommend using the formula of 20% cyan, 20% magenta, 20% yellow and 100% black.
Do I need to embed my fonts?
Do I need to embed my fonts?
Yes, you need to embed or outline all fonts in your artwork.
If you don’t embed fonts and your document is opened on another computer system that doesn’t have access to the original fonts, different fonts will be substituted instead. Embedding fonts into your original design will stop them from changing.
Can I design Stickers on Canva?
 A laptop resting on someone's lap displaying an open digital design editor with a layout spread featuring images and text.
  A woman with glasses and red hair tied up in a bun smiles while looking at her computer monitor in an office setting.
  Bespoke Services