


 UK
UK 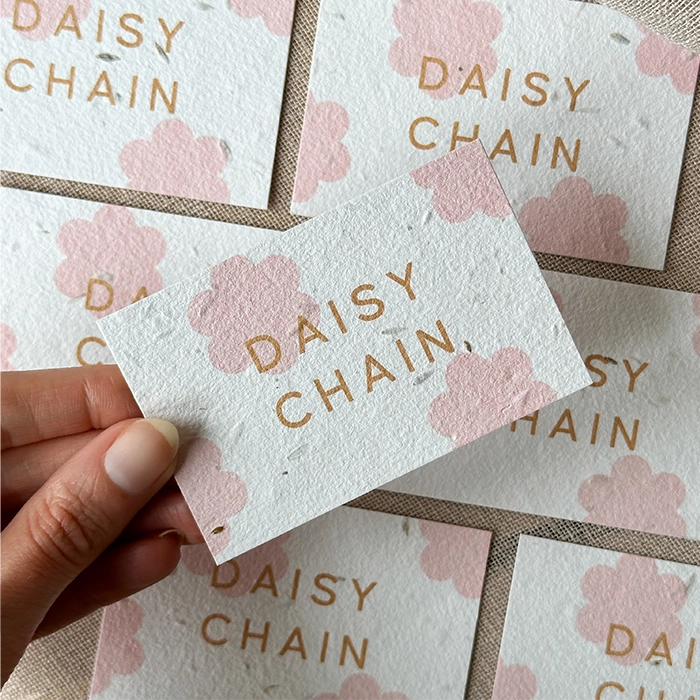
Seed Paper Printing
From £ 43.50 (ex VAT)

 4.6
4.6
- Customise with round corners
- Manufactured and printed in the UK
- Not sure which size to use? Read our handy blog
Customise your product to your exact specification. We’ve got all the options you need to bring your print to life. Let’s make it real!


Most Popular
A6 landscape Seed Paper, printed on both sides.
Business Cards
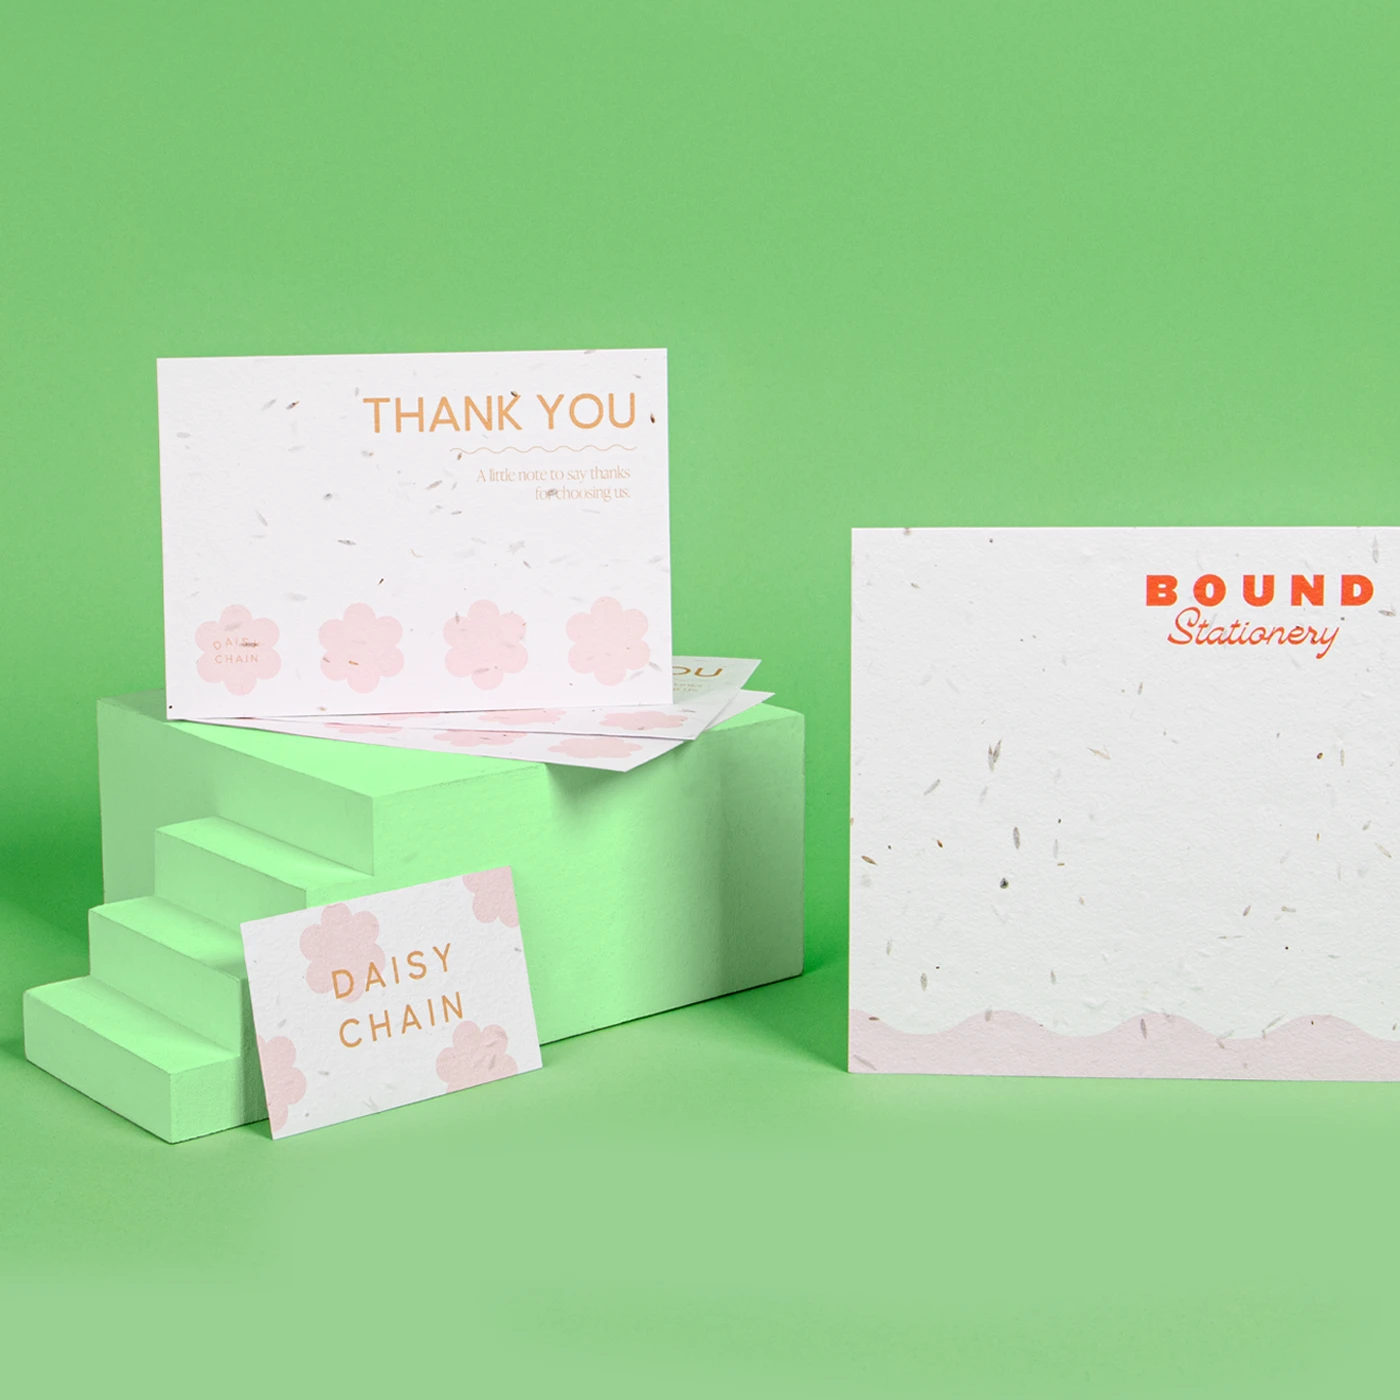
85mm x 55mm landscape Seed Paper, printed on one side.
A4 Seed Paper
A4 portrait Seed Paper, printed on one side.
Our stocks
Find your perfect match
Seed Paper
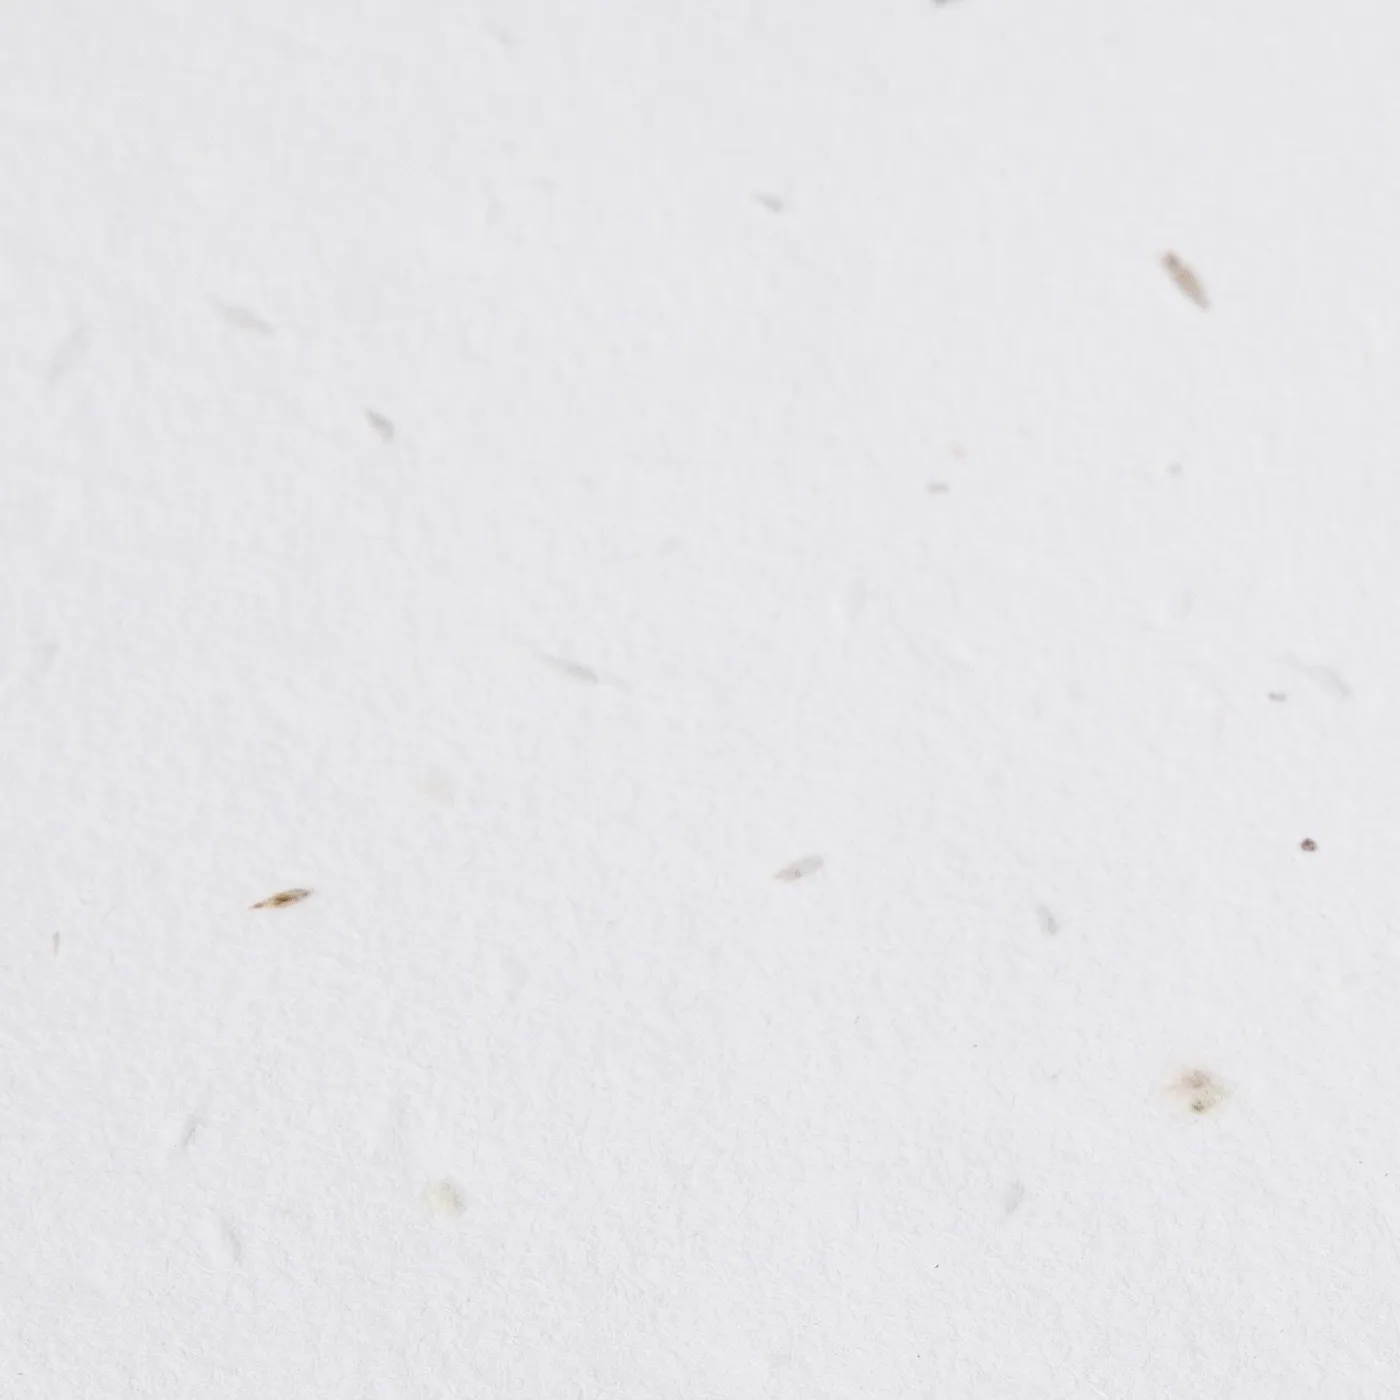
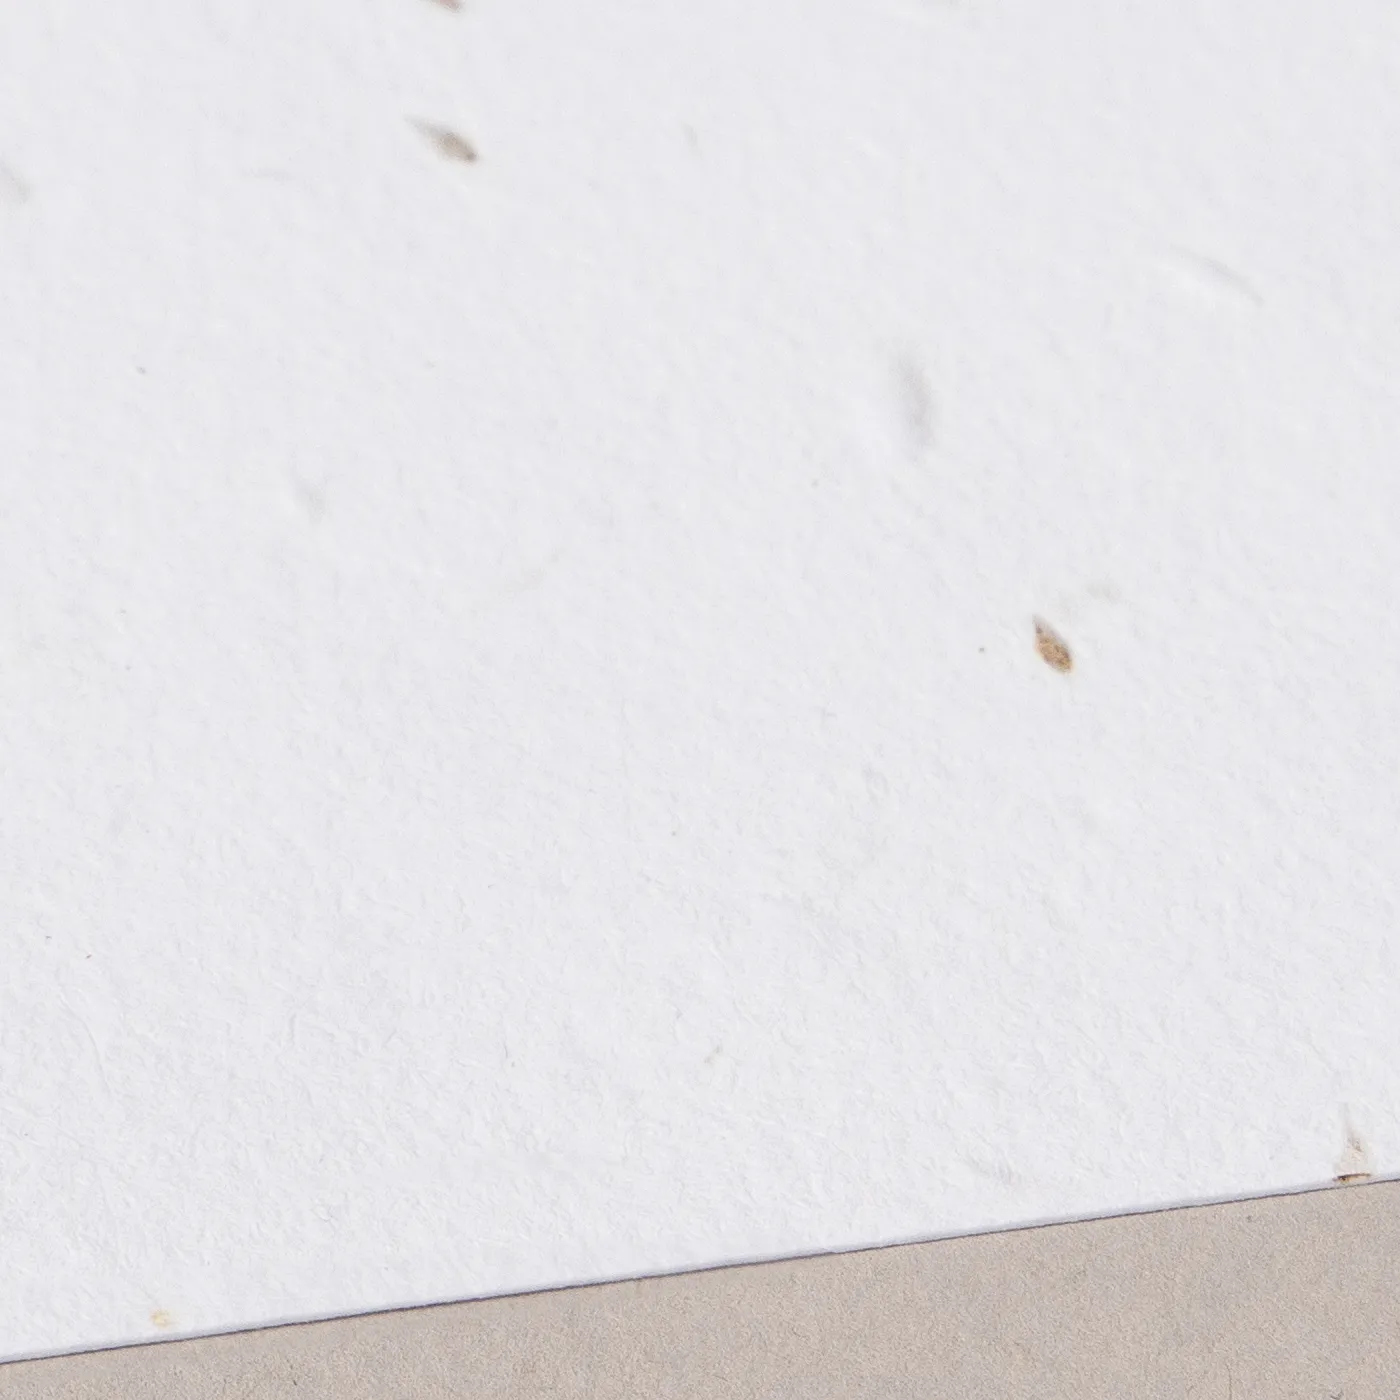
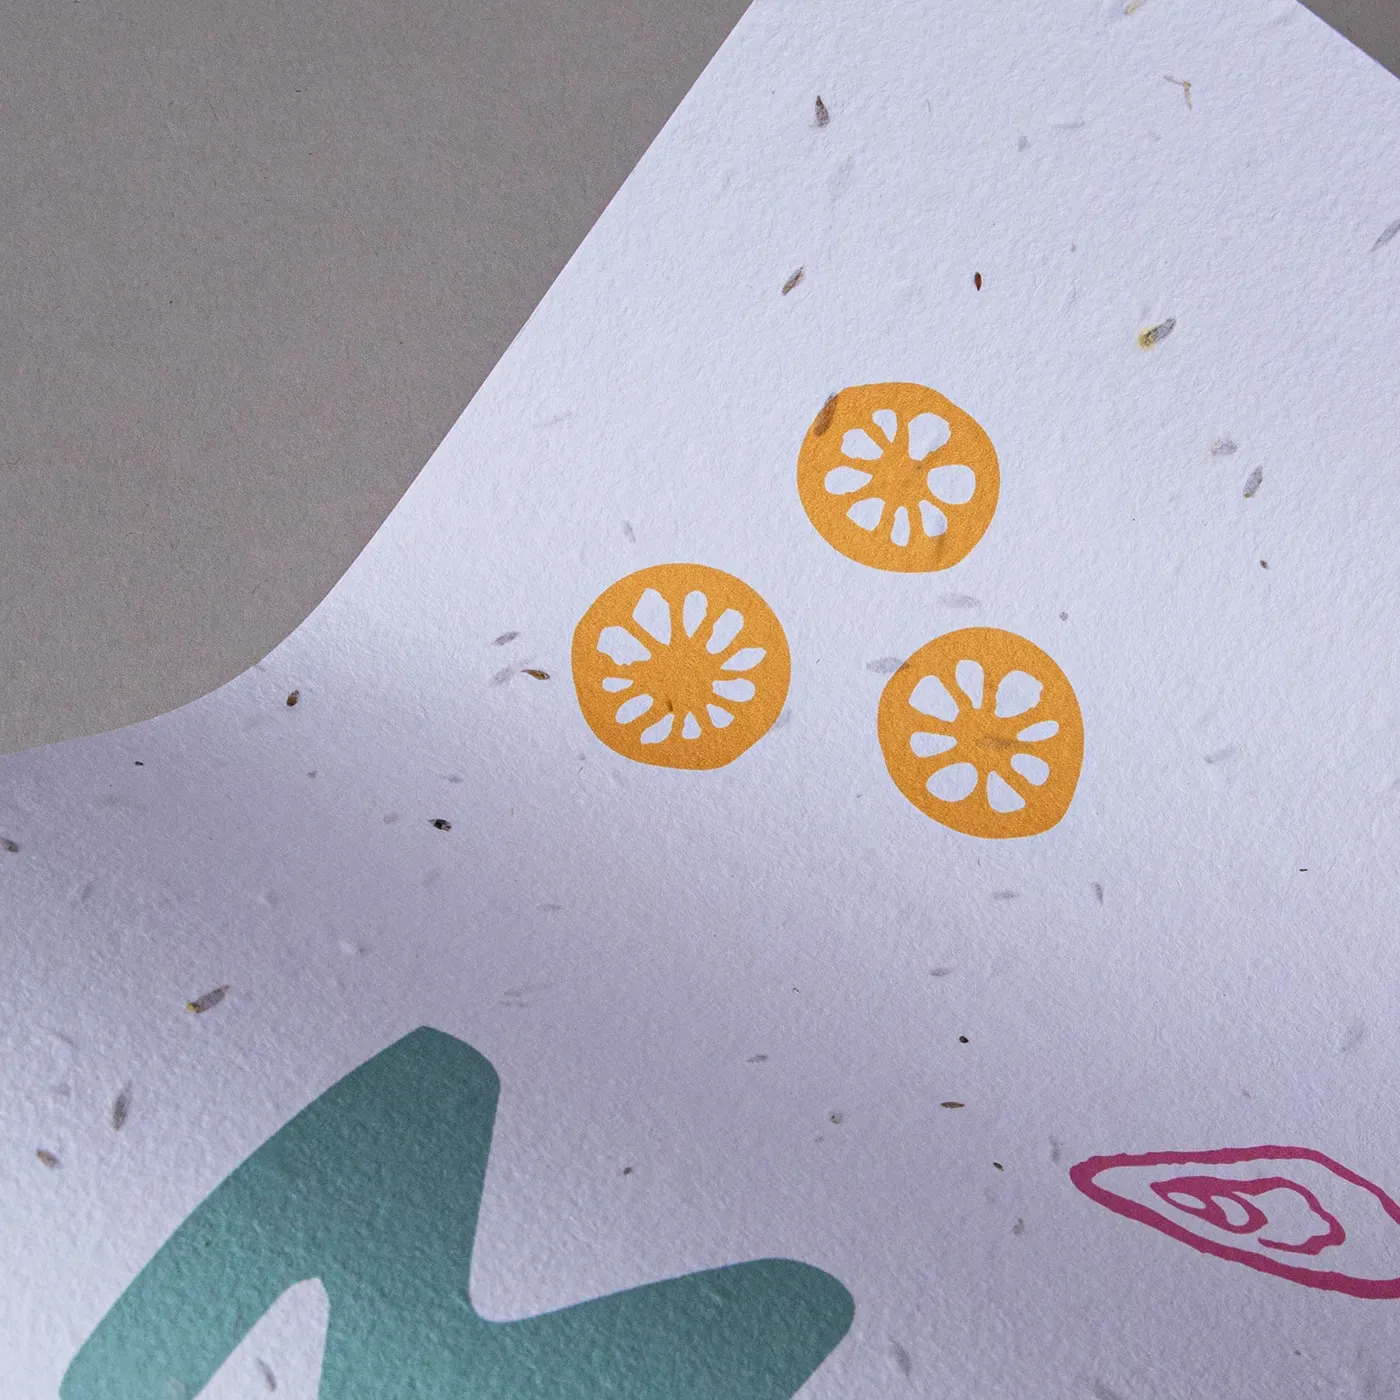
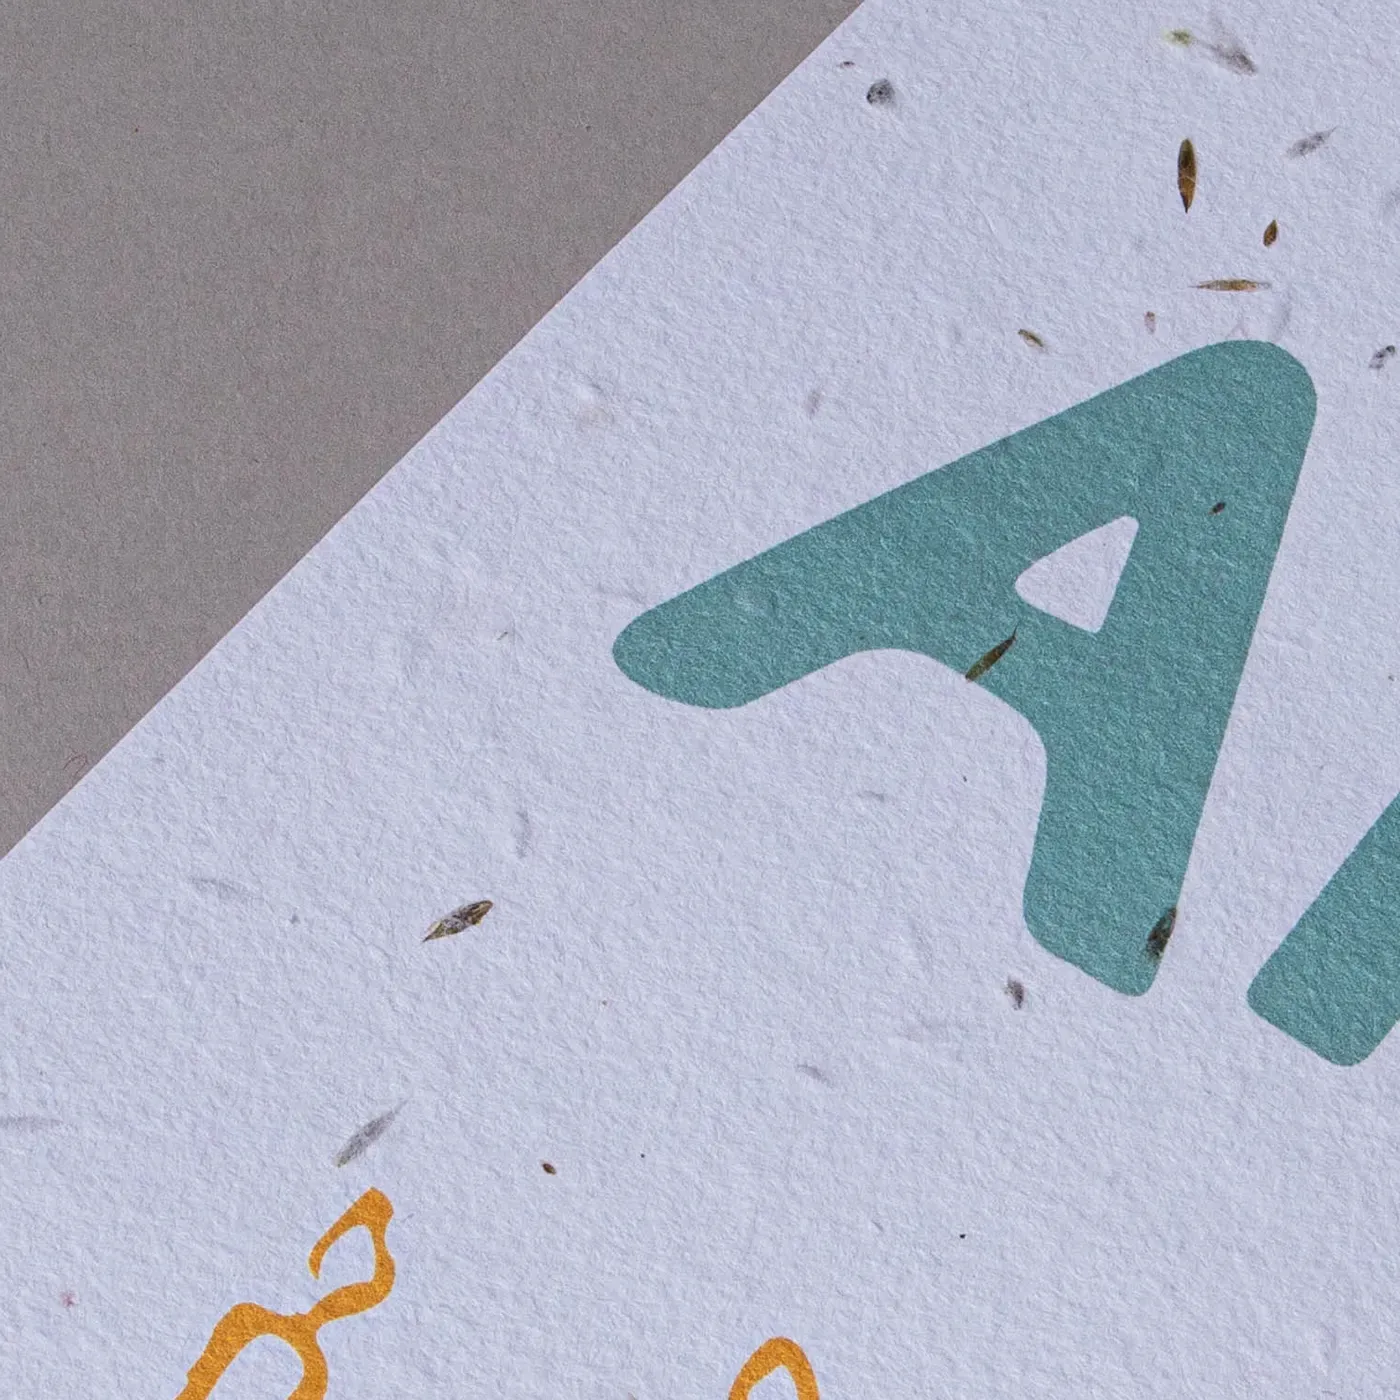
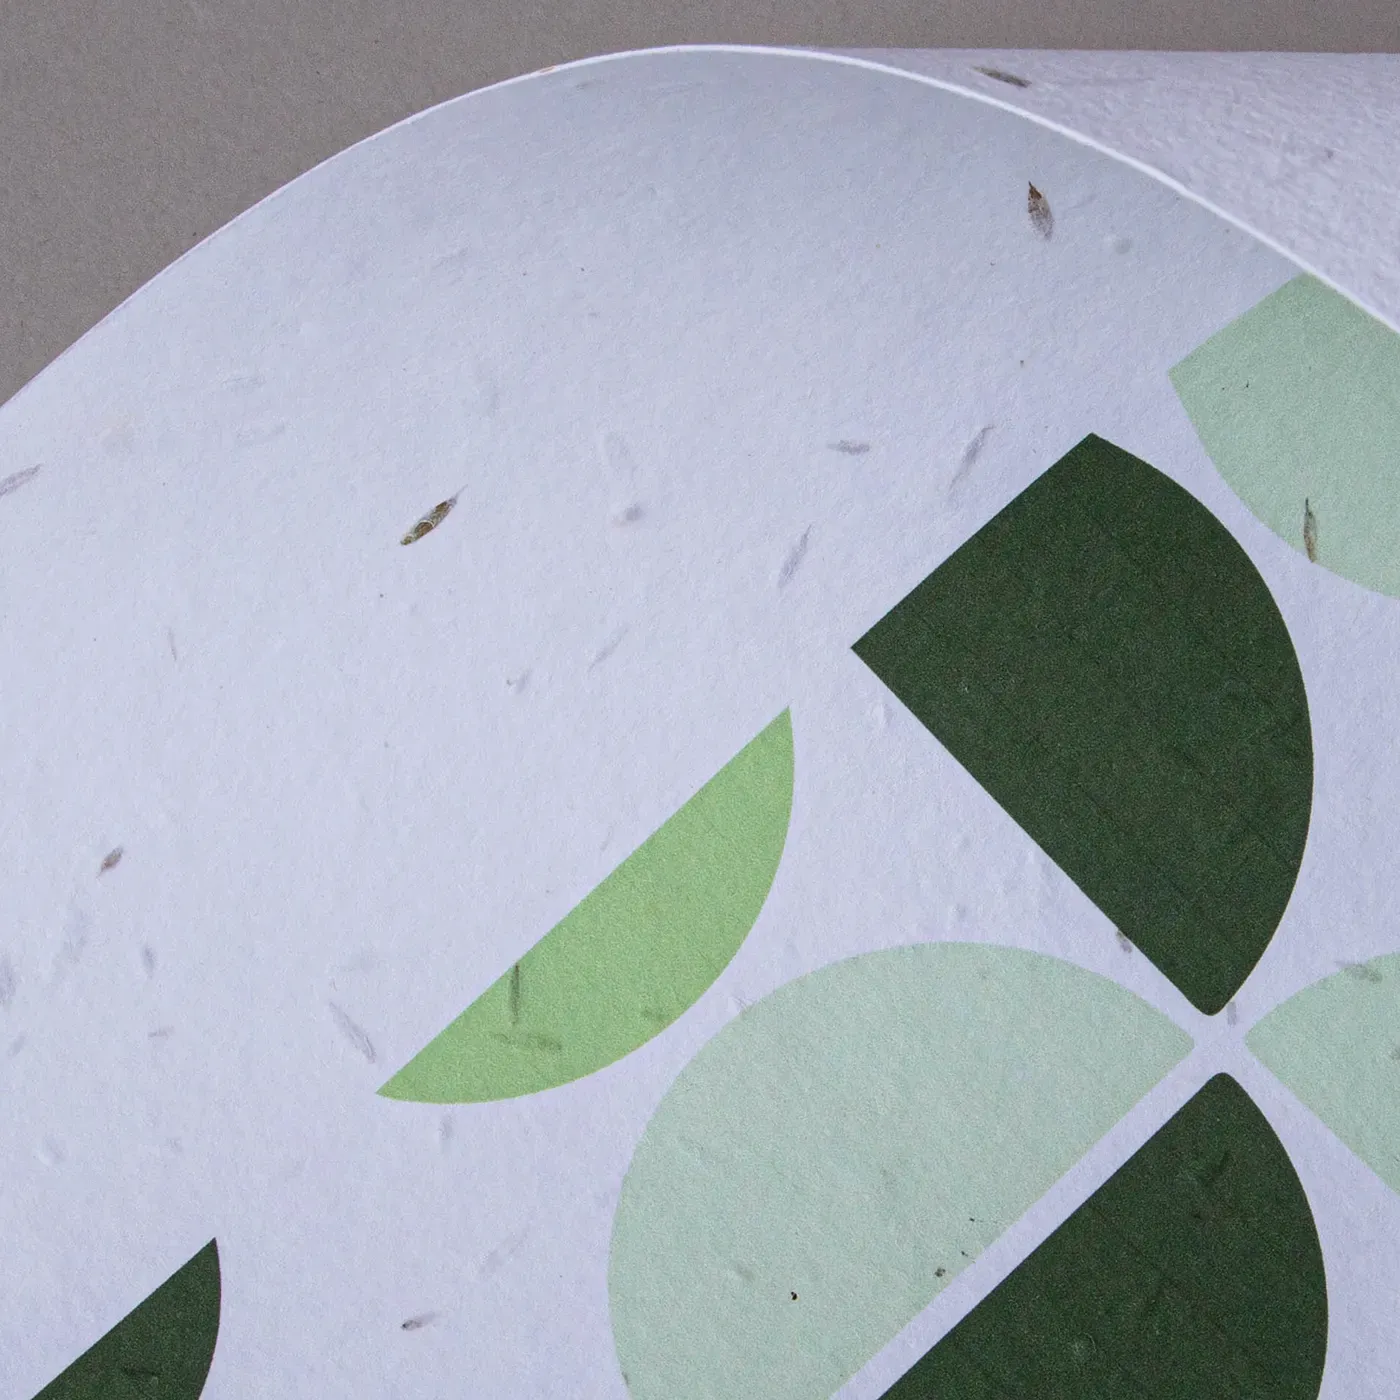
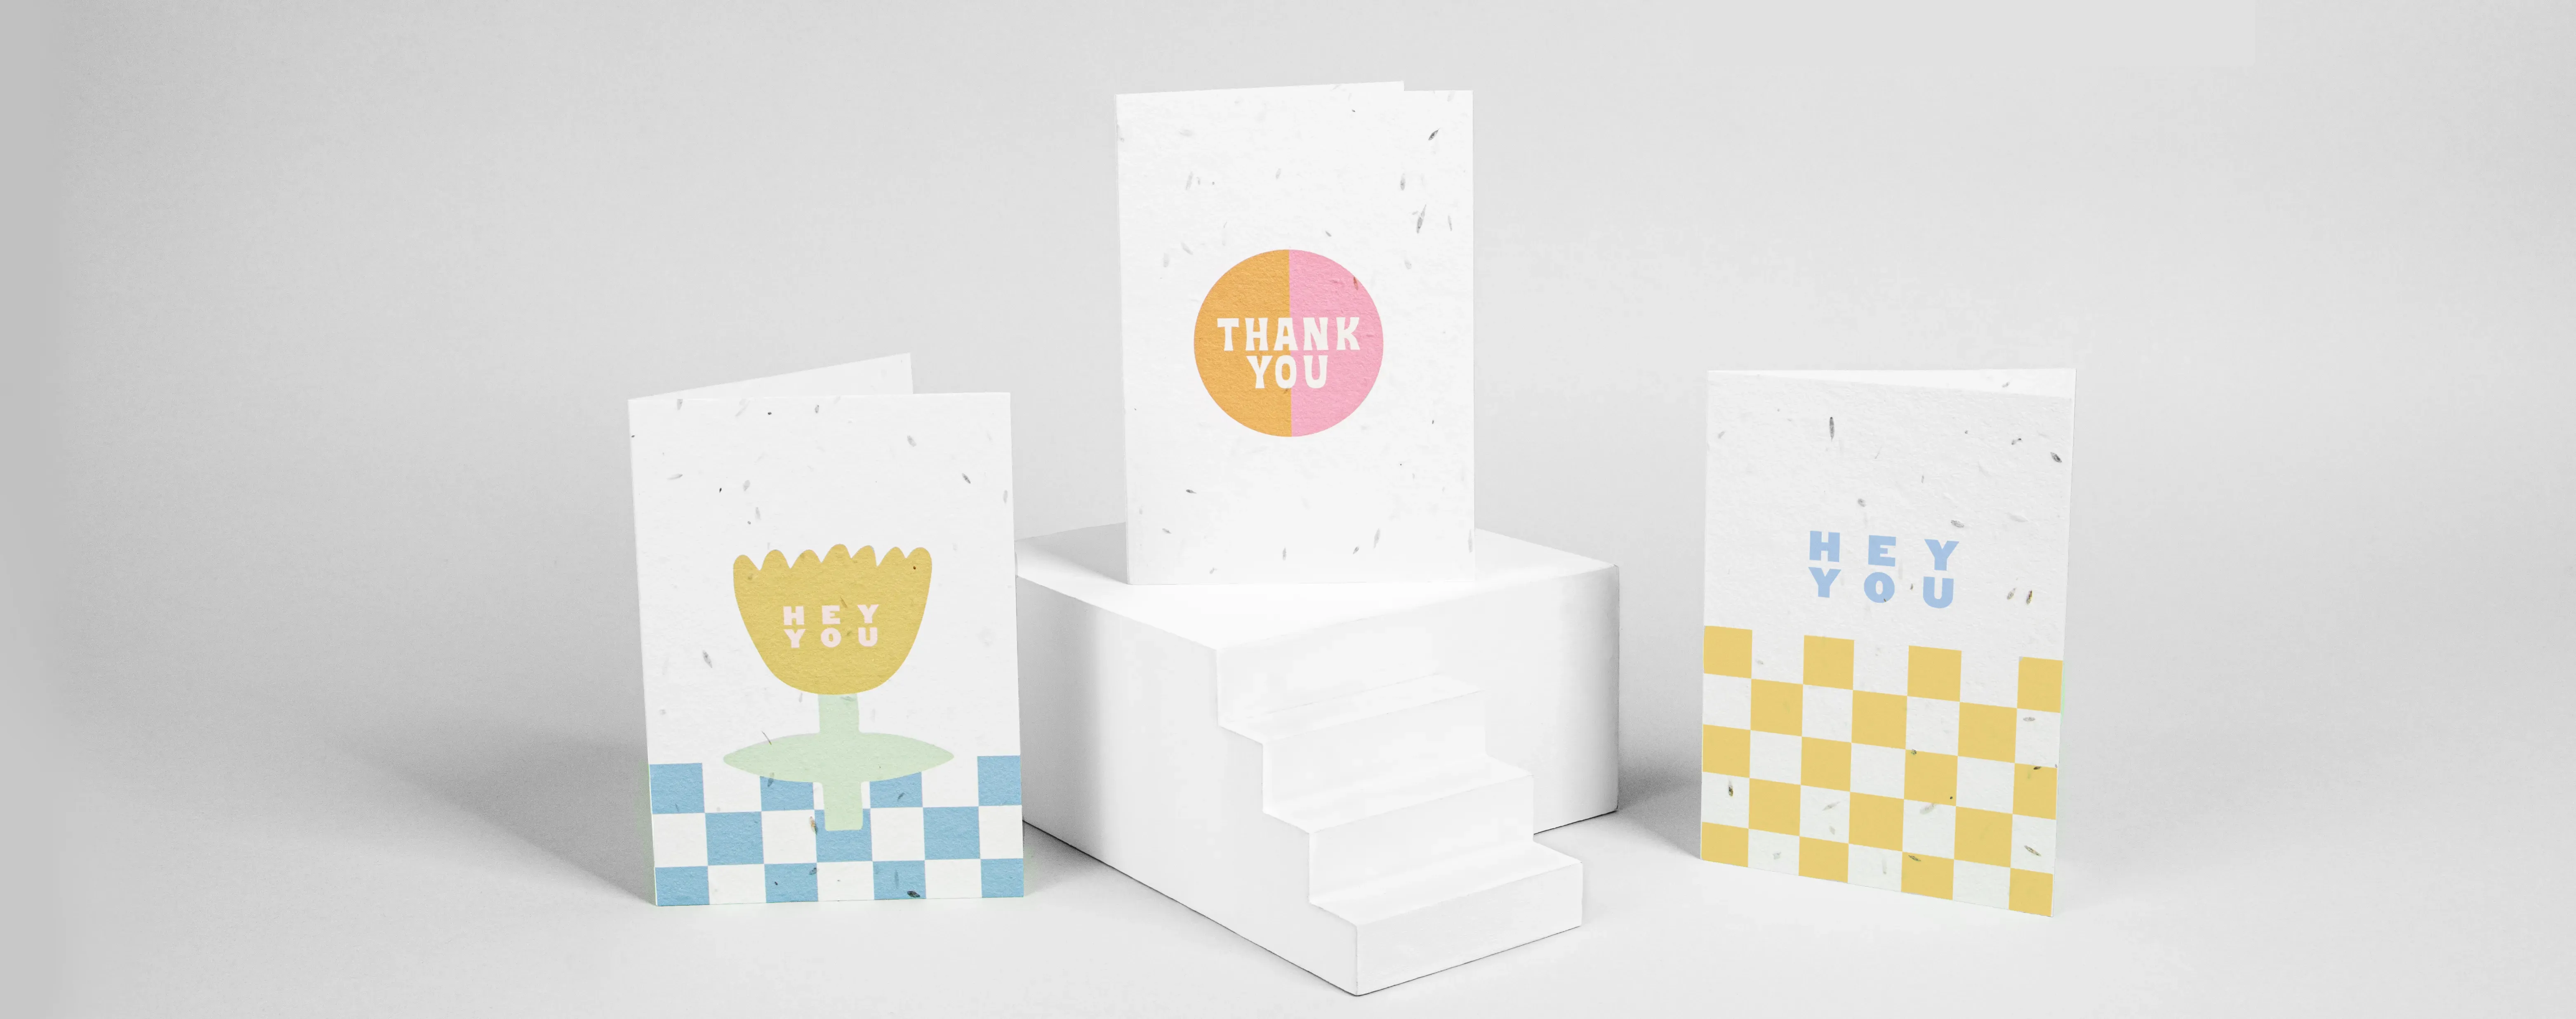
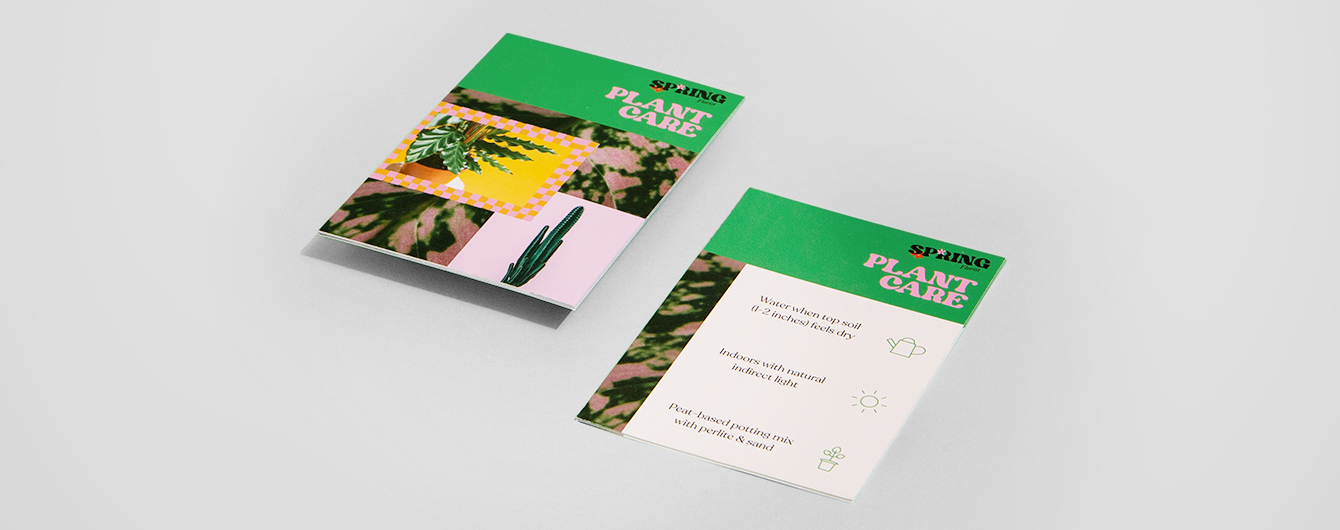
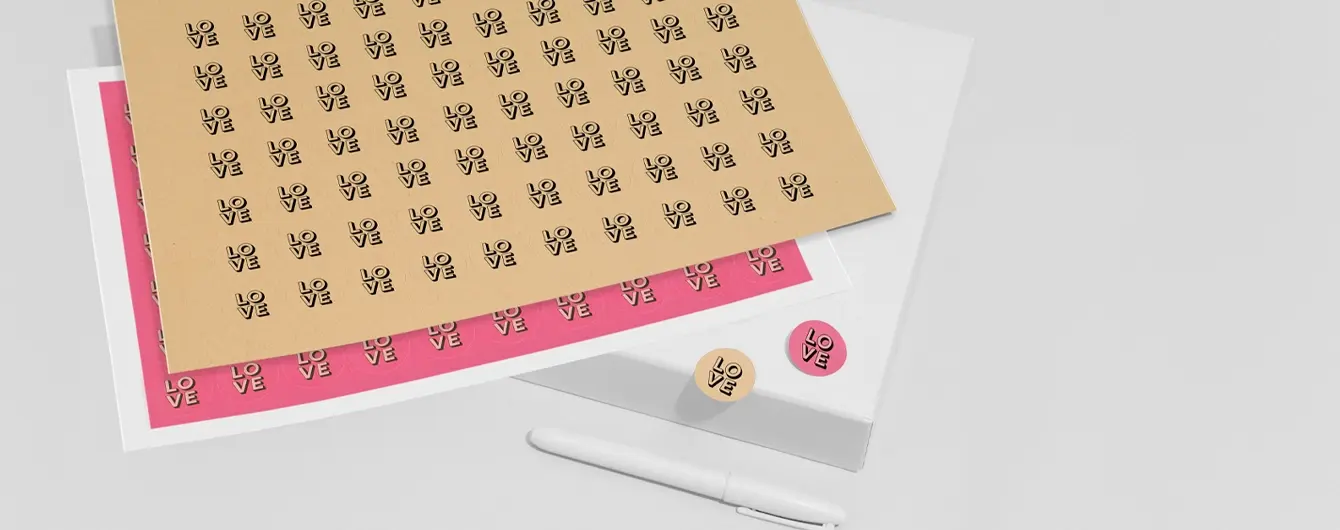
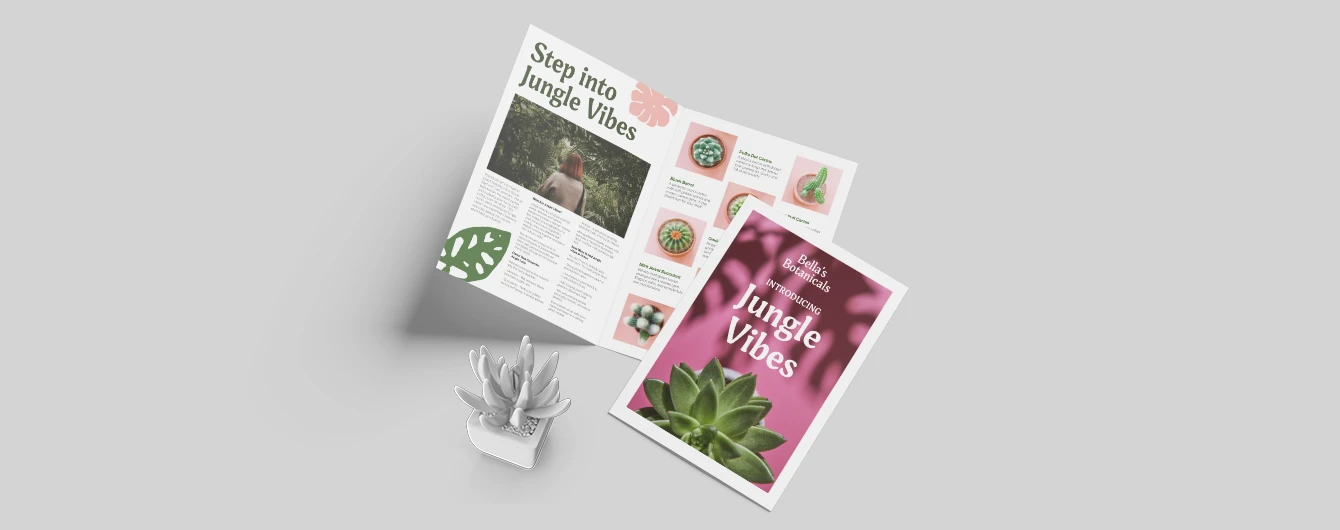
Handmade in the UK using recycled paper waste, this biodegradable and plantable paper is embedded with mixed wildflower seeds, which gives it a unique texture that's different on every print.
Seed Paper
Handmade in the UK using recycled paper waste, this biodegradable and plantable paper is embedded with mixed wildflower seeds, which gives it a unique texture that's different on every print.
Available weights
- 350gsm
Best for
- Plantable print (within 2 years)
- Maximum 40% ink coverage
- Over 30% tint on print colours and over 9pt text
Credentials
- Mixed wildflower seeds
- Biodegradable
- Recycled
Guide to perfect print
Get your print to the presses perfectly with everything you need to get set up
Sample Packs
Get a feel for our range of quality products, papers and special finishes in our free Sample Packs.
Downloadable Templates
Use our free templates to create your artwork and make sure your print is set up perfectly for the presses.
Bespoke Service
Can’t find the print you’re looking for? From unique papers to custom sizes and finishes, our Bespoke Team can help with your request.
Safe area
Templates
- Seed Paper Printing
- No elements found. Consider changing the search query.
- List is empty.
- 85 x 55mm Landscape
- A5 Portrait
- A6 Portrait
- A6 Landscape
- 148 x 148mm
- A5 Landscape
- A4 Portrait
- DL Portrait
- 52 x 210mm Landscape
- 55 x 55mm
- 52 x 148mm Landscape
- 210 x 210mm
- A4 Landscape
- 7" x 5"
- 105 x 105mm
- A7 Landscape
- 85 x 55mm Portrait
- 90 x 55mm Portrait
- 90 x 55mm Landscape
- 85 x 25mm Portrait
- 85 x 25mm Landscape
- DL Landscape
- 52 x 210mm Portrait
- 52 x 148mm Portrait
- A7 Portrait
- 5" x 7"
- No elements found. Consider changing the search query.
- List is empty.
- Illustrator
- InDesign
- No elements found. Consider changing the search query.
- List is empty.
Quick tips to print perfection


Sustainable print
At Printed.com, we want to help you reduce your environmental impact. From using innovative packaging and sourcing eco-friendly papers, to minimising waste and promoting recycling, we’re dedicated to giving you more sustainable choices across our range.
Find Out More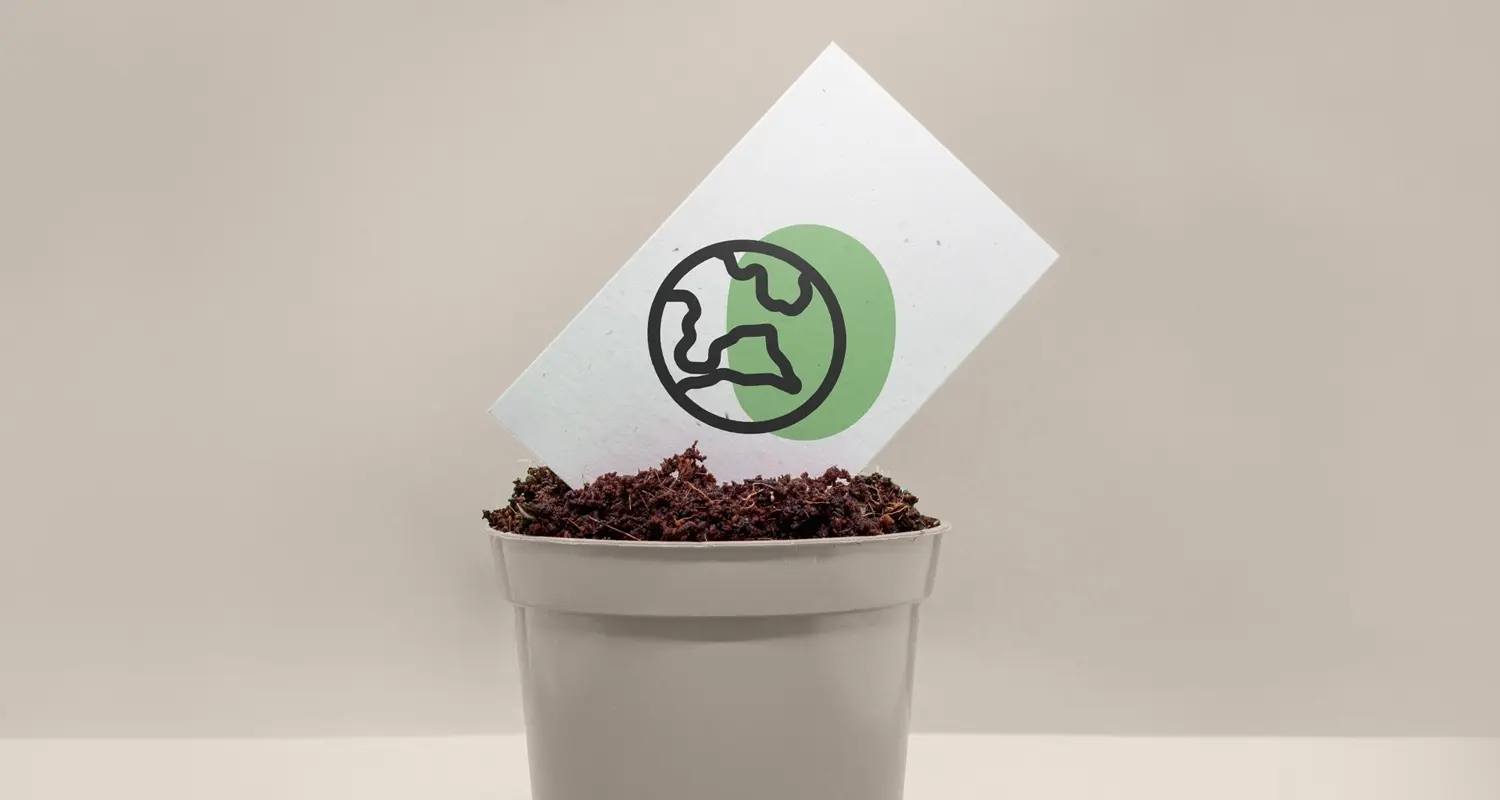
More information
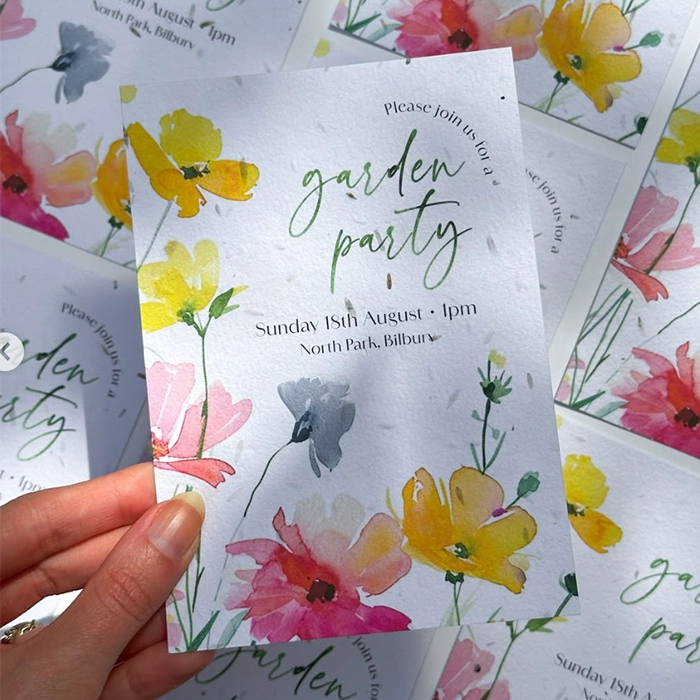
Discover the ultimate sustainable solution to printing with our Seed Paper Printing service, perfect for resellers and eco-conscious creatives. Our plantable paper is embedded with wildflower seeds, allowing you to create stunning Business Cards, Postcards, and more that grow once the user is finished with them! Choose from various sizes as well as optional round corners. Made from 100% recycled and biodegradable materials, our Seed Paper is not only environmentally friendly but also a unique way to make your print materials stand out. Explore our Seeded Paper options today, and transform your communication into a blooming statement.
Frequently asked questions
Got a question? We might have answered it here. If not, feel free to get in touch with The Team, we’re here to help!
How long will my print take to arrive?
Find out how quickly you can get your print by filling in your selected options in the product builder, and check out the delivery options at the bottom. You can also explore the available delivery options from your basket once you’ve added a product.
What should I know before preparing artwork for print?
What is a Professional File Check?
For a small fee, an expert member of our technical team will manually review your artwork before it goes to print so you can press 'go' with complete confidence.
- Image resolution for print quality
- Bleed and safe areas
- Page count and page order on folded products
- Corrupt, blank or password-protected files
- Templates left on artwork
- Folds, cut lines, drill holes and binding areas (where applicable)
- Foil alignment and minimum line widths (where applicable)
- Personalisation files and version quantities (where applicable)
- Spelling, grammar or proofreading
- Design, layout or text sizing advice
- Colour accuracy or colour mode checks (RGB/CMYK)
- QR code testing
- Calendar date checks
- Post-print quality inspection beyond our standard production processes
How do I print with Canva?
What is Seed Paper?
Seed Paper is a truly unique and eco-friendly product that beautifully blends craftsmanship and sustainability. Handcrafted in the UK from recycled paper waste, this biodegradable paper comes embedded with mixed wildflower seeds. Each piece of Seed Paper has its own distinct texture, adding a personal touch to every print. It creates plantable prints that can bloom within two years, offering you a creative and sustainable choice for your printed materials. We can’t wait for you to experience the joy of turning your printed items into a vibrant garden!
How do I plant Seed Paper?
Planting your Seed Paper is a fun and rewarding experience, perfect for eco-conscious gardeners and green businesses alike. Here's how to get started:
- Prepare your pot: Start by filling your pot with high-quality potting soil until it's about two-thirds full. Give the soil a good pat down to create a firm base for your seeds.
- Plant the paper: Tear your seed paper into sections or place the whole piece directly onto the soil. Press it gently so that it's in contact with the soil, then cover it with an additional 1-2 cm of soil.
- Water regularly: Seedlings love a drink! Ensure you water them regularly, keeping the soil consistently moist. Just be careful not to overdo it, as you don't want the soil to become waterlogged.
- Find a sunny spot: Place your pot in a lovely sunny location. A windowsill, outdoor space, or greenhouse is ideal, as long as it stays warm.
- Wait and watch: In just 2-3 weeks, your seeds will begin to germinate and you'll start to see your beautiful plants flourish.
- Continue the care: Once your plants start sprouting, continue to nurture them by watering as needed and providing plenty of light.
Are there any artwork recommendations for Seed Paper?
Absolutely! When printing on Seed Paper, you'll want to ensure your designs look their best while keeping the paper's unique qualities in mind. Here are some top tips:
- Ink Coverage: Keep it light! We recommend a maximum of 40% ink coverage. This ensures the seeds can still grow through and gives your print a lovely, natural look.
- Colour Tints: Stick to subtlety. Use over 30% tint on print colours for the best results, keeping the earthy vibes alive.
- Text Size: Legibility is key. Keep your text over 9pt to ensure clarity amid the charmingly uneven surface of the Seed Paper.
- Eco-Friendly Designs: Remember, less is more! Simple, earthy designs resonate well with the eco-conscious ethos of our Seeded Paper.
Which size should I choose?
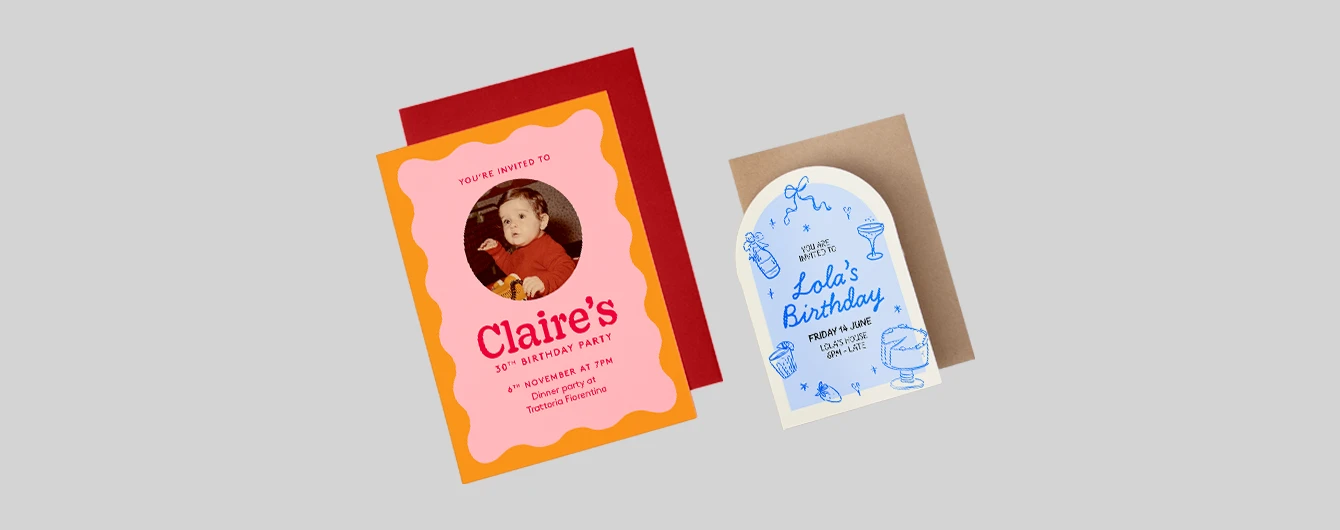
Choosing the right size for your Seed Paper printing can make all the difference, and we’re here to help you decide! If you're creating Business Cards, the standard size is 85mm x 55mm, or opt for a mini version at 85mm x 25mm for a more compact design. For Invitations or Greeting Cards, A5 or A6 sizes are perfect. Bookmark enthusiasts might prefer 52mm x 148mm or 52mm x 210mm, depending on their style. Coasters are best in a neat 105mm x 105mm, while square Leaflets, Flyers, or Postcards work well in 148mm x 148mm or 210mm x 210mm.
More products you might like

Seed Paper Printing
Our product presets
Our product presets
Build your own or choose from one of our preset options
Product
Product
Size
Size
Orientation
Orientation
Printed sides
One side: Print your design on one side of the product only. The reverse side will remain unprinted.
Both sides: Print your design on both sides of the product. Choose this option when you want to apply a design on both the front and back.
Printed sides
One side: Print your design on one side of the product only. The reverse side will remain unprinted.
Both sides: Print your design on both sides of the product. Choose this option when you want to apply a design on both the front and back.
Paper
Paper
Quantity
Please enter a quantity larger than 25
If there is a paper stock, size, quantity or finish you want but can't find, fill in our bespoke order form or contact our team .
The options you have chosen mean that your leaflets will be delivered creased but not folded. If you'd like your print to arrive already folded, please enter a lower quantity or a lighter paper weight.
Extras
Corners
Square corners: Leave your corners square for a traditional, professional finish.
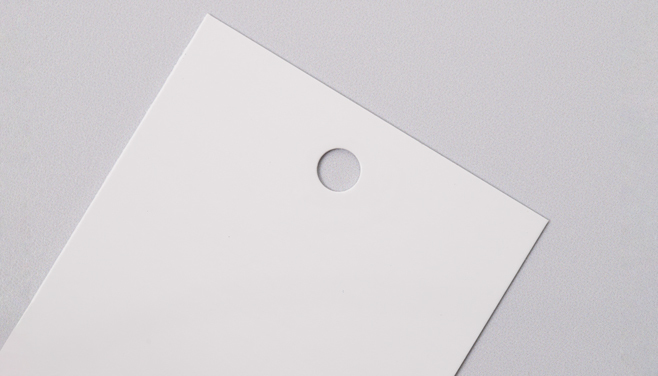
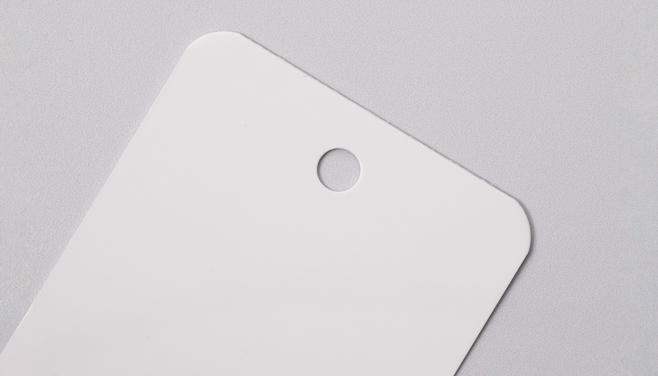
Round corners: Give your print a modern edge with a rounded finish. Our corners are rounded at a 7mm radius so don't leave anything important too close to the corners.
Select your Delivery options
Delivery type
As you have previously selected a delivery option for a previous product we have grouped these items to lower your delivery costs. Due to the items added to your basket we are no longer able to offer your selected delivery option. Please reselect your delivery from the options below. If you are sending to multiple addresses you can ungroup your items.
Delivery type
The paper you have chosen is not available at this quantity.
To keep your paper choice please enter a quantity than .
- Seed Paper - 350gsm
For documents with this number of pages, the maximum quantity available is units.
If you require a larger quantity, please reduce your number of pages to less than 1 or get in touch with our Bespoke Team.
This reorder job does not allow editing the original artwork. You may still upload a new piece of artwork but doing so will remove the original artwork. Do you want to continue?