


 UK
 Teal background with a tilted dark rectangular sign reading ‘LOVE’ in large foiled letters, accented by small pink star shapes.


Foil colours
 Close-up of gold foil with reflective folds and a shiny metallic texture.
 Close-up of silver foil with sharp folds and reflective highlights, emphasising its crinkled texture and glossy surface
 Close-up of textured copper foil with crinkled, reflective folds creating a metallic sheen.
 Close-up of rose gold foil with smooth folds and a glossy finish, highlighting its silky texture and warm metallic sheen
 Close-up of holographic foil with diagonal rainbow streaks on a smooth, reflective silver surface, showing iridescent colours from light diffraction.
 Close-up of red foil with smooth folds and glossy highlights, showing a silky texture and rich colour depth
 Close-up of white pearl foil with subtle light reflections and smooth texture, showing a soft iridescent sheen
Top foiling products
Here is some intro text that you can change.
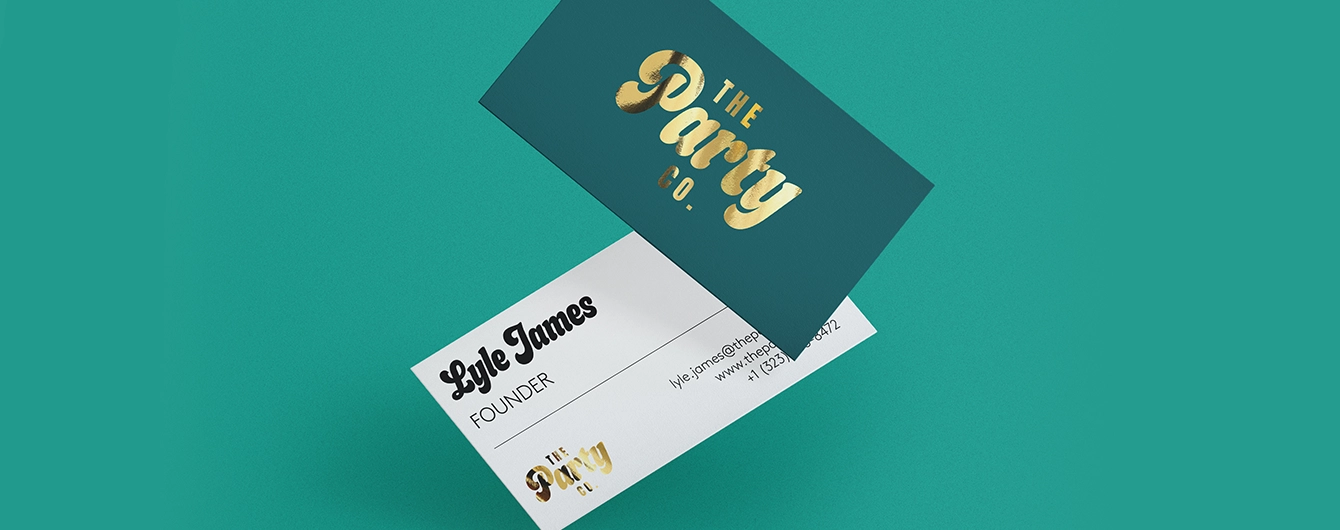
Print custom Business Cards that make a lasting impression, with our flat, folded or mini formats - available with next day delivery on selected options.


From handouts that showcase your latest promo to packaging inserts that represent your brand, we’ve got you covered with our versatile personalised Postcards.

Create standout Greeting Cards for birthdays, anniversaries, brand gifting and more – with premium paper stocks, eco-friendly options, and matching Envelopes.

Add an extra dimension to your Art Prints with foil elements and capture everyone's attention, no matter where they're displayed.
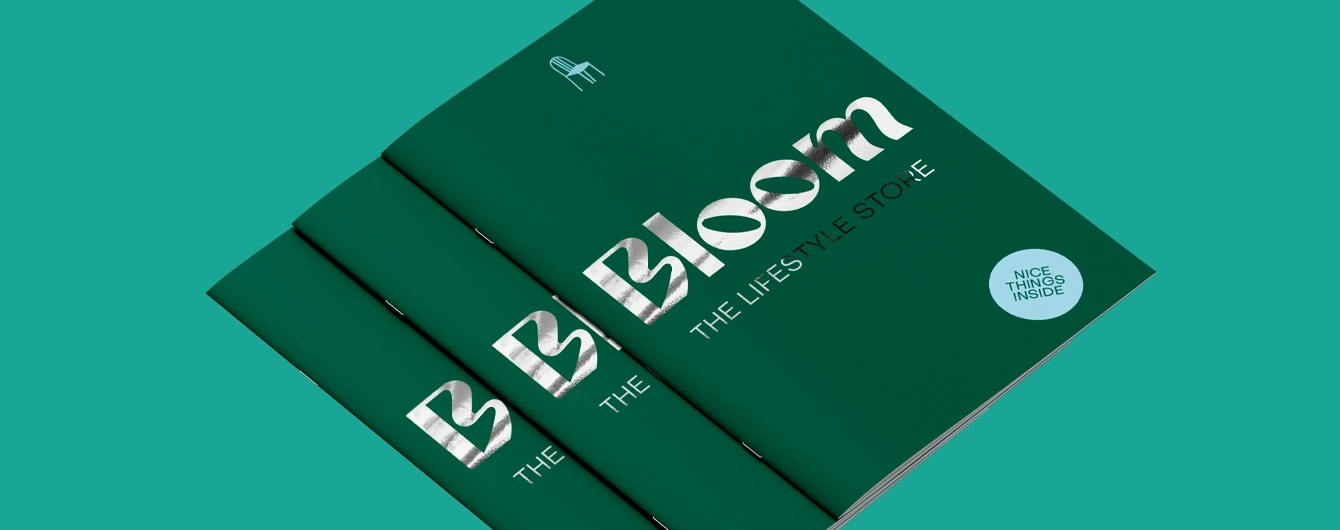
Our Saddle Stitch Booklet printing uses staples to bind up to 112 pages together for a sleek finish.

Add a splash of branding or personality to your products with custom Round Stickers, supplied on A4 sheets.
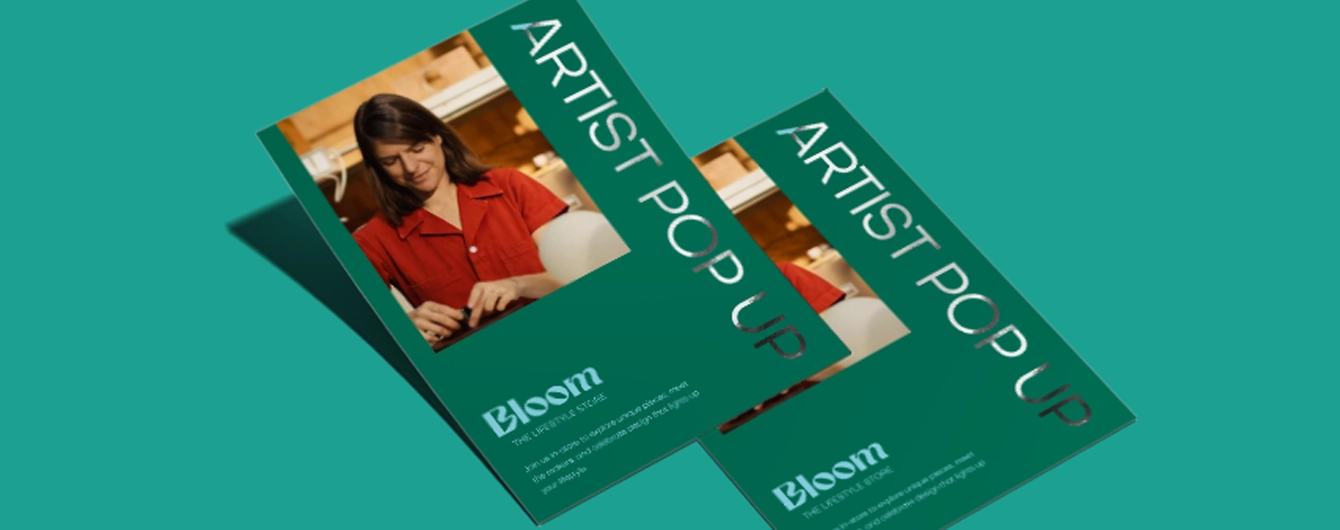
Promote your brand with custom, flat Leaflet and Flyer printing that delivers maximum impact.
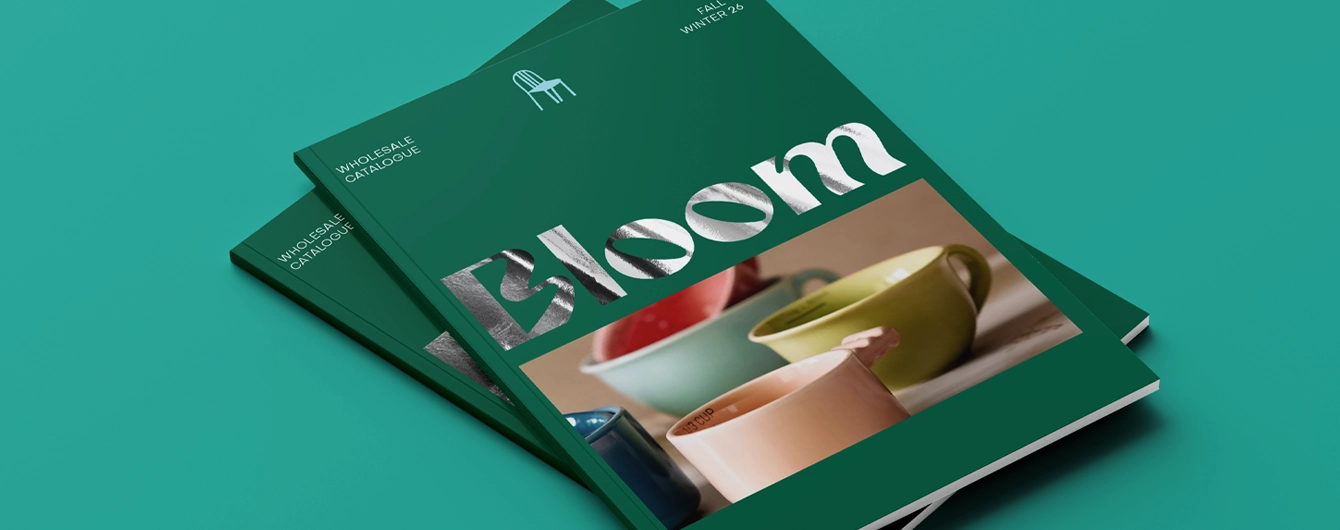
Perfect Bound printing secures up to 420 pages to a wrap-around cover using strong adhesive.

Reward those important achievements with a custom printed Certificate.
 A tablet on a purple background displaying a logo design that reads ‘The Party Co.’ inside an artwork design interface
With nearly 10 years of foiling expertise, we know how to make print shine - literally. Every day at Printed.com, hundreds of foiled creations pass through our factory, most brought to life using advanced digital foiling technology.
Each piece begins with your chosen design, printed onto premium paper stock using our top-of-the-range presses. Next, we apply a velvet lamination, giving the print a luxurious soft-touch finish while creating the perfect surface for the foil to adhere to. The laminated sheets then return to the press, where the areas to be foiled are printed in black, ready for the final transformation.
Our Matrix 370 Digital Foilers then take over, using pneumatic rollers and thermostatic temperature control to apply consistent heat and pressure. This precise balance ensures flawless, repeatable results - minimising waste while maintaining efficiency. It’s the perfect blend of craftsmanship and innovation, ensuring every digitally foiled print leaves our factory with a flawless, eye-catching finish.
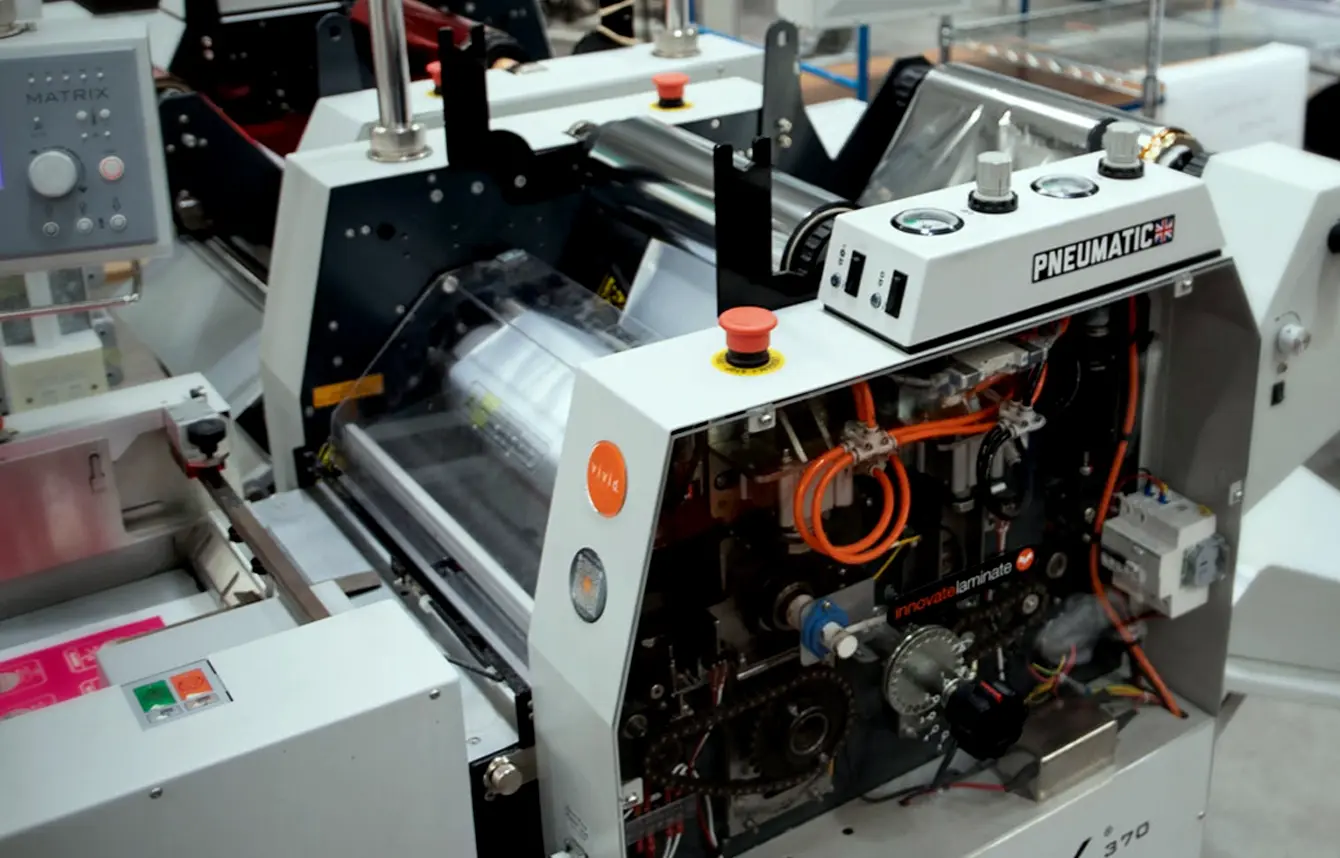 Close-up of a foiling machine actively applying metallic foil to printed sheets
What is foil printing?
Foil printing, also called foil stamping, adds a metallic or pigmented foil layer to paper or card for a premium, polished look. This creates a shiny, reflective finish that really makes stationery stand out.
Types of Foiling:
- Hot Foil Stamping (also known as Block Foiling): This classic method uses a heated metal die to press foil onto paper, often creating a debossed effect.
- Cold Foiling: Here, foil is applied with UV adhesive, offering quicker results and a wider range of colour options.
- Digital Foiling: A modern approach that applies foil directly to your design without needing plates or dies.
We use digital foiling for our standard finish, but you can request other types through our Bespoke Service.
Which paper stocks can be used for digital and block foiling?
Digital Foiling is available on Silk, Uncoated and Trucard paper stocks, all supplied with a velvet lamination to ensure proper foil adhesion. It’s also available on our White Gloss sticker stock.
Block Foiling works best on thicker, uncoated paper stocks, as the heat and pressure used in the process allow the foil to bond and texture the surface more effectively. This is available via our Bespoke Service.
Can I combine digital foil with colour printing?
Yes, you can! Our paper products allow you to combine digital foil with colour printing. However, our foiled Sticker Sheets are available with foiling only. If you're looking for Stickers with both foil and colour printing, our Stickers on a Roll are the perfect option.
Is there a setup cost for digital foiling?
No, that's one of the best things about digital foiling! Unlike block or cold foiling, digital foiling doesn't come with any setup costs, making it a more cost-effective option.
How do I prepare my artwork for foil printing?
Start by choosing your foil colour and paper stock, then create your design using our easy-to-follow guide.
You’ll need to supply three PDF files:
- A full artwork version - a file of your full artwork, showing both foil and CMYK printed areas
- A foil-only version - showing only the areas of the design you want to be foiled, and needs to be set to 100% black in CMYK
- A print-only version - with no foil elements, only CMYK printed areas
Foil alignment & detail: Avoid using digital foil on very small or intricate areas, as slight movement during printing can cause misalignment. Where foil is applied over CMYK text or shapes, extend the foil slightly beyond the printed area to allow for overlap. Borders or larger, well-defined foil areas are recommended for best results.
Typography for foiling: Use a minimum font size of 7pt. Avoid script or delicate fonts, especially for small text. Choose clear, robust typefaces and ensure all text is embedded or outlined in the artwork.
Watch our step-by-step Canva Foiling Video Guide for a full walkthrough.
What is foil printing?
What is foil printing?
Foil printing, also called foil stamping, adds a metallic or pigmented foil layer to paper or card for a premium, polished look. This creates a shiny, reflective finish that really makes stationery stand out.
Types of Foiling:
- Hot Foil Stamping (also known as Block Foiling): This classic method uses a heated metal die to press foil onto paper, often creating a debossed effect.
- Cold Foiling: Here, foil is applied with UV adhesive, offering quicker results and a wider range of colour options.
- Digital Foiling: A modern approach that applies foil directly to your design without needing plates or dies.
We use digital foiling for our standard finish, but you can request other types through our Bespoke Service.
Which paper stocks can be used for digital and block foiling?
Which paper stocks can be used for digital and block foiling?
Digital Foiling is available on Silk, Uncoated and Trucard paper stocks, all supplied with a velvet lamination to ensure proper foil adhesion. It’s also available on our White Gloss sticker stock.
Block Foiling works best on thicker, uncoated paper stocks, as the heat and pressure used in the process allow the foil to bond and texture the surface more effectively. This is available via our Bespoke Service.
Can I combine digital foil with colour printing?
Can I combine digital foil with colour printing?
Yes, you can! Our paper products allow you to combine digital foil with colour printing. However, our foiled Sticker Sheets are available with foiling only. If you're looking for Stickers with both foil and colour printing, our Stickers on a Roll are the perfect option.
Is there a setup cost for digital foiling?
Is there a setup cost for digital foiling?
No, that's one of the best things about digital foiling! Unlike block or cold foiling, digital foiling doesn't come with any setup costs, making it a more cost-effective option.
How do I prepare my artwork for foil printing?
How do I prepare my artwork for foil printing?
Start by choosing your foil colour and paper stock, then create your design using our easy-to-follow guide.
You’ll need to supply three PDF files:
- A full artwork version - a file of your full artwork, showing both foil and CMYK printed areas
- A foil-only version - showing only the areas of the design you want to be foiled, and needs to be set to 100% black in CMYK
- A print-only version - with no foil elements, only CMYK printed areas
Foil alignment & detail: Avoid using digital foil on very small or intricate areas, as slight movement during printing can cause misalignment. Where foil is applied over CMYK text or shapes, extend the foil slightly beyond the printed area to allow for overlap. Borders or larger, well-defined foil areas are recommended for best results.
Typography for foiling: Use a minimum font size of 7pt. Avoid script or delicate fonts, especially for small text. Choose clear, robust typefaces and ensure all text is embedded or outlined in the artwork.
How do I create my foil artwork on Canva?
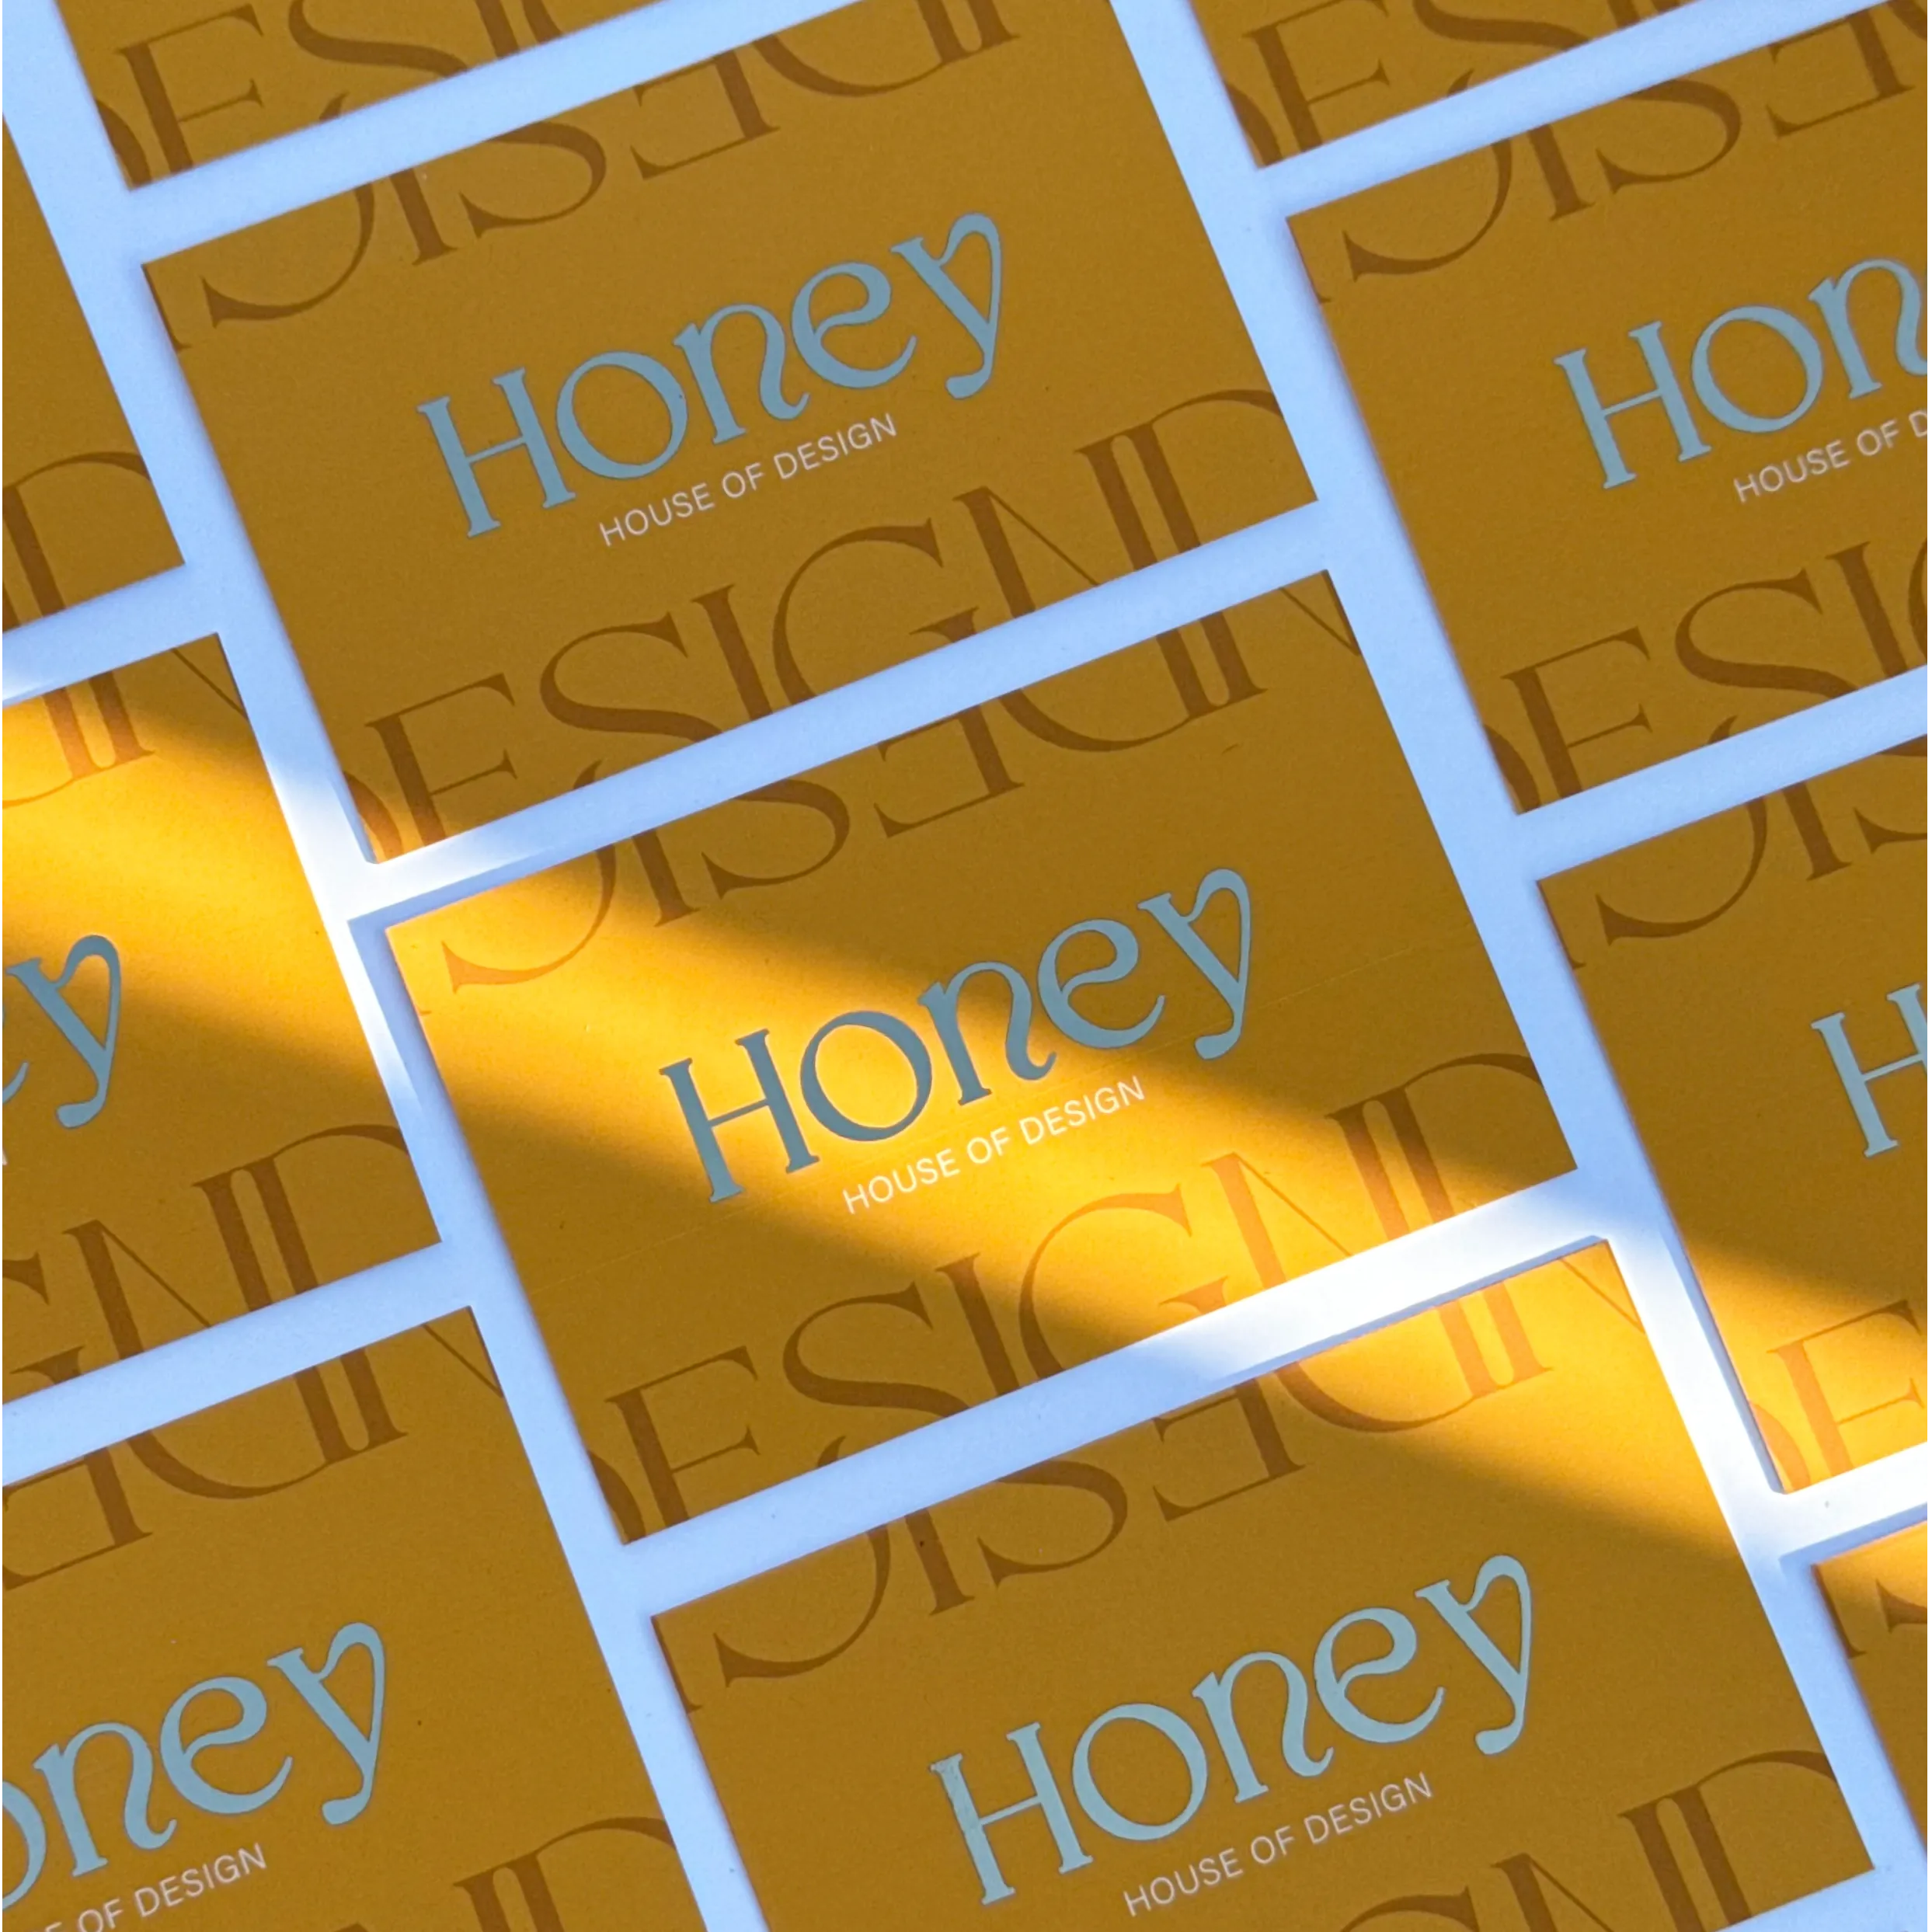 Grid of orange Business Cards with silver foiled text reading 'Honey' and smaller text below saying 'studio of design'.
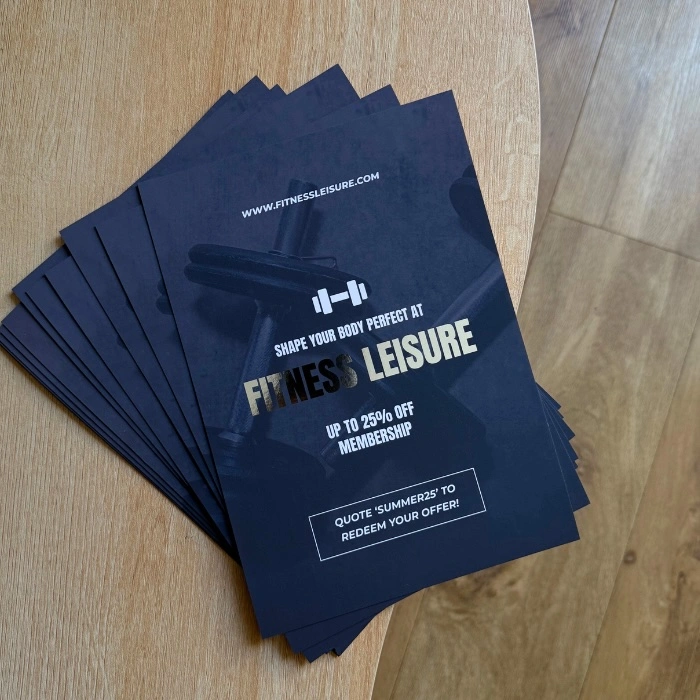 Foiling Leaflet and Flyer
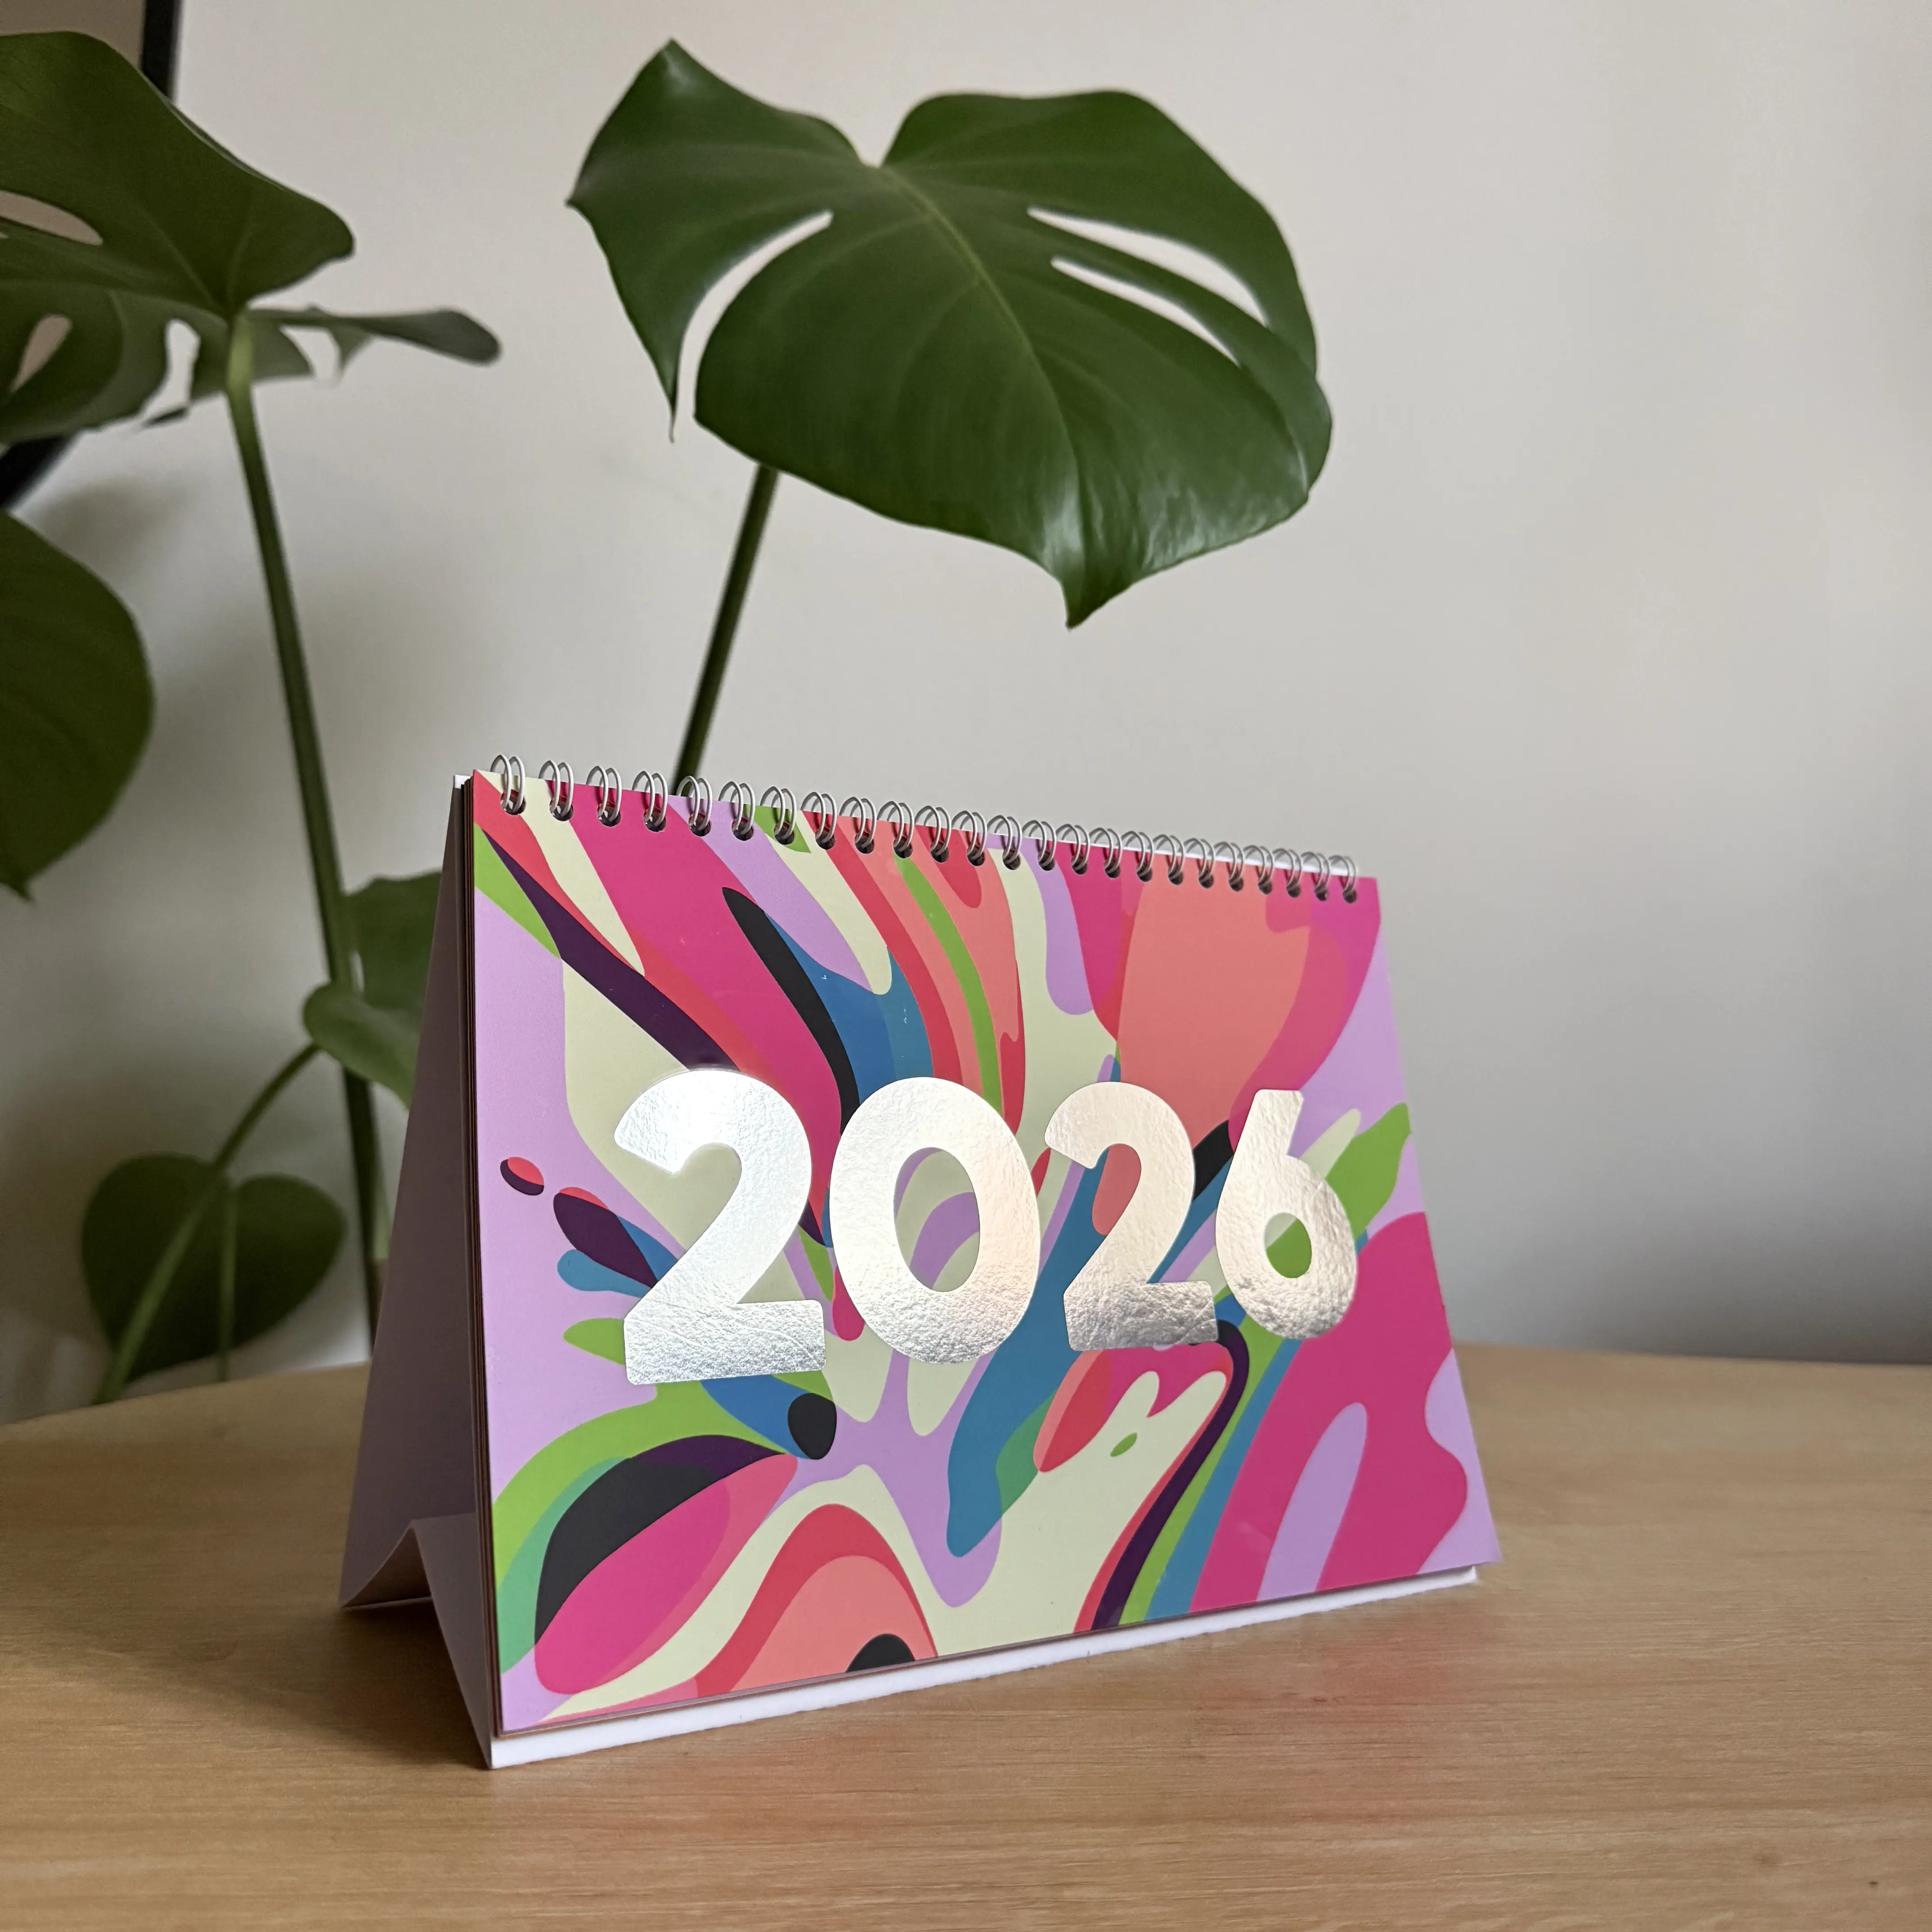 2026 Desk Calendar with foiling
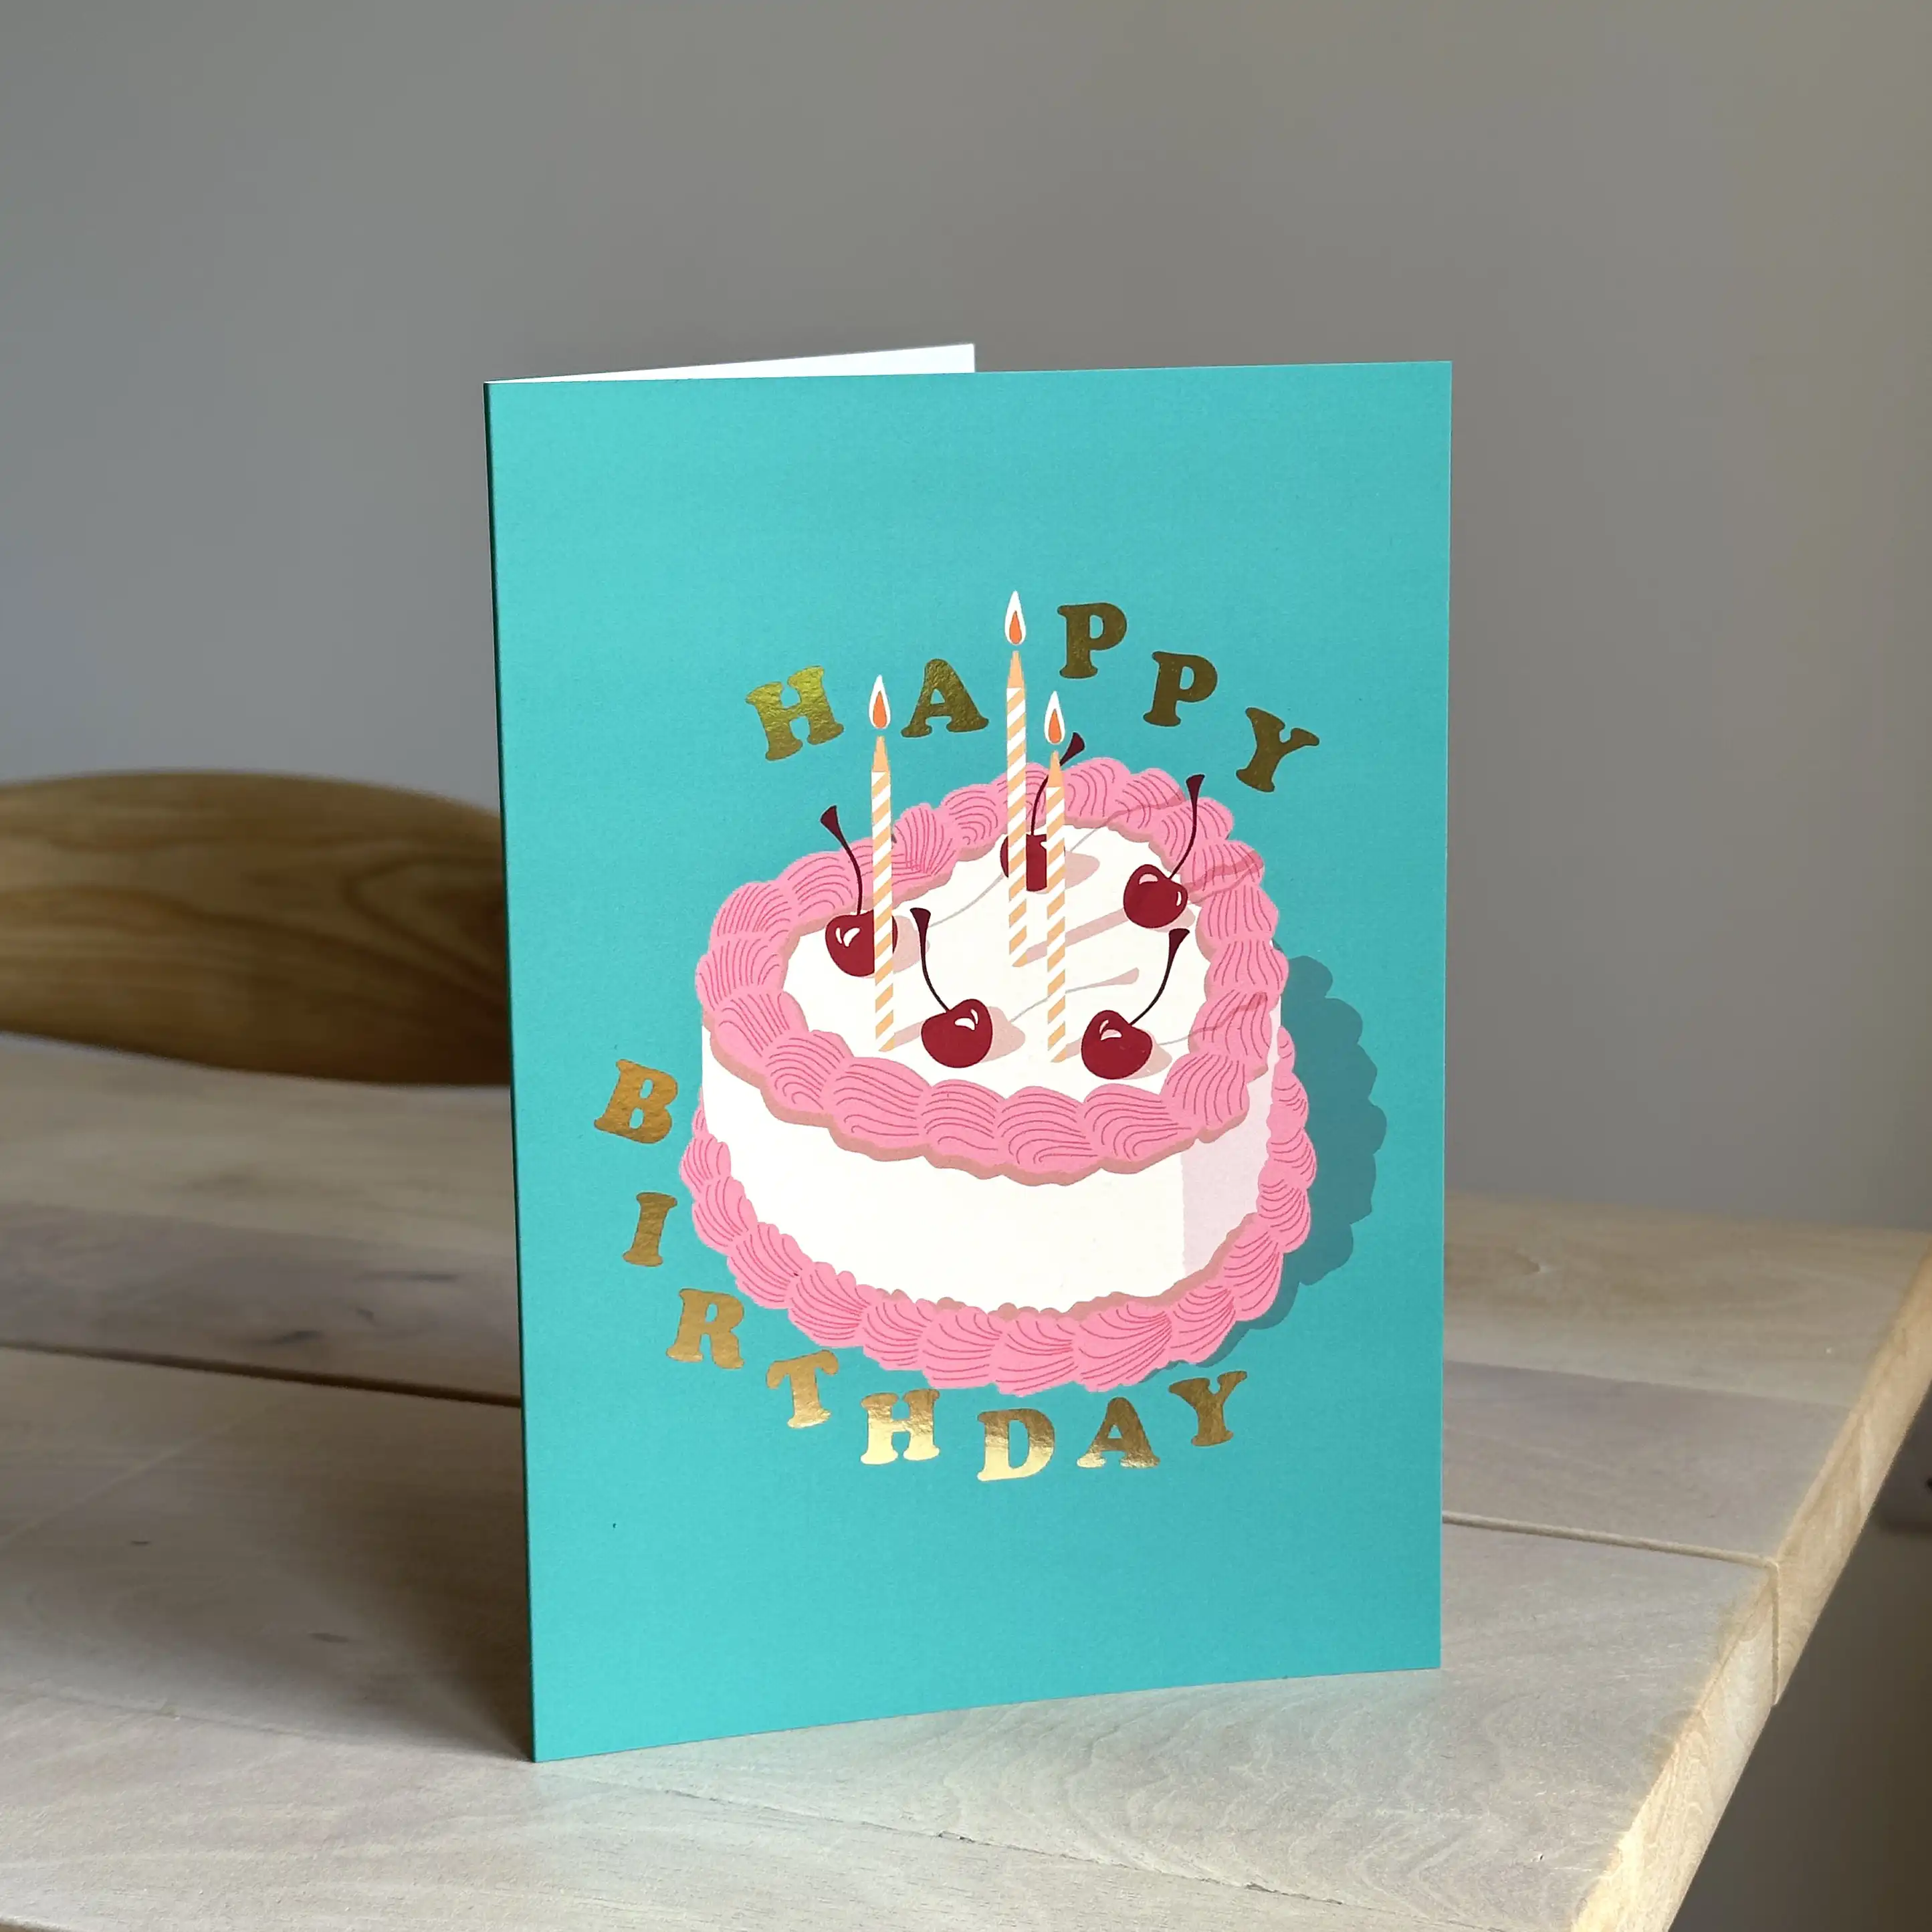 Foiled Greeting Cards
 Foiling Folded Leaflet
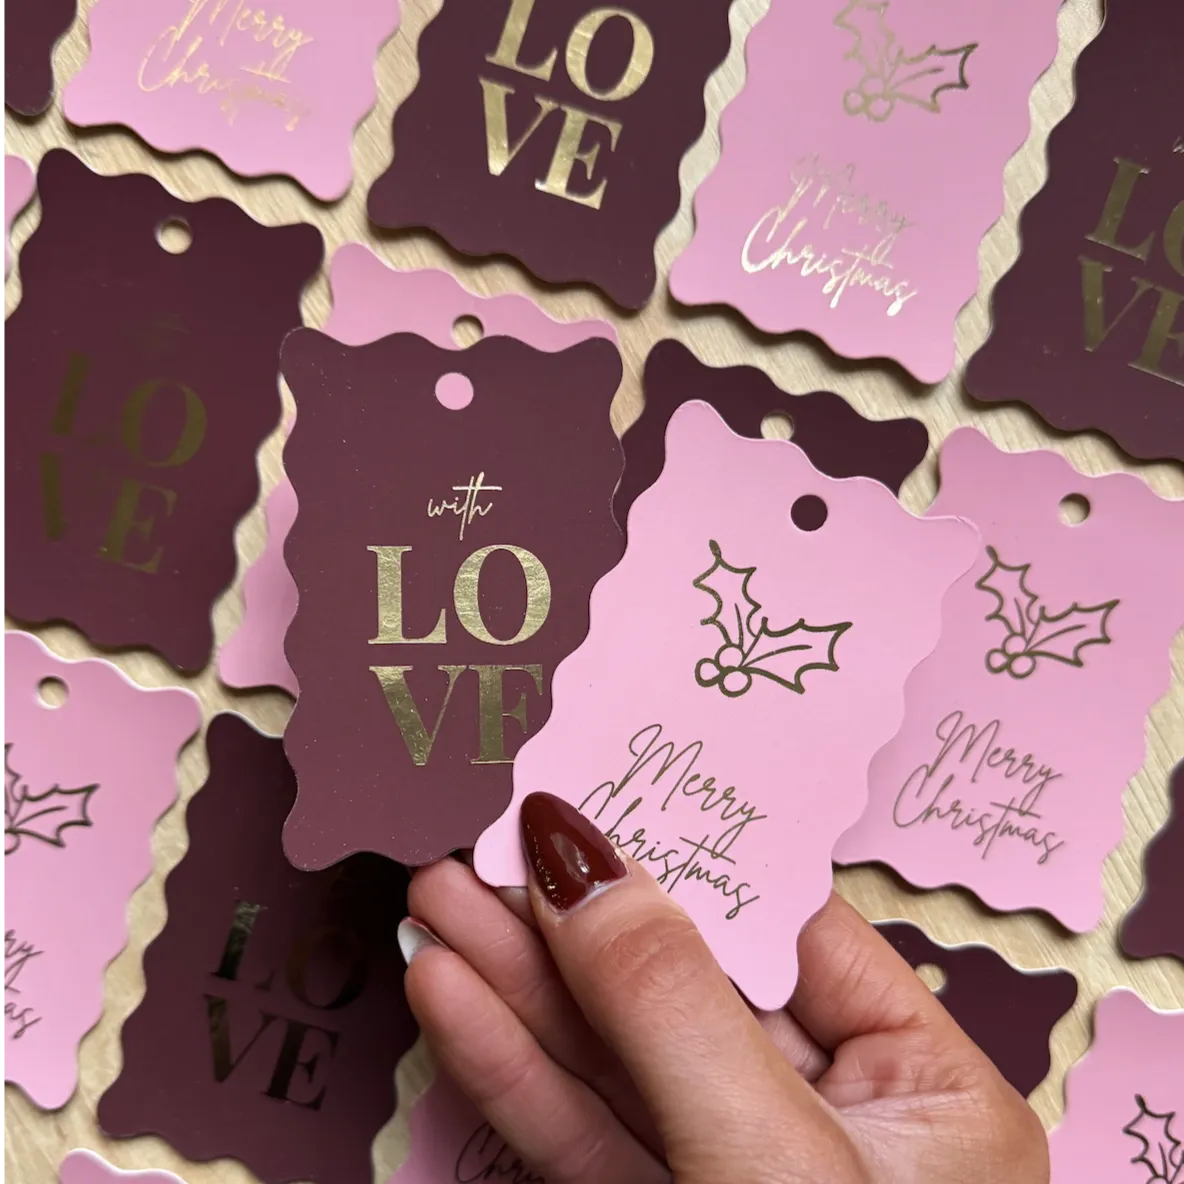 Hand holding a scalloped-edge pink Gift Tag with “Merry Christmas” in cursive and a holly illustration. Surrounding tags include maroon versions with gold foil “LOVE” text and matching scalloped edges, all designed for festive holiday gifting
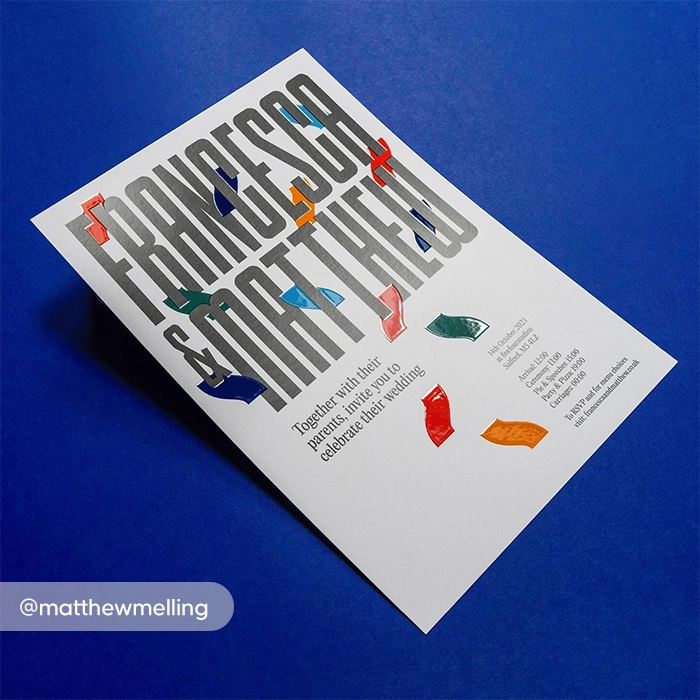 Silver Foiled Wedding Invites
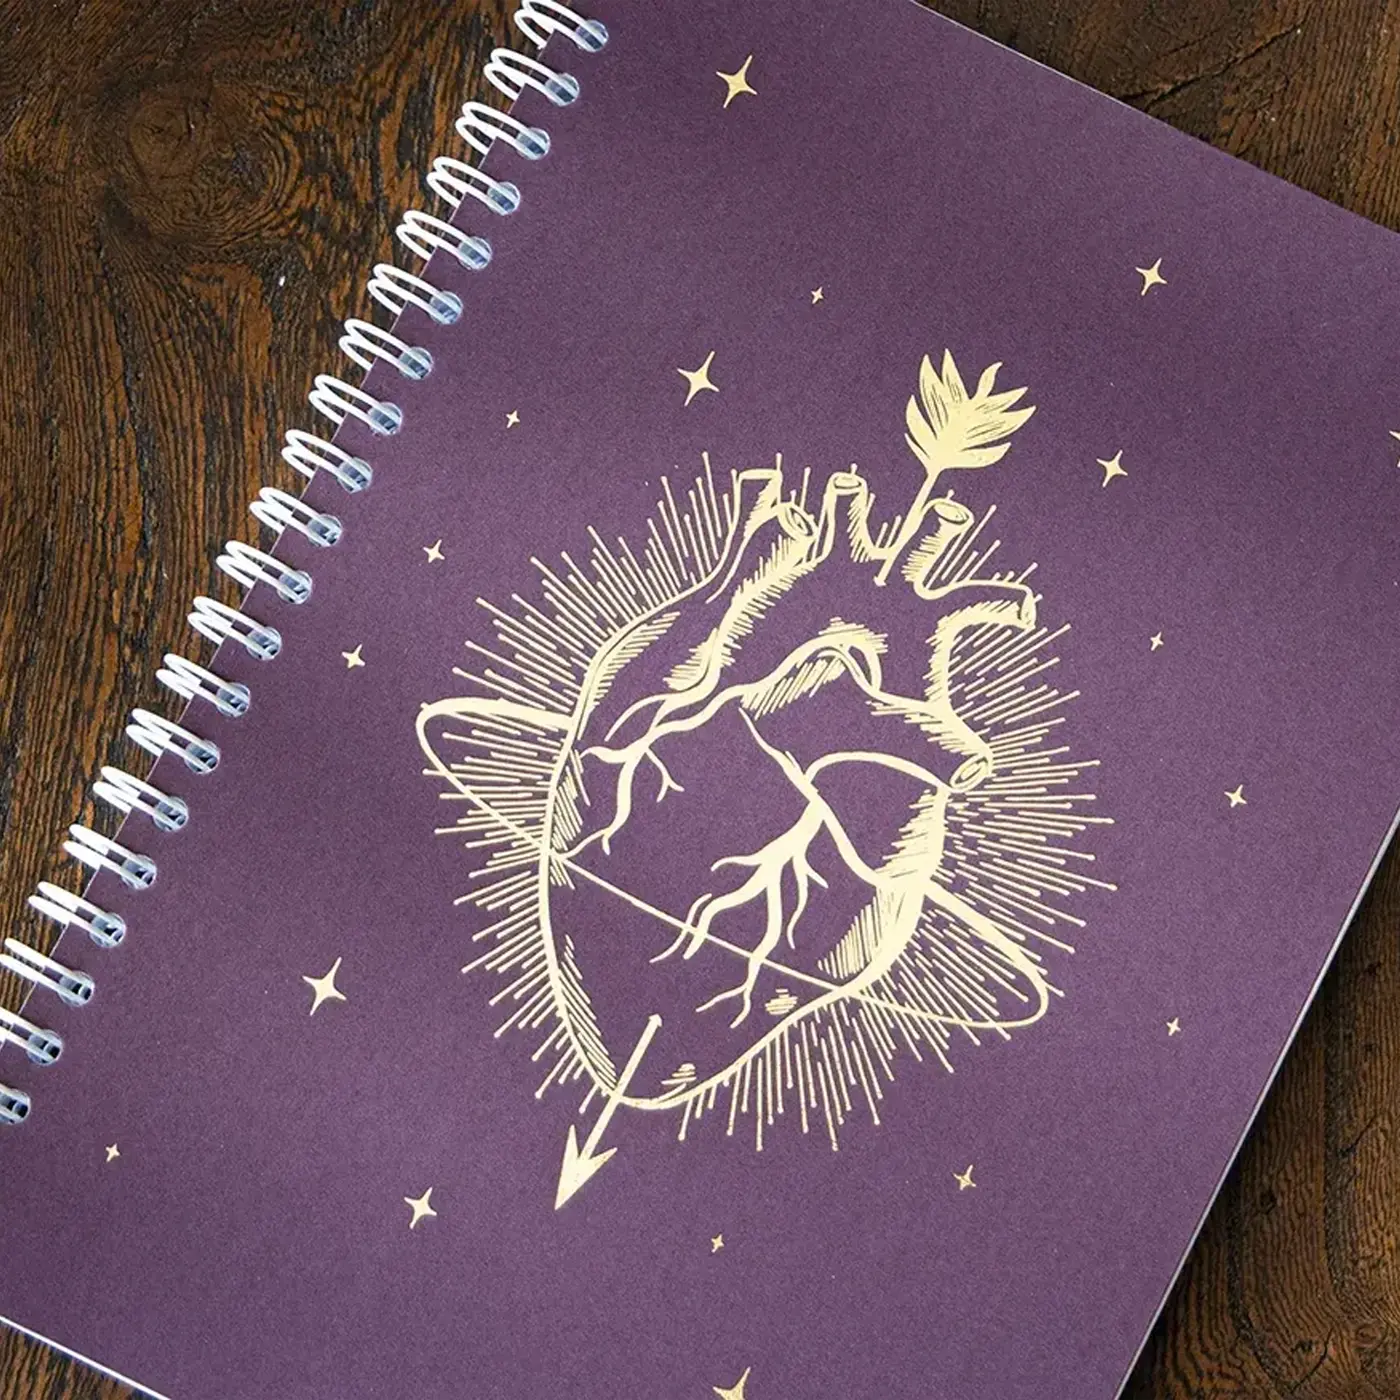 Purple Spiral Bound Notebook with a gold foil anatomical heart on the cover.
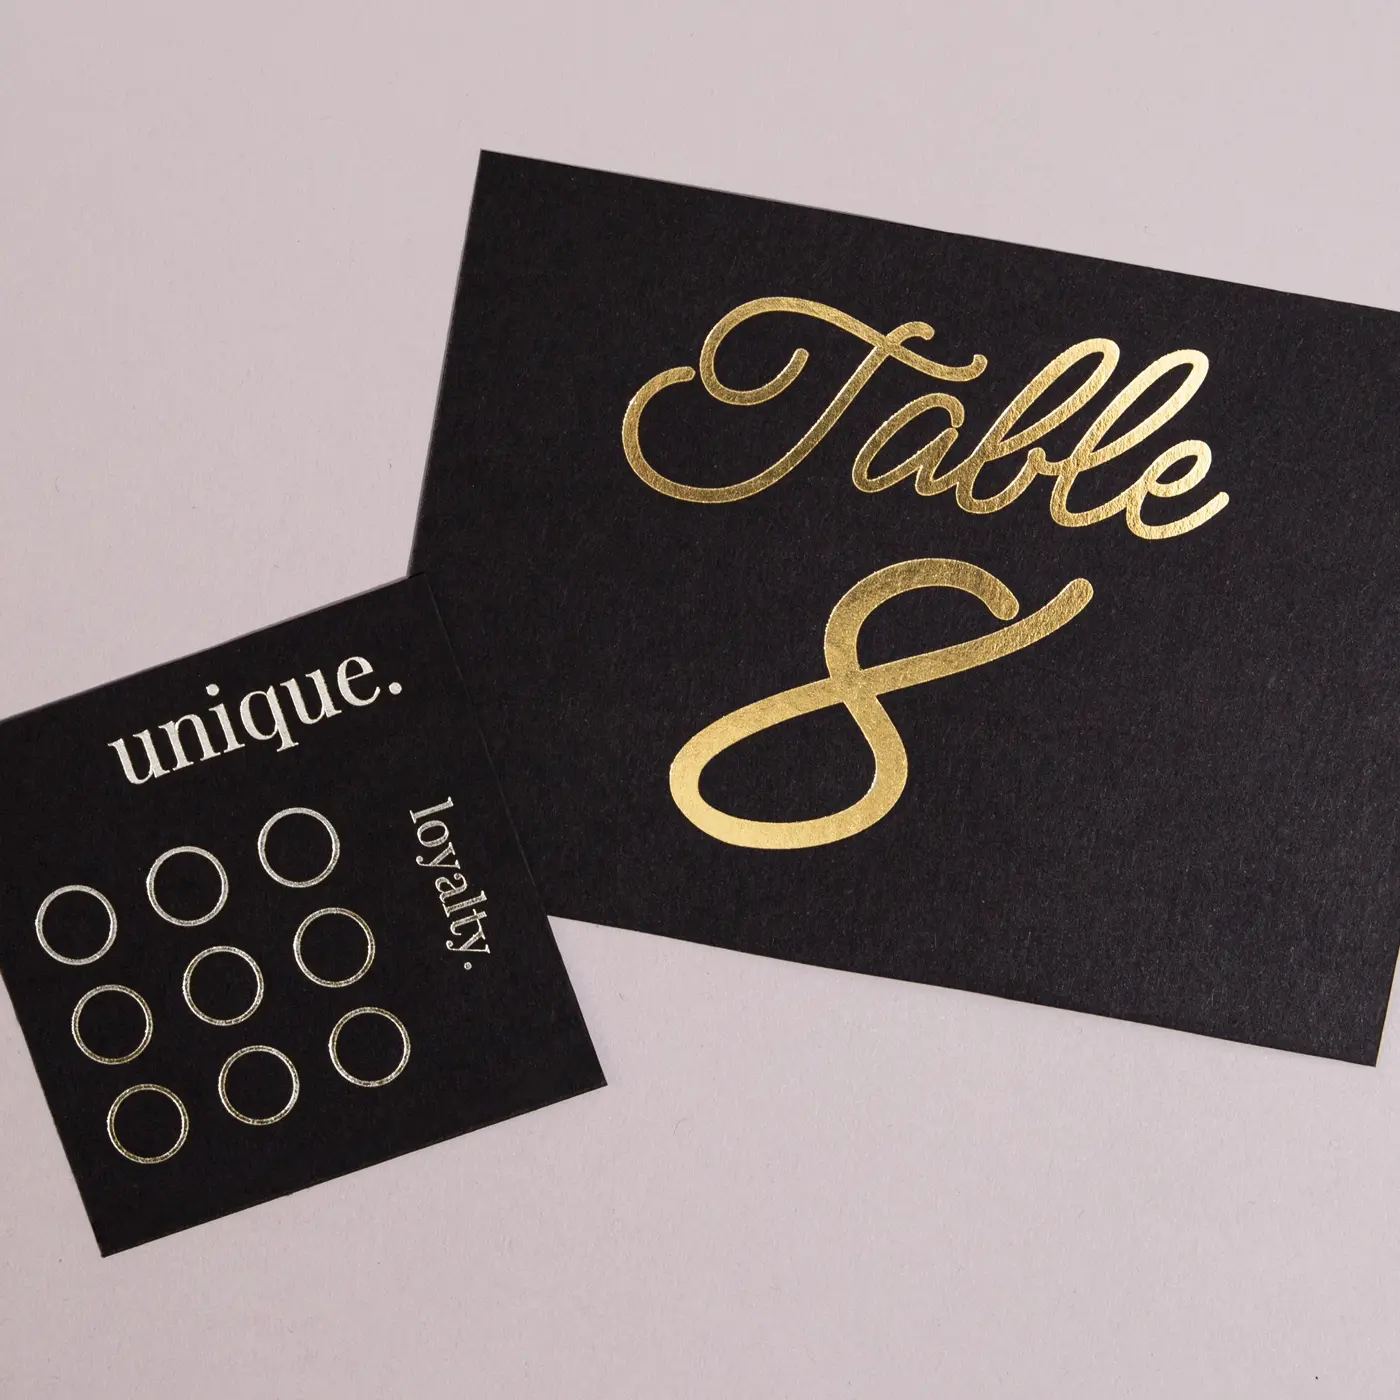 Black loyalty cards with gold foiled text, featuring elegant "Table 8" script and a stampable grid
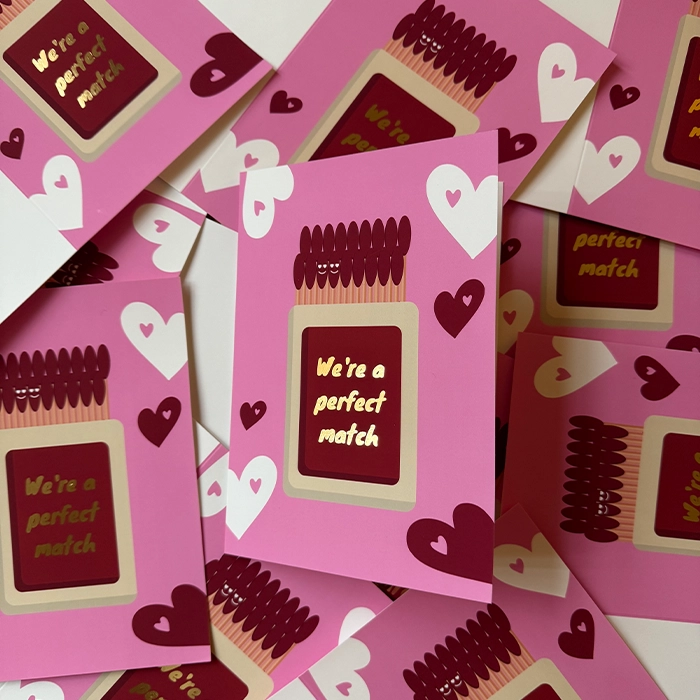 Gold foiled valentine's Greeting Card arrangement with the text 'we're a perfect match'. Grid of orange Business Cards with silver foiled text reading 'Honey' and smaller text below saying 'studio of design'. Foiling Leaflet and Flyer 2026 Desk Calendar with foiling Foiled Greeting Cards Foiling Folded Leaflet Hand holding a scalloped-edge pink Gift Tag with “Merry Christmas” in cursive and a holly illustration. Surrounding tags include maroon versions with gold foil “LOVE” text and matching scalloped edges, all designed for festive holiday gifting Silver Foiled Wedding Invites Purple Spiral Bound Notebook with a gold foil anatomical heart on the cover. Black loyalty cards with gold foiled text, featuring elegant "Table 8" script and a stampable grid Gold foiled valentine's Greeting Card arrangement with the text 'we're a perfect match'. Grid of orange Business Cards with silver foiled text reading 'Honey' and smaller text below saying 'studio of design'. Foiling Leaflet and Flyer 2026 Desk Calendar with foiling Foiled Greeting Cards Foiling Folded Leaflet Hand holding a scalloped-edge pink Gift Tag with “Merry Christmas” in cursive and a holly illustration. Surrounding tags include maroon versions with gold foil “LOVE” text and matching scalloped edges, all designed for festive holiday gifting Silver Foiled Wedding Invites Purple Spiral Bound Notebook with a gold foil anatomical heart on the cover. Black loyalty cards with gold foiled text, featuring elegant "Table 8" script and a stampable grid Gold foiled valentine's Greeting Card arrangement with the text 'we're a perfect match'.
 Canva support with Printed.com