


 UK
Zine Printing
From £ 22.00 (ex VAT)

 4.6
Customise your product to your exact specification. We’ve got all the options you need to bring your print to life. Let’s make it real!
Most Popular
A5 portrait Zines with 8 pages. 170gsm Silk covers and inner pages, with double-sided print.
Economy
A5 portrait Zines with 8 pages. 130gsm Silk covers and inner pages, all with double-sided print.
Eco
A5 portrait, Recycled Silk Zines with 8 pages. 250gsm covers and 150gsm inner pages, with double-sided print.
Our stocks
Find your perfect match

Silk
Our most popular paper choice, the clean and crisp finish of Silk paper gives a sharp, defined finish to printed colours and designs.

Recycled Silk
Our most popular paper just got an eco-upgrade! Discover all the features of your favourite stock, now manufactured sustainably with 100% recycled fibres.

Uncoated
For a flat modern finish with no surface coating, Uncoated paper offers a soft, touchable texture that's ideal for writing on.

Recycled Uncoated
Recycled Uncoated is off-white, with a coarse texture and rustic flecks throughout. It's uncoated surface gives print colours a sophisticated feel and a slightly muted finish.

Gloss
The smooth and shiny finish of our versatile Gloss paper creates the most vibrant, eye-catching print with defined and sharp colours, without the need to laminate.
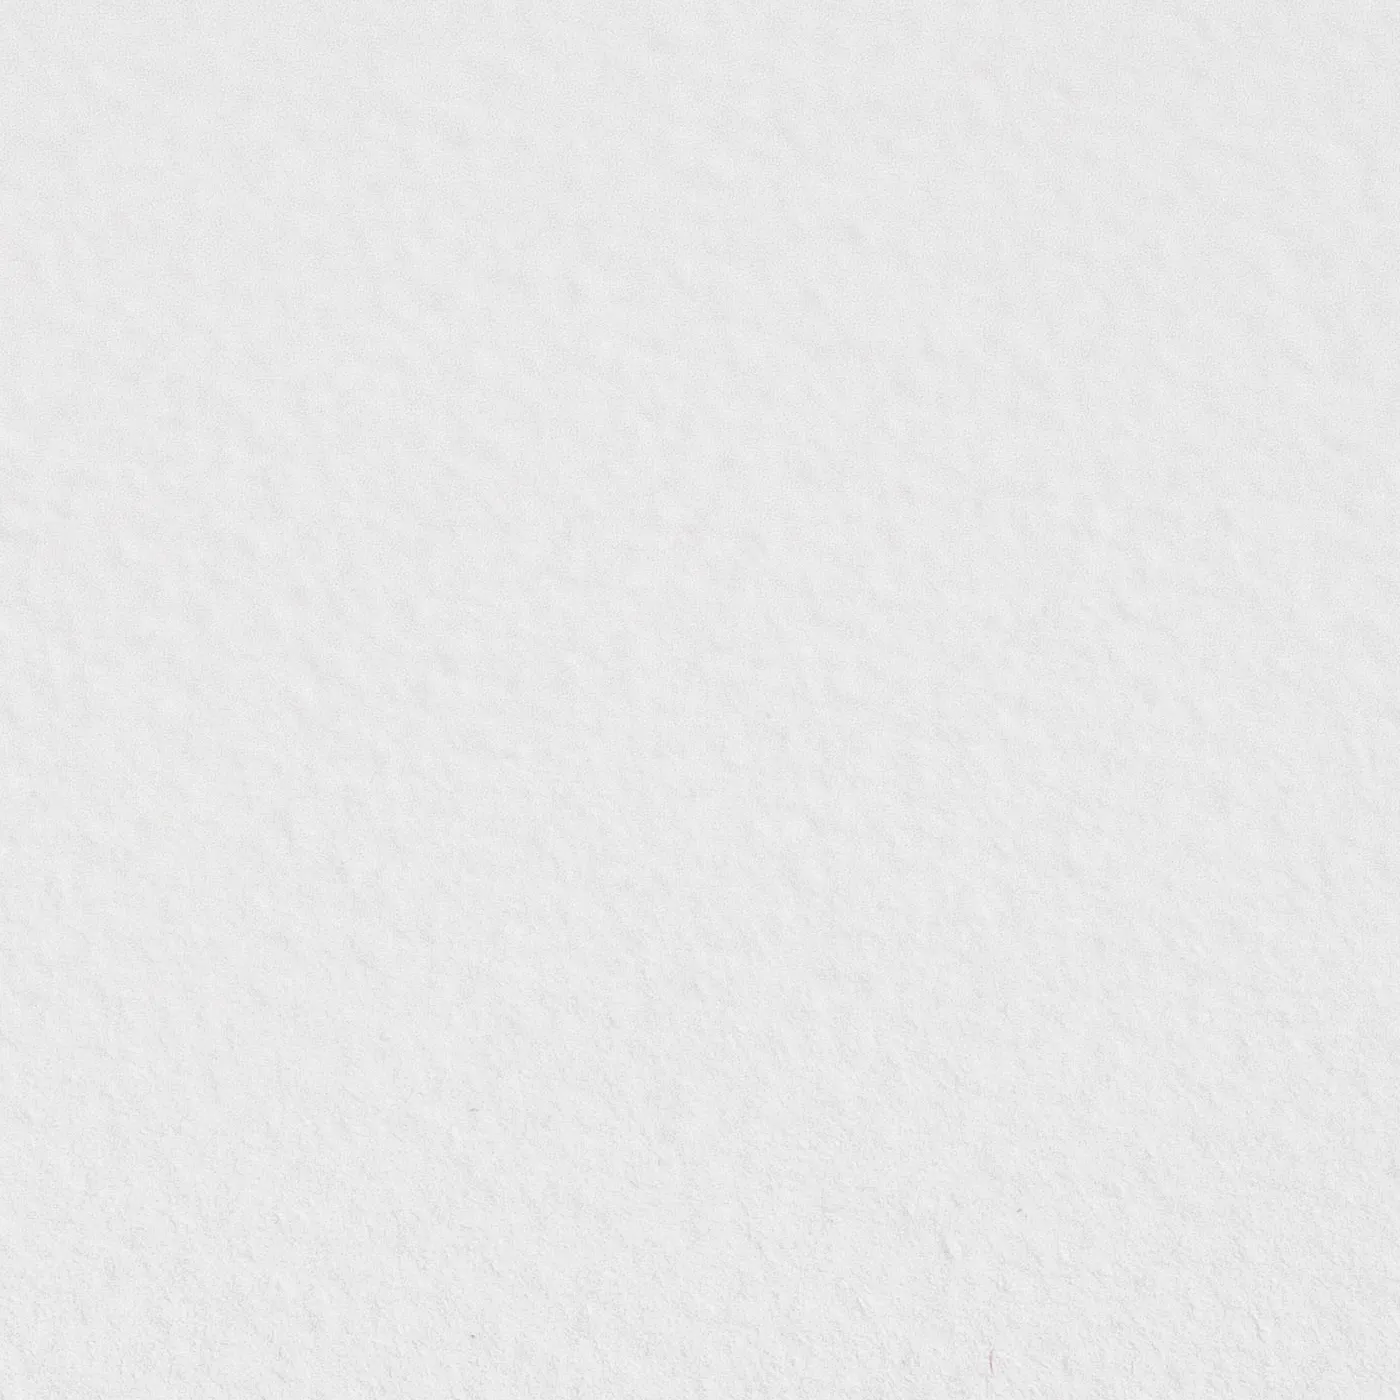
Tintoretto Gesso
Meet our finest Italian paper. With a warm off-white hue and a hammered finish, Tintoretto Gesso brings a layer of prestige to your print. It's ideal for luxury designs.

Nettuno
Add a touch of class with Nettuno. Featuring a fine-lined texture, it has an understated simplicity that brings print to life with a retro feel.
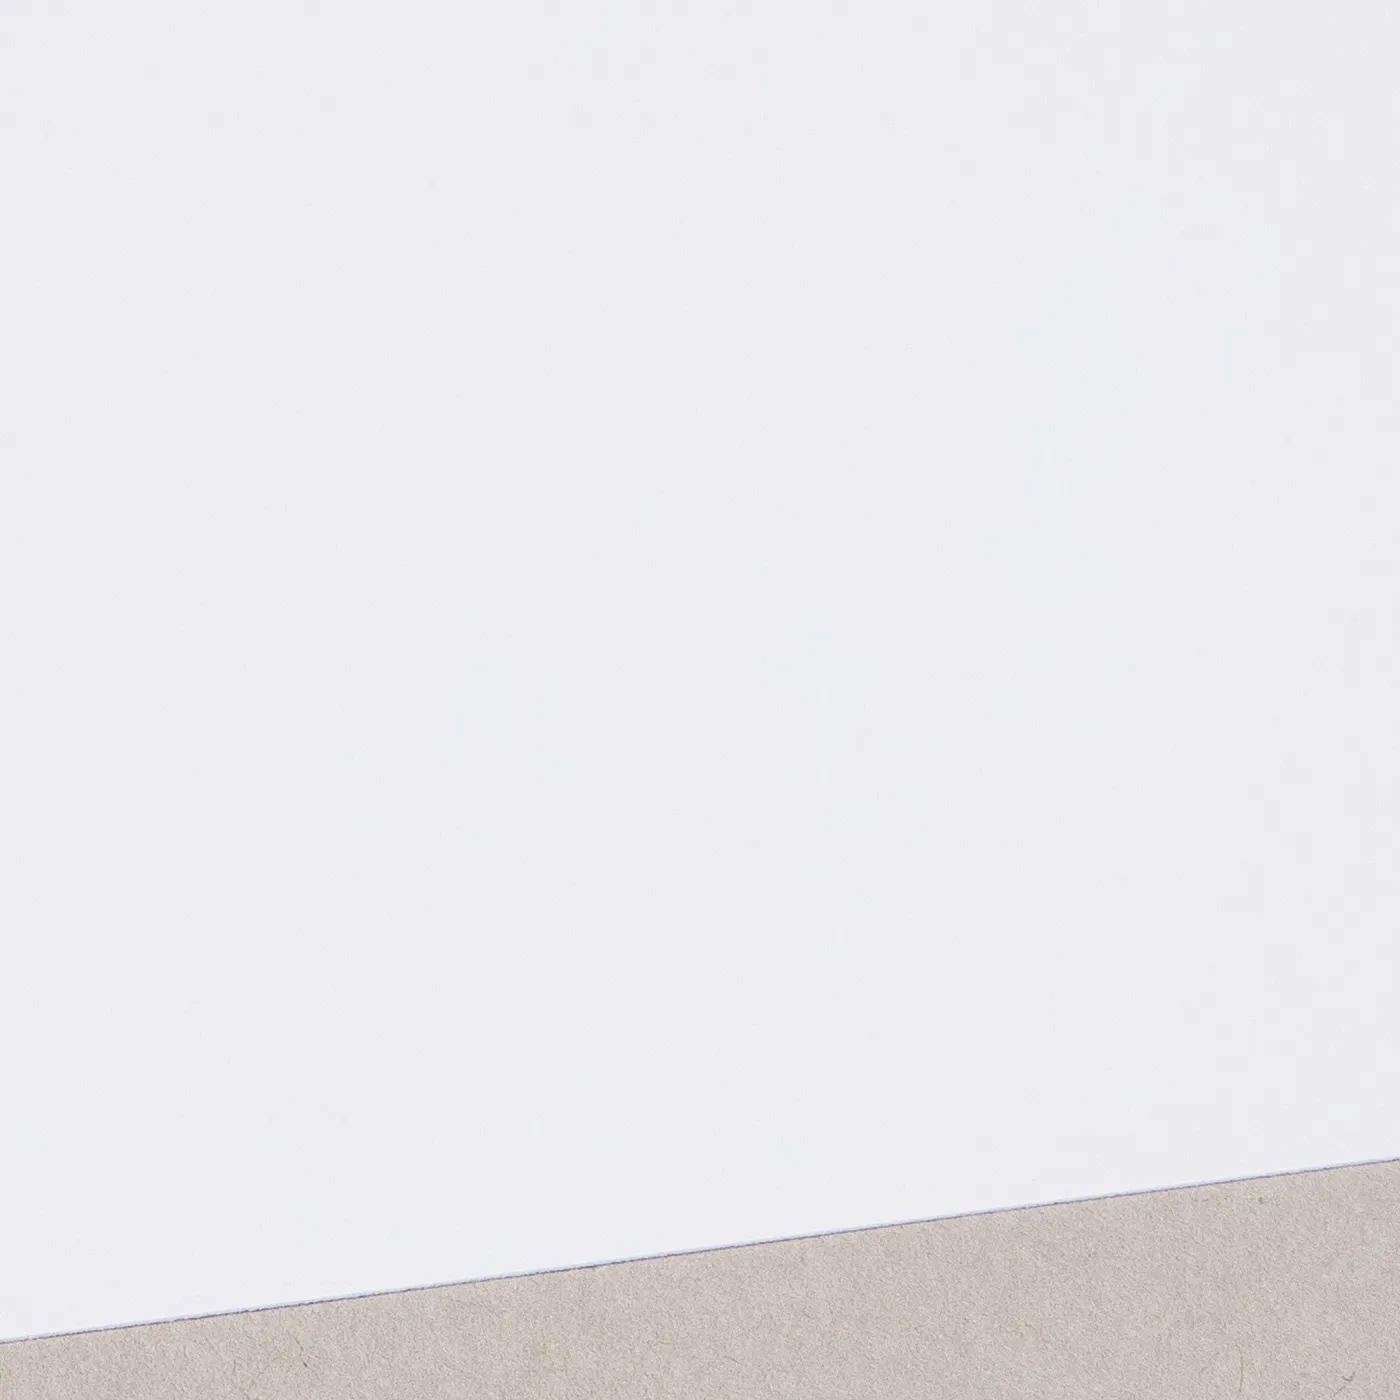
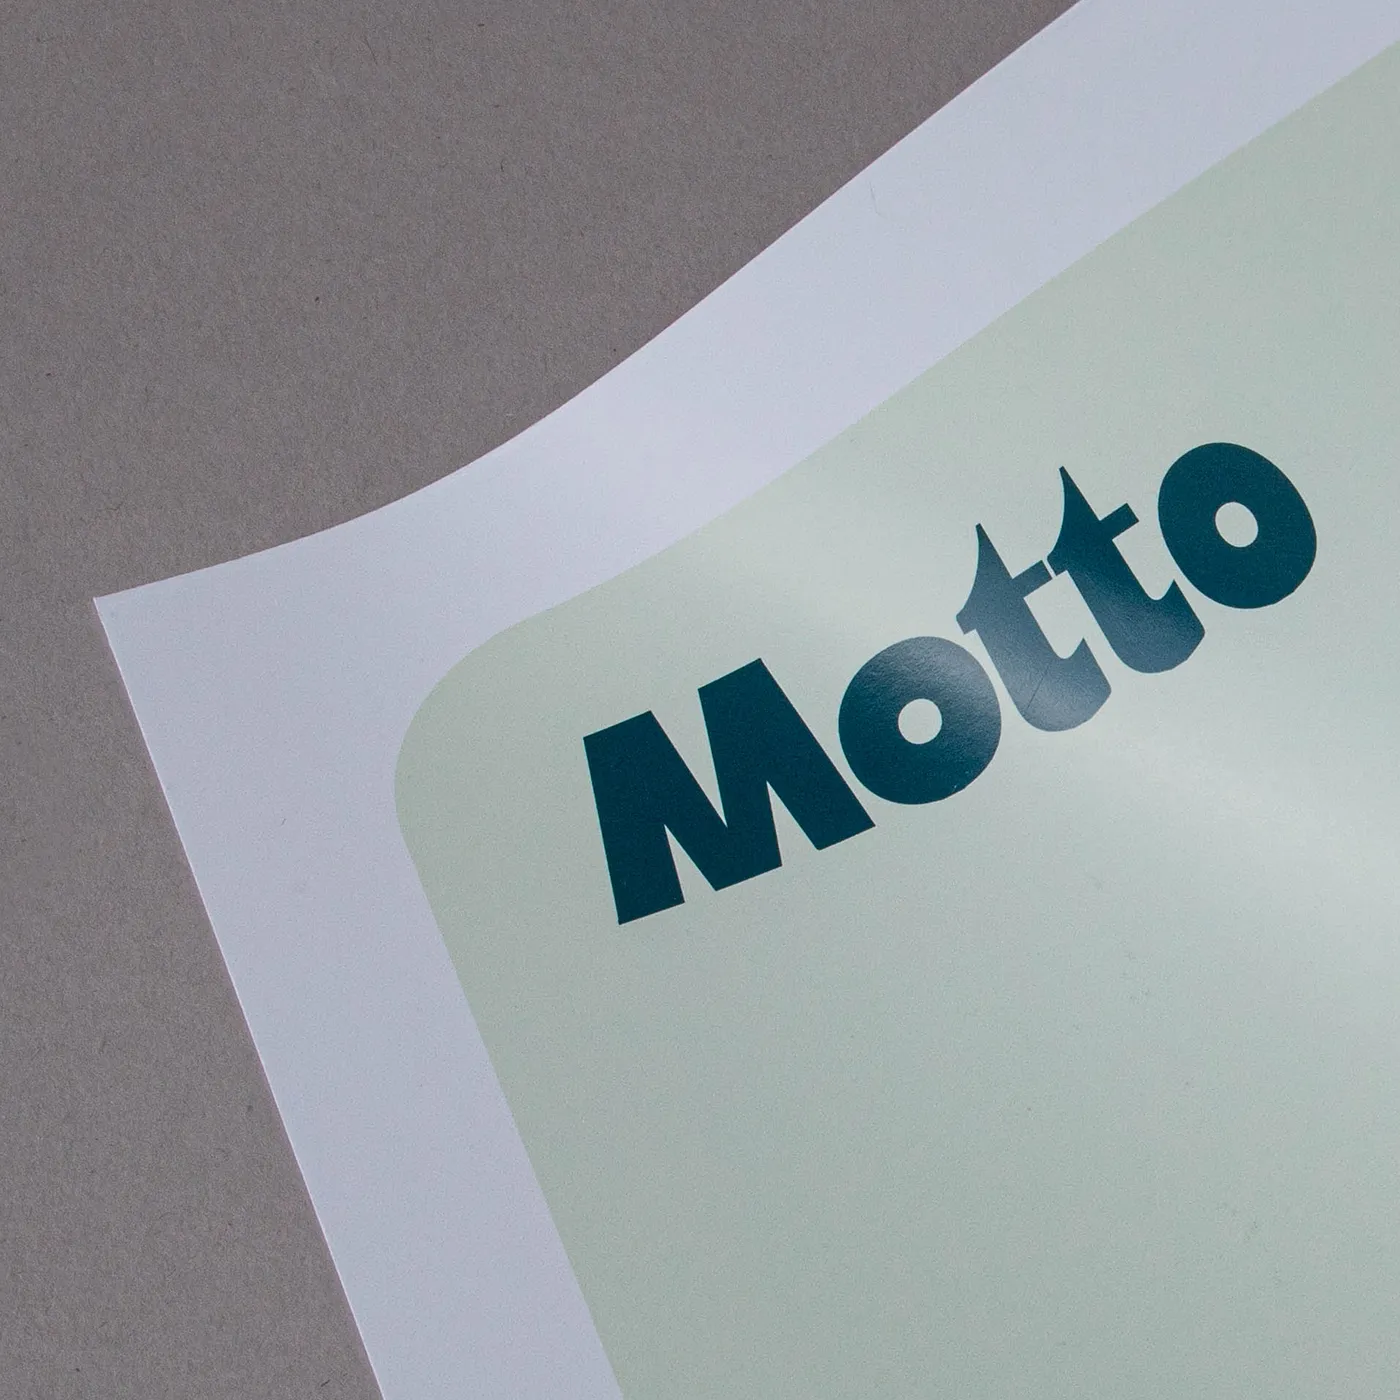
Silk
Our most popular paper choice, the clean and crisp finish of Silk paper gives a sharp, defined finish to printed colours and designs.
Available weights
- 115gsm
- 130gsm
- 150gsm
- 170gsm
- 200gsm
- 250gsm
Best for
- Vibrant designs
- Affordable print
- Versatile print
Credentials
- Recyclable
- Biodegradable
- FSC certified
- Chlorine-free
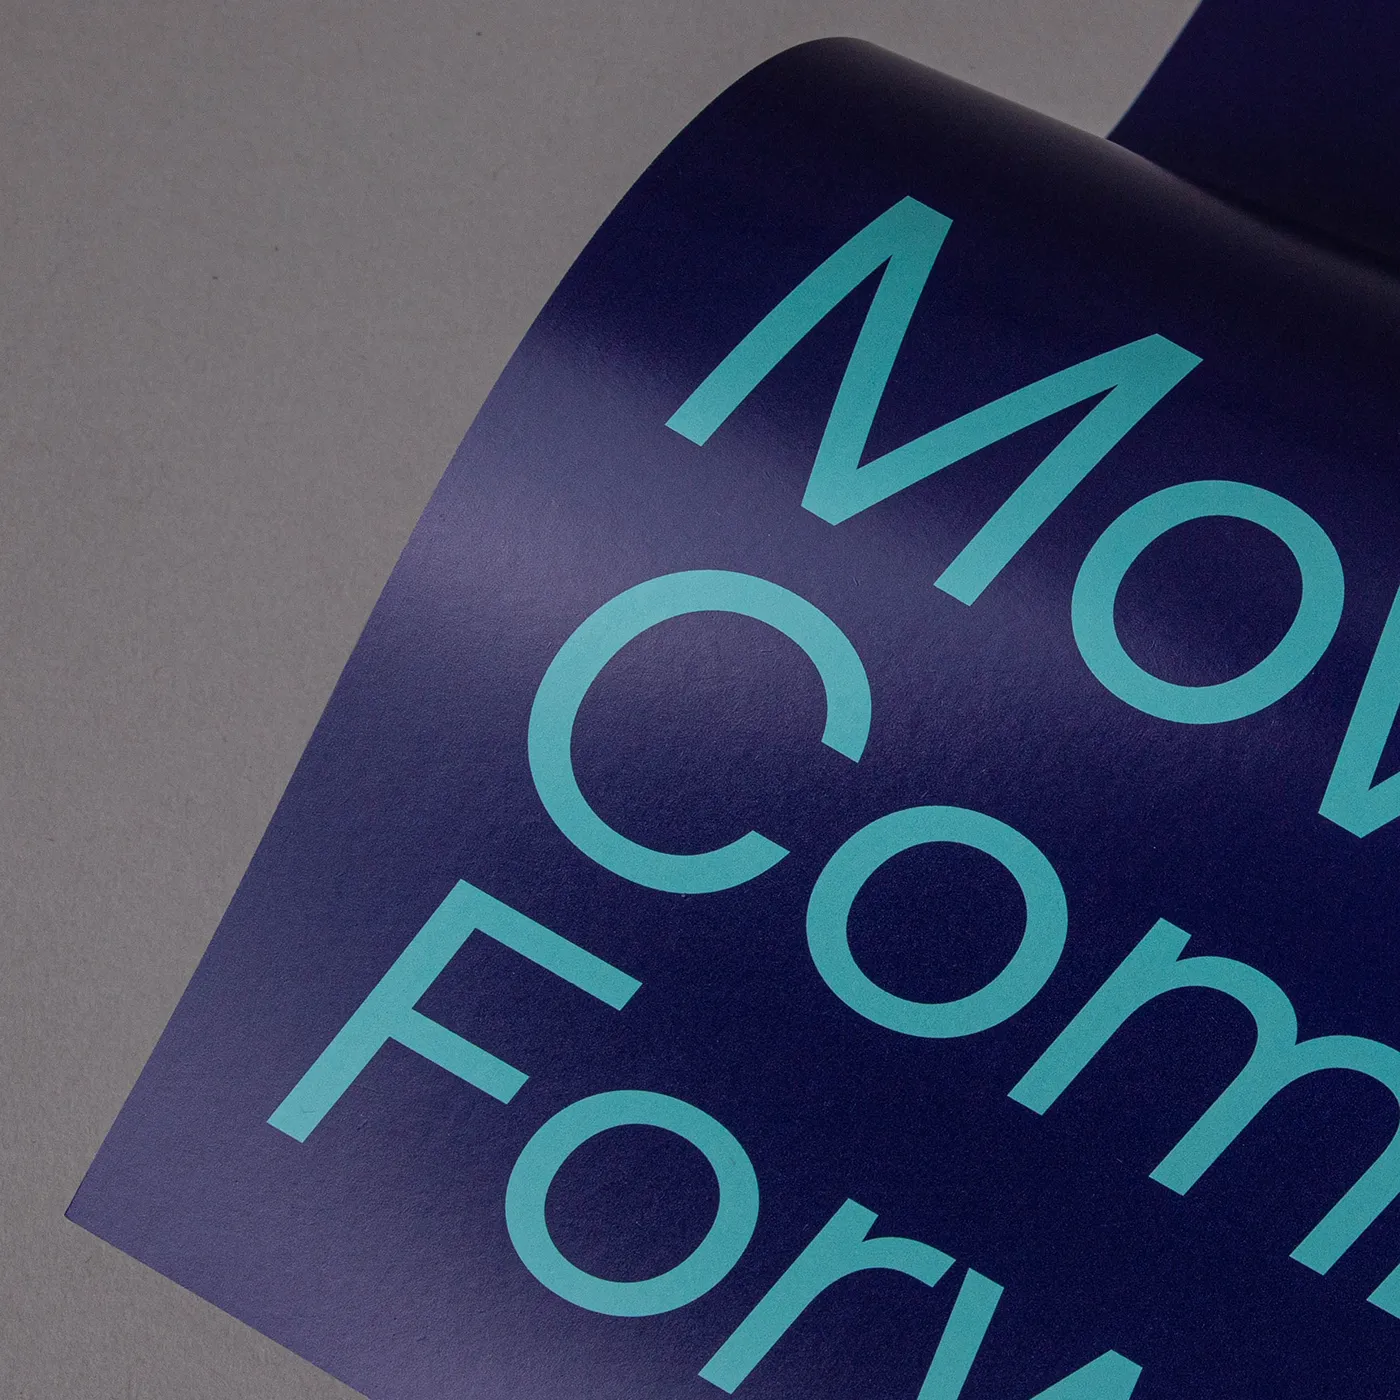
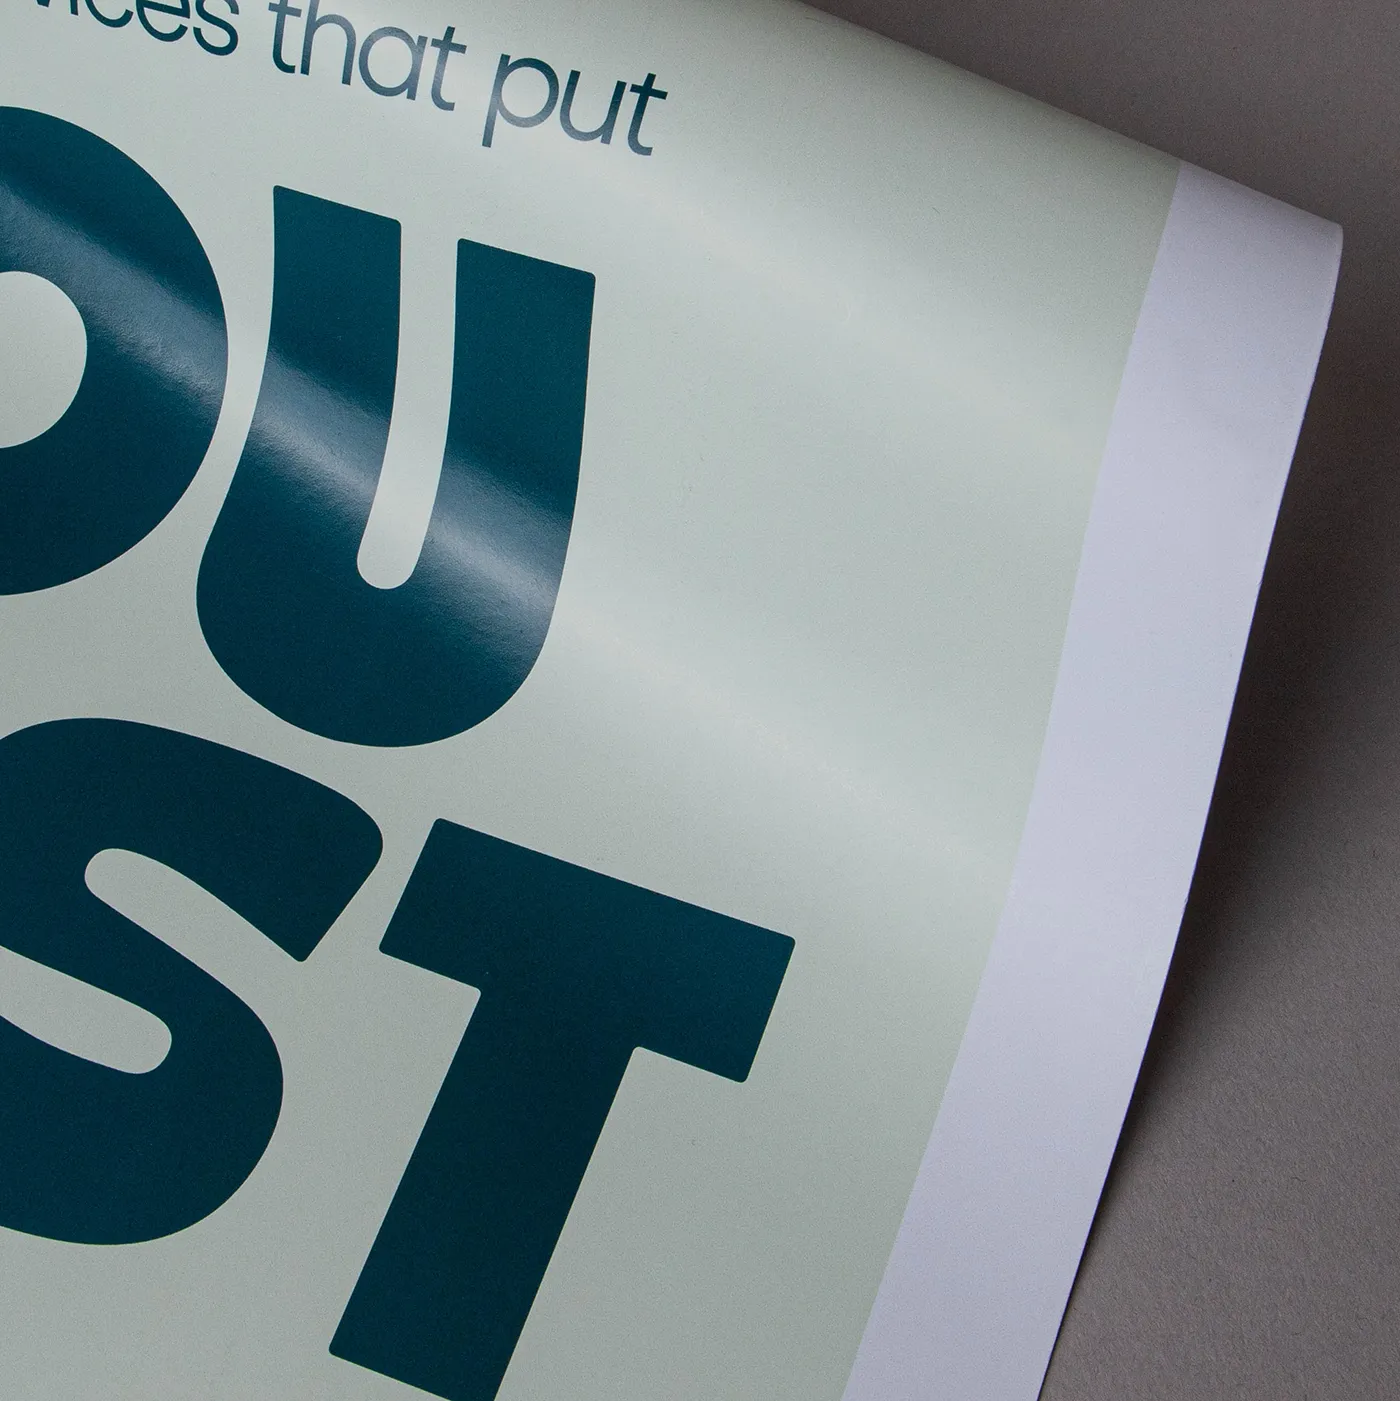
Recycled Silk
Our most popular paper just got an eco-upgrade! Discover all the features of your favourite stock, now manufactured sustainably with 100% recycled fibres.
Available weights
- 130gsm
- 150gsm
- 250gsm
Best for
- An eco upgrade
- Versatile print
- A sharp and vibrant finish
Credentials
- Recyclable
- Recycled
- FSC certified
- Chlorine-free


Uncoated
For a flat modern finish with no surface coating, Uncoated paper offers a soft, touchable texture that's ideal for writing on.
Available weights
- 120gsm
- 170gsm
- 250gsm
Best for
- Versatile print
- Affordable print
- A matt finish
Credentials
- Recyclable
- FSC certified
- Chlorine-free
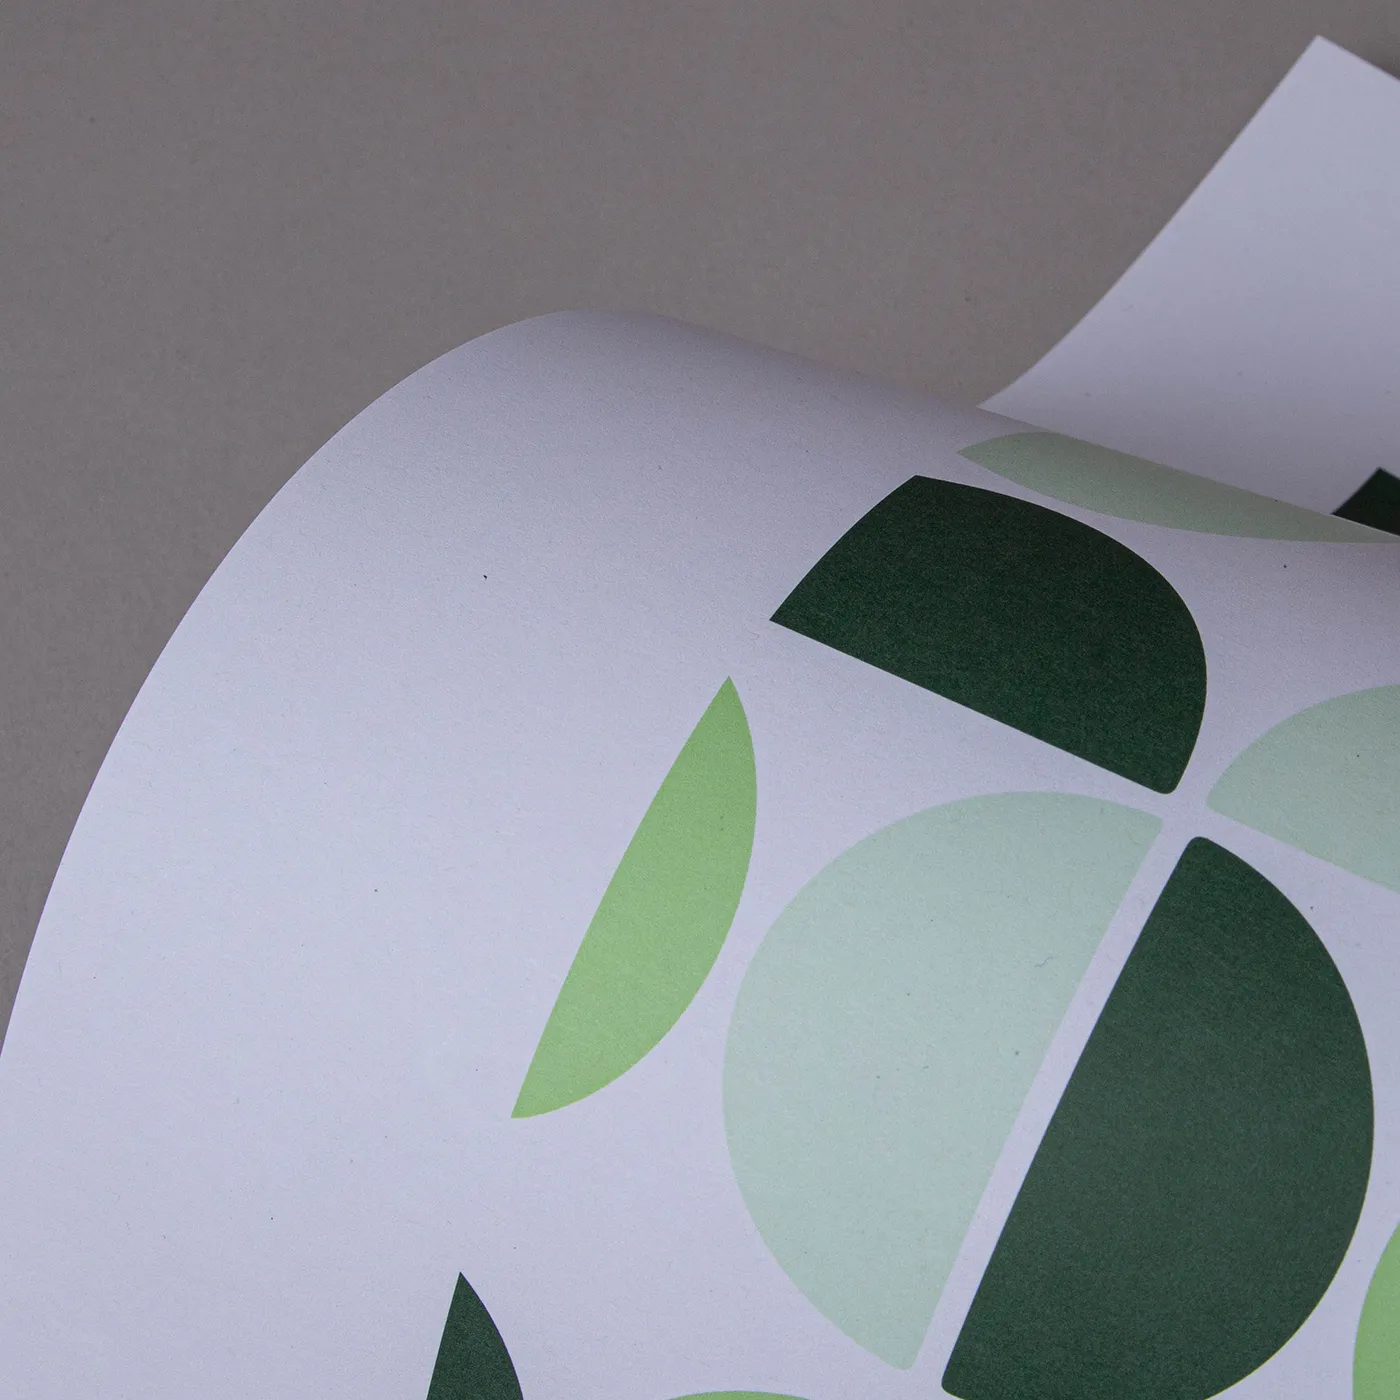
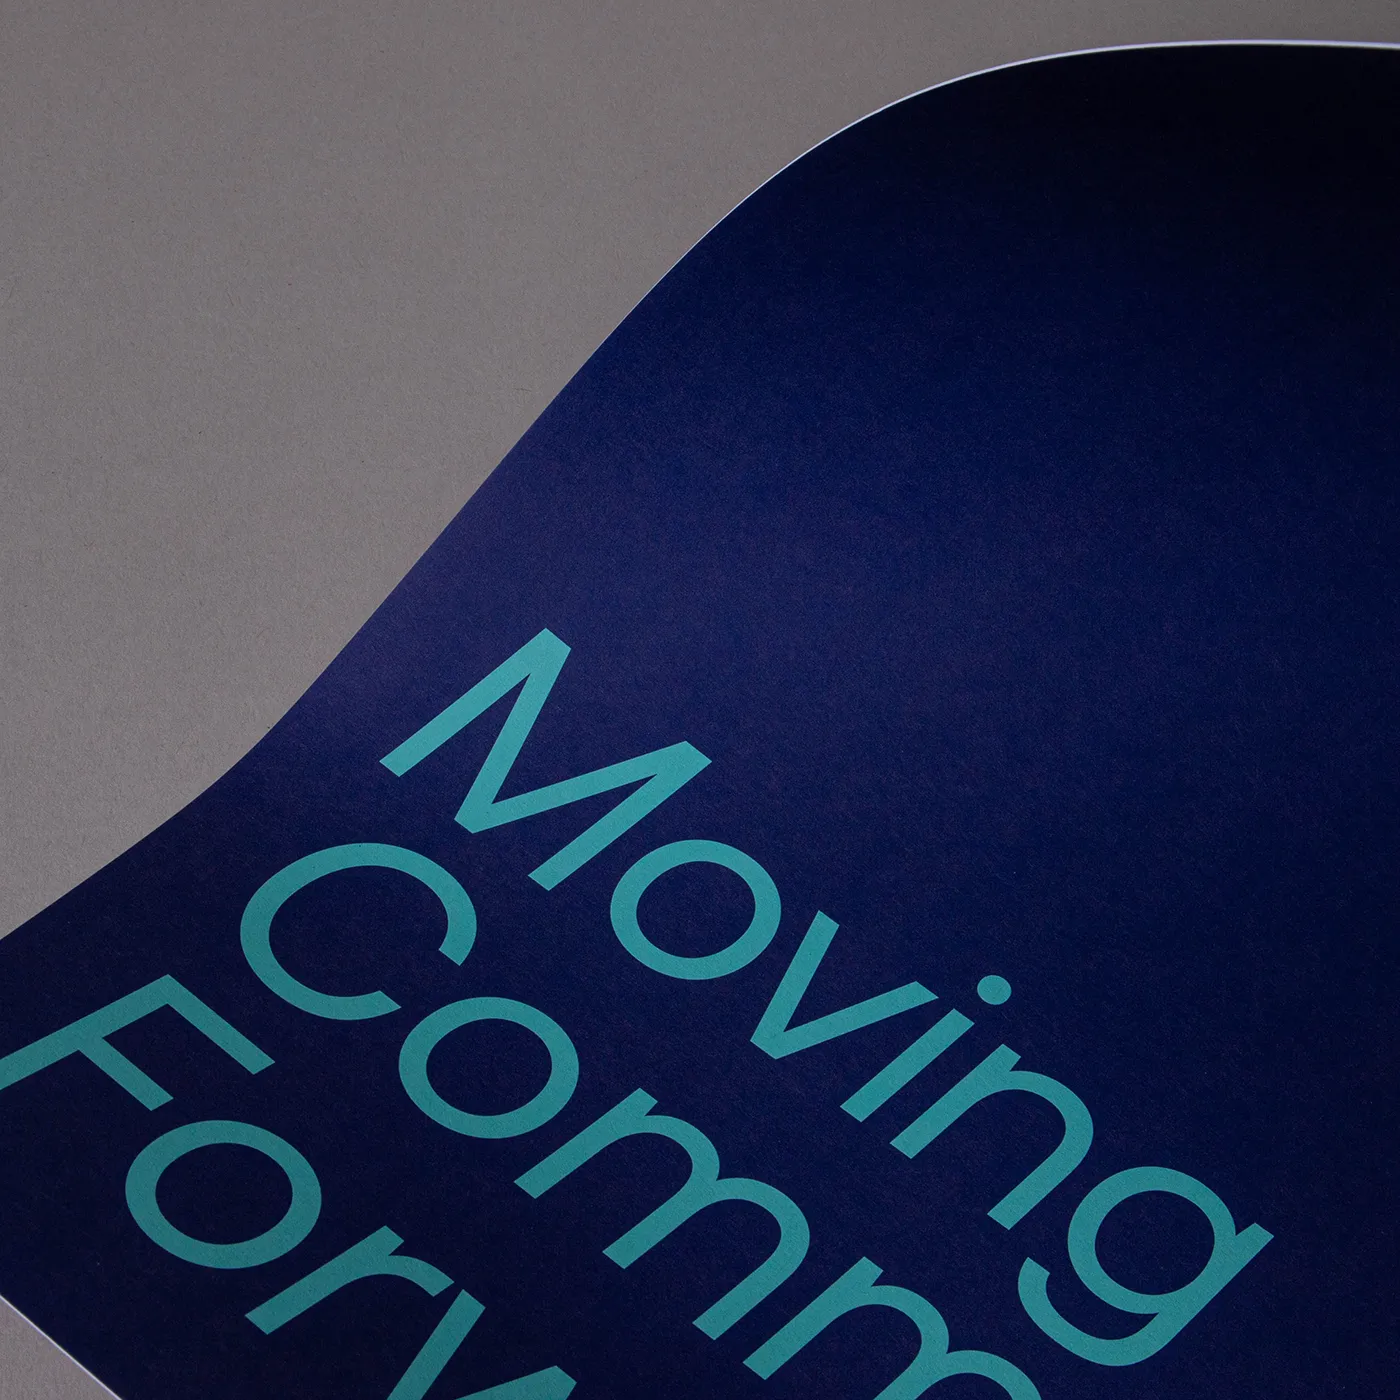
Recycled Uncoated
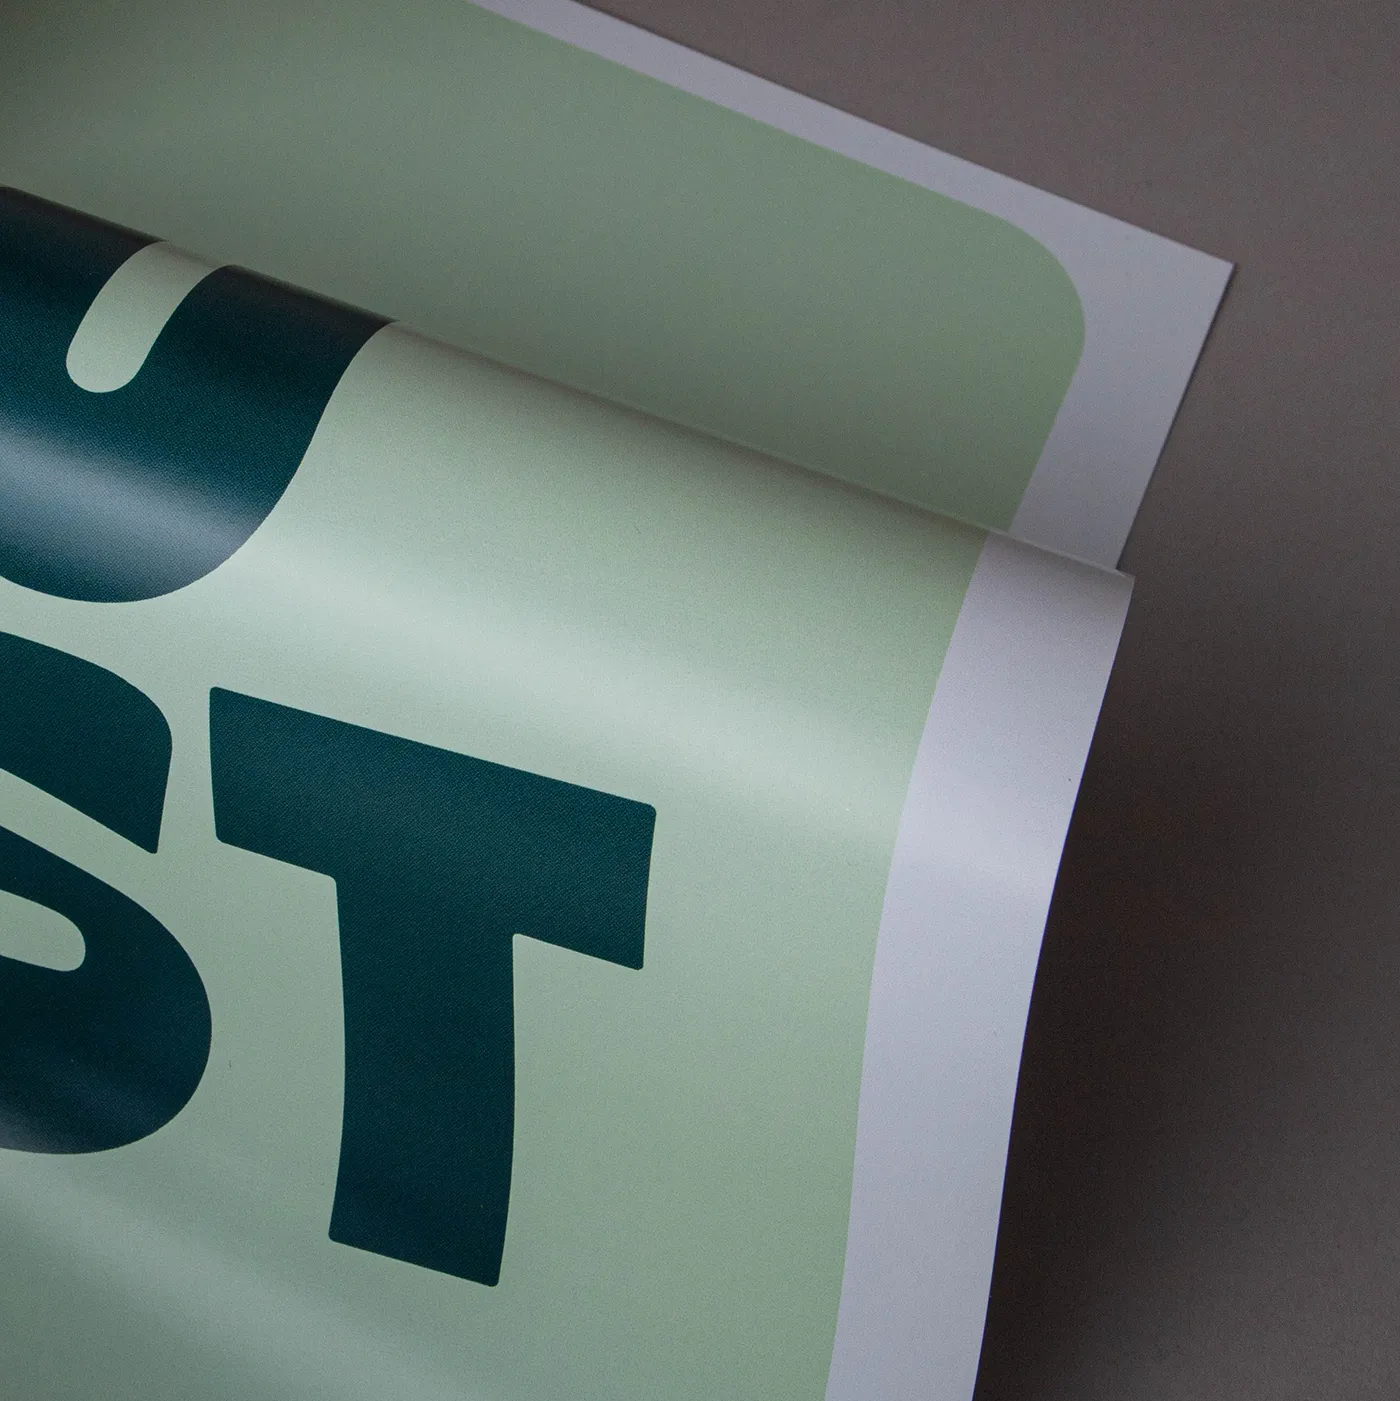
Recycled Uncoated is off-white, with a coarse texture and rustic flecks throughout. It's uncoated surface gives print colours a sophisticated feel and a slightly muted finish.
Available weights
- 160gsm
- 200gsm
- 250gsm
Best for
- Eco-conscious branding
- Recycled product packaging
- Natural product labelling
Credentials
- Recyclable
- 100% post consumer waste
- FSC® certified
- Chlorine-free
- Vegan-friendly inks
Gloss
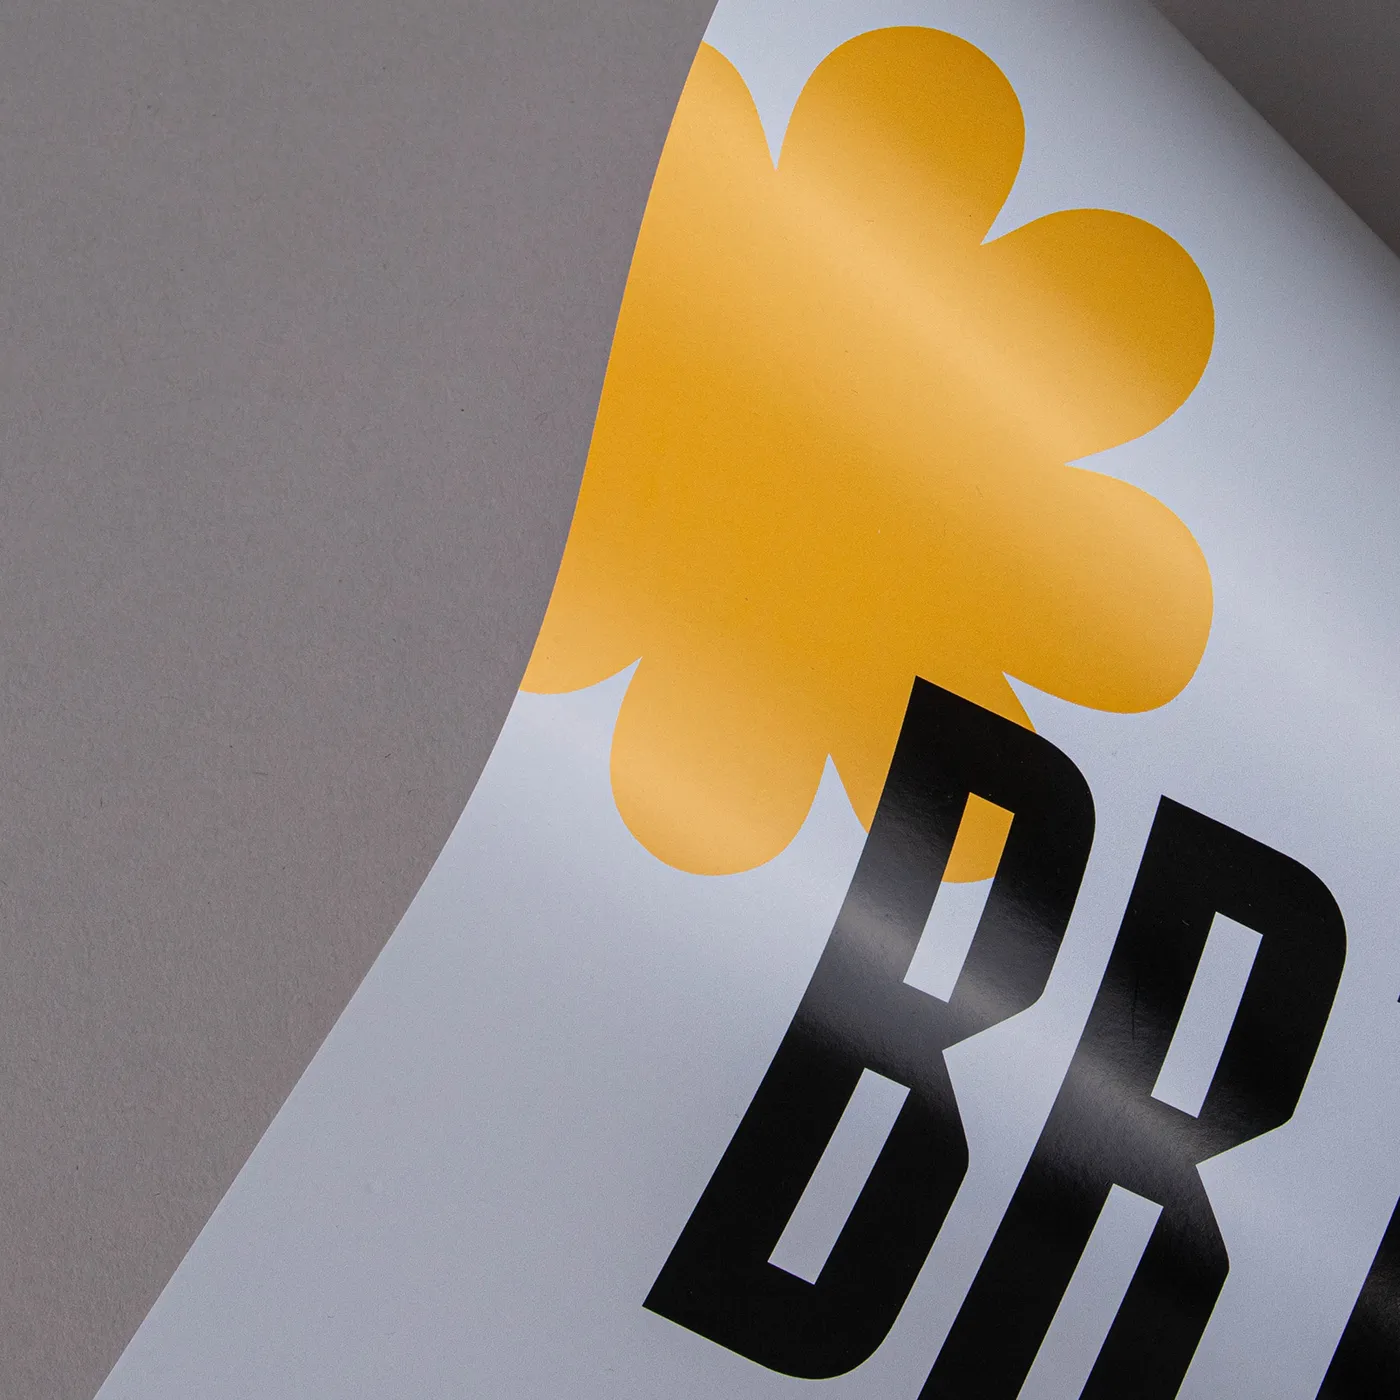
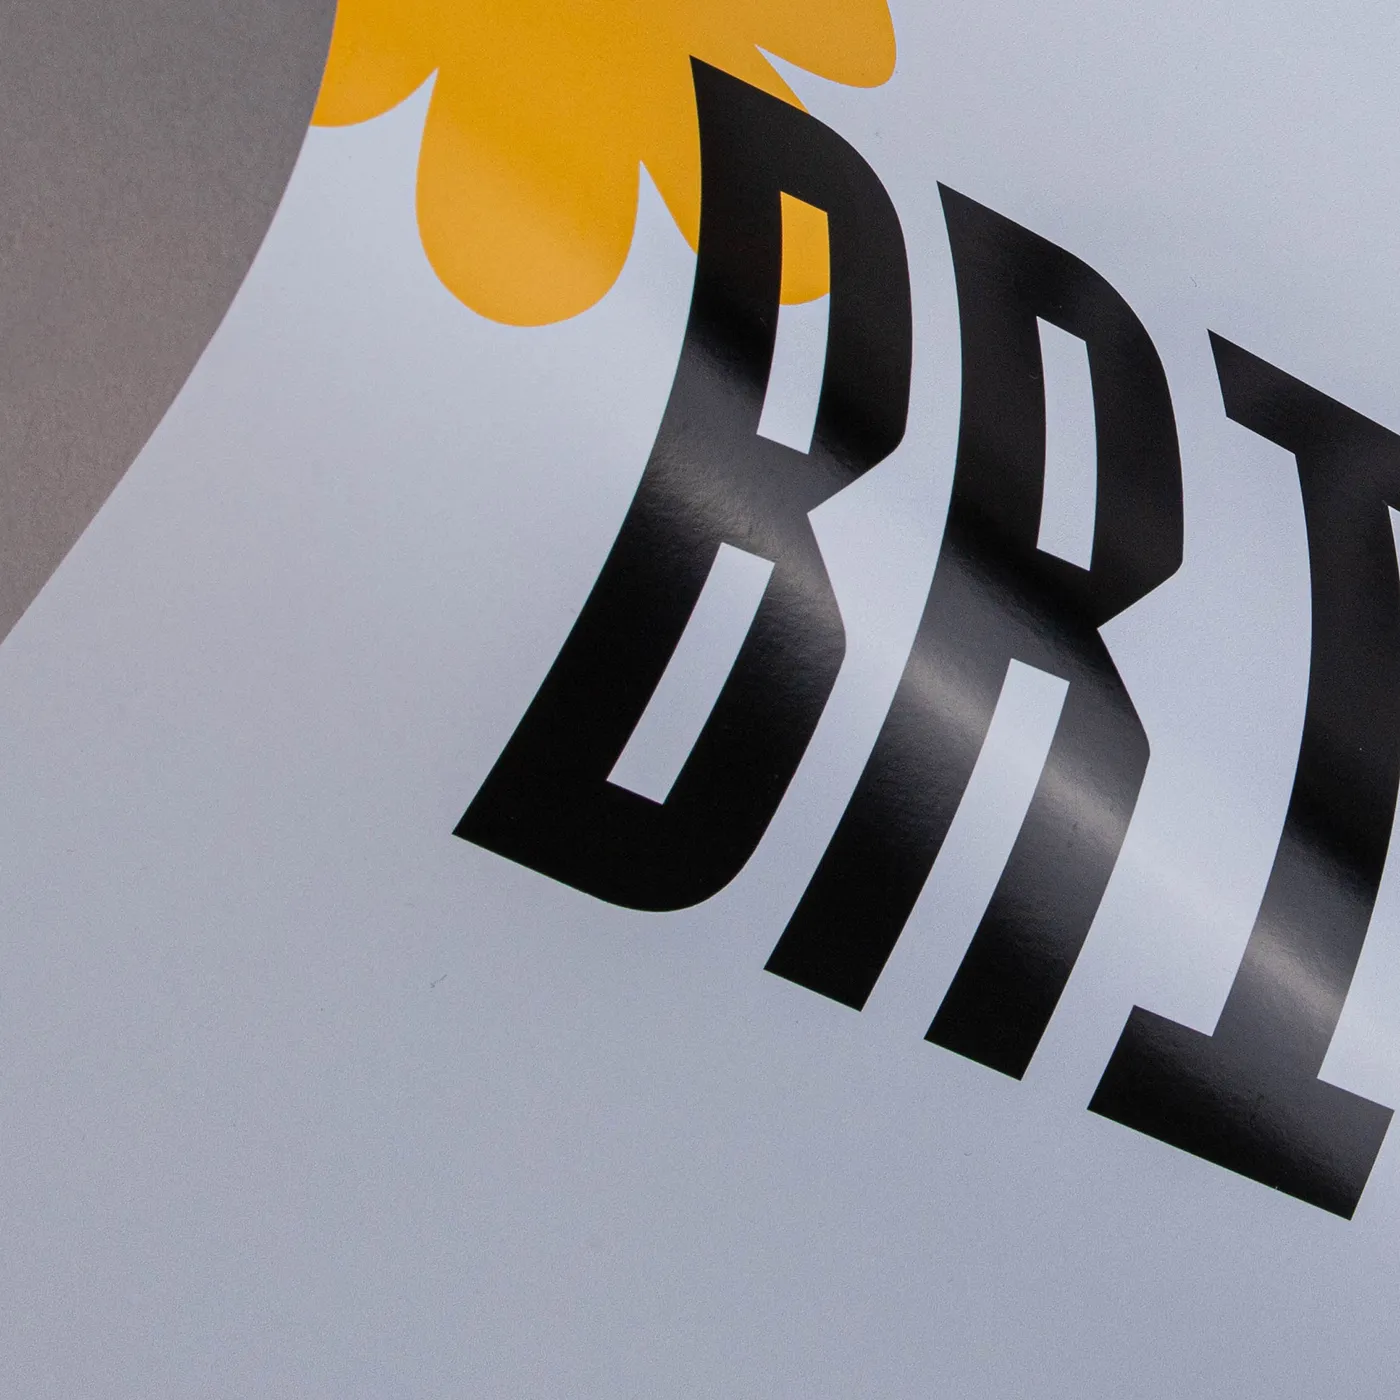
The smooth and shiny finish of our versatile Gloss paper creates the most vibrant, eye-catching print with defined and sharp colours, without the need to laminate.
Available weights
- 115gsm
- 130gsm
- 150gsm
- 170gsm
- 200gsm
- 250gsm
Best for
- Versatile print
- A vibrant shine
- Bold colours
Credentials
- Recyclable
- FSC certified
- Chlorine-free
- Wood-free
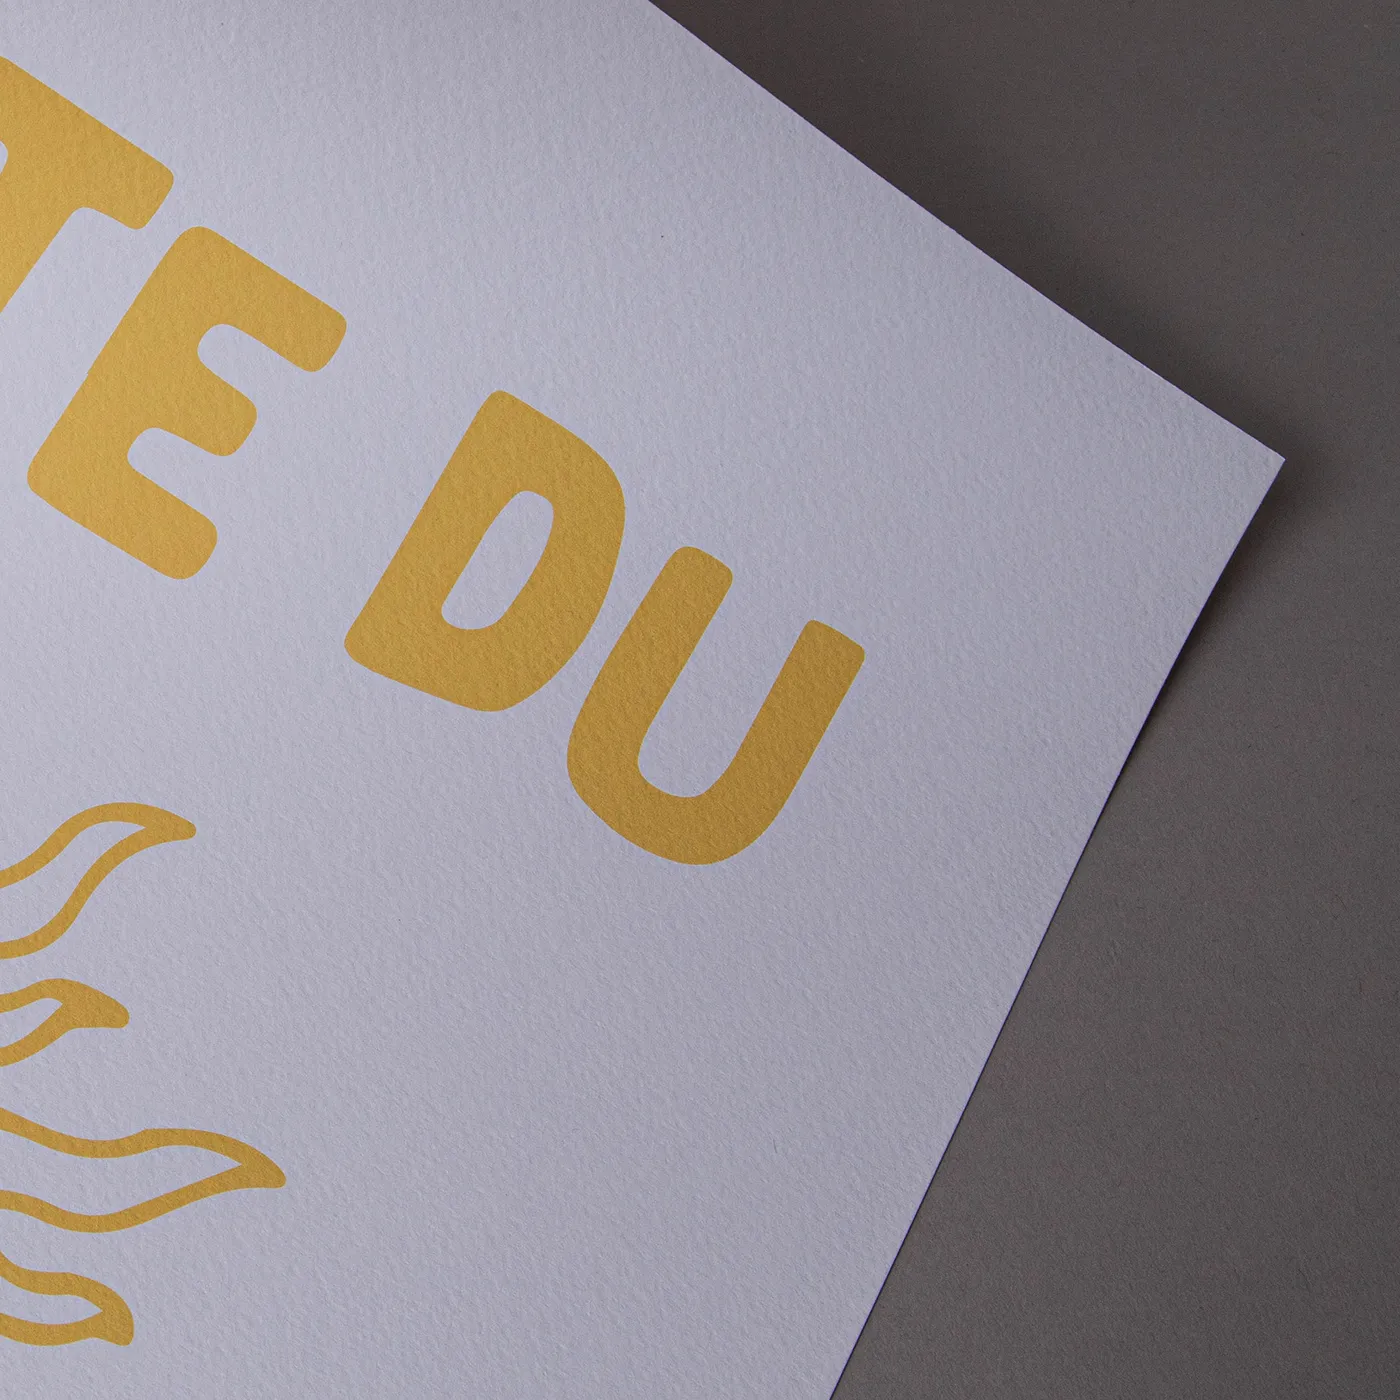
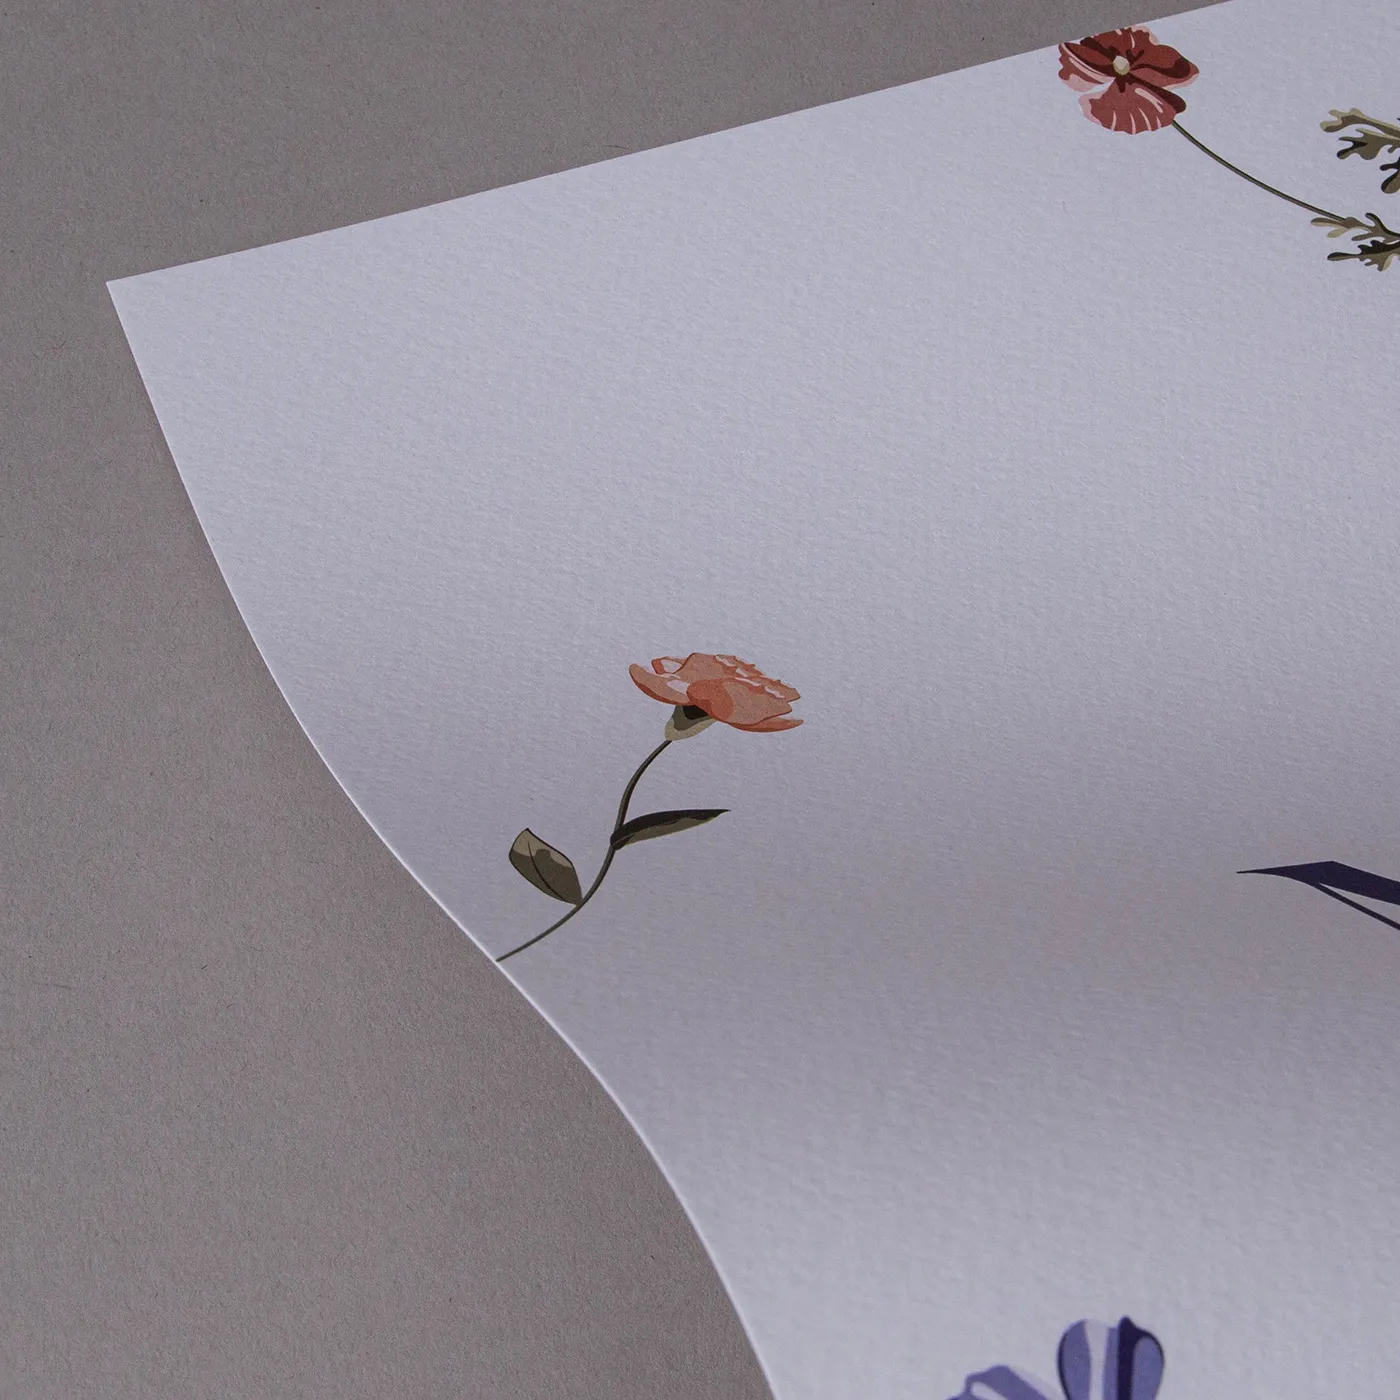
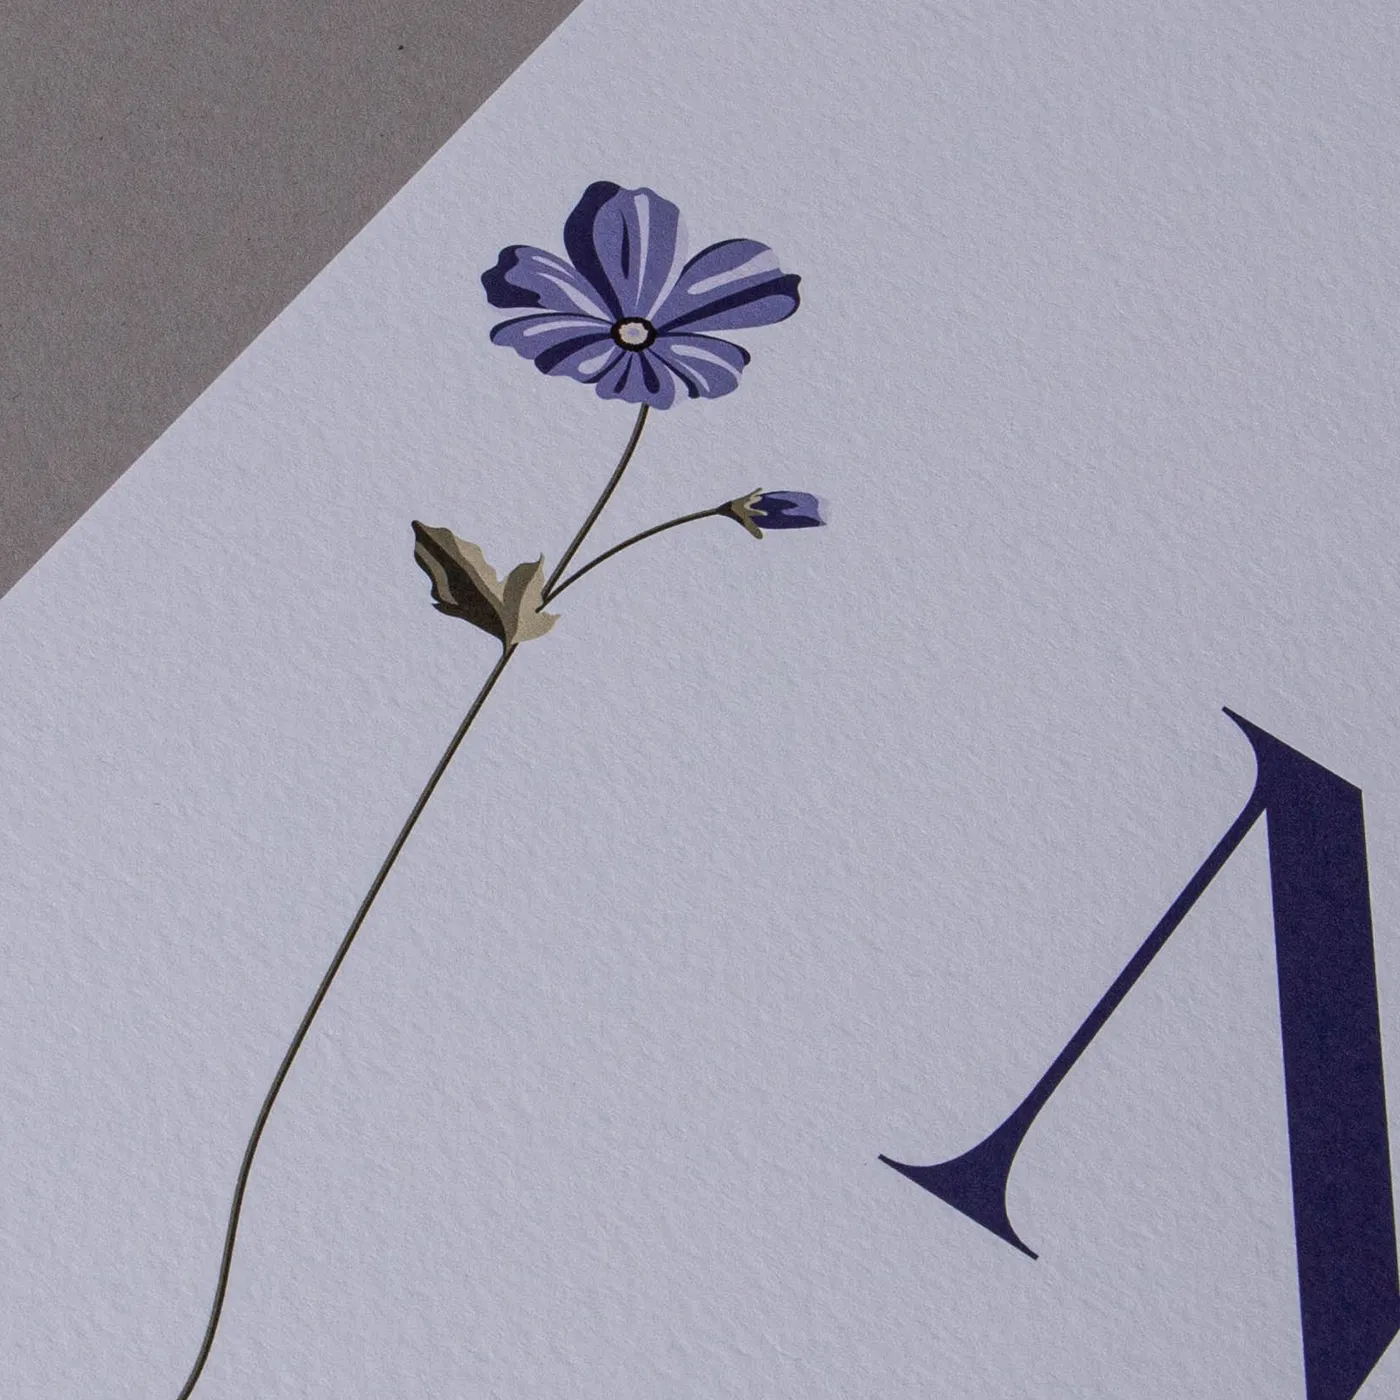
Tintoretto Gesso
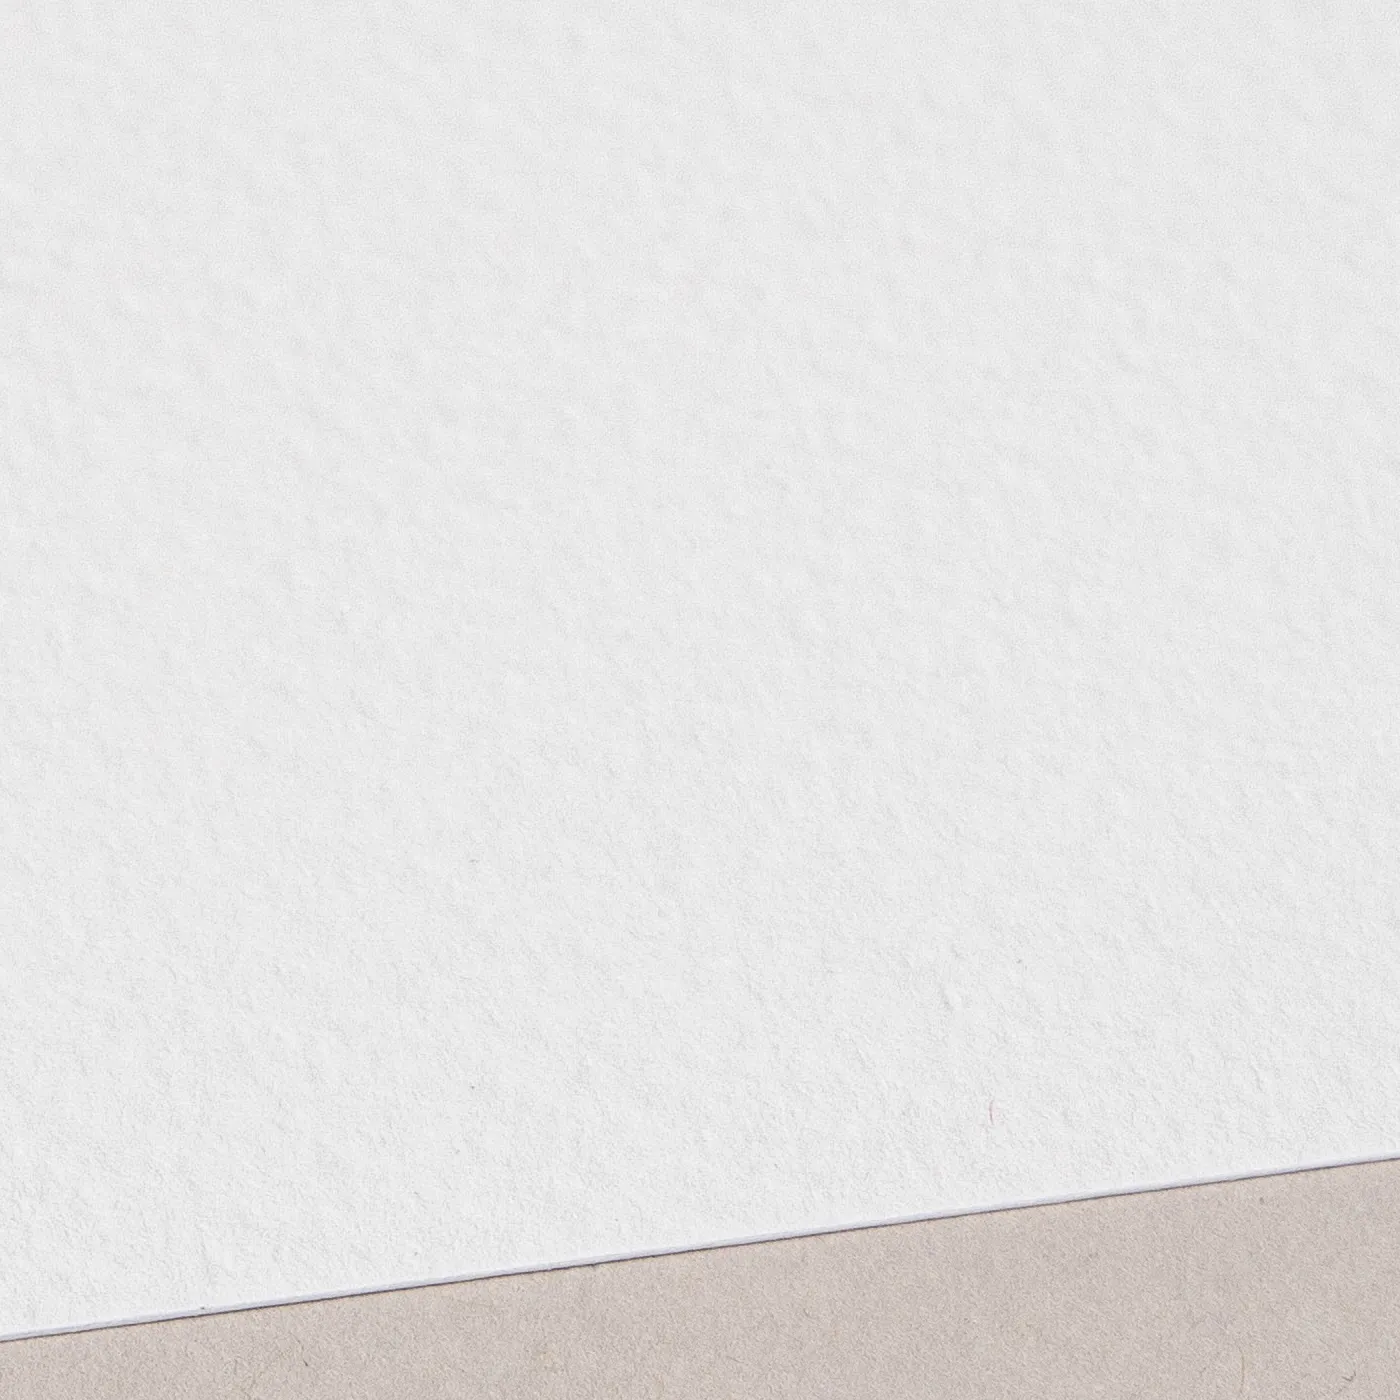
Meet our finest Italian paper. With a warm off-white hue and a hammered finish, Tintoretto Gesso brings a layer of prestige to your print. It's ideal for luxury designs.
Available weights
- 150gsm
- 250gsm
Best for
- Watercolours
- Illustrated designs
- Wedding Stationery
- Business Stationery
Credentials
- Recyclable
- FSC certified
- Sustainably sourced
- Chlorine-free
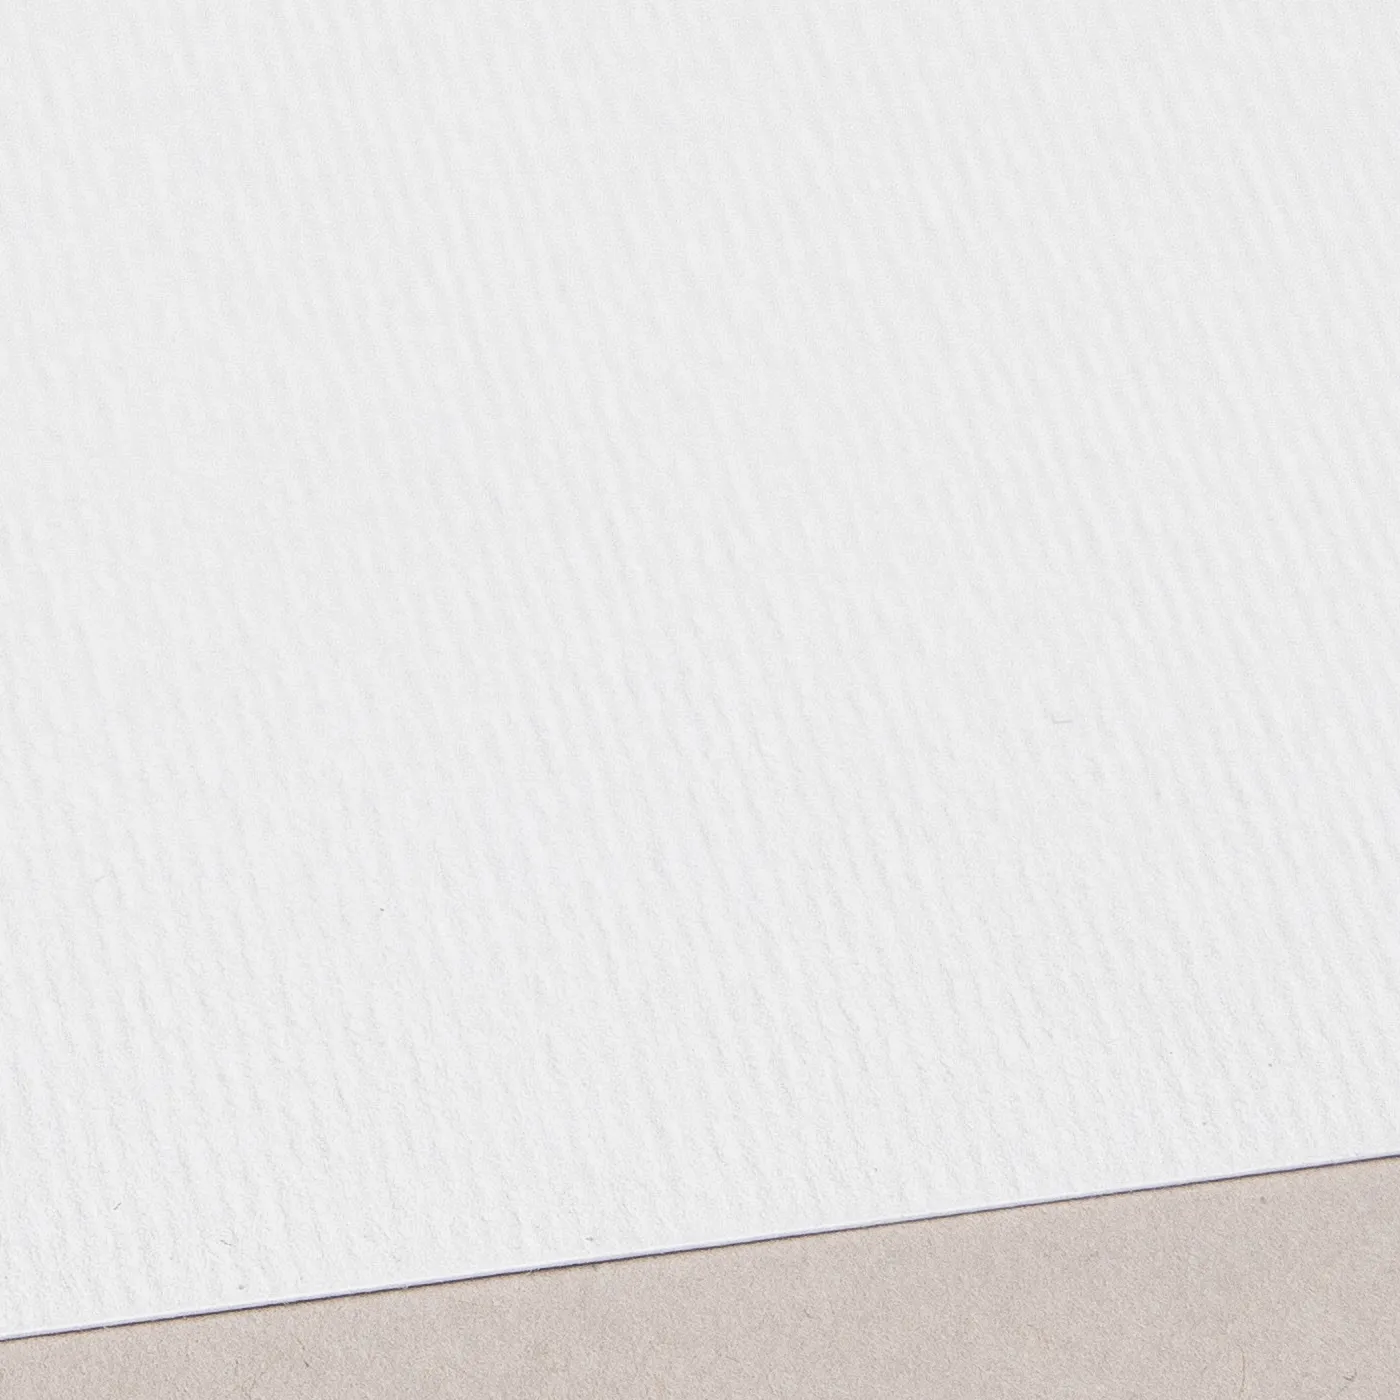
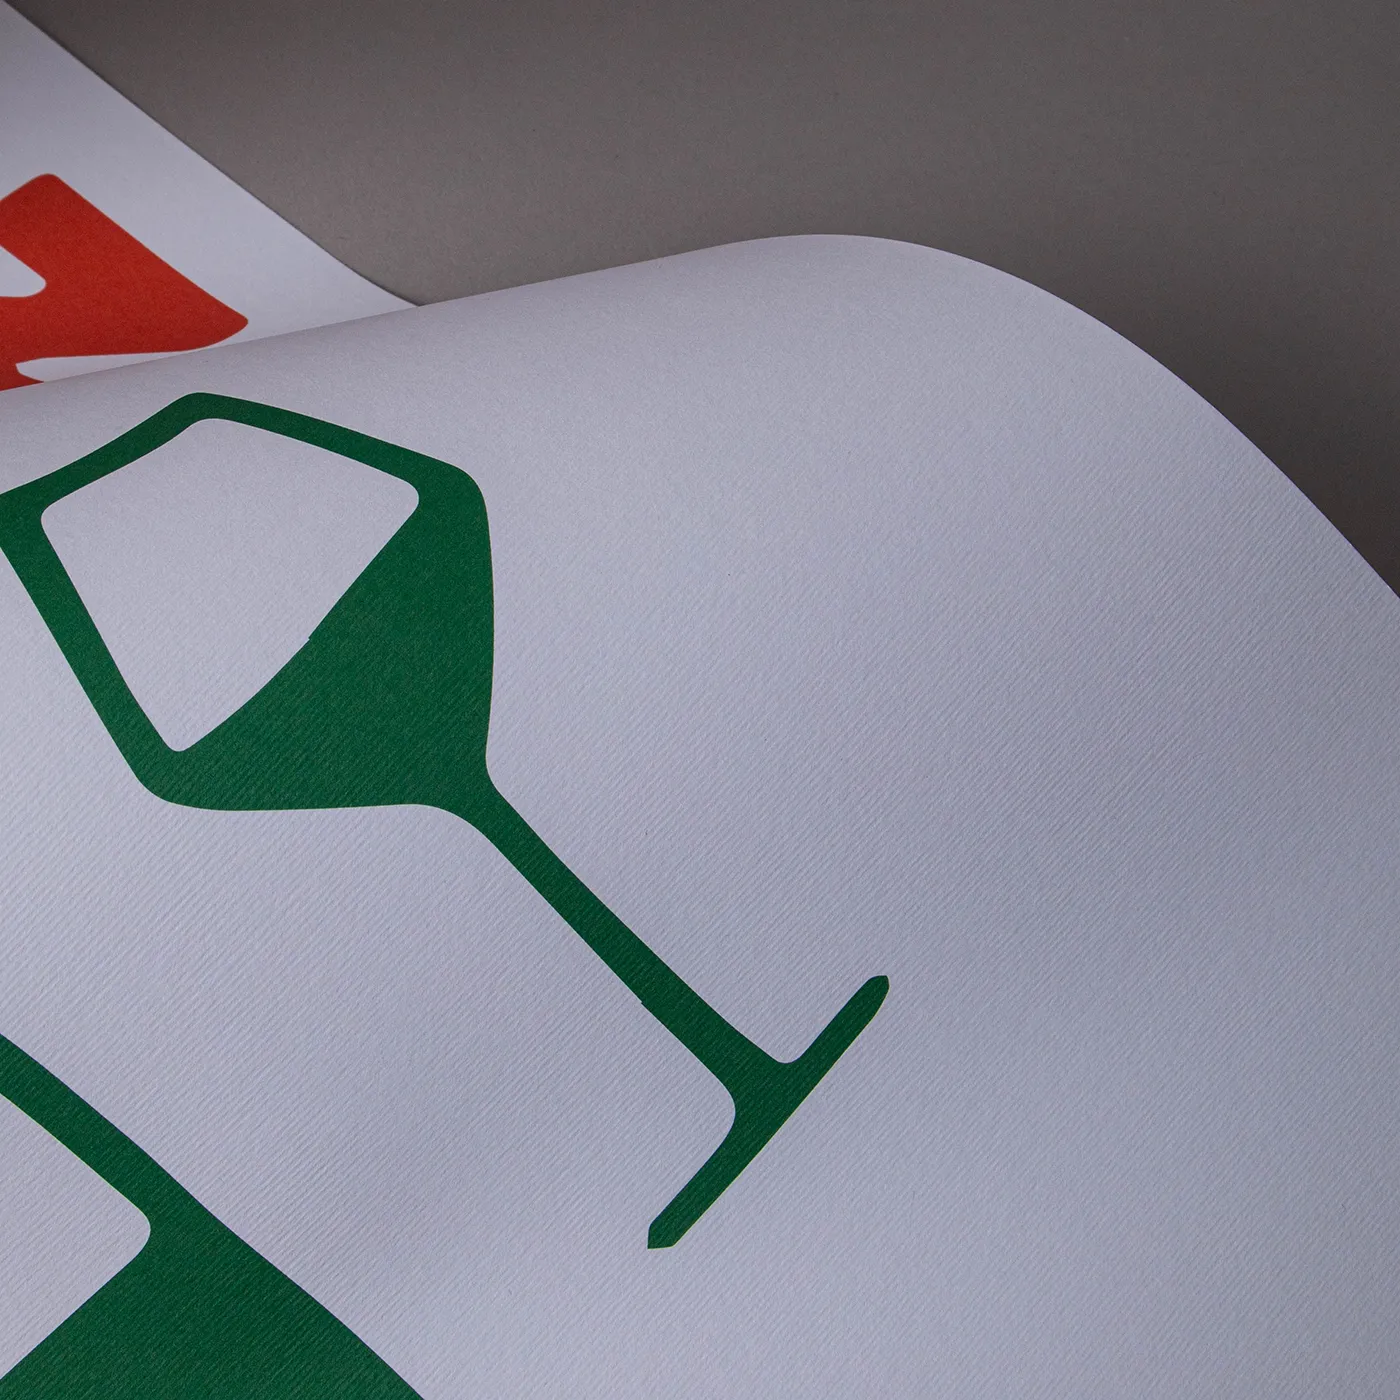
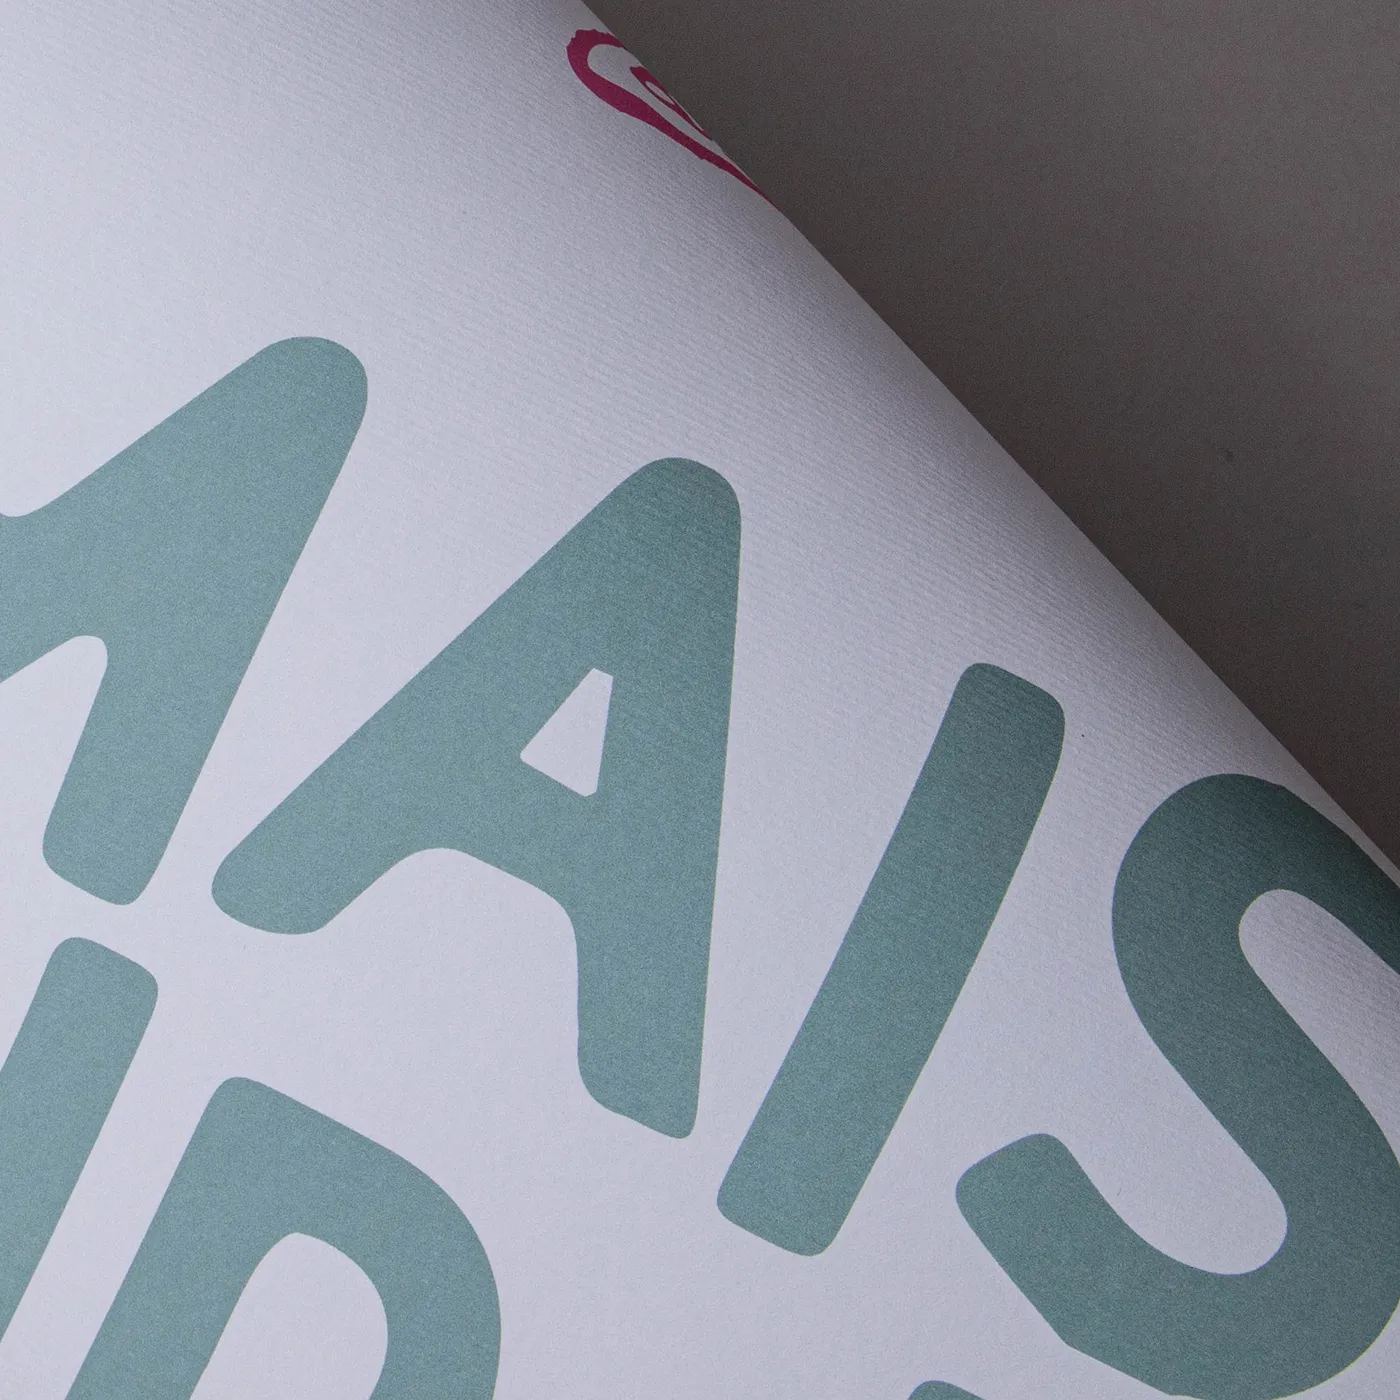
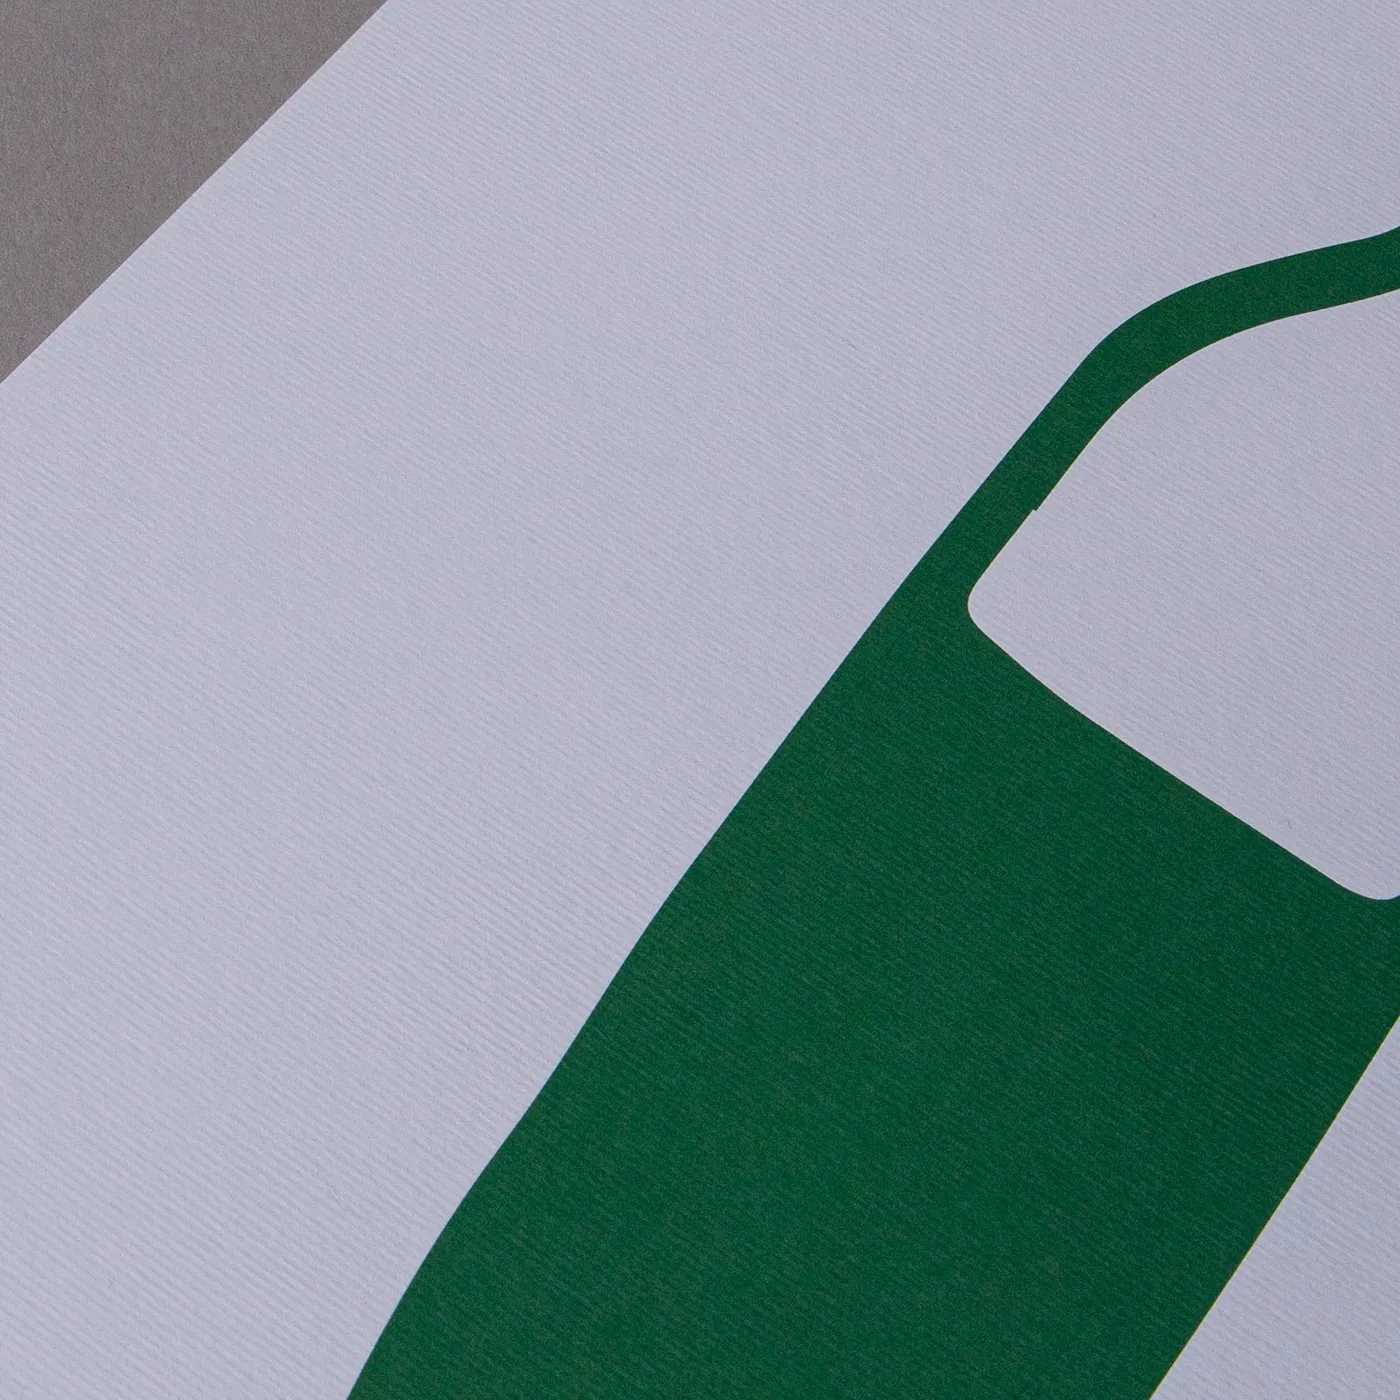
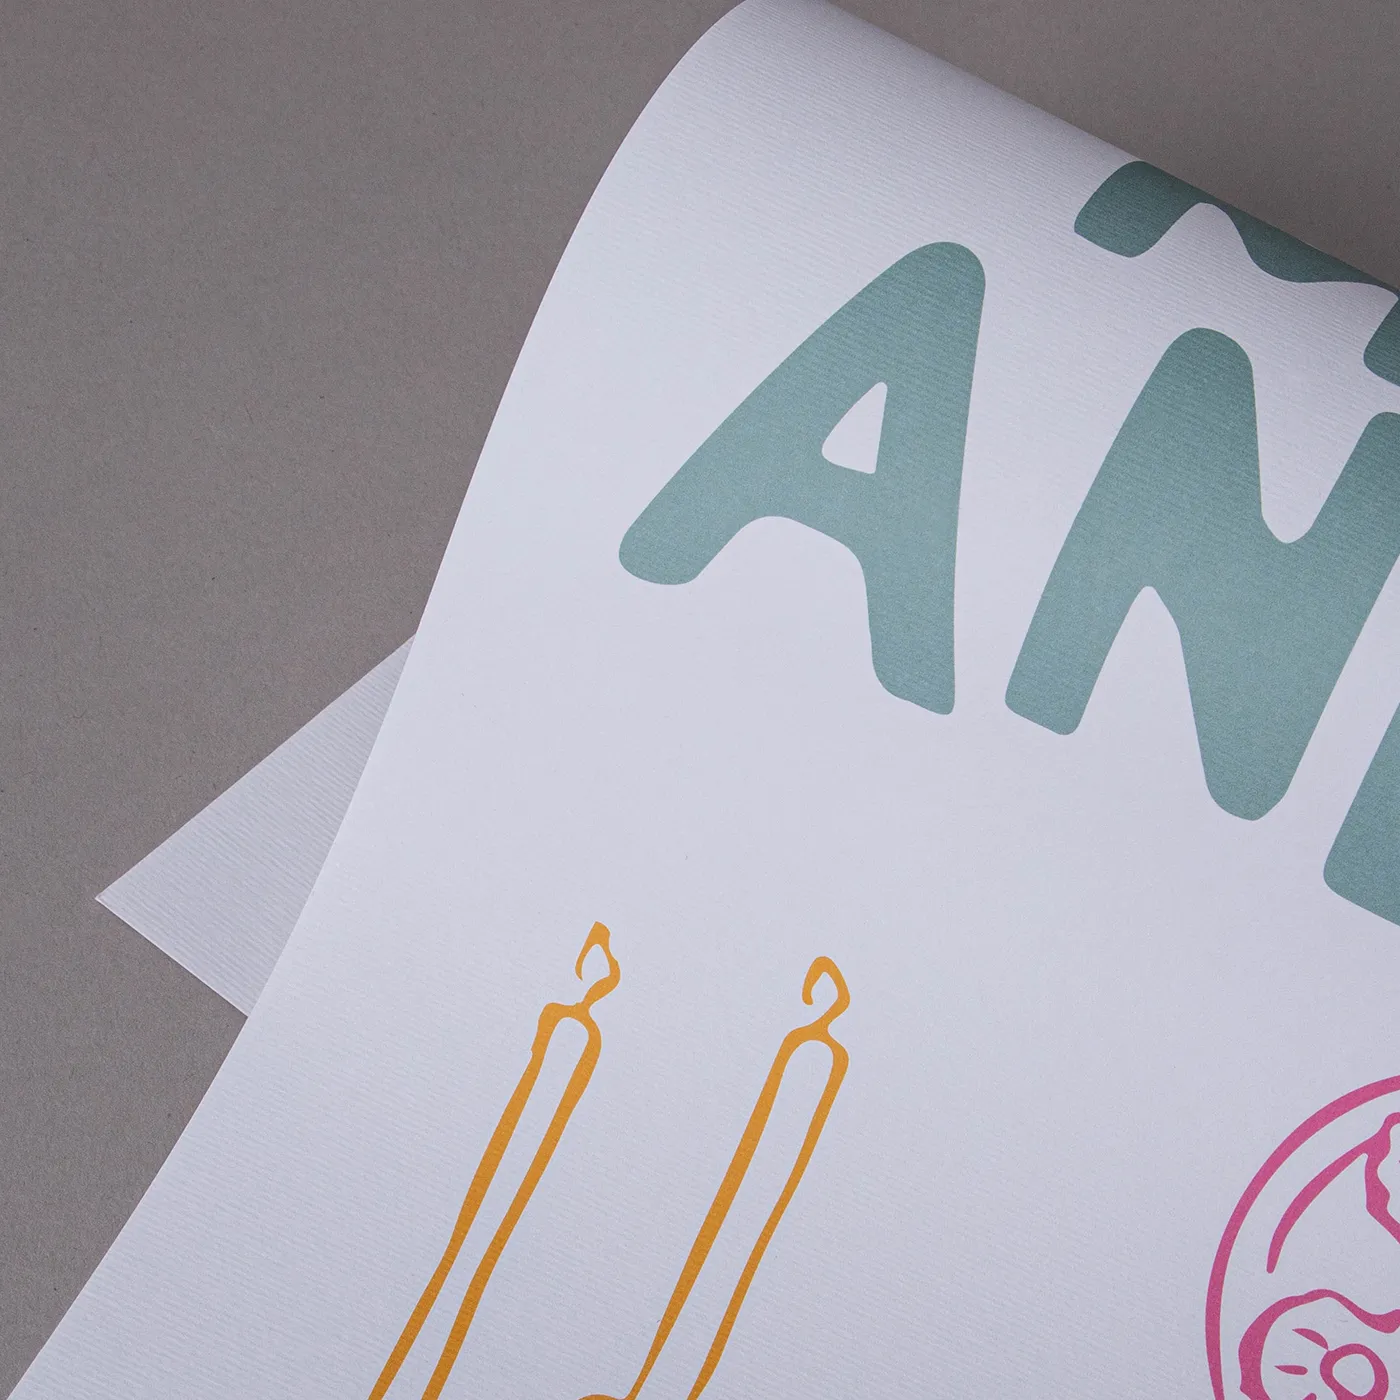
Nettuno
Add a touch of class with Nettuno. Featuring a fine-lined texture, it has an understated simplicity that brings print to life with a retro feel.
Available weights
- 140gsm
Best for
- Luxury Business Stationery
- Wedding Stationery
- Greeting Cards
Credentials
- Recyclable
- FSC certified
- Sustainably sourced
- Chlorine-free
Guide to perfect print
Get your print to the presses perfectly with everything you need to get set up
Sample Packs
Get a feel for our range of quality products, papers and special finishes in our free Sample Packs.
Downloadable Templates
Use our free templates to create your artwork and make sure your print is set up perfectly for the presses.
Bespoke Service
Can’t find the print you’re looking for? From unique papers to custom sizes and finishes, our Bespoke Team can help with your request.
Safe area
Templates
- Zines
- No elements found. Consider changing the search query.
- List is empty.
- A5 Portrait
- A4 Portrait
- A6 Portrait
- A5 Landscape
- A4 Landscape
- 210 x 210mm
- 148 x 148mm
- DL Portrait
- DL Landscape
- No elements found. Consider changing the search query.
- List is empty.
- Illustrator
- InDesign
- No elements found. Consider changing the search query.
- List is empty.
Quick tips to print perfection

Your guide to great book printing
Explore our expert guidance, practical tips and inspiration to help you create a book that's right for your project.
Learn More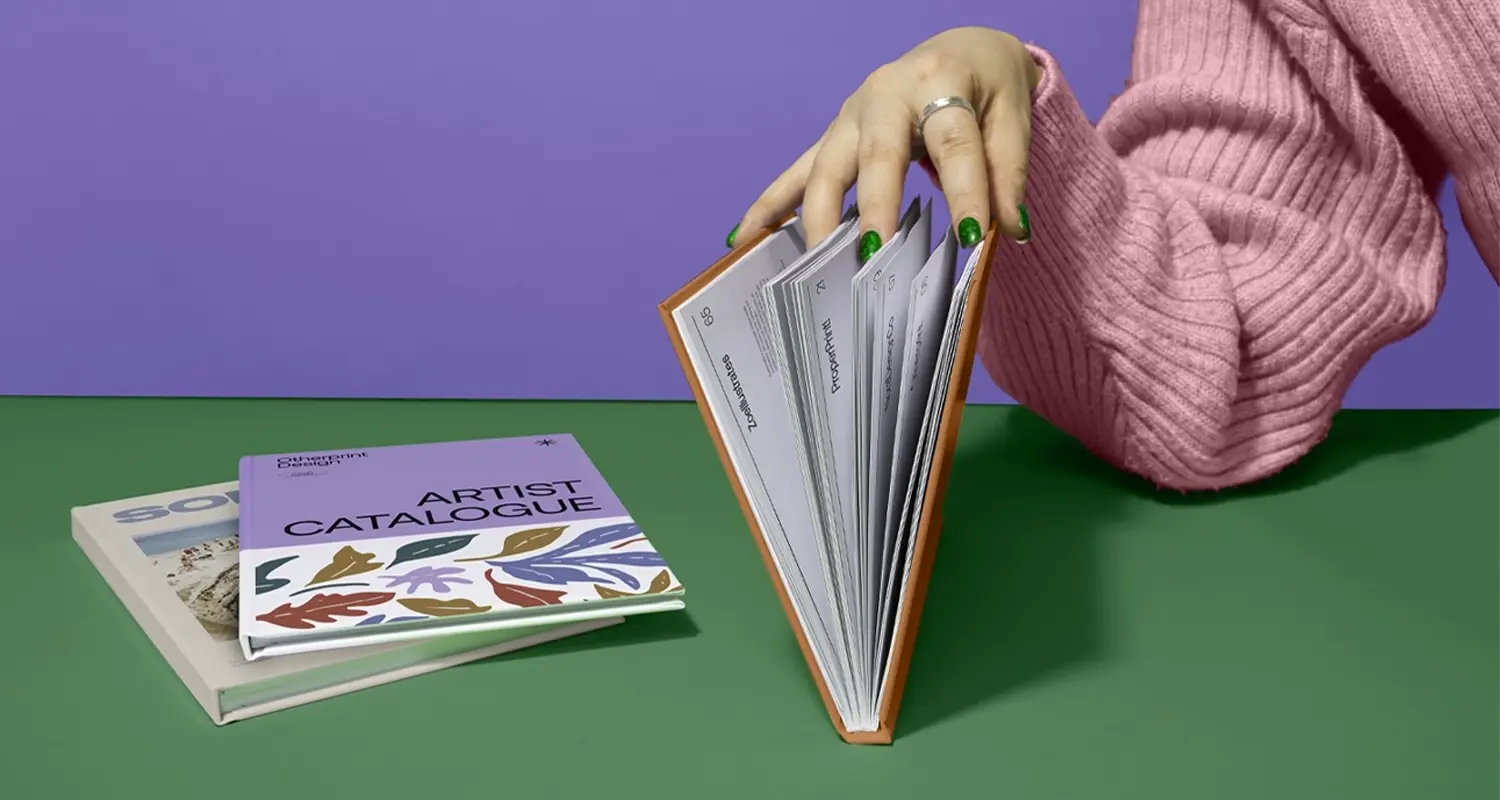
More information
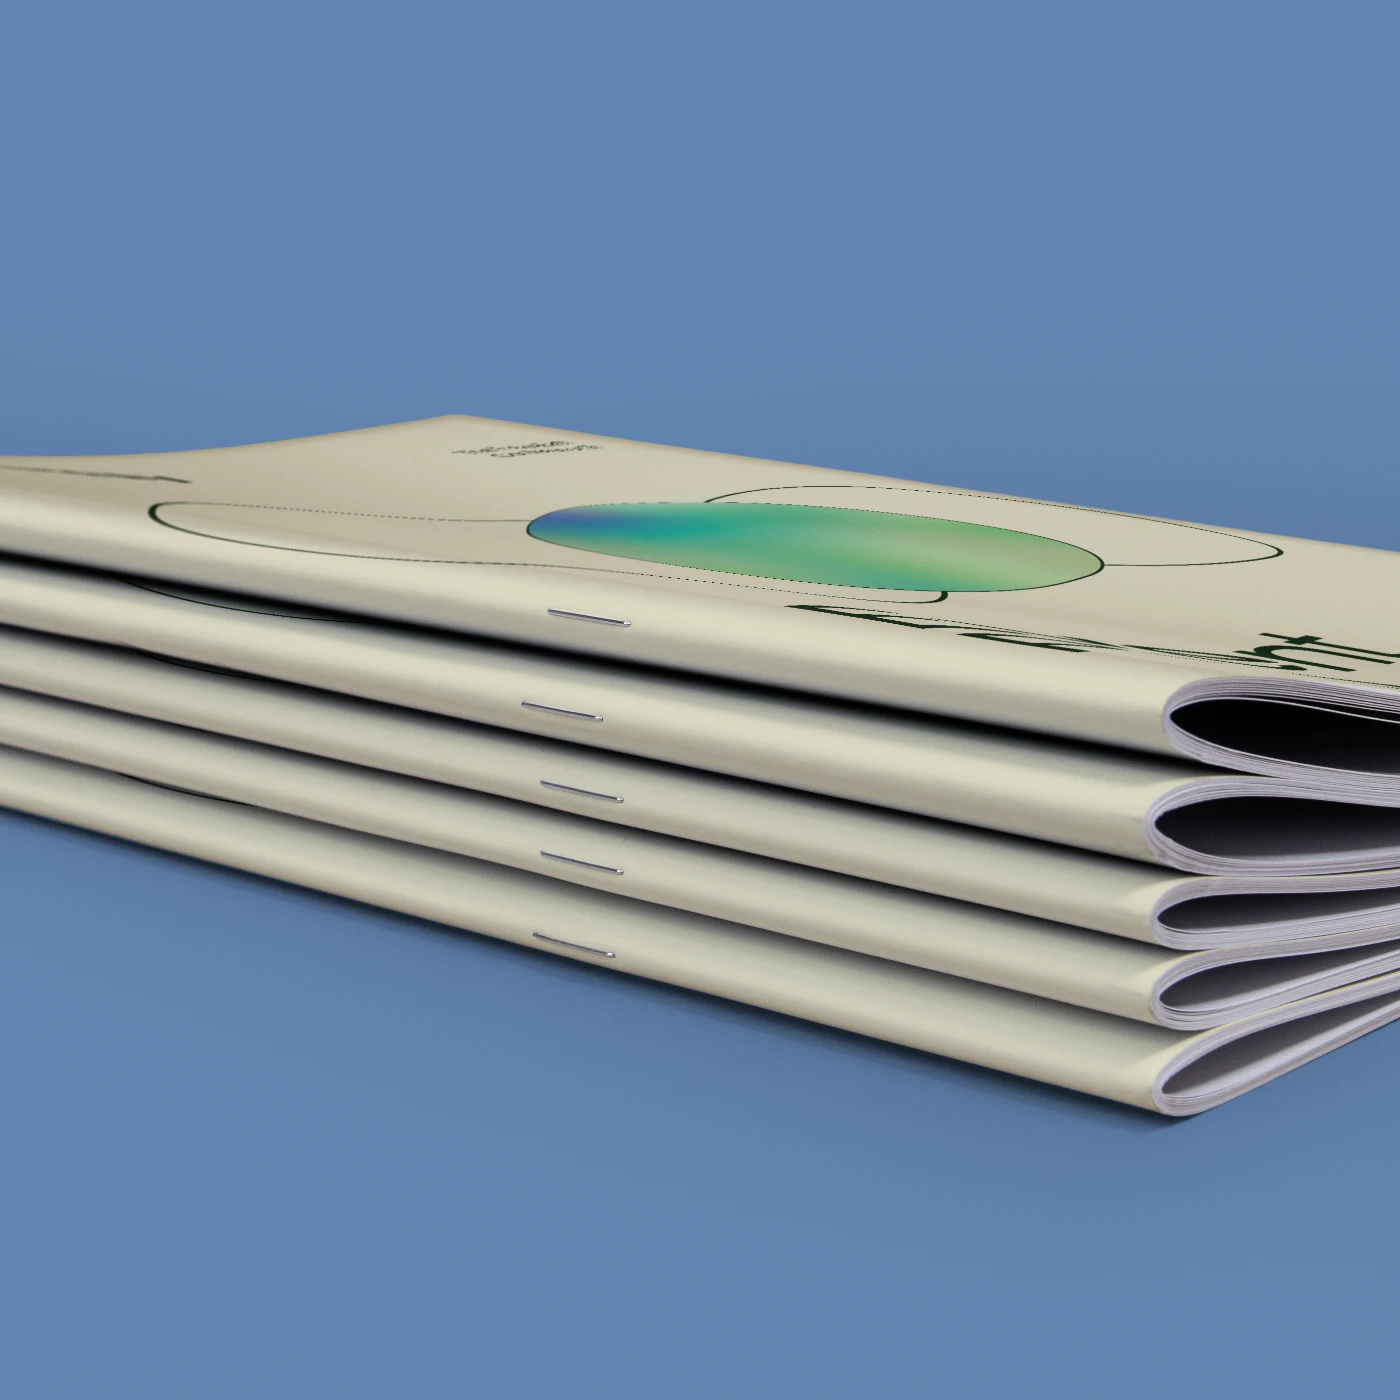
Looking to create Zines that leave a lasting impression? Our saddle stitch Zine printing delivers a clean, professional finish, ideal for independent publishing, creative portfolios, and event booklets. Saddle stitch binding uses strong staples along the spine to securely hold your pages, creating a durable yet lightweight format that’s easy to handle and read. Choose from premium or sustainable paper stocks to suit your project, along with a range of sizes and fully customisable covers and inners. Opt for elegant foiled covers for extra impact or lamination for added durability. This cost-effective print method combines practicality with a polished look, helping you bring your ideas to life in a format that feels personal, authentic, and uniquely yours.
Frequently asked questions
Got a question? We might have answered it here. If not, feel free to get in touch with The Team, we’re here to help!
- How long will my print take to arrive?
- What should I know before preparing artwork for print?
- What is a Professional File Check?
- How do I print with Canva?
- What is a Zine?
- What is the best paper for Zines?
- How do I set my file up - spreads or single pages?
- Why does the page count within my artwork need to be set up in multiples of 4?
- How many pages can you saddle stitch?
- What is saddle stitch binding?
How long will my print take to arrive?
Find out how quickly you can get your print by filling in your selected options in the product builder, and check out the delivery options at the bottom. You can also explore the available delivery options from your basket once you’ve added a product.
What should I know before preparing artwork for print?
What is a Professional File Check?
For a small fee, an expert member of our technical team will manually review your artwork before it goes to print so you can press 'go' with complete confidence.
- Image resolution for print quality
- Bleed and safe areas
- Page count and page order on folded products
- Corrupt, blank or password-protected files
- Templates left on artwork
- Folds, cut lines, drill holes and binding areas (where applicable)
- Foil alignment and minimum line widths (where applicable)
- Personalisation files and version quantities (where applicable)
- Spelling, grammar or proofreading
- Design, layout or text sizing advice
- Colour accuracy or colour mode checks (RGB/CMYK)
- QR code testing
- Calendar date checks
- Post-print quality inspection beyond our standard production processes
How do I print with Canva?
What is a Zine?
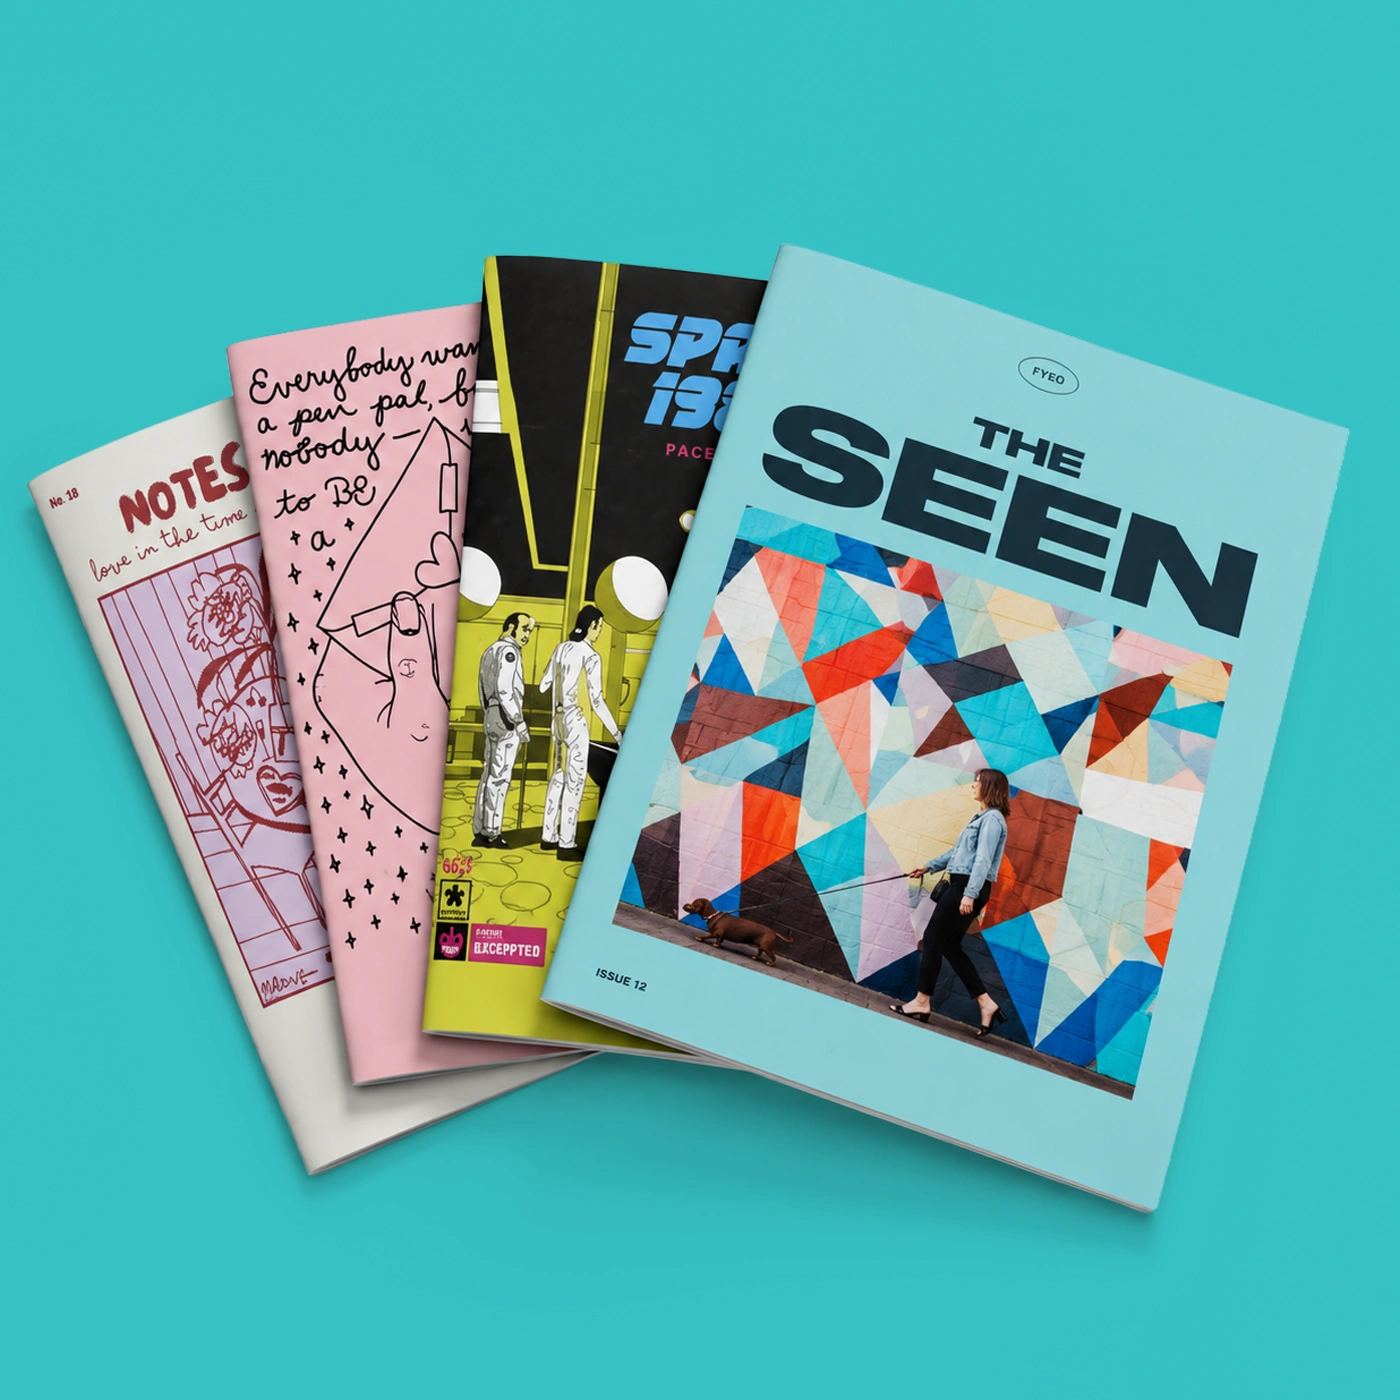
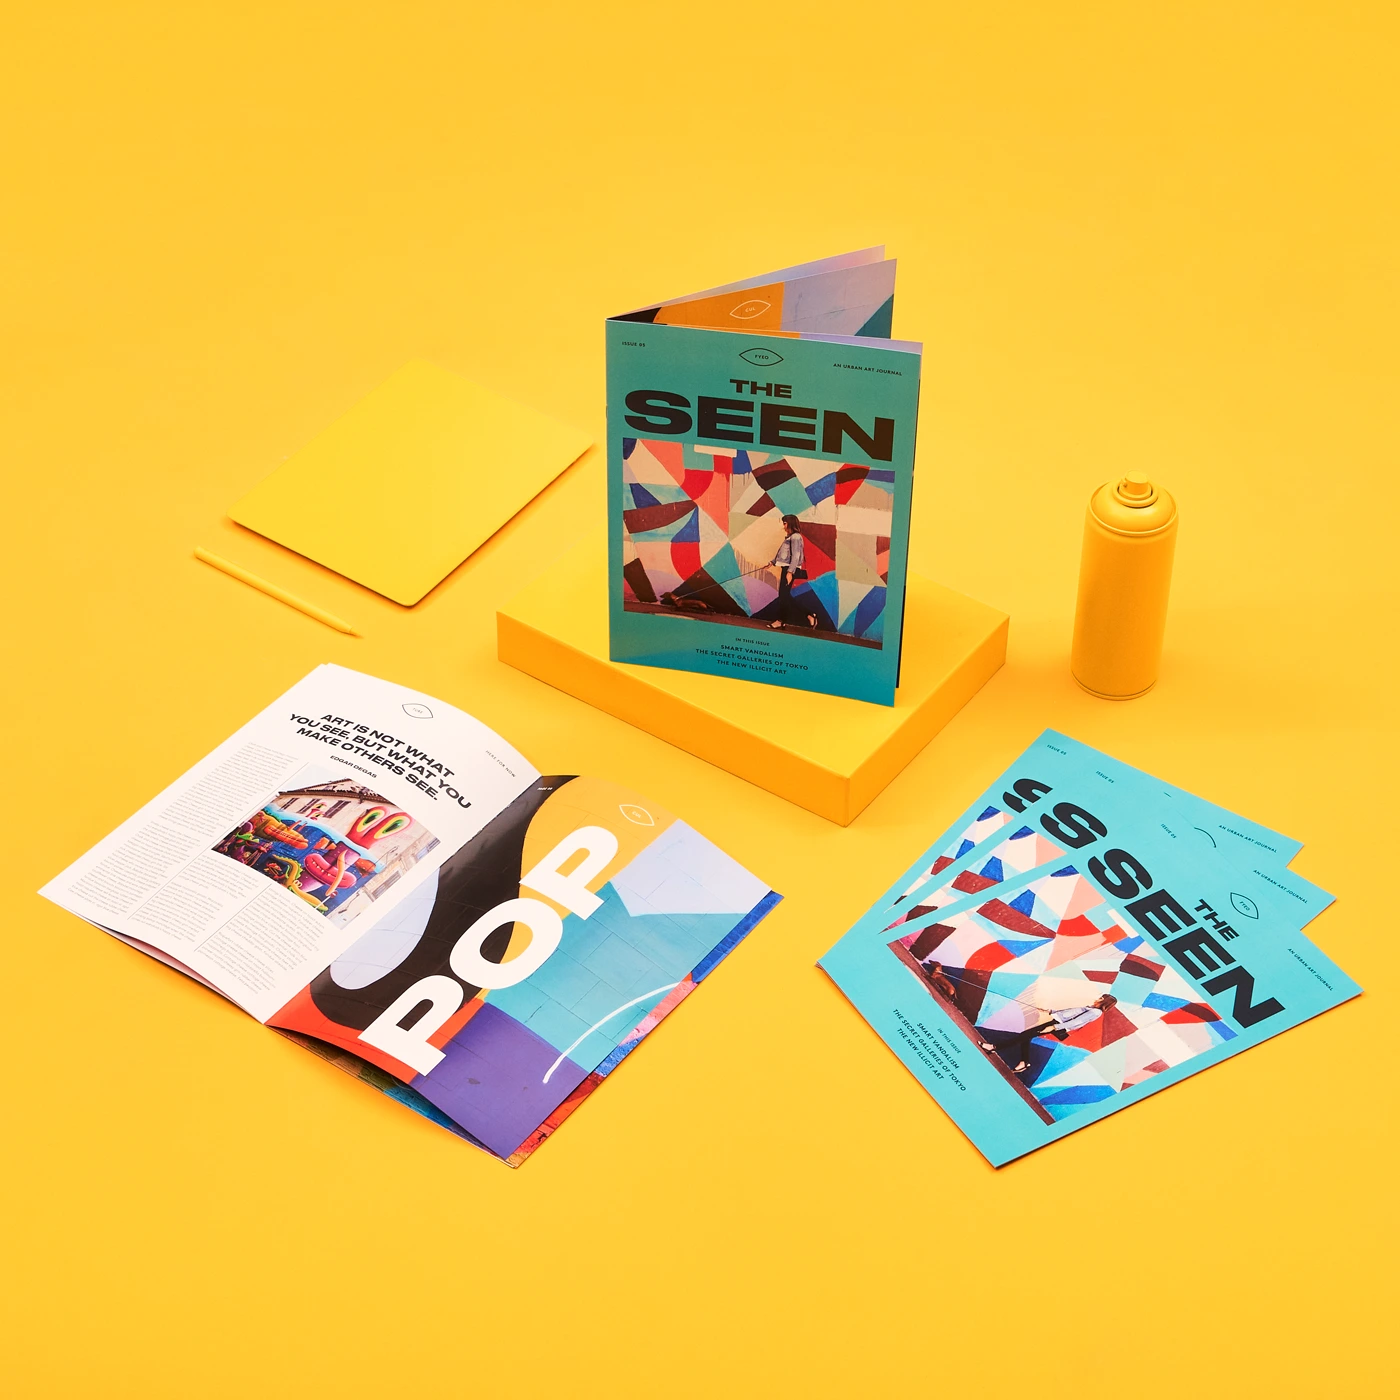
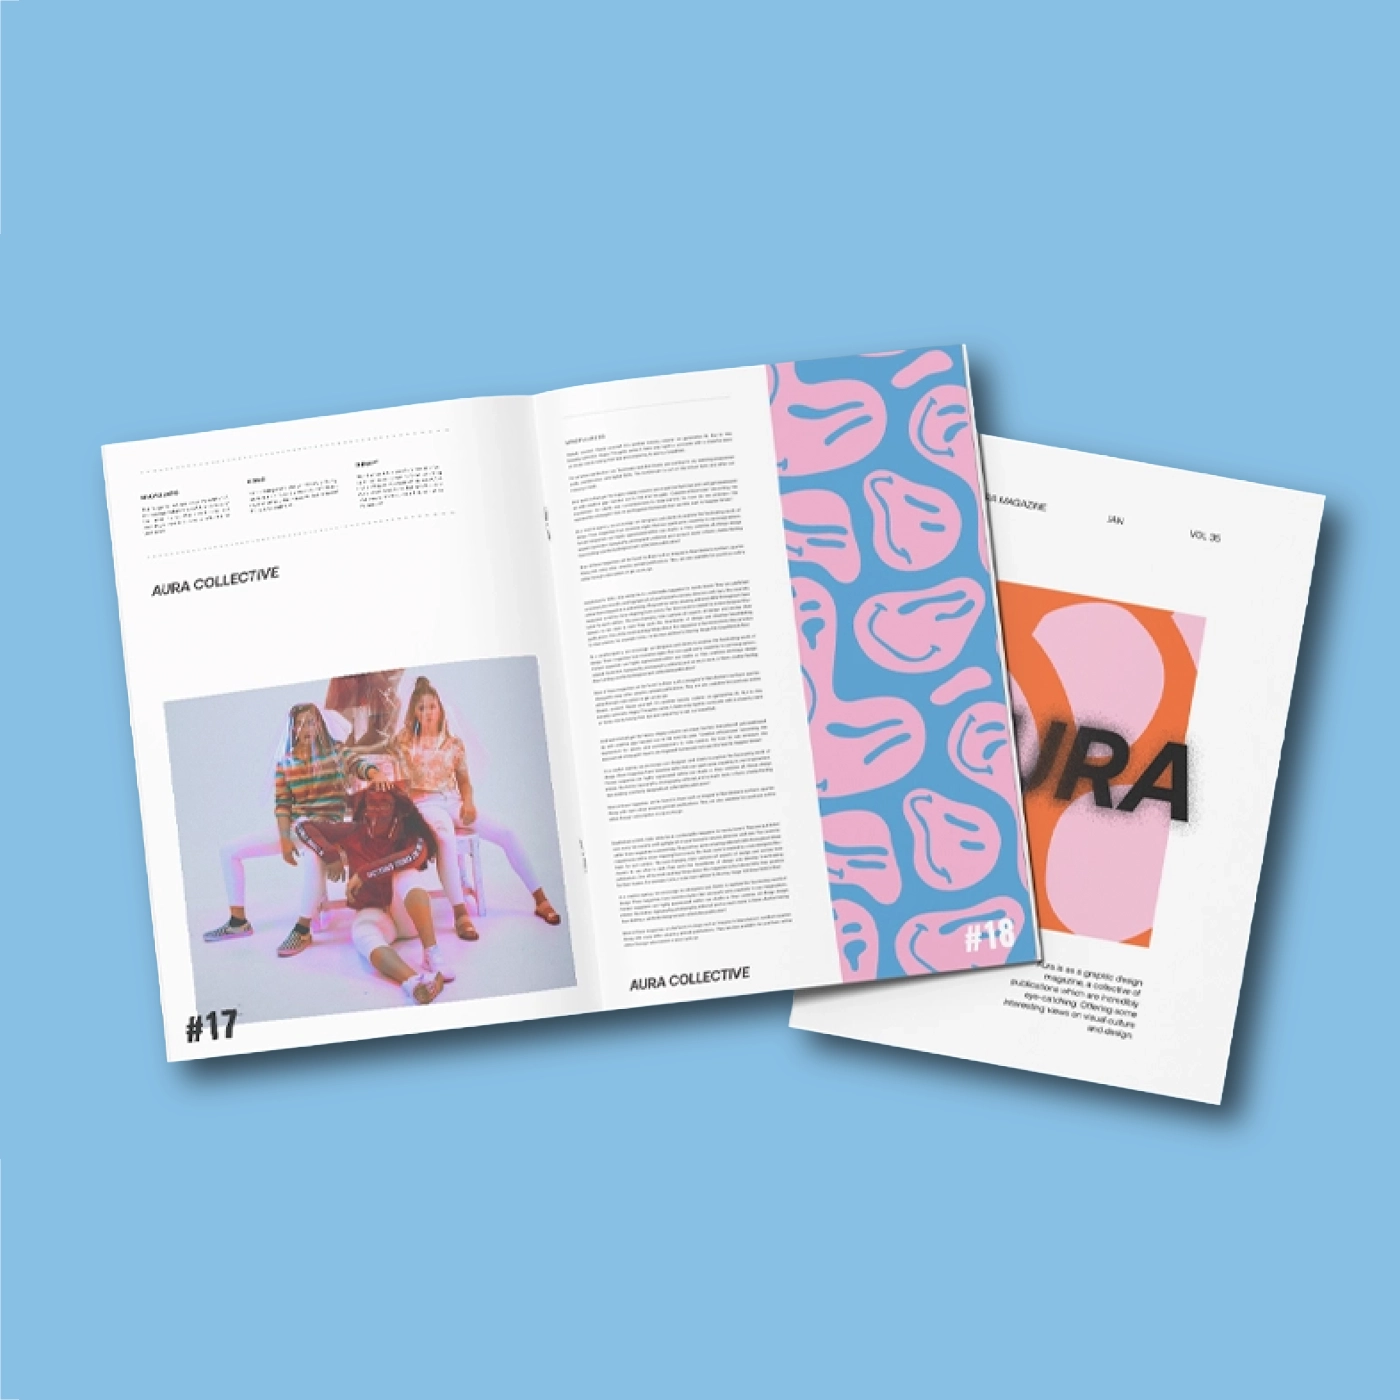
A Zine is a small-circulation, independently published booklet or small magazine. They have a strong DIY ethos and are rooted firmly in art, poetry, music and culture. Anyone can make a Zine! They take many forms, but are usually a mixture of text and images.
What is the best paper for Zines?
When it comes to making Zines, the best paper really depends on the style you are going for. There is no single right answer, so it is all about finding what works for your creative vision!
- For a DIY look: If you love the gritty, DIY aesthetic of traditional Zines, Silk paper is a fantastic choice. It’s affordable, versatile, and gives a sharp, defined finish to colours and designs.
- For a more professional feel: Gloss paper offers a smooth, shiny finish and eye-catching colours. Opt for a higher gsm for a more substantial feel. The slightly heavier weight feels great in the hands and stops ink from showing through to the other side of the page, giving your work a polished finish.
- For eco-conscious creators: If you want to keep things green, any of our Recycled stocks are a brilliant option. Not only is it kinder to the planet, but it also adds a lovely, tactile texture to your pages.
How do I set my file up - spreads or single pages?
Step 1: Use Our Downloadable Templates
- Go to the templates section of our product page.
- Choose your preferred document size from the dropdown.
- Download the template for Adobe Illustrator, InDesign, or as a PDF.
- Page one will be your front cover.
- The last page will be your back cover.
- Choose Adobe PDF (print) from the drop-down menu.
- Select the PDF/X-4:2008 preset.
- Check the ‘Use Document Bleed Settings’ box (ensure the bleed is set to 3mm if not set previously).
- Triple-check your final PDF export before sending it to print.
Why does the page count within my artwork need to be set up in multiples of 4?
This is due to the way Zines are made. They use sheets of paper folded in half and stapled along the fold. Each sheet forms four pages, so your total page count must be a multiple of four. For example, a 12-page Zine uses three sheets, each adding four pages when folded and stapled.
How many pages can you saddle stitch?
Saddle stitching is a popular binding method due to its simplicity and cost-effectiveness. Typically, saddle stitch Zines can accommodate between 8 and 112 pages. However, the exact number may vary depending on the thickness of the paper used. For this binding method, we recommend keeping the page count within this range to ensure the booklet lays flat and the spine doesn’t become too bulky.
What is saddle stitch binding?
Saddle stitch is a binding method used in Zine printing where folded sheets are gathered together and stapled through the spine. Using wire staples, it securely binds the pages while maintaining a clean, lightweight finish that’s ideal for Zines with lower page counts.
Zines
Our product presets
Our product presets
Build your own or choose from one of our preset options
Binding Type
Binding Type
Choose number of pages
For documents over pages, the maximum quantity available is 50000 units. For more than 50000 units, choose less than NaN pages or contact our Bespoke Team.

This option is unavailable as it exceeds the maximum thickness of your document.
To choose this option, please consider changing the following where possible:- Reduce the number of pages
- Select a cover paper with a lower GSM
- Select an inner paper paper with a lower GSM
This option is unavailable as it exceeds the maximum thickness of your document.
To choose this option, please consider changing the following where possible:- Reduce the number of pages
- Select a cover paper with a lower GSM
- Select an inner paper paper with a lower GSM
This option is unavailable as it exceeds the maximum thickness of your document.
To choose this option, please consider changing the following where possible:- Reduce the number of pages
- Select a cover paper with a lower GSM
- Select an inner paper paper with a lower GSM
This option is unavailable as it exceeds the maximum thickness of your document.
To choose this option, please consider changing the following where possible:- Reduce the number of pages
- Select a cover paper with a lower GSM
- Select an inner paper paper with a lower GSM
This option is unavailable as it exceeds the maximum thickness of your document.
To choose this option, please consider changing the following where possible:- Reduce the number of pages
- Select a cover paper with a lower GSM
- Select an inner paper paper with a lower GSM
This option is unavailable as it exceeds the maximum thickness of your document.
To choose this option, please consider changing the following where possible:- Reduce the number of pages
- Select a cover paper with a lower GSM
- Select an inner paper paper with a lower GSM
Page 1 is the front outer cover, page 2 is the front inner cover, page 3 is the front of the first inner page, and so on.
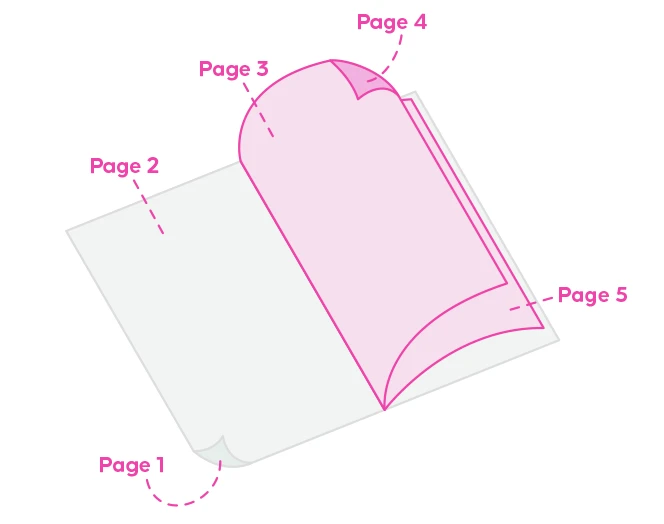
Total number of pages includes 4 pages for your cover and any blanks.
Fold type
Fold type
Size
Size
Orientation
Orientation
Printed sides
One side: Print your design on one side of the product only. The reverse side will remain unprinted.
Both sides: Print your design on both sides of the product. Choose this option when you want to apply a design on both the front and back.
Printed sides
One side: Print your design on one side of the product only. The reverse side will remain unprinted.
Both sides: Print your design on both sides of the product. Choose this option when you want to apply a design on both the front and back.
Cover
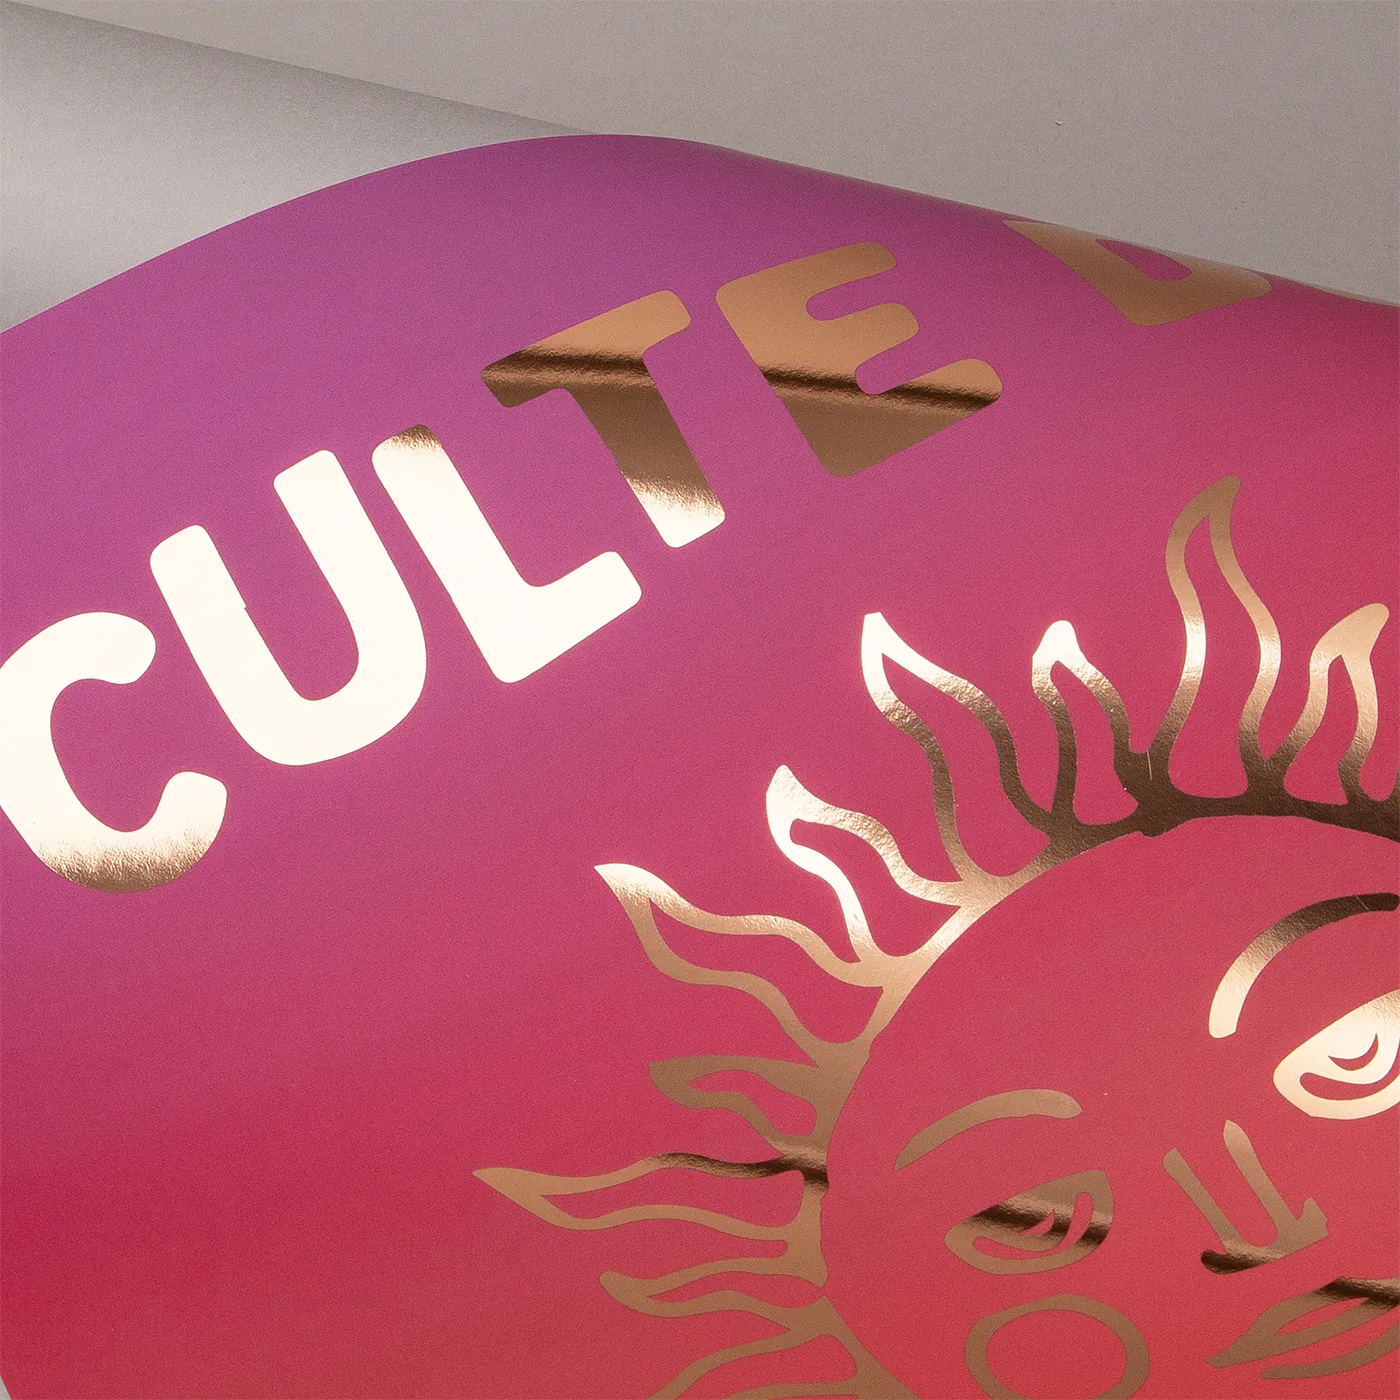
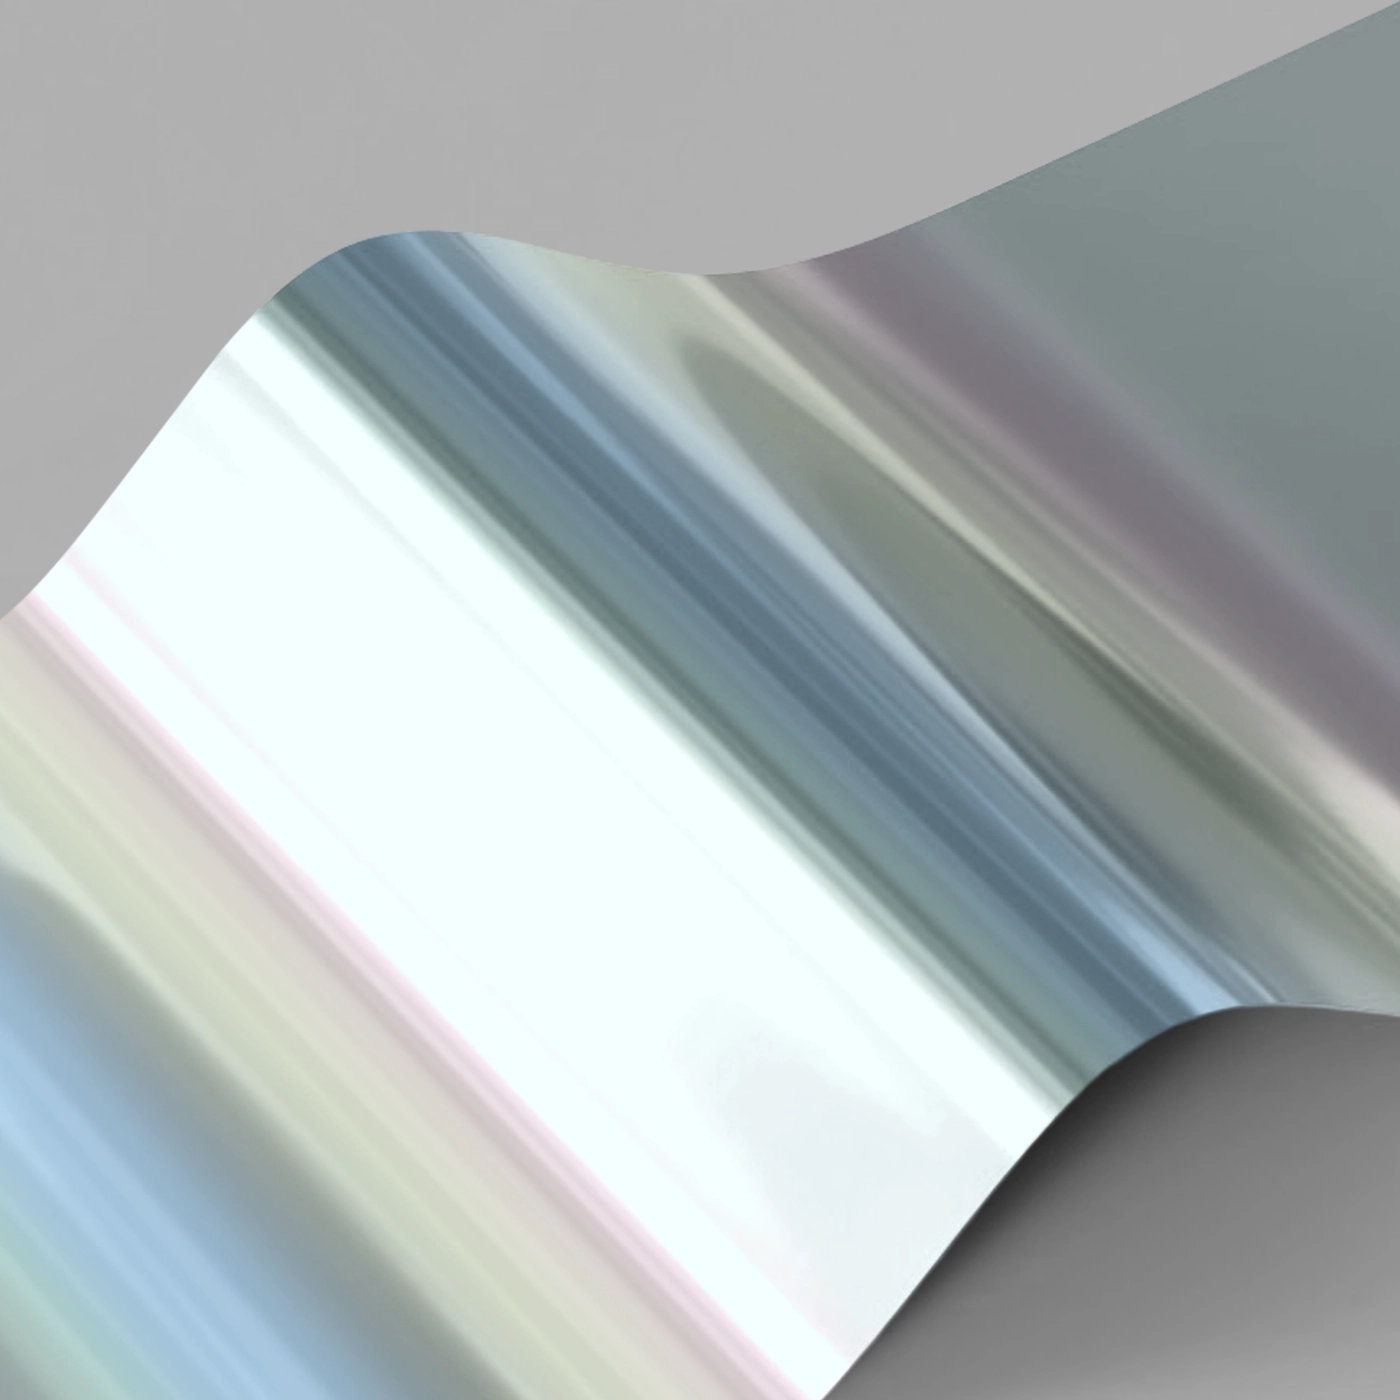
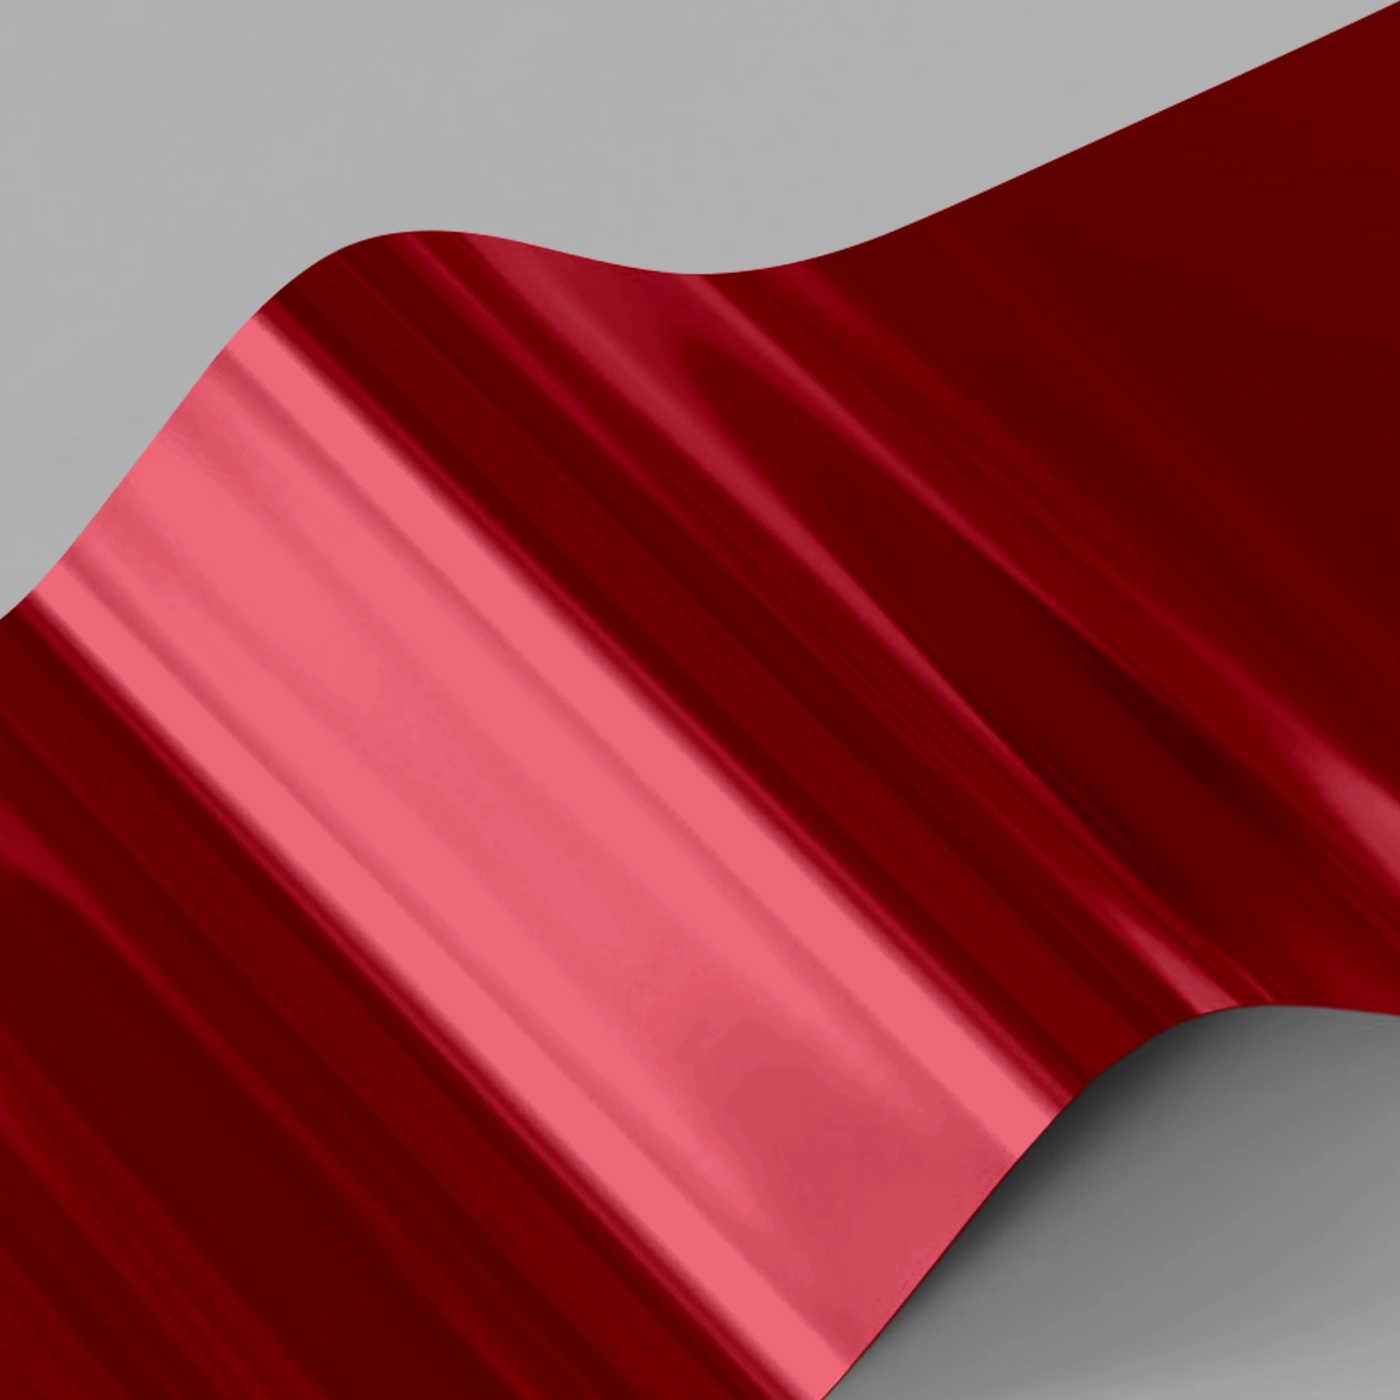
Foiling
One-sided foil While your print can be double sided, you can only apply Foil to one side of your design.
Whichever side you choose to add Foiling to must be velvet laminated (this protects your Foil from slipping or scratching).
If you would like Foil on both sides of your print, please contact our Bespoke Team. Foiled Stickers cannot be laminated and can only be foiled on one side
Foiling
One-sided foil While your print can be double sided, you can only apply Foil to one side of your design.
Whichever side you choose to add Foiling to must be velvet laminated (this protects your Foil from slipping or scratching).
If you would like Foil on both sides of your print, please contact our Bespoke Team. Foiled Stickers cannot be laminated and can only be foiled on one side
One-sided foil
While your print can be double sided, you can only apply Foil to one side of your design.





Paper
Paper
Lamination
Lamination types
Matt: Protects your print while giving a subtle and soft finish.
Gloss: Offers a high shine that works well with images and solid colours.
Velvet: Gives a soft, touchable texture and non-shine finish.
Anti-Bacterial Gloss: This high-shine gloss is embedded with silver ions that prevents 99% of bacteria surviving.
Lamination Sides
None: Without lamination, you can feel the real texture of the paper, and it's easy to write on.
One side: We will always laminate on page 1 of your PDF when ‘one side’ is selected. If that isn't the page you want laminated, just swap the page order in your PDF.
Both sides: The most popular choice when laminating – choose both sides when you want double the protection.
Remember: Laminating will protect your print but you will not be able to write on it with certain types of pen. If you're printing with heavy ink coverage, we recommend using lamination to protect the print and prevent damage.
Inners
Foiling
One-sided foil While your print can be double sided, you can only apply Foil to one side of your design.
Whichever side you choose to add Foiling to must be velvet laminated (this protects your Foil from slipping or scratching).
If you would like Foil on both sides of your print, please contact our Bespoke Team. Foiled Stickers cannot be laminated and can only be foiled on one side
Foiling
One-sided foil While your print can be double sided, you can only apply Foil to one side of your design.
Whichever side you choose to add Foiling to must be velvet laminated (this protects your Foil from slipping or scratching).
If you would like Foil on both sides of your print, please contact our Bespoke Team. Foiled Stickers cannot be laminated and can only be foiled on one side
Paper
Paper
Lamination
Lamination types
Matt: Protects your print while giving a subtle and soft finish.
Gloss: Offers a high shine that works well with images and solid colours.
Velvet: Gives a soft, touchable texture and non-shine finish.
Anti-Bacterial Gloss: This high-shine gloss is embedded with silver ions that prevents 99% of bacteria surviving.
Lamination Sides
None: Without lamination, you can feel the real texture of the paper, and it's easy to write on.
One side: We will always laminate on page 1 of your PDF when ‘one side’ is selected. If that isn't the page you want laminated, just swap the page order in your PDF.
Both sides: The most popular choice when laminating – choose both sides when you want double the protection.
Remember: Laminating will protect your print but you will not be able to write on it with certain types of pen. If you're printing with heavy ink coverage, we recommend using lamination to protect the print and prevent damage.
Quantity
Please enter a quantity larger than 1
If there is a paper stock, size, quantity or finish you want but can't find, fill in our bespoke order form or contact our team .
The options you have chosen mean that your leaflets will be delivered creased but not folded. If you'd like your print to arrive already folded, please enter a lower quantity or a lighter paper weight.
Select your Delivery options
Delivery type
As you have previously selected a delivery option for a previous product we have grouped these items to lower your delivery costs. Due to the items added to your basket we are no longer able to offer your selected delivery option. Please reselect your delivery from the options below. If you are sending to multiple addresses you can ungroup your items.
Delivery type
The paper you have chosen is not available at this quantity.
To keep your paper choice please enter a quantity than .
- Tintoretto Gesso - 250gsm
- Gloss - 130gsm
- Gloss - 150gsm
- Gloss - 170gsm
- Gloss - 200gsm
- Gloss - 250gsm
- Nettuno - 140gsm
- Recycled Silk - 130gsm
- Recycled Silk - 150gsm
- Recycled Silk - 250gsm
- Recycled Uncoated - 160gsm
- Recycled Uncoated - 200gsm
- Recycled Uncoated - 250gsm
- Silk - 115gsm
- Silk - 130gsm
- Silk - 150gsm
- Silk - 170gsm
- Silk - 200gsm
- Silk - 250gsm
- Uncoated - 120gsm
- Uncoated - 250gsm
- Tintoretto Gesso - 150gsm
- Gloss - 115gsm
- Uncoated - 170gsm
For documents with this number of pages, the maximum quantity available is units.
If you require a larger quantity, please reduce your number of pages to less than 1 or get in touch with our Bespoke Team.
This reorder job does not allow editing the original artwork. You may still upload a new piece of artwork but doing so will remove the original artwork. Do you want to continue?