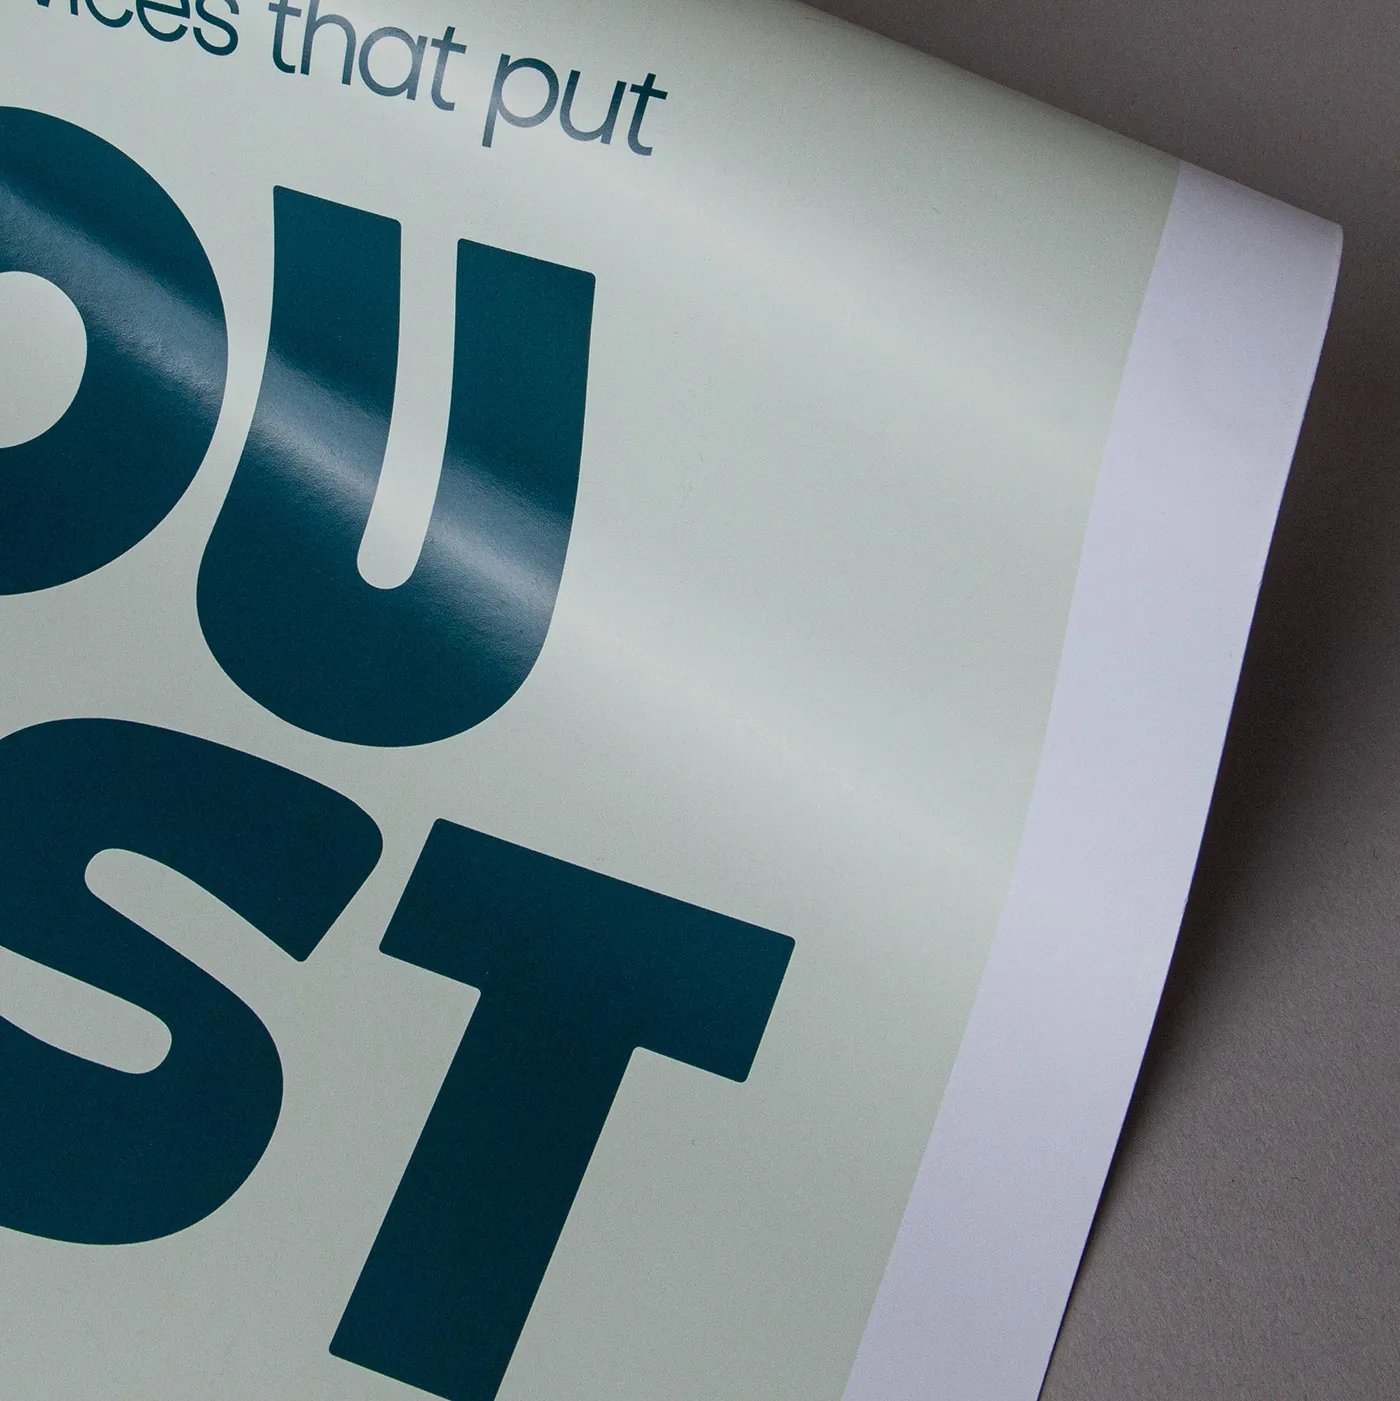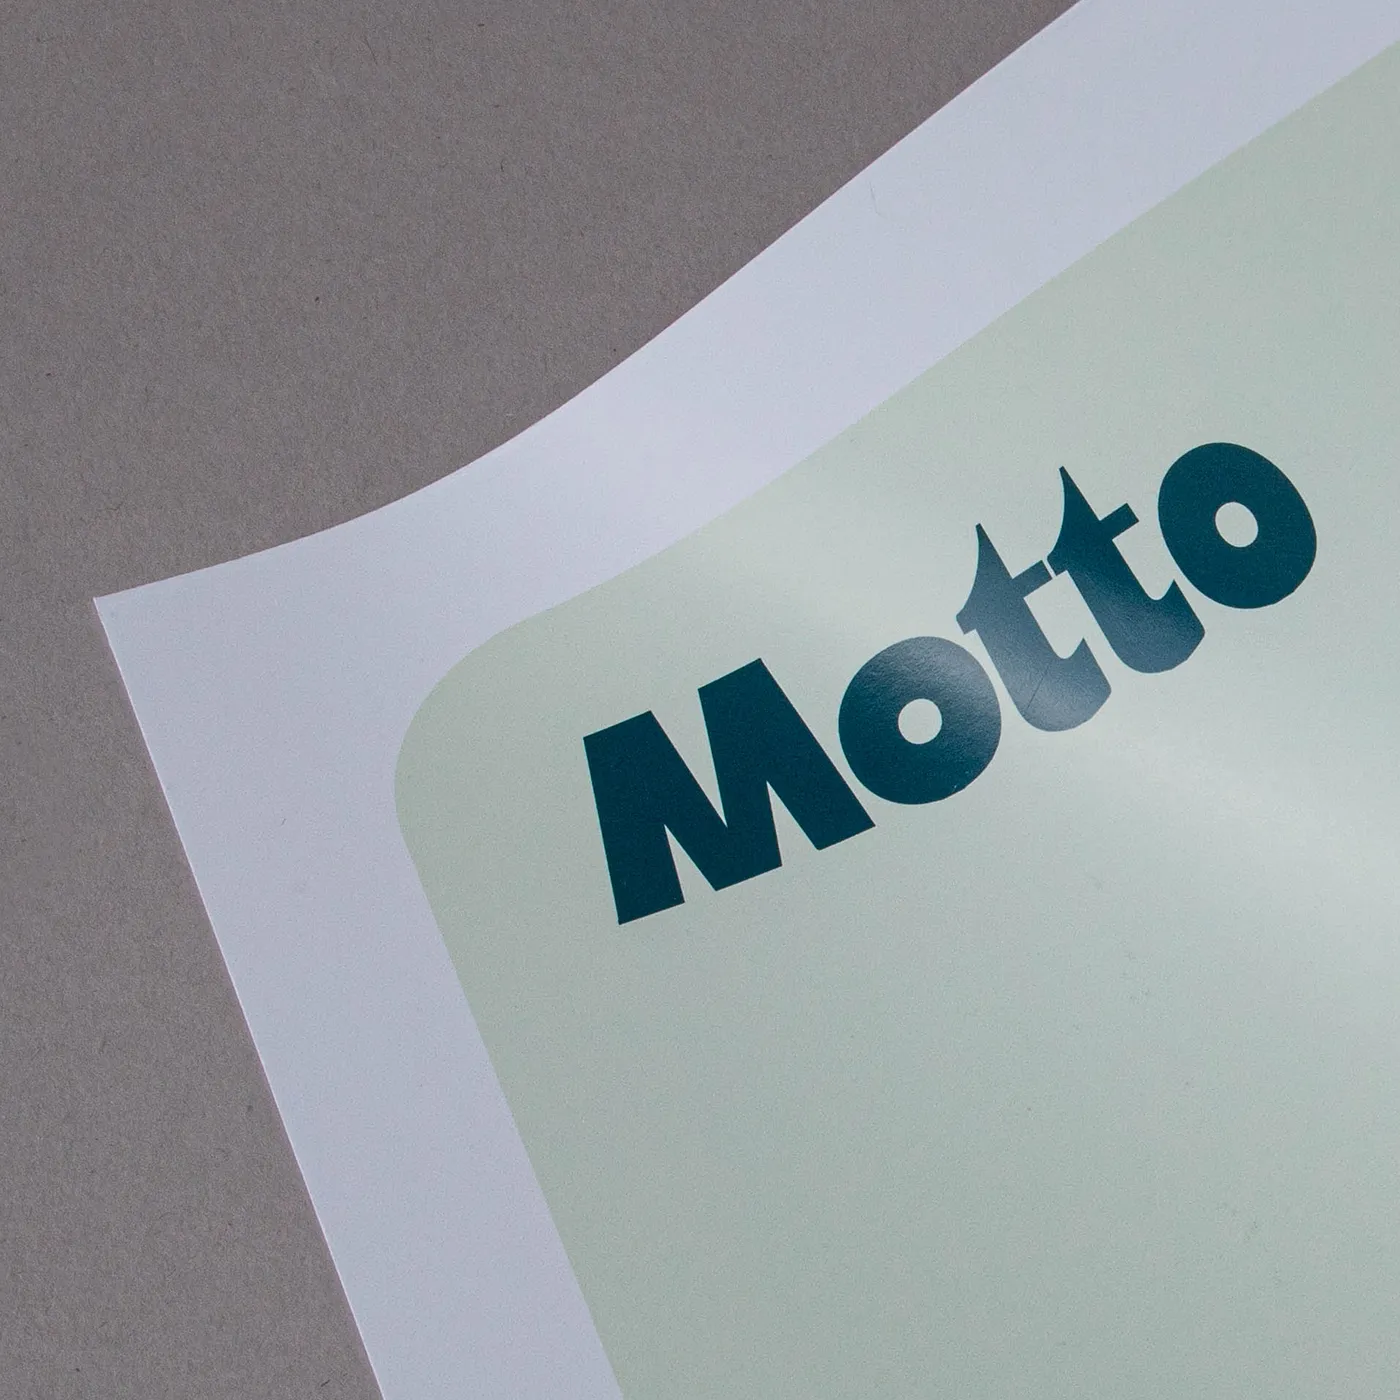
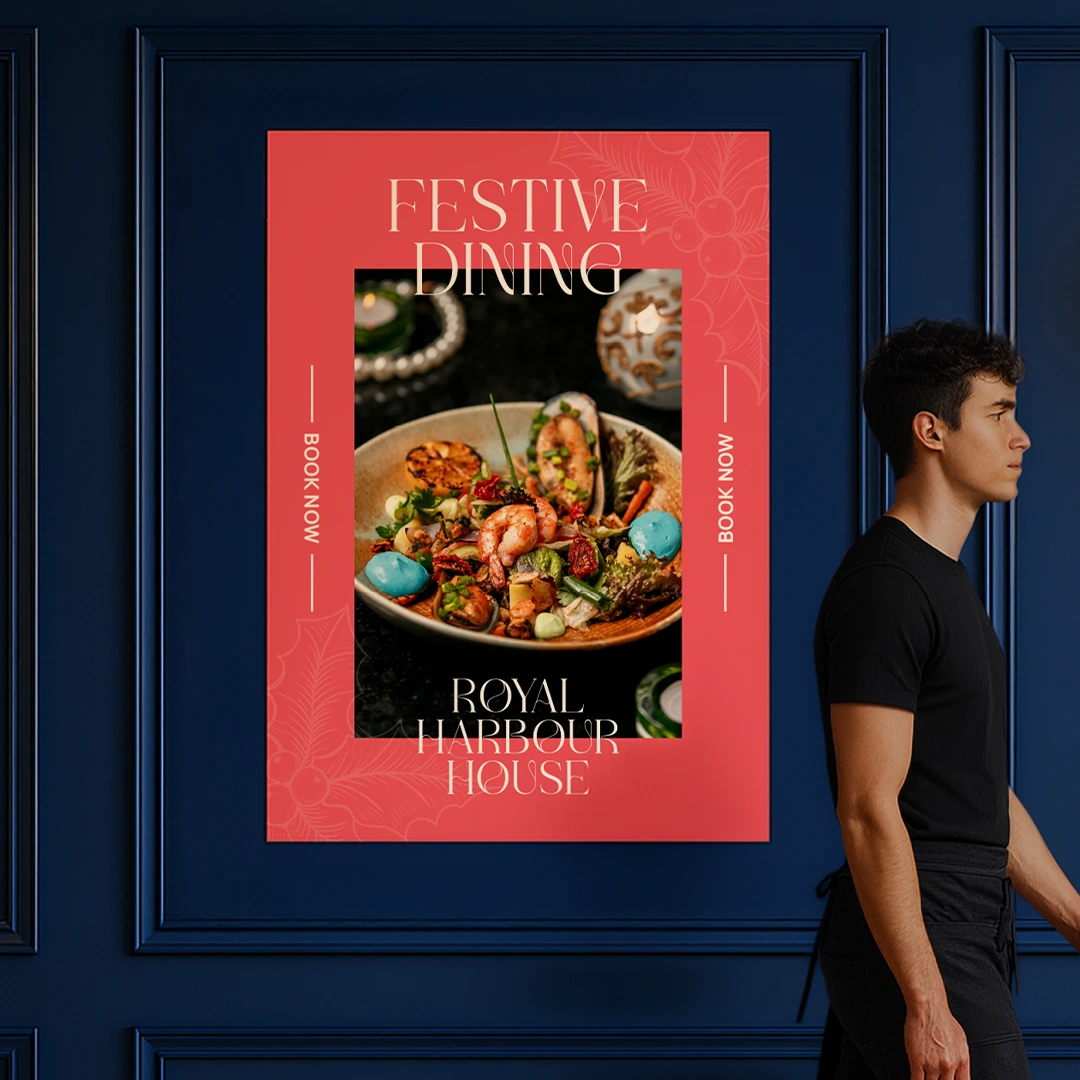
Large "Festive Dining" Poster on a wall
Printed Menu Posters
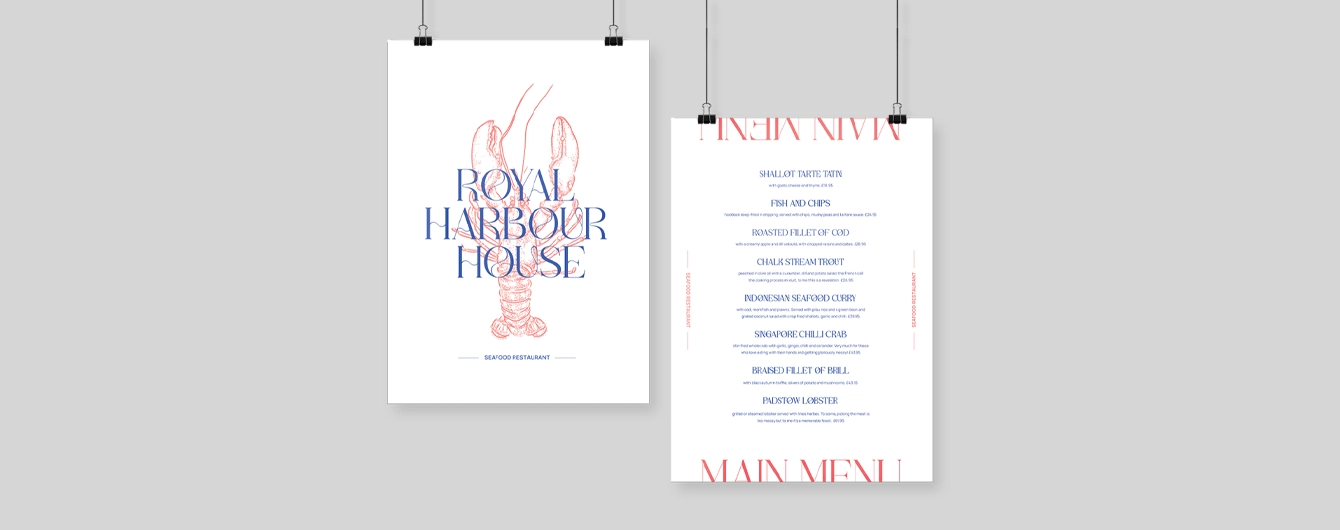
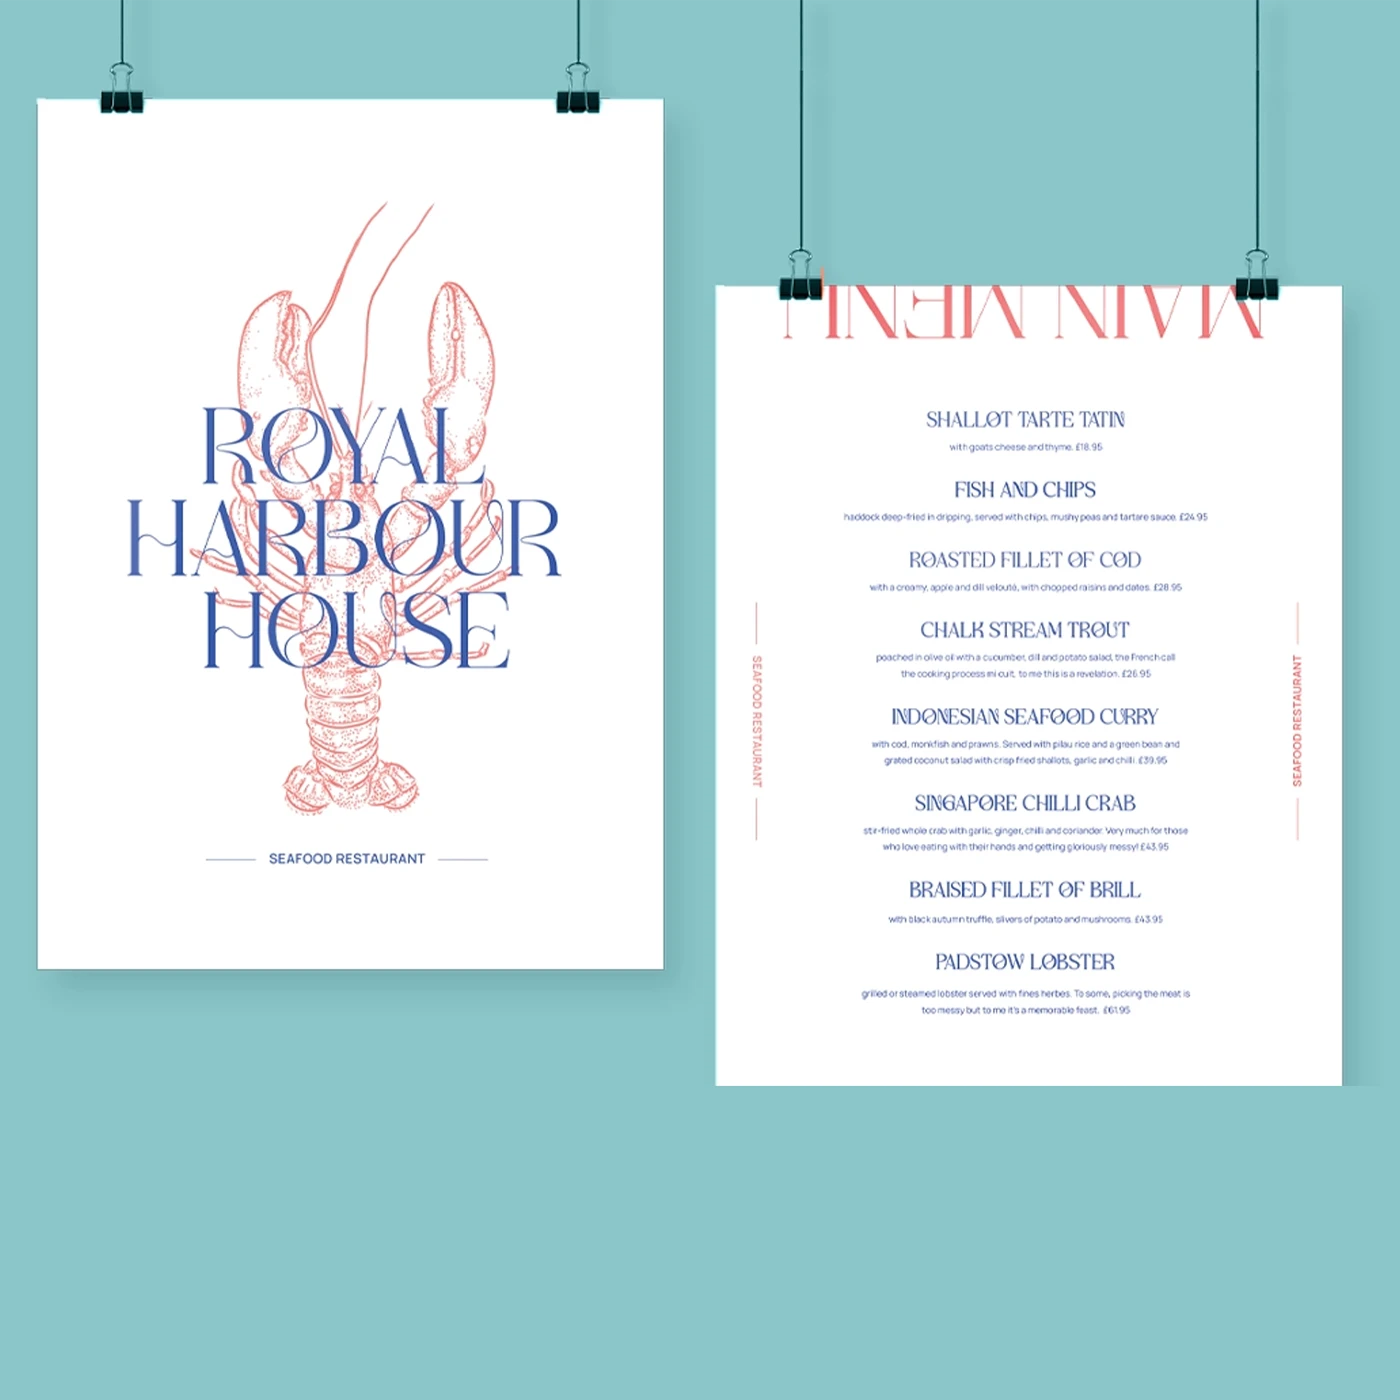
Hanging Printed Menu Posters
Large "Festive Dining" Poster on a wall
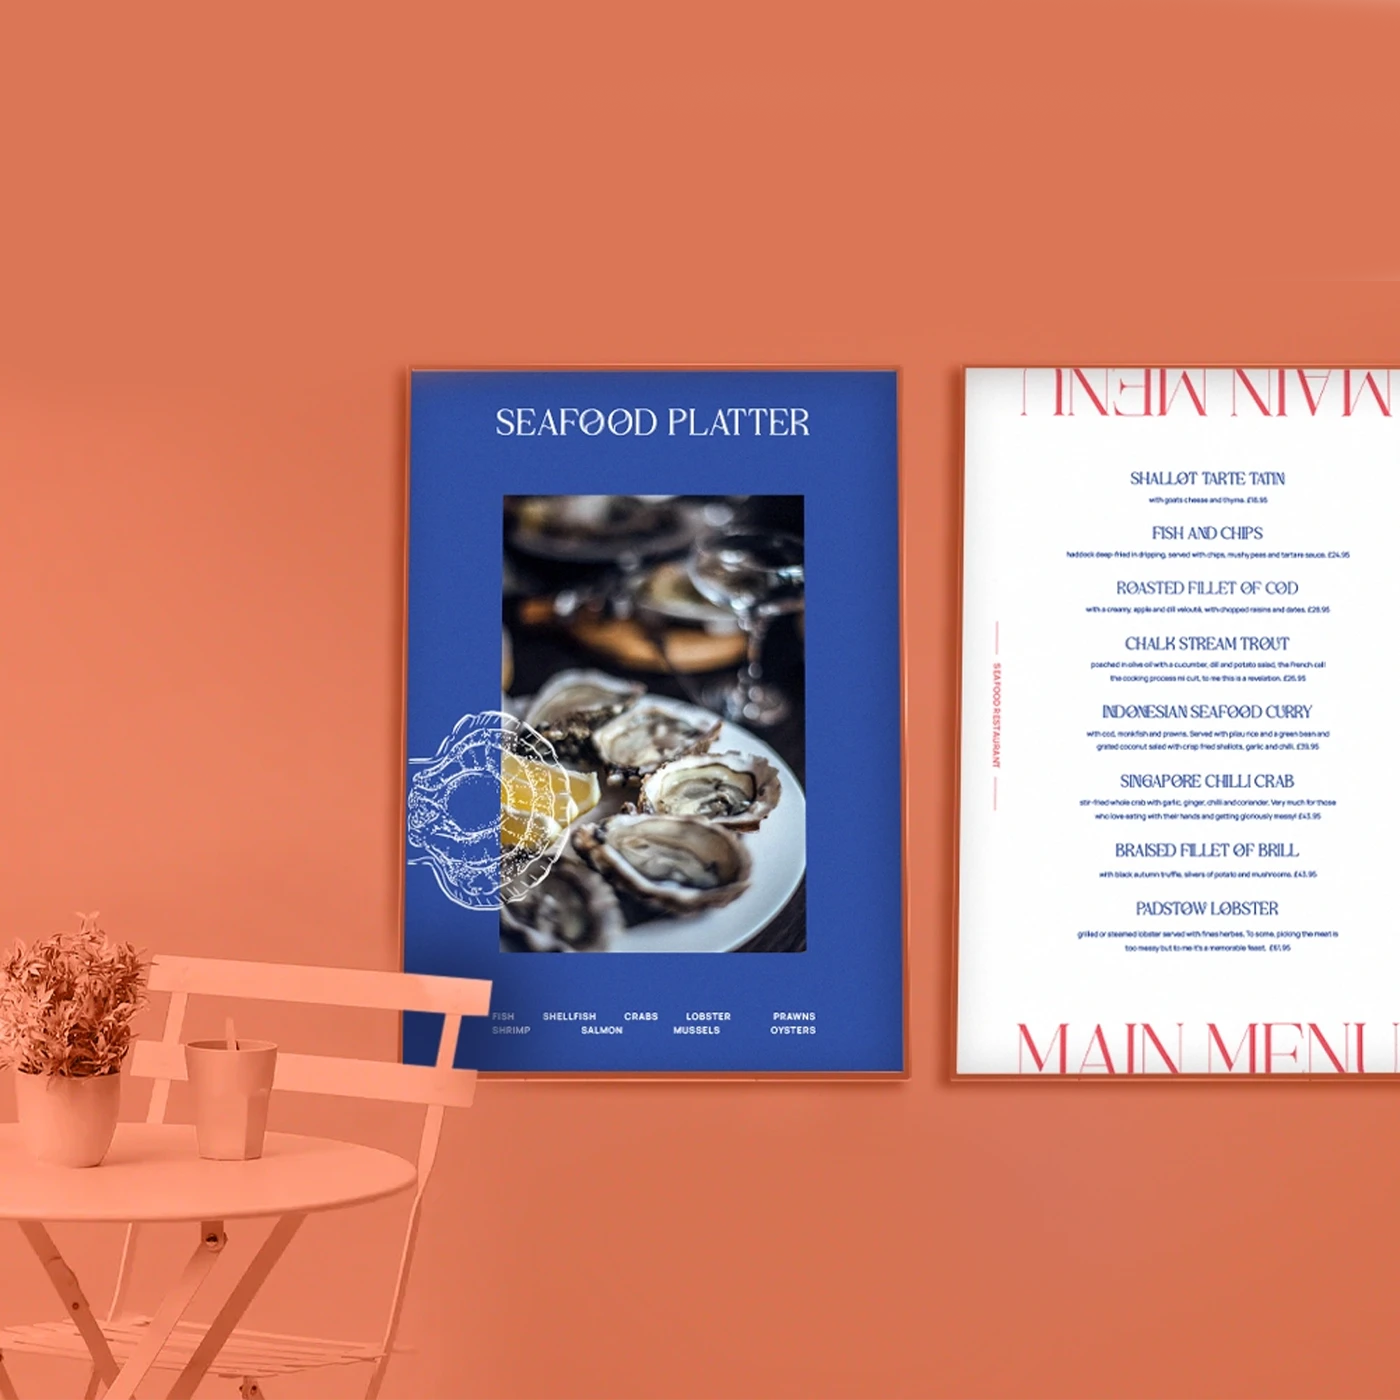
Printed Menu Posters

Menu Posters

From  £ 12.50 (ex VAT)

Excellent 4.6
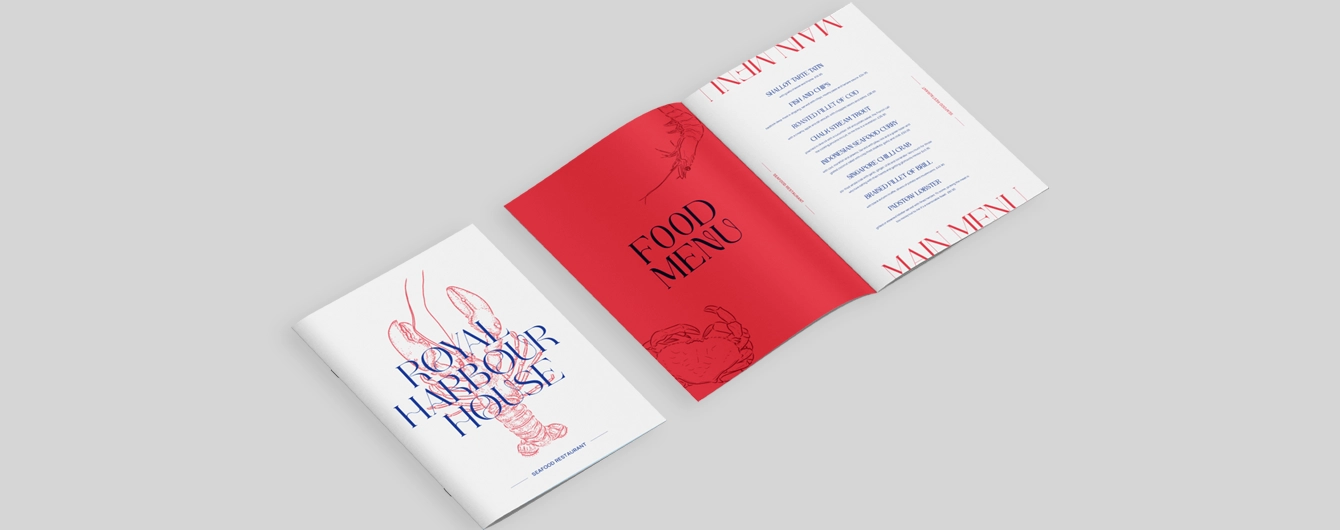
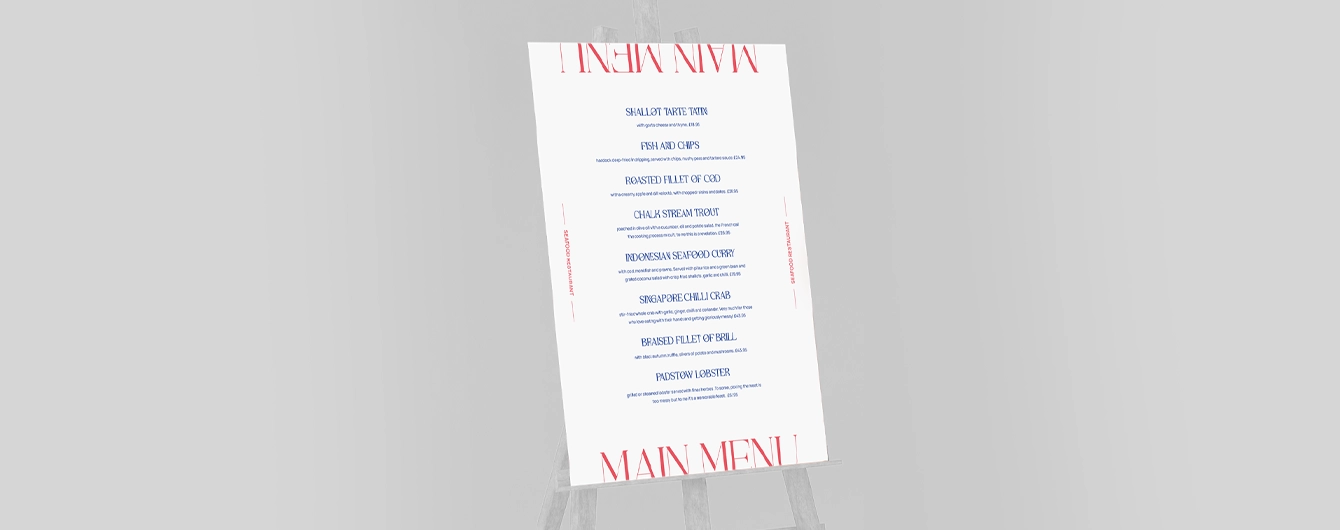
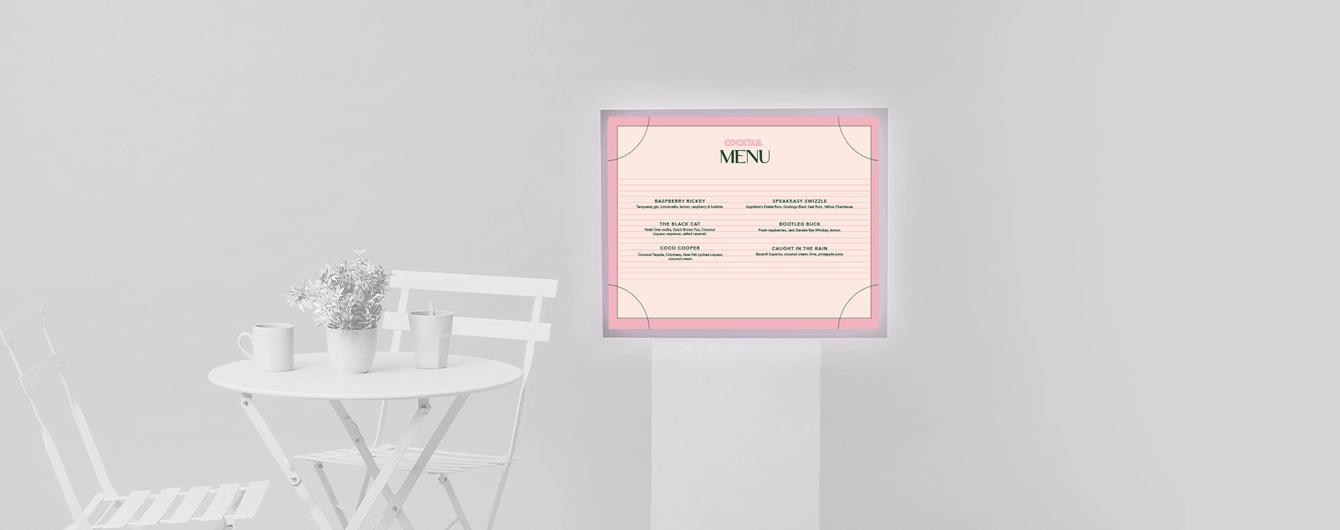
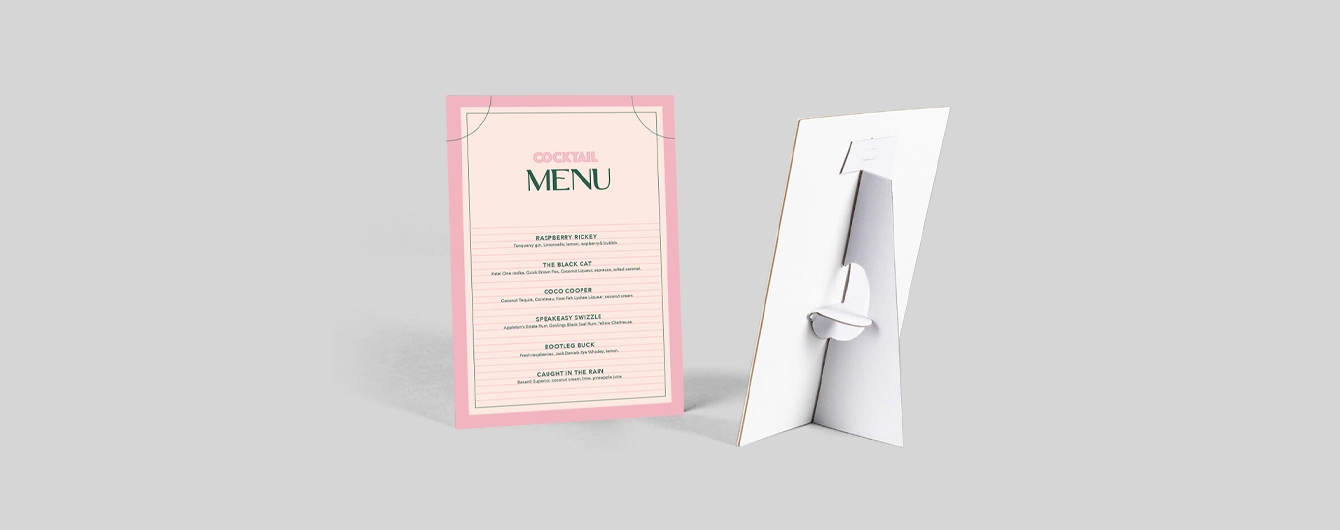
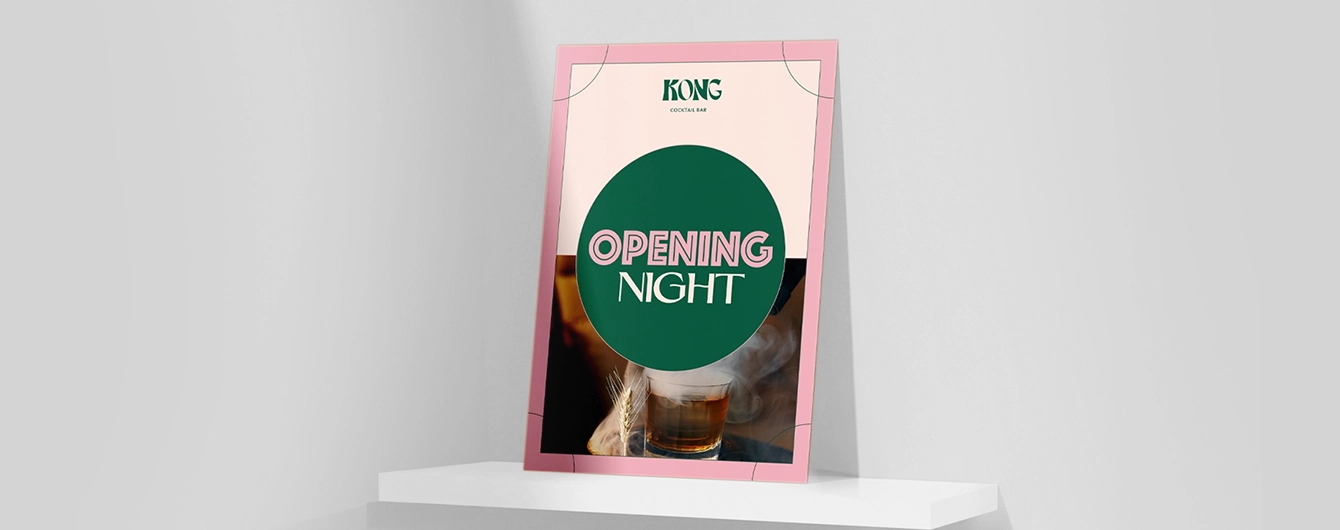
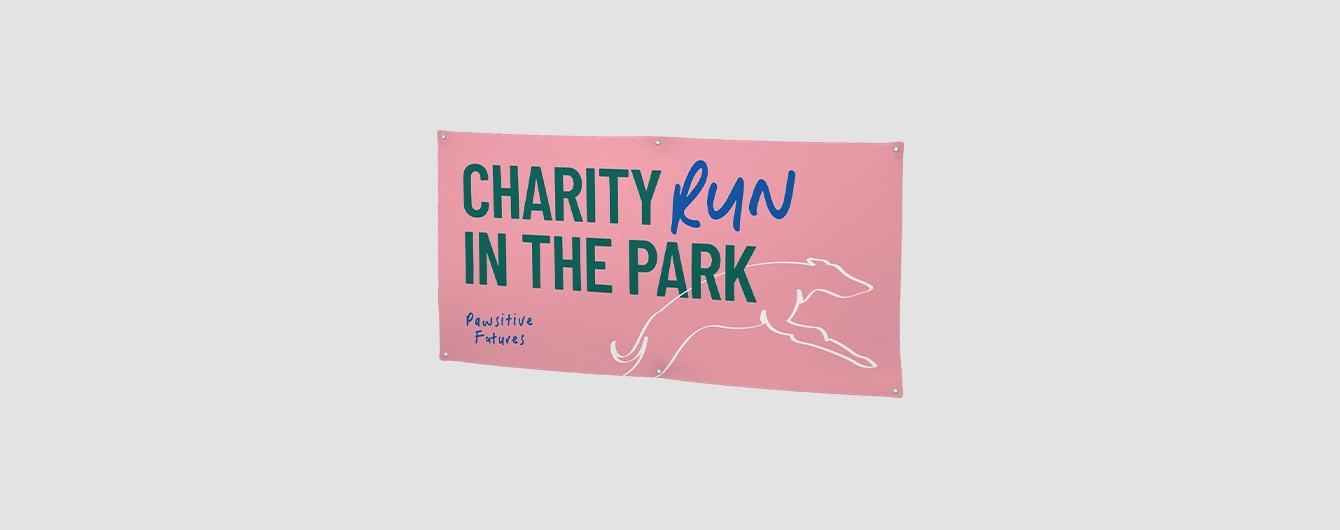
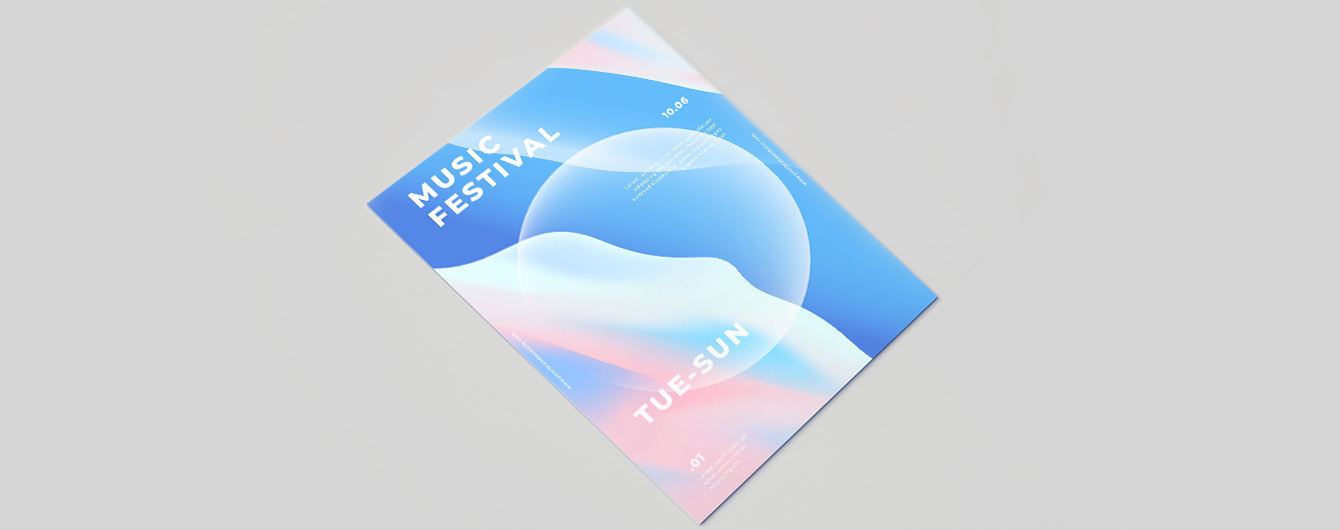
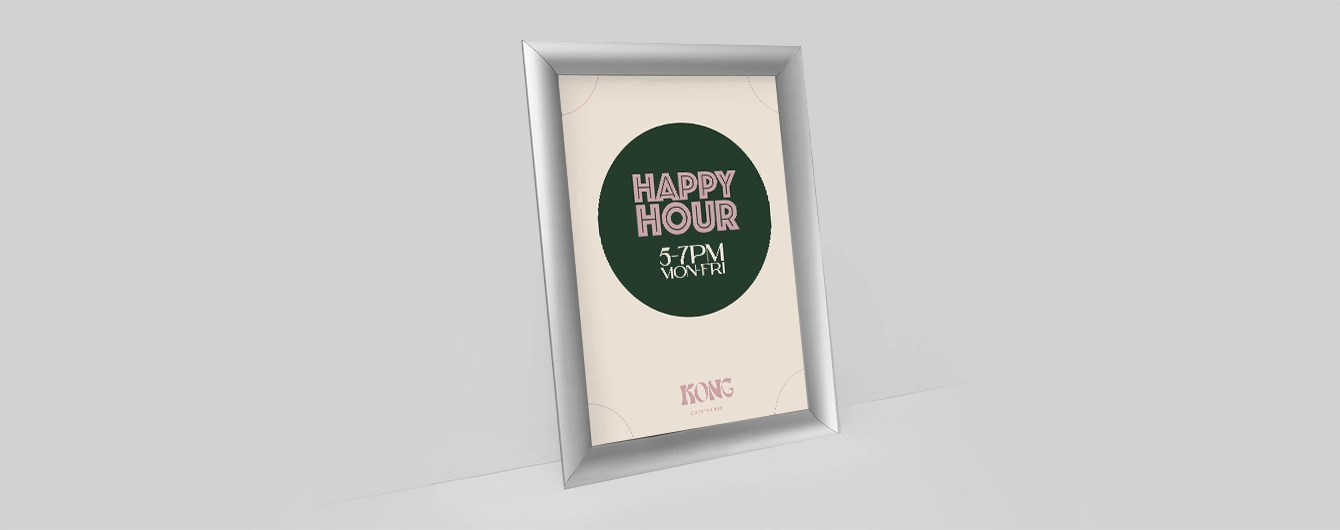
Transform your space and captivate your audience with our Menu Posters. The perfect blend of functionality and aesthetics, use a wall restaurant Menu to elevate your café or restaurant ambience while providing a seamless way for customers to explore your offering. More information

  • Wide range of sizes, including custom size
  • Add on gloss or matt lamination
  • Print multiple Versions at once to save on unit costs
Build Your Own

Customise your product to your exact specification. We’ve got all the options you need to bring your print to life. Let’s make it real!
Get a quick quote with our product presets

Most Popular

A1 portrait Posters printed on 190gsm Satin paper.

Choose quantity

Economy

A3 portrait Posters printed on 120gsm Uncoated paper.

Choose quantity

Premium

A1 portrait Posters printed on 235gsm Satin paper.

Choose quantity

Our stocks

Find your perfect match

Showing 1-41-4 of 4

Matt

With the readability of an uncoated paper and the rich vibrant colours of a coated one, Matt is a lightweight option that gives your print a velvety finish.

Satin

Excellent for coloured graphics, Satin paper gives a vibrant finish to your designs. Available with durable gloss or matt lamination.

Silk

Our most popular paper choice, the clean and crisp finish of Silk paper gives a sharp, defined finish to printed colours and designs.

Uncoated

For a flat modern finish with no surface coating, Uncoated paper offers a soft, touchable texture that's ideal for writing on.
Matt

With the readability of an uncoated paper and the rich vibrant colours of a coated one, Matt is a lightweight option that gives your print a velvety finish.

Available weights

  • 120gsm

Best for

  • Versatile print
  • Affordable print
  • No surface sheen

Credentials

  • Recyclable
  • Sustainably sourced
  • Velvety finish

Satin

Excellent for coloured graphics, Satin paper gives a vibrant finish to your designs. Available with durable gloss or matt lamination.

Available weights

  • 190gsm
  • 235gsm

Best for

  • Vibrant colours
  • Photo quality finish
  • Eye-catching print

Credentials

  • Recyclable
  • Sustainably sourced

Silk

Our most popular paper choice, the clean and crisp finish of Silk paper gives a sharp, defined finish to printed colours and designs.

Available weights

  • 250gsm

Best for

  • Vibrant designs
  • Affordable print
  • Versatile print

Credentials

  • Recyclable
  • Biodegradable
  • FSC certified
  • Chlorine-free

Uncoated

For a flat modern finish with no surface coating, Uncoated paper offers a soft, touchable texture that's ideal for writing on.

Available weights

  • 120gsm

Best for

  • Versatile print
  • Affordable print
  • A matt finish

Credentials

  • Recyclable
  • FSC certified
  • Chlorine-free

Guide to perfect print

Get your print to the presses perfectly with everything you need to get set up

Sample Packs

Get a feel for our range of quality products, papers and special finishes in our free Sample Packs.

Order Now

Downloadable Templates

Use our free templates to create your artwork and make sure your print is set up perfectly for the presses.

Find A Template

Bespoke Service

Can’t find the print you’re looking for? From unique papers to custom sizes and finishes, our Bespoke Team can help with your request.

Get A Quote

Safe area

Templates

Template Size
File type

Quick tips to print perfection

Which file types can I use? arrow
We like to be as flexible as possible, so you can upload your files as PDF, JPEG, TIFF and PNG. PDF's and JPEGs are the most accepted file type across all our products, so we recommend using those wherever possible.
What is bleed? arrow
Bleed is an area of print outside the document that must be added to your artwork before it’s sent off for print. By adding the all-important bleed (a minimum of 3mm on all edges), there’ll be no risk of white space left on your document and it'll be trimmed correctly without cutting into any design. Some products require a different amount of bleed, so be sure to check our downloadable templates to find out the correct amount.
What is safe area? arrow
The safe area is the space inside where your print will be trimmed. Keeping any important parts of your design away from this area will make sure that they aren’t accidentally trimmed off due to the natural movement while your print gets finished. Our downloadable templates will indicate the recommended amount of safe area for your print.
What’s the difference between RGB and CMYK? arrow
​​RGB is the colour gamut used to display images on a computer screen, and stands for Red, Green and Blue. CMYK is the colour gamut used for conventional printing, and stands for Cyan, Magenta, Yellow and Black. Unless you’re printing Giclée Fine Art Prints or Photographic Prints, please set up your artwork in CMYK.
What are Versions? arrow
Our Versions service lets you print multiple designs using the same product specifications. For instance, if you have five different designs that share the same size, orientation, and paper stock, you can print them all at once using this service. By opting for Versions, you're increasing your overall quantity, which means you'll enjoy a lower cost per unit. To use Versions, simply select "yes" in the product builder when prompted with "Do you want to print more than one design?". When using Versions, the quantity you enter in the product builder applies to each design. For example, if you choose a quantity of 10 with 5 Versions, you'll receive a total of 50 prints.
What is personalisation? arrow
Personalisation is a simple, cost-effective way to tailor each of your individual prints. You can use personalisation for different text elements like names, addresses, and even personalised messages. However, if the text content on your design is the same for all prints, you don't need personalisation. There are two main options for personalising your print - you can either choose to add the personalised elements to your artwork yourself, or send us your artwork with a placeholder and a CSV containing a list of all the names/ personalised elements, and we’ll merge the two for you.
Why do I need to embed fonts? arrow
If you don’t embed fonts and your document is opened on another computer system that doesn’t have access to the original fonts, different fonts will be substituted instead. This could really affect the look of your finished print. Embedding fonts into your original design will stop them from changing.
Everything you need to know about resolution arrow
Remember to save your artwork out at a minimum of 300dpi resolution. This will ensure that when printed, your artwork quality is as crisp as possible.
Where can I find templates for shapes? arrow
If you've chosen a shape for your print (such as arch, wavy, circle or pebble where available), you'll find templates for these shapes on additional layers within the standard square or rectangular template. Download the template for the correct size, then delete the layers you don't need, leaving the layer for your chosen shape as a guide while creating your artwork. Delete all template layers before saving and uploading your artwork. This will prevent the template from being printed on top of your design.

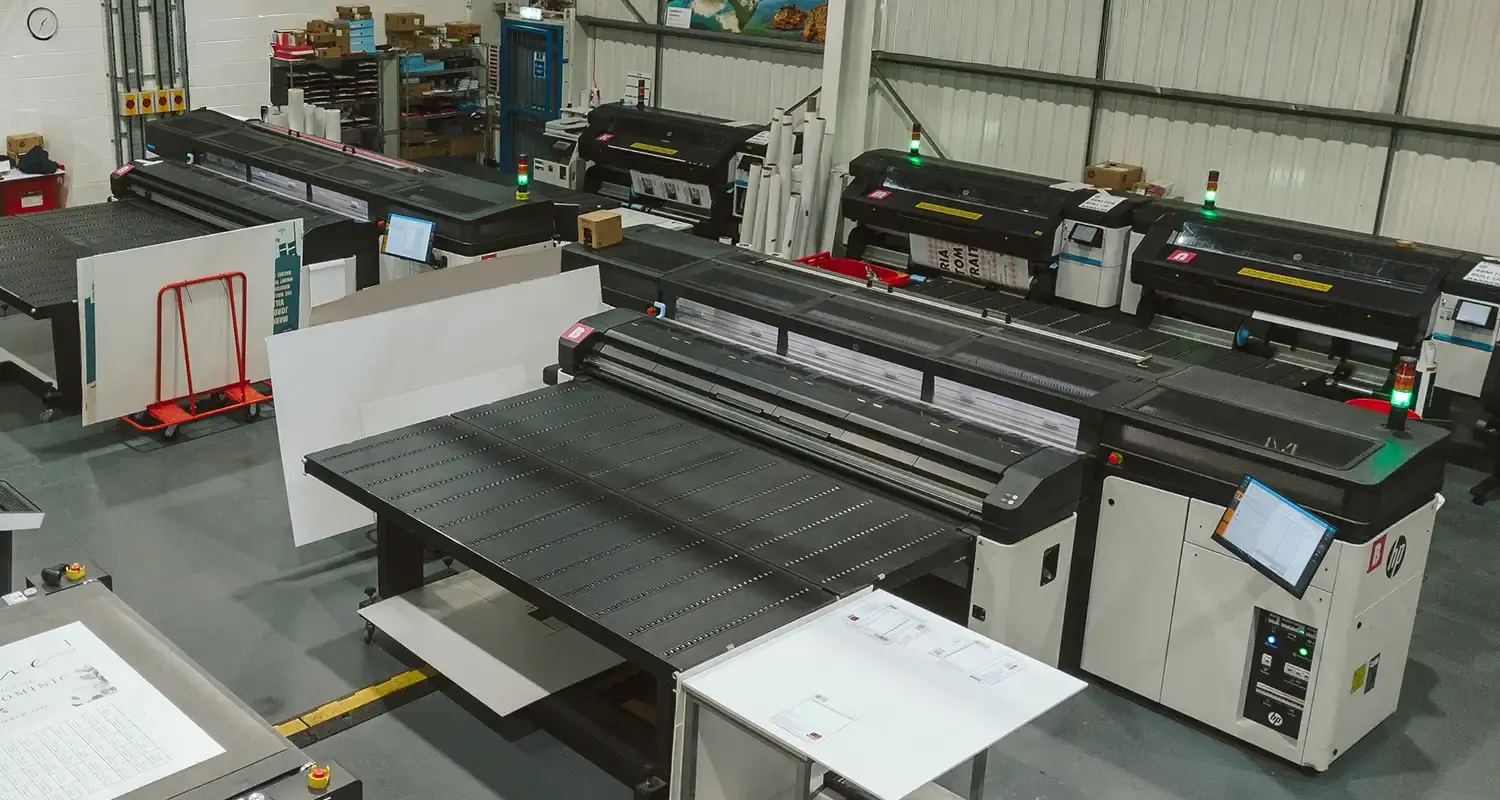
Where large format comes to life

Behind every order is a dedicated facility run by a team that lives and breathes large format print. Years of experience, market leading equipment, and a process refined to give you consistent high quality — so you can hand over your project and know it's in professional hands.

Explore More
Banner image

More information

Enhance your restaurant's brand and visibility with our premium Menu printing services, offering a choice between papers with a slight sheen or a matt finish for a sleek, professional look. Add lamination to your Menu Posters for extra protection and durability, ensuring your Menus withstand frequent handling. With a wide range of sizes available, including custom dimensions, our printed Menus can be tailored to perfectly suit your restaurant's needs. Additionally, take advantage of printing multiple Versions at once to significantly save on unit costs. Trust us to deliver high-quality restaurant Menus that make a lasting impression.

Frequently asked questions

Got a question? We might have answered it here. If not, feel free to get in touch with The Team, we’re here to help! 

How long will my print take to arrive?

Find out how quickly you can get your print by filling in your selected options in the product builder, and check out the delivery options at the bottom. You can also explore the available delivery options from your basket once you’ve added a product. 


You’ll notice that if you put multiple items into your basket, they may be sorted into “delivery groups” based on delivery days, in order to help us ship your items as quickly and efficiently as possible. Find out more about delivery groups here.

Once your order has been dispatched you’ll get an email from us which includes a tracking code. You can also easily track the status of your delivery at any time by logging into your Account and checking the Orders page. 

Find out more about our delivery services here, including details of delivery options based on your region. 

What should I know before preparing artwork for print?

Here are the 7 key things you need to know before preparing your artwork to be printed with us:

1. We provide downloadable templates:
On most of our product pages, you can find free downloadable templates to help you set up your artwork for print. They’re available in AI, IDML and PDF formats to suit the design software you’re working in. Our downloadable templates include key information on creating artwork as well as instructions on how to save out your print-ready PDF. 

2. You need to include bleed:
Bleed is an area of print outside the document that must be added to your artwork before it’s sent off for print. By adding the all-important bleed (a minimum of 3mm on all edges), there’ll be no risk of white space left on your document and it'll be trimmed correctly without cutting into any design. Some products require a different amount of bleed, so be sure to check our downloadable templates to find out the correct amount. 

3. Keep in mind the safe area:
The safe area is the space inside where your print will be trimmed. Keeping any important parts of your design away from this area will make sure that they aren’t accidentally trimmed off due to the natural movement while your print gets finished. Our downloadable templates will indicate the recommended amount of safe area for your print. 

4. The difference between RGB and CMYK:
​​RGB is the colour gamut used to display images on a computer screen, and stands for Red, Green and Blue. CMYK is the colour gamut used for conventional printing, and stands for Cyan, Magenta, Yellow and Black. Unless you’re printing Giclée Fine Art Prints or Photographic Prints, please set up your artwork in CMYK. 

5. Embed your fonts:
If you don’t embed fonts and your document is opened on another computer system that doesn’t have access to the original fonts, different fonts will be substituted instead. This could really affect the look of your finished print. Embedding fonts into your original design will stop them from changing. Find out how to embed your fonts here.

6. Check your image resolution:
For the best print results, all artwork files should be at least 300dpi (dots per inch) when saved at the actual size they will appear in your design. This ensures that your final printed project is sharp and clear, not blurry or pixelated.

7. How to export a PDF:
Exporting your design into a print-ready PDF is easy. We’ve created some handy video guides which will take you through the process which you can find here.

Find lots more artwork tips here, including if you’re printing any special finishes such as foiling. For products with multiple pages, such as Brochures or Booklets, explore our book printing guide here. 

What is a Professional File Check?

For a small fee, an expert member of our technical team will manually review your artwork before it goes to print so you can press 'go' with complete confidence. 


If you've ordered multiple products, you can choose to add a Professional File Check to individual jobs or your entire order. We'll check your file for common print setup issues and, where possible, fix them before production. If we find anything that needs your attention, we'll contact you and place your order on hold until you've updated and re-uploaded your artwork. 

We'll check things like: 
  • Image resolution for print quality 
  • Bleed and safe areas 
  • Page count and page order on folded products
  • Corrupt, blank or password-protected files 
  • Templates left on artwork 
  • Folds, cut lines, drill holes and binding areas (where applicable) 
  • Foil alignment and minimum line widths (where applicable) 
  • Personalisation files and version quantities (where applicable) 

A Professional File Check doesn't include: 
  • Spelling, grammar or proofreading 
  • Design, layout or text sizing advice 
  • Colour accuracy or colour mode checks (RGB/CMYK) 
  • QR code testing 
  • Calendar date checks 
  • Post-print quality inspection beyond our standard production processes 
See a full list of what's included here. 

Adding a Professional File Check won't delay your estimated delivery date, unless we need you to amend and re-upload your artwork after we've reviewed it.

To upgrade to a Professional File Check, simply select the option when you upload your artwork. We'll take care of the rest and let you know if we spot anything that needs your attention before your job goes to print.

How do I print with Canva?

Printing with Canva is quick and easy with Printed.com. Select your product, create your artwork in Canva, and export it as a print-ready PDF. Once uploaded to Printed.com, we handle the rest! 

For help with accurate sizing, bleed and export settings, please visit our Canva Support page for step-by-step guides and video tutorials. Plus, you can explore our library of free pre-formatted Canva templates to get started.

How to design a Menu?

Designing a Menu involves creativity and strategic planning. Key steps include aligning it with your brand, organising content clearly, ensuring readability, highlighting key items, using enticing descriptions and quality images, choosing the right material and Menu type for the surroundings and what you require is essential. Treat your Menu as a conversation with your customers, guiding them through your offerings with clarity and charm.

How do the Posters arrive?

Our Menu Posters are carefully rolled and packed in durable tubes to ensure they remain intact and free from creases or bends.

What paper stocks are available?

We offer a diverse range of paper stocks to suit various needs and preferences. Each paper stock has been carefully selected to offer exceptional quality and sustainability. Explore the eco credentials and other qualities of each paper on the Menu Posters page. Whether you're looking for something unique, or something budget friendly, we've got a paper to suit! 

Menu Posters

1

Our product presets

Build your own or choose from one of our preset options

2

Size

Please select a size to continue
3

Orientation

4

Paper

i
The kind of paper you choose for your print will determine how your colours look. For example, uncoated papers such as Tintoretto Gesso create a slightly more muted finish than a coated paper such as Silk, which is best for bright colours. Don't forget to consider weight as well. Weight of paper is measured in GSM (Grams per Square Meter). The higher the number you choose, the thicker it is. For example, the paper you find in your home printer is around 80gsm, whereas luxury Business Cards are usually between 300 and 400gsm.'
i
The kind of paper you choose for your print will determine how your colours look. For example, uncoated papers such as Tintoretto Gesso create a slightly more muted finish than a coated paper such as Silk, which is best for bright colours. Don't forget to consider weight as well. Weight of paper is measured in GSM (Grams per Square Meter). The higher the number you choose, the thicker it is. For example, the paper you find in your home printer is around 80gsm, whereas luxury Business Cards are usually between 300 and 400gsm.'

5

Quantity

6

Extras

7

Select your Delivery options

Delivery type

Product Summary

Our product presets

Build Your Own

Size

-

Orientation

-

Printed sides

One Side

Paper

-

Paper weight

-

Quantity

-

Lamination

No Lamination

Loading...