


 UK
UK 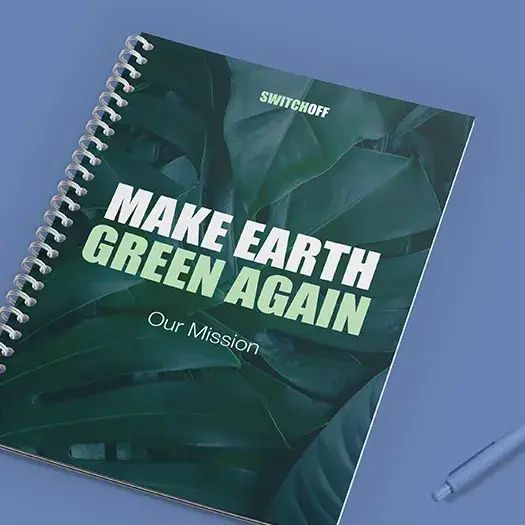
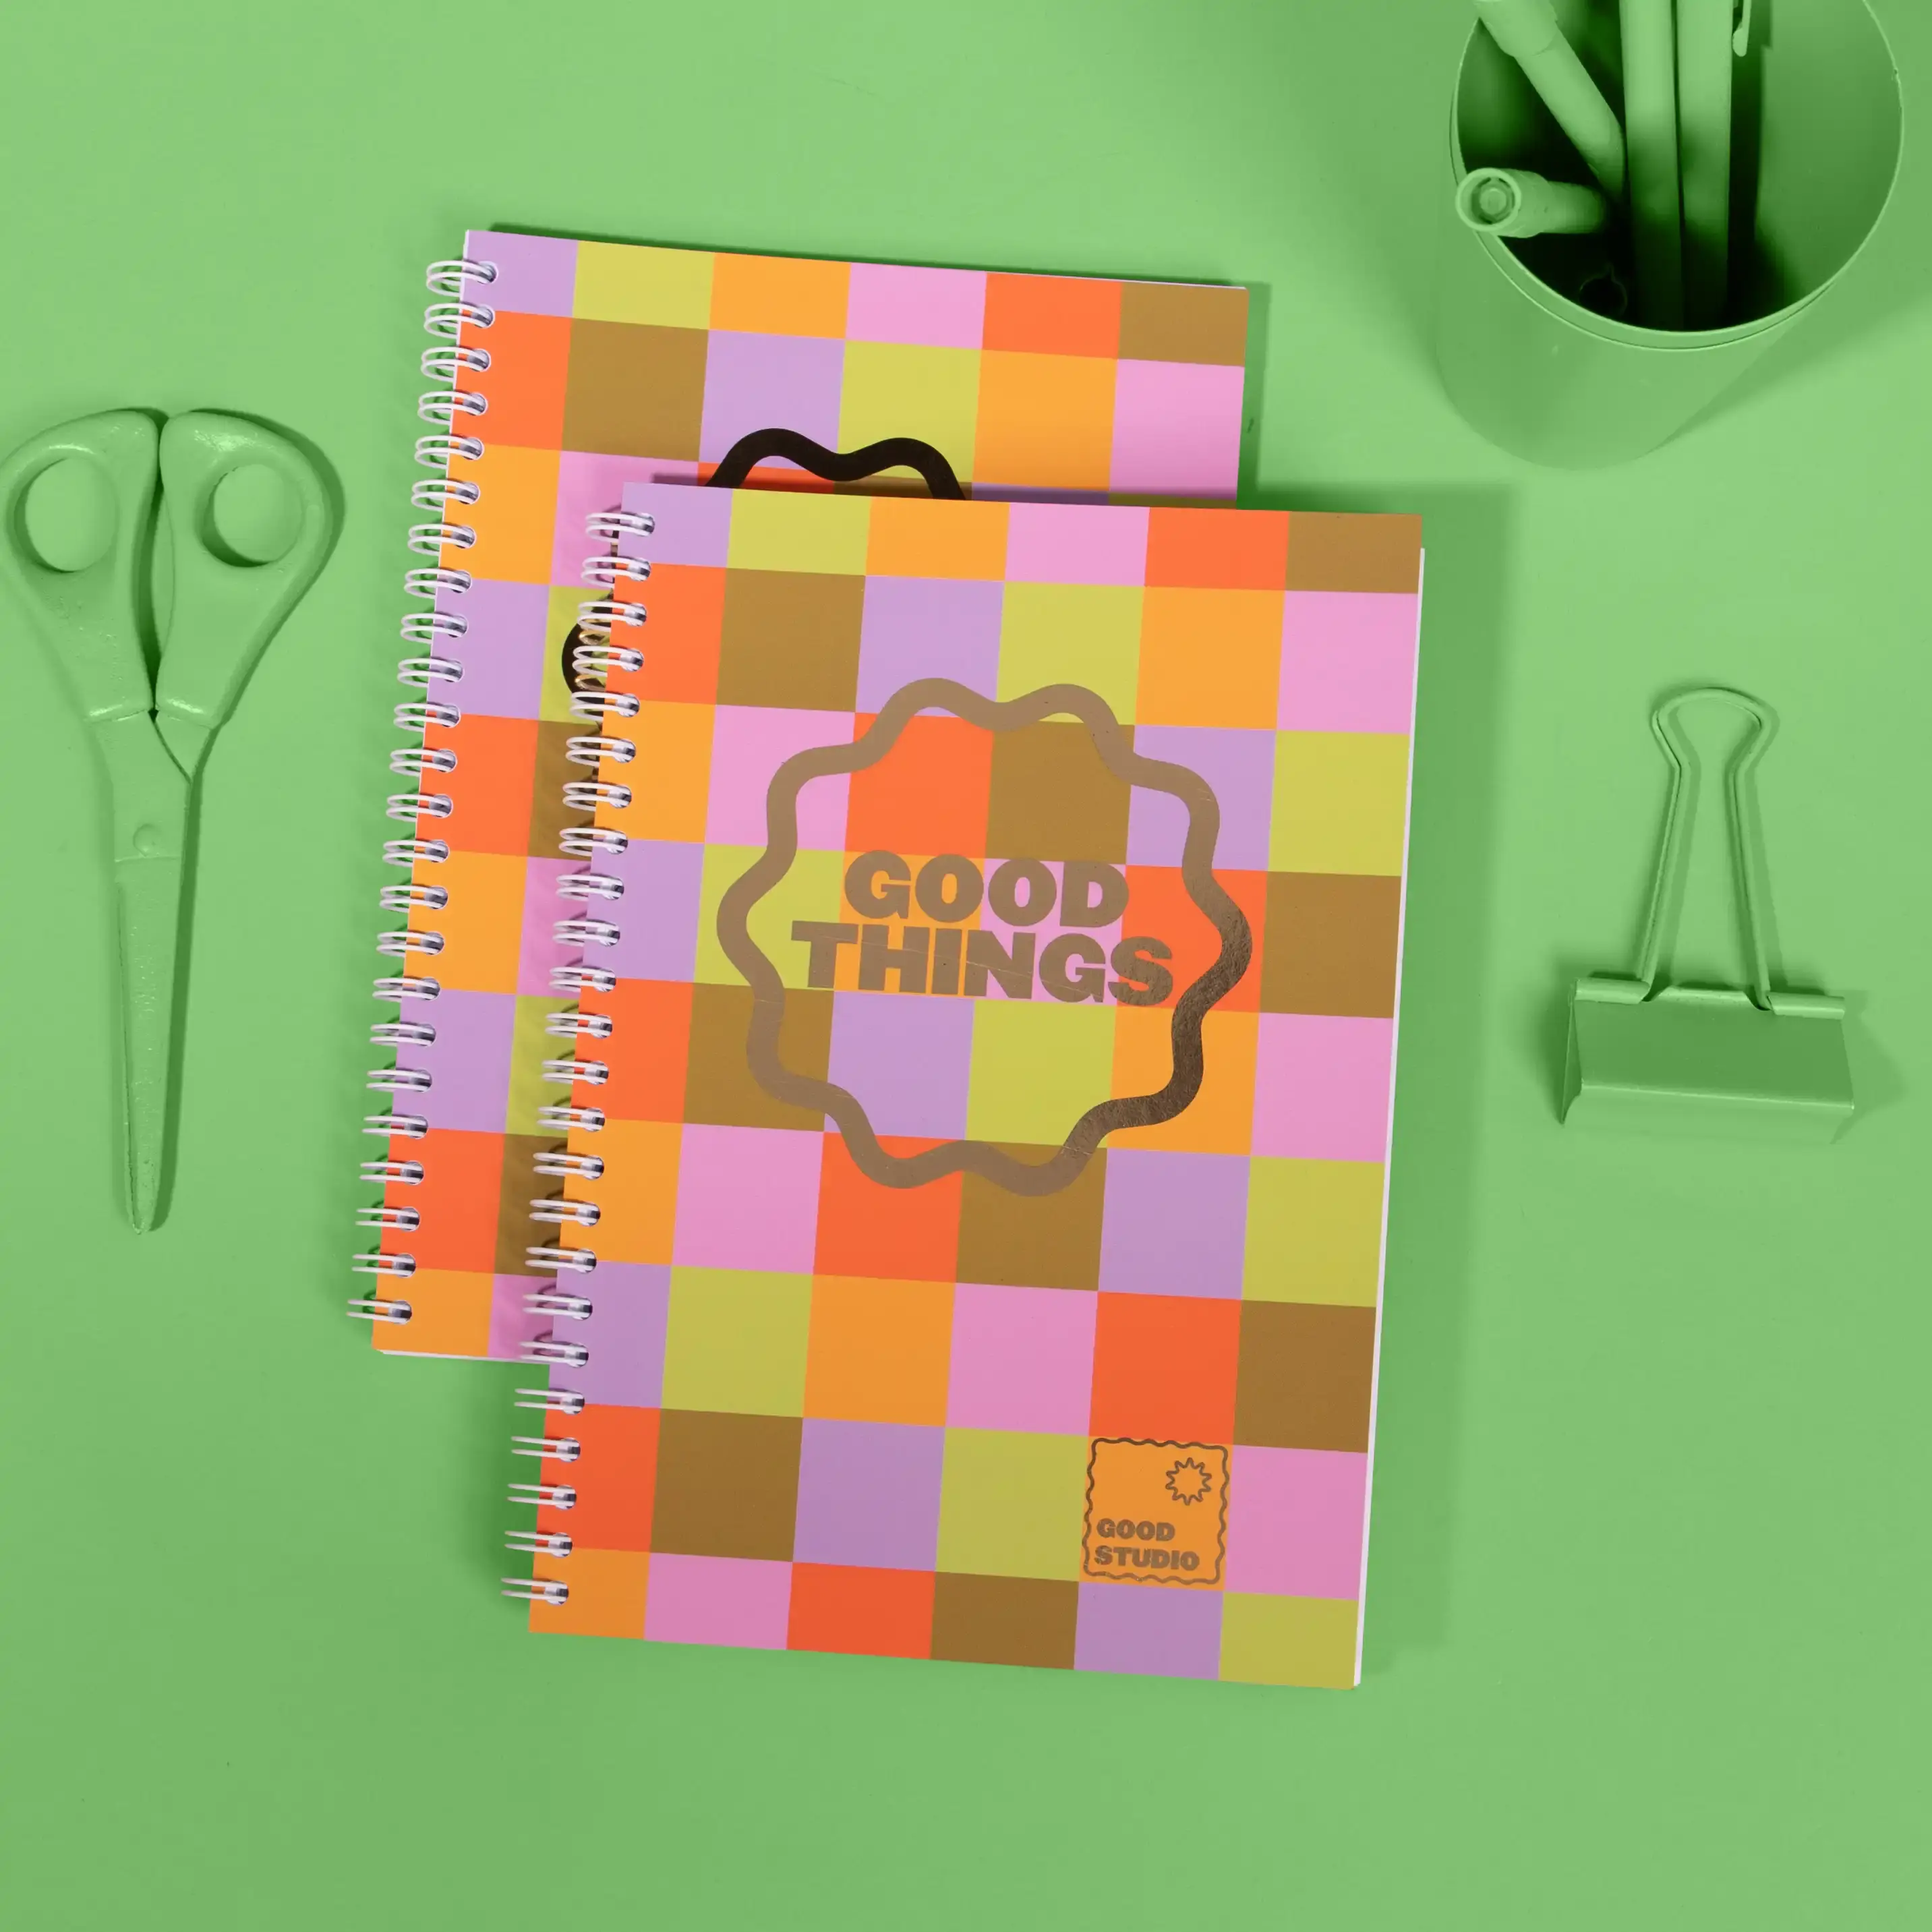
Branded Notebooks
From £ 39.00 (ex VAT)

 4.6
4.6
- Double-sided cover printing
- 130 ruled inner pages
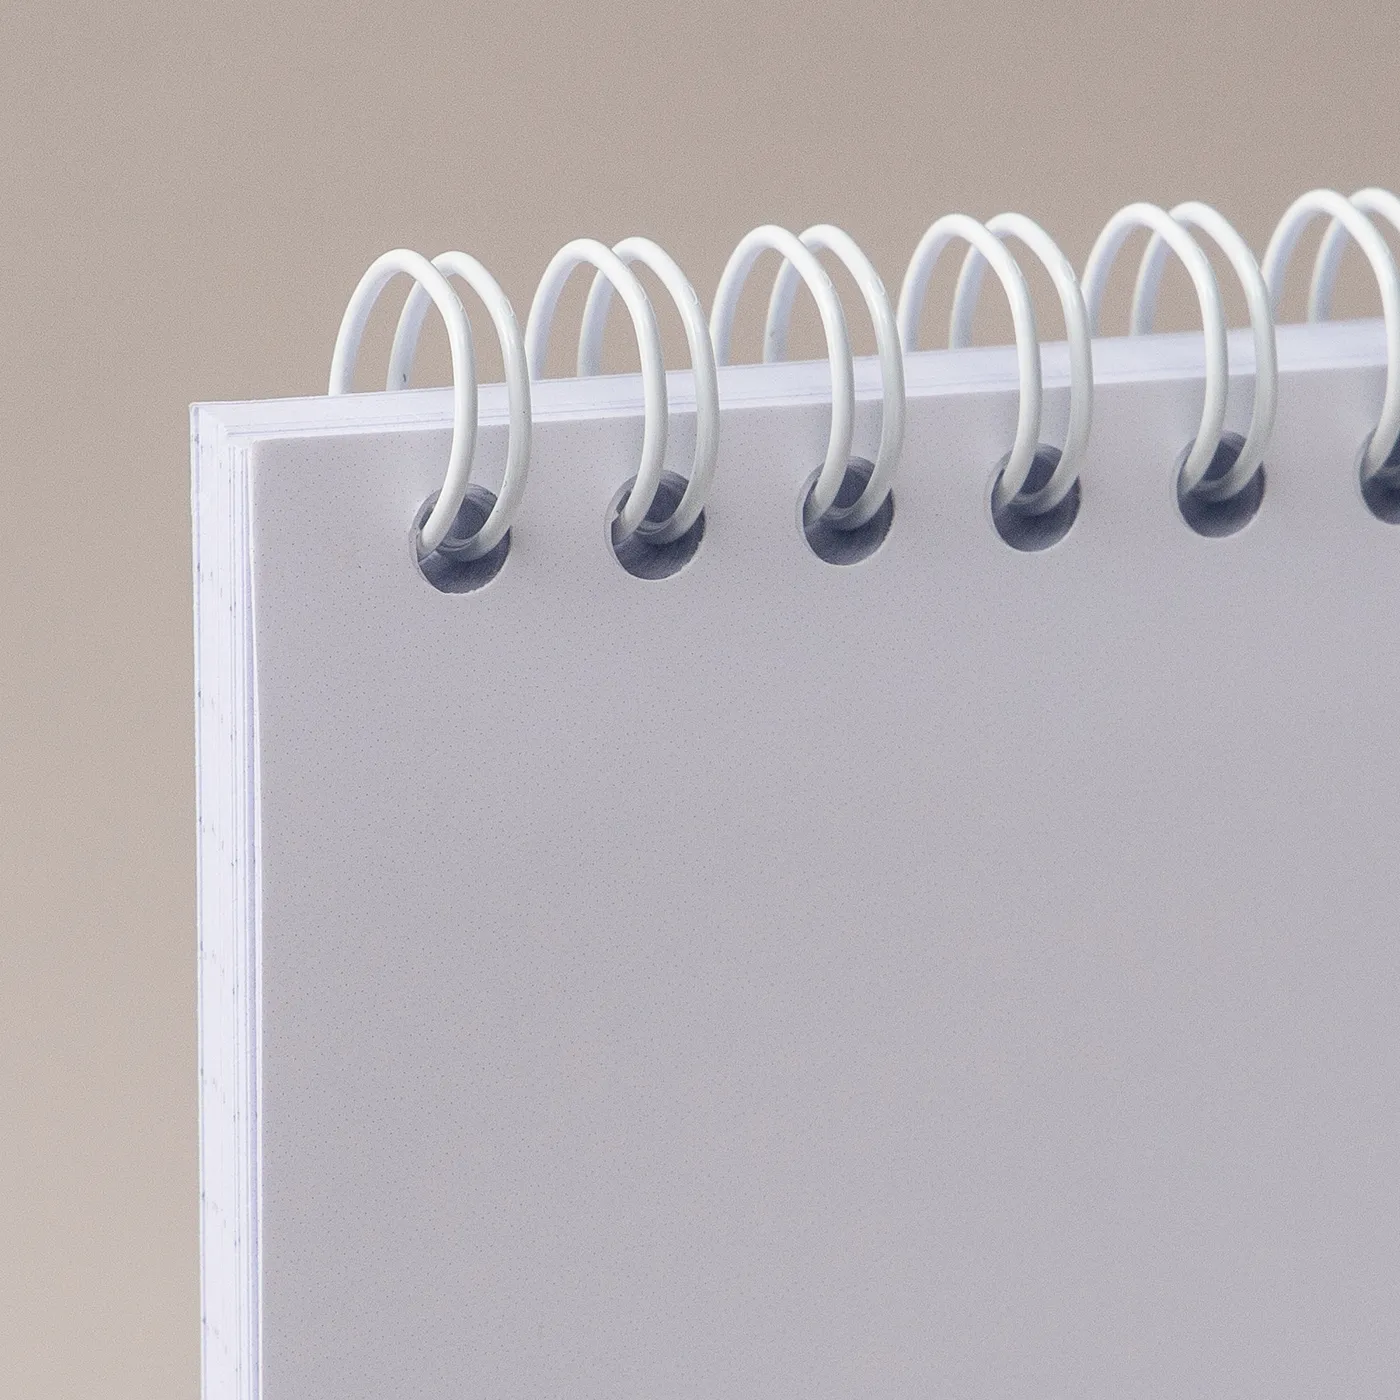
- Sturdy white wiro binding
- Explore our book printing guide here
Customise your product to your exact specification. We’ve got all the options you need to bring your print to life. Let’s make it real!
Most Popular
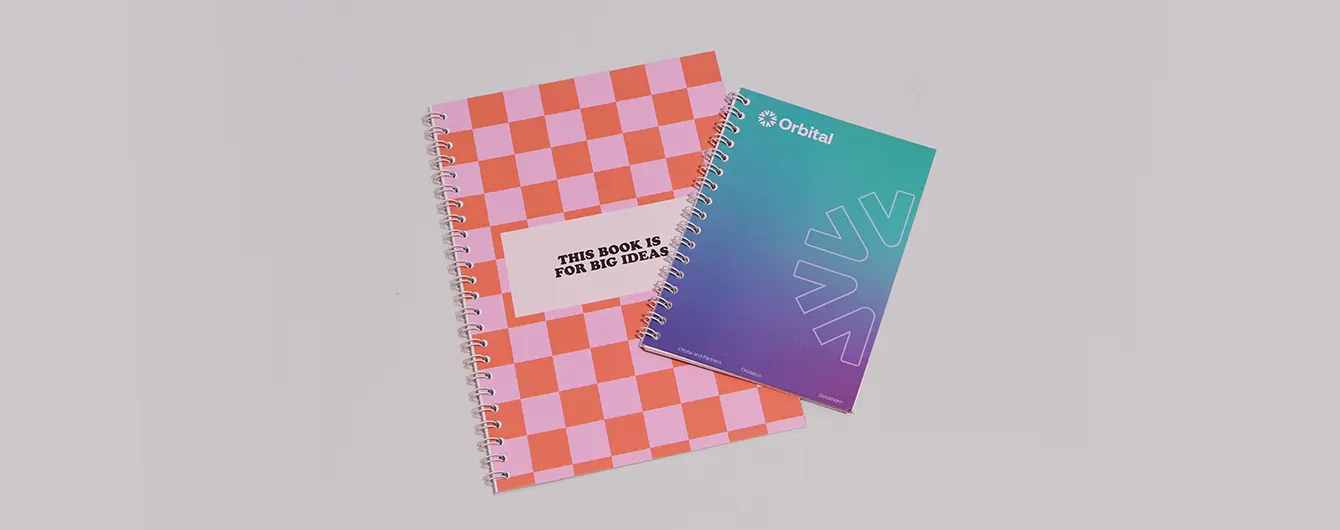
A5 portrait Notebooks with double-sided covers printed on 350gsm Silk paper, and 130 ruled inner pages printed on 100gsm Uncoated paper. Bound with sturdy white spiral wire.
Foiled
A5 portrait Notebooks with double-sided covers printed on 350gsm Silk paper with velvet lamination and gold foil. 130 ruled inner pages printed on 100gsm Uncoated paper. Bound with sturdy white spiral wire.
Our stocks
Find your perfect match

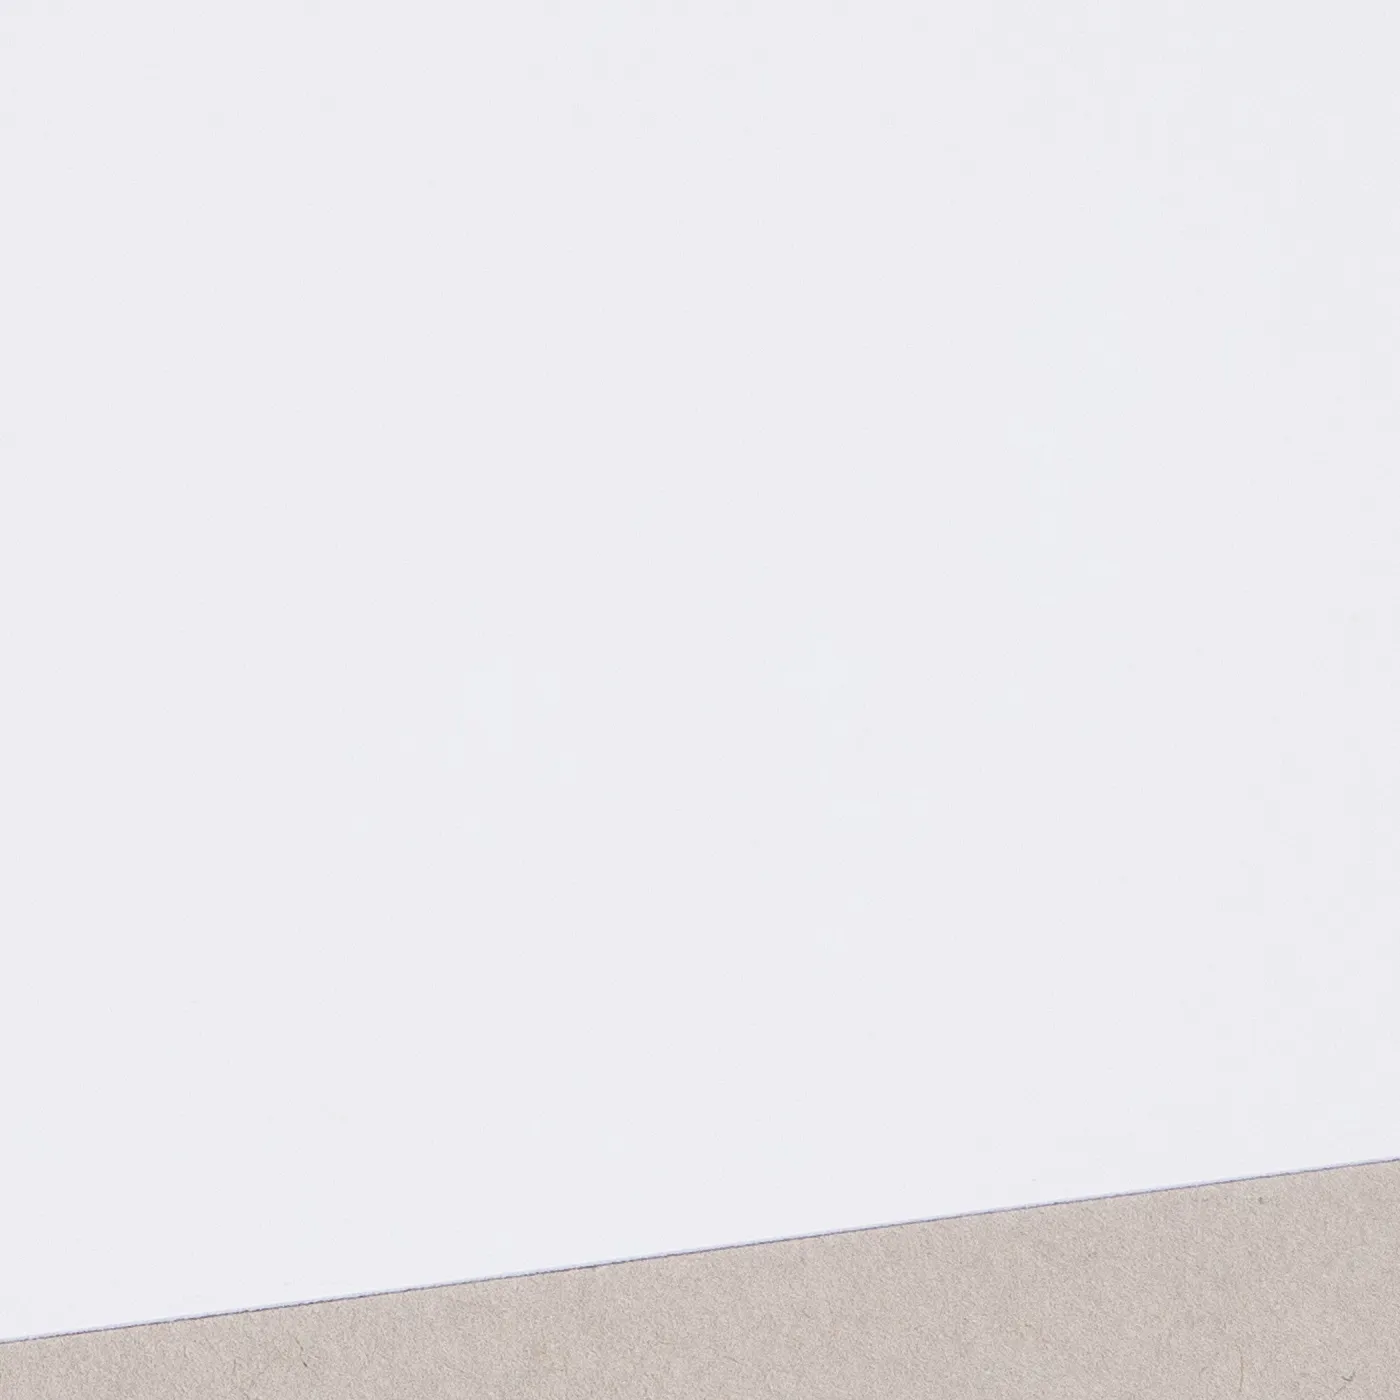
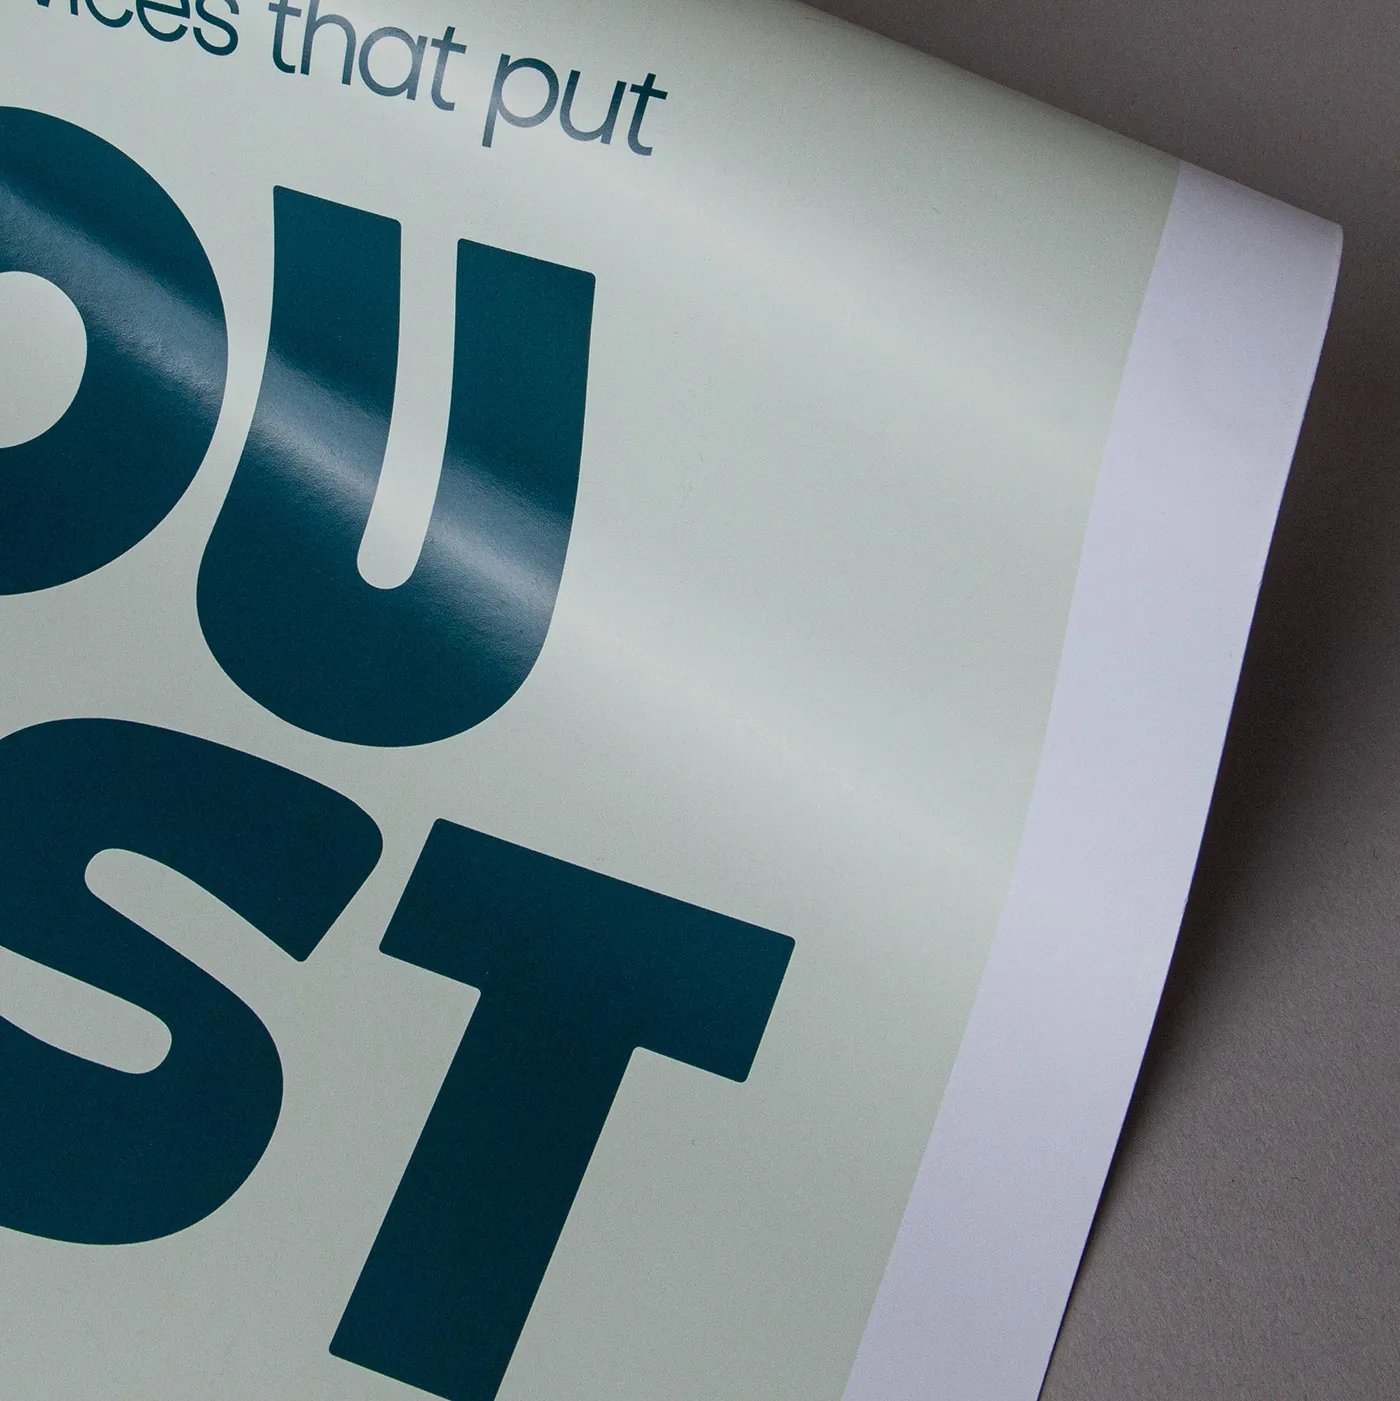
Silk
Our most popular paper choice, the smooth satin finish of Silk paper gives a clean, crisp look to printed colours and designs.

Uncoated
For a flat modern finish with no surface coating, Uncoated paper offers a soft, touchable texture that's ideal for writing on. It gives print colours a sophisticated feel and a muted finish.
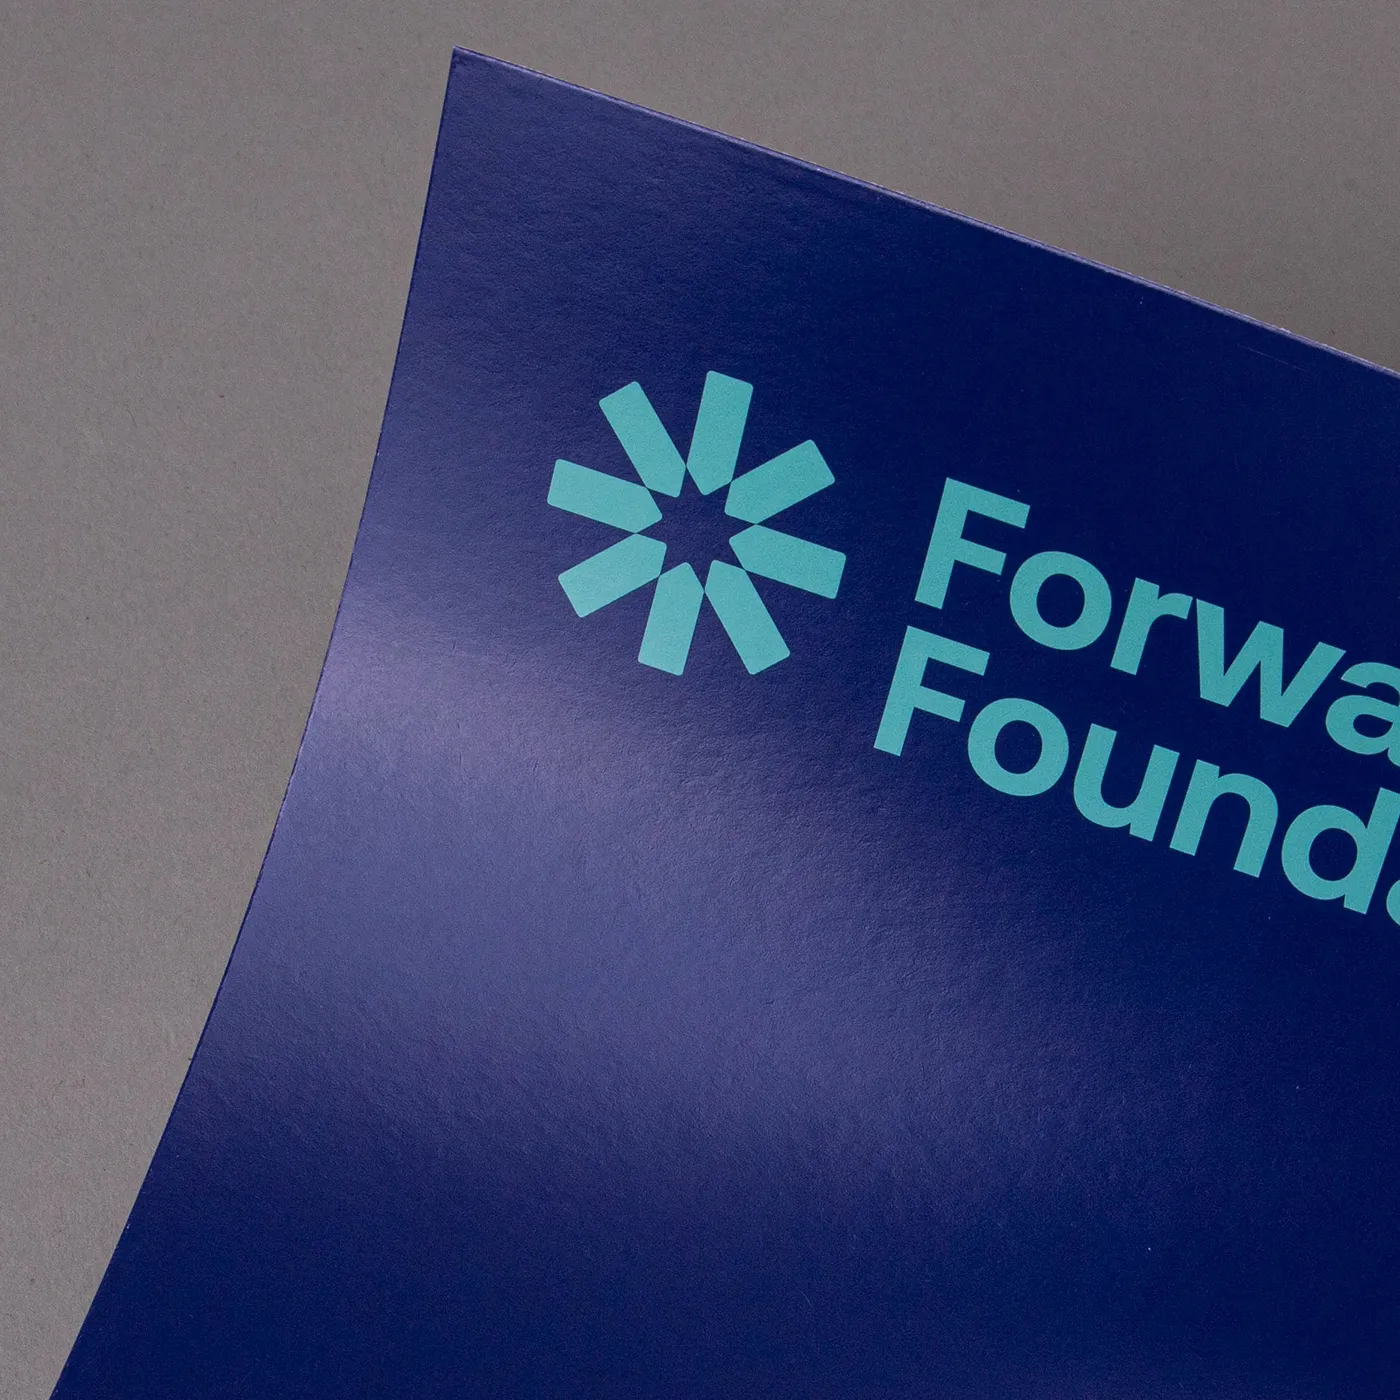
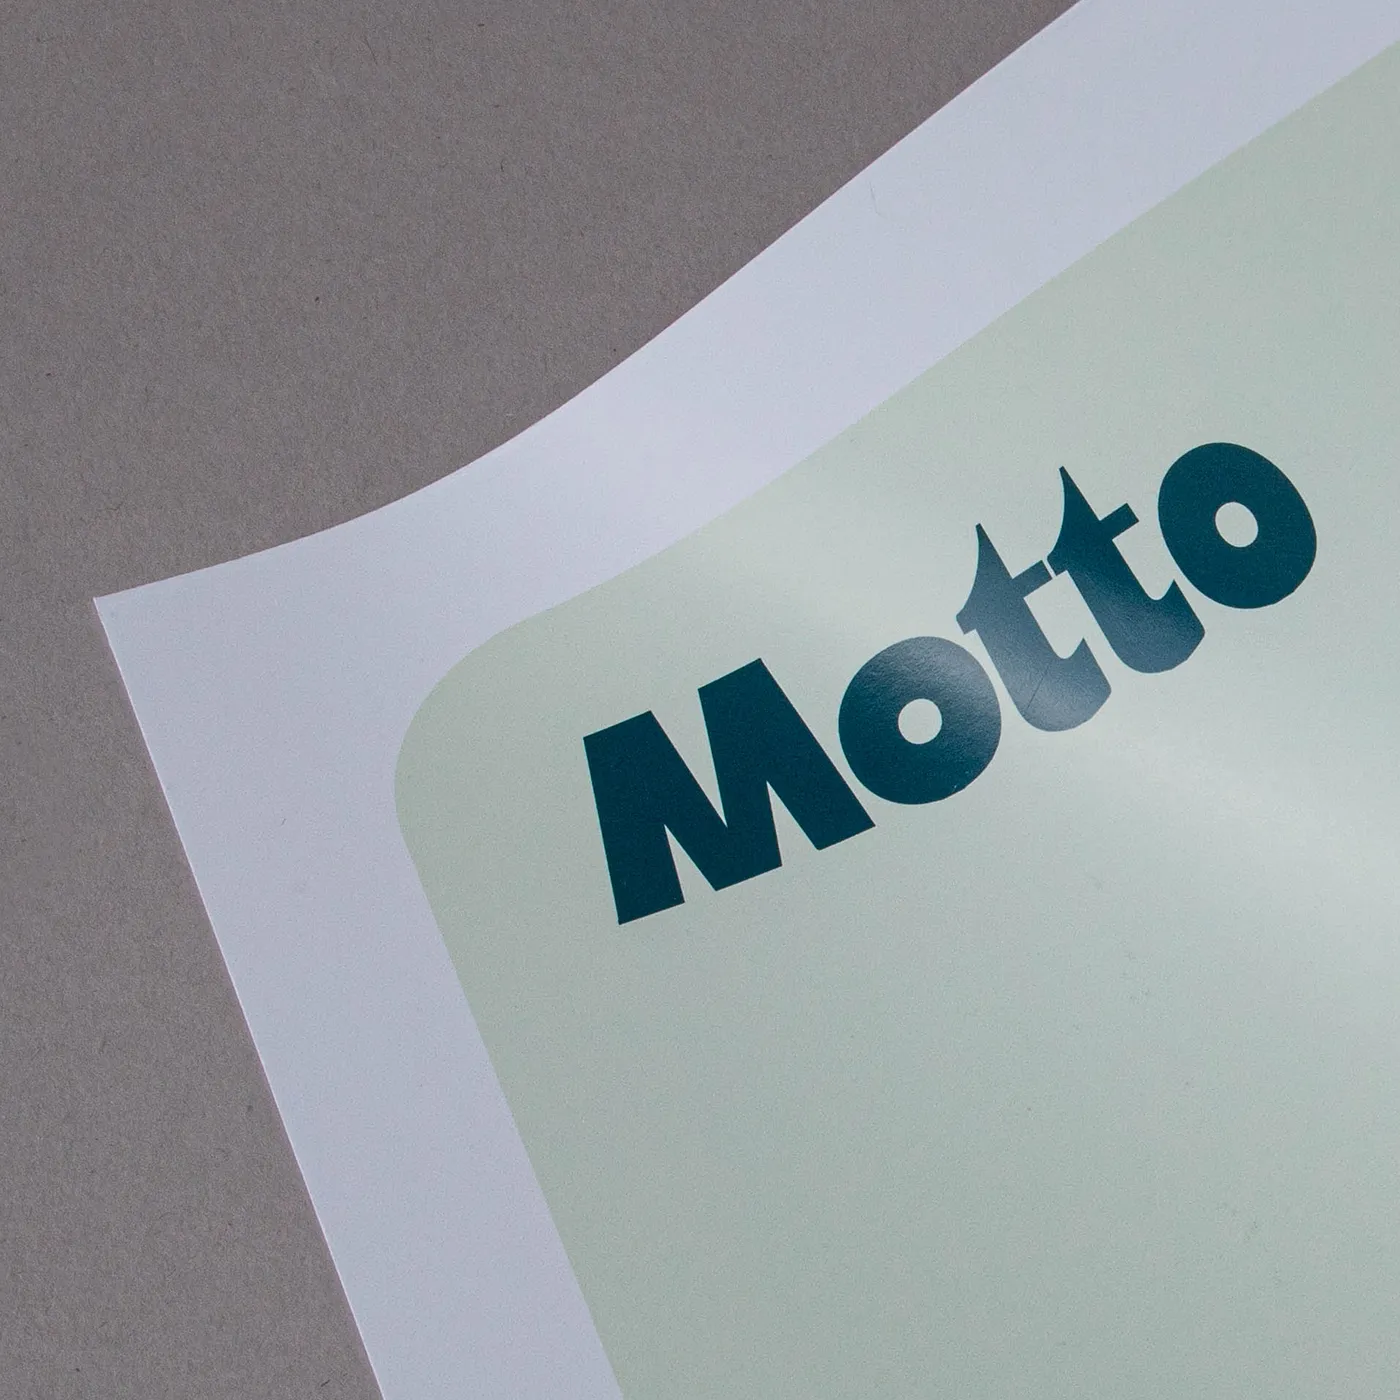
Silk
Our most popular paper choice, the smooth satin finish of Silk paper gives a clean, crisp look to printed colours and designs.
Available weights
- 350gsm
Best for
- Vibrant designs
- Affordable print
- Versatile print
Credentials
- Recyclable
- Biodegradable
- FSC certified
- Chlorine-free


Uncoated
For a flat modern finish with no surface coating, Uncoated paper offers a soft, touchable texture that's ideal for writing on. It gives print colours a sophisticated feel and a muted finish.
Available weights
- 100gsm
Best for
- Versatile print
- Affordable print
- A matt finish
Credentials
- Recyclable
- FSC certified
- Chlorine-free
Guide to perfect print
Get your print to the presses perfectly with everything you need to get set up
Sample Packs
Get a feel for our range of quality products, papers and special finishes in our free Sample Packs.
Downloadable Templates
Use our free templates to create your artwork and make sure your print is set up perfectly for the presses.
Bespoke Service
Can’t find the print you’re looking for? From unique papers to custom sizes and finishes, our Bespoke Team can help with your request.
Safe area
Templates
- Branded Notebooks
- No elements found. Consider changing the search query.
- List is empty.
- A5 Branded Notebook
- A5 Branded Notebook
- A5 Branded Notebook
- No elements found. Consider changing the search query.
- List is empty.
- Illustrator
- InDesign
- No elements found. Consider changing the search query.
- List is empty.
Quick tips to print perfection

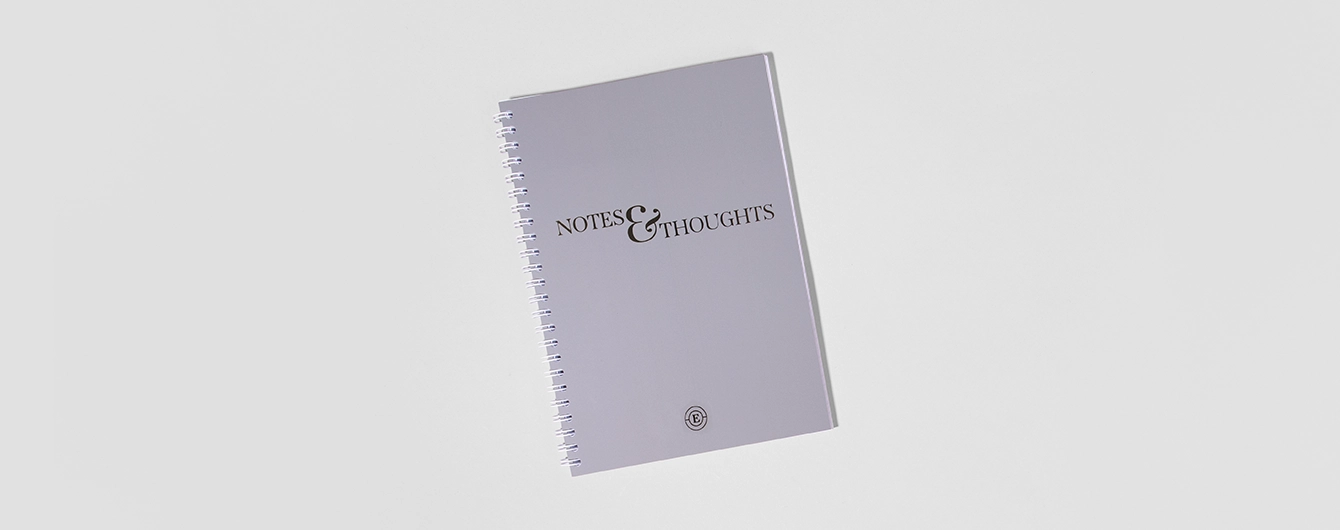

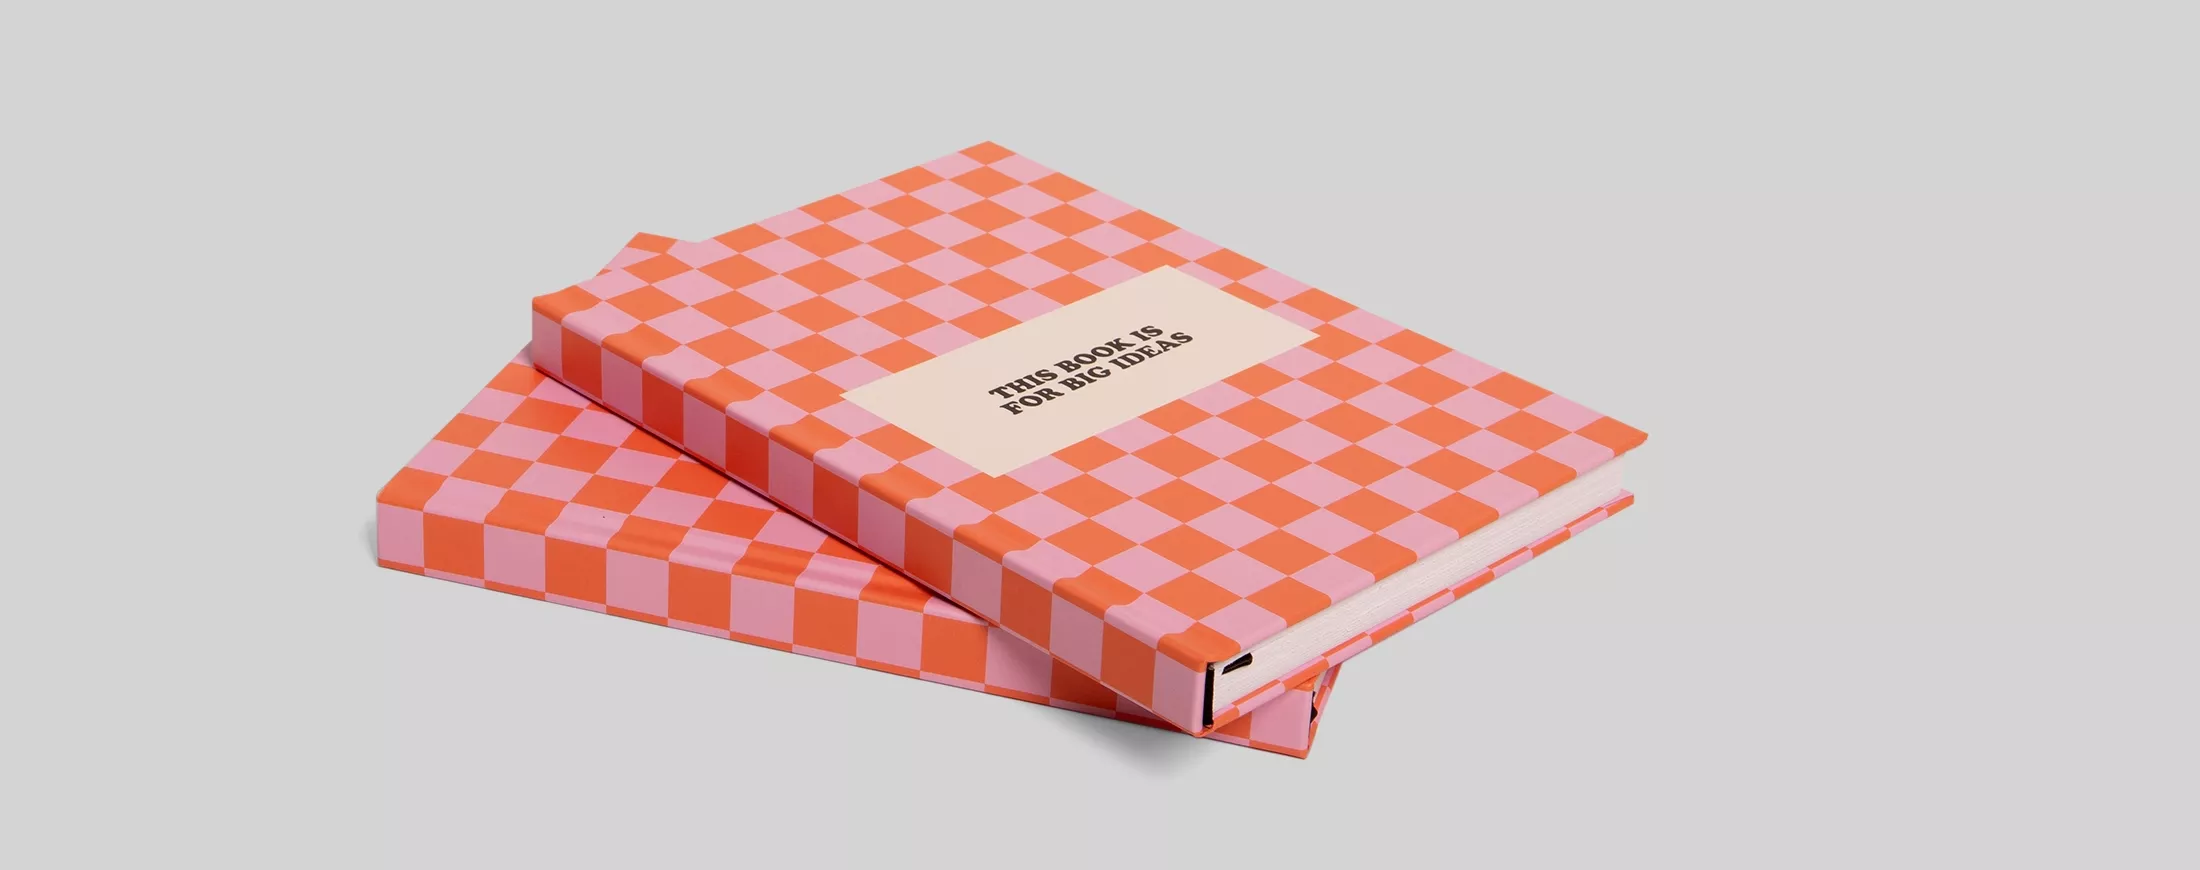
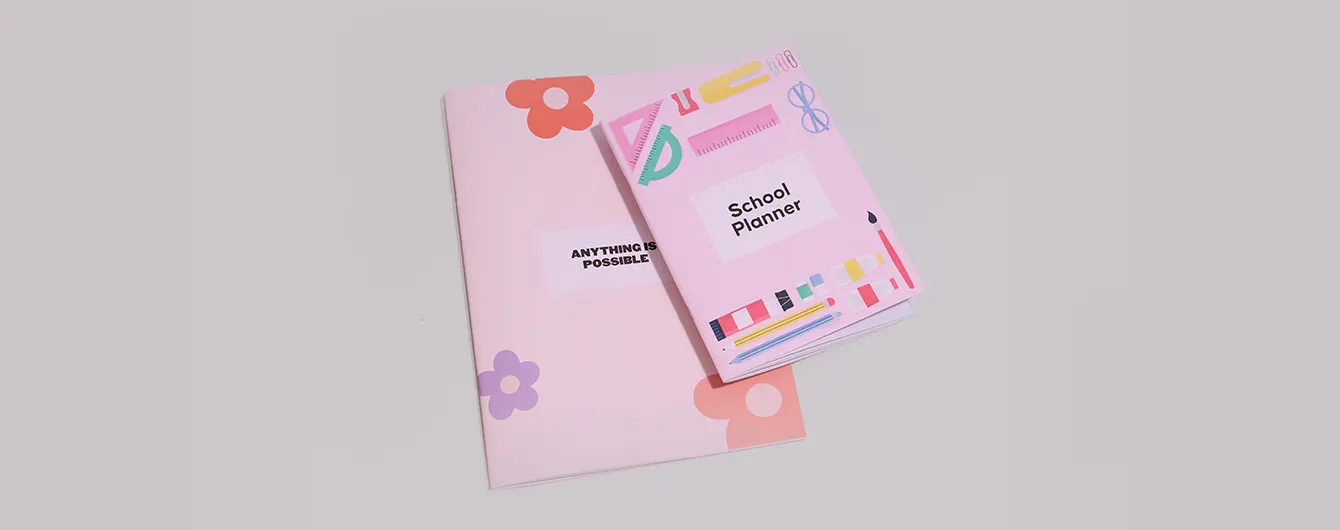
Your guide to great book printing
Explore our expert guidance, practical tips and inspiration to help you create a book that's right for your project.
Learn More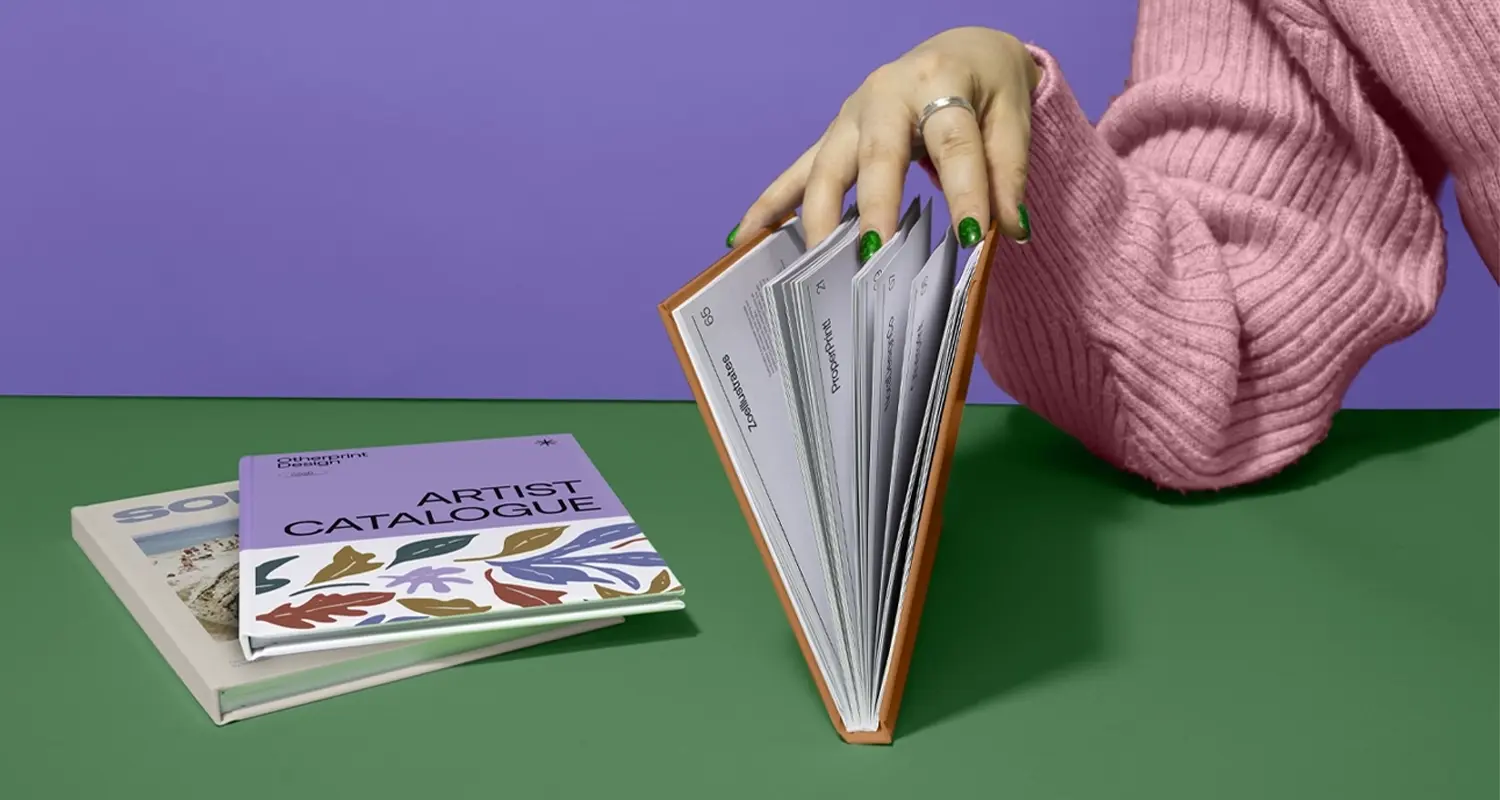
More information
Enhance your corporate stationery with our premium Branded Notebooks, the perfect blend of style and functionality. Our corporate Notebooks feature luxurious Silk 350gsm outer covers and Uncoated 100gsm pages, offering 130 ruled inner pages for all your business notes. The white spiral binding ensures durability and a professional finish, while the option to add velvet lamination and gold or silver foiling elevates your custom logo Notebook to a new level of sophistication. Whether you're looking for a business Notebook to impress clients or a custom Branded Notebook for your team, our products deliver quality and elegance that sets your brand apart.
Frequently asked questions
Got a question? We might have answered it here. If not, feel free to get in touch with The Team, we’re here to help!
- How long will my print take to arrive?
- What should I know before preparing artwork for print?
- What is a Professional File Check?
- How do I print with Canva?
- What are Branded Notebooks?
- What can Branded Notebooks be used for?
- Is double-sided cover printing available on Branded Notebooks?
- How do I set my artwork up for foiling?
How long will my print take to arrive?
Find out how quickly you can get your print by filling in your selected options in the product builder, and check out the delivery options at the bottom. You can also explore the available delivery options from your basket once you’ve added a product.
What should I know before preparing artwork for print?
What is a Professional File Check?
For a small fee, an expert member of our technical team will manually review your artwork before it goes to print so you can press 'go' with complete confidence.
- Image resolution for print quality
- Bleed and safe areas
- Page count and page order on folded products
- Corrupt, blank or password-protected files
- Templates left on artwork
- Folds, cut lines, drill holes and binding areas (where applicable)
- Foil alignment and minimum line widths (where applicable)
- Personalisation files and version quantities (where applicable)
- Spelling, grammar or proofreading
- Design, layout or text sizing advice
- Colour accuracy or colour mode checks (RGB/CMYK)
- QR code testing
- Calendar date checks
- Post-print quality inspection beyond our standard production processes
How do I print with Canva?
What are Branded Notebooks?
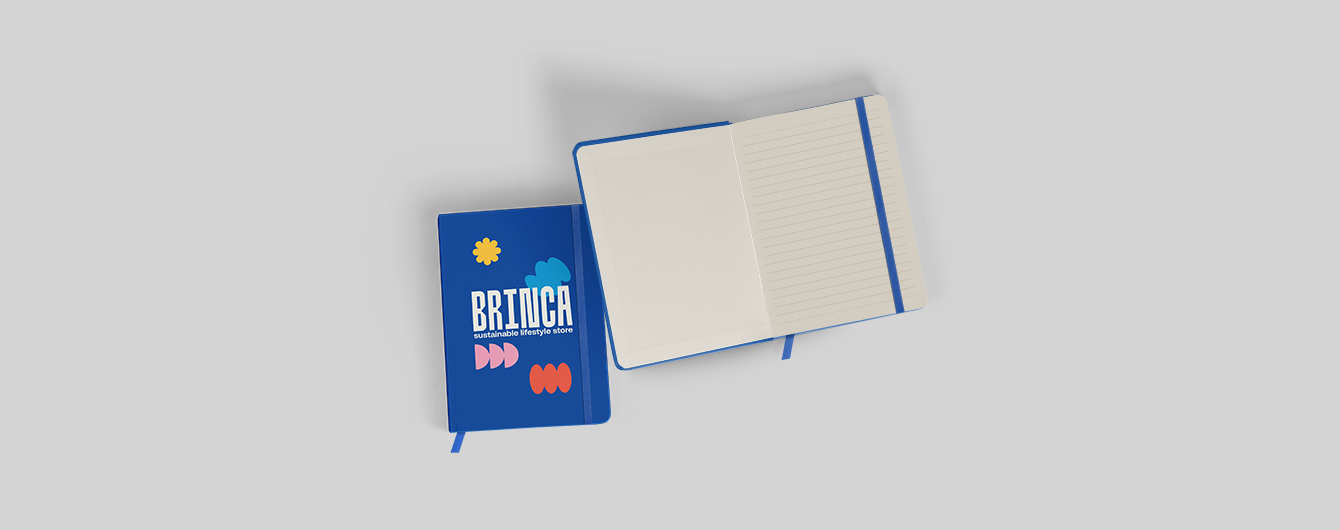
Branded Notebooks are custom notepads that can be tailored with your company logo and branding. These Notebooks showcase double-sided printing on both the outer and inner covers, providing a cohesive and professional appearance. With 130 ruled inner pages, they offer plenty of space for note-taking.
What can Branded Notebooks be used for?
Branded Notebooks are versatile and can be used for a variety of purposes. They are perfect for corporate giveaways, client gifts, or promotional events, helping to increase brand visibility and leave a lasting impression. They also serve as excellent tools for employees, fostering organisation and creativity in meetings or daily tasks.
Is double-sided cover printing available on Branded Notebooks?
Absolutely! Our service offers double-sided cover printing. To get started, simply download our templates, each featuring four single pages clearly labelled to distinguish between the outer and inner covers. If you’d like blank inner pages, just leave those sections of the template empty. This setup is designed to provide you with the flexibility you need while ensuring a smooth process.
How do I set my artwork up for foiling?
Setting up your artwork for foiling is a breeze, even if you're just starting out! Here’s a step-by-step guide to help you get it right:
- Colour Mode: Ensure your artwork is in CMYK mode with a 3mm standard bleed.
- Outline Text: Convert all text to outlines by using ‘ctrl/cmd+shift+0’ or selecting ‘Create outlines’ under the 'Type' menu.
- Foiling Elements: Make sure all elements to be foiled are vectorised and in 100% black (C:0% M:0% Y:0% K:100%).
- Save a copy of your full design in AI or InDesign.
- Export it as a PDF named ‘FULL_ARTWORK’, ensuring settings are [PDF/X-4:2008], compatibility is Acrobat 7, and both trim marks and bleed document settings are selected.
- Go back to your design and remove the elements to be foiled by cutting them.
- Save this new PDF as ‘NON_FOILED’. Step 4: Create Foil Only PDF
- Undo the cut command to restore your foiling elements.
- Remove non-foiled elements, leaving only foiled parts visible.
- Save this as a PDF, named ‘FOIL_ONLY’. Alternatively, you can use layers to manage foiled and non-foiled elements, making it simpler to toggle what’s visible for each PDF version.
More products you might like
Branded Notebooks
Our product presets
Our product presets
Build your own or choose from one of our preset options
Product
Product
Binding Type
Binding Type
Choose number of pages
For documents over pages, the maximum quantity available is 500 units. For more than 500 units, choose less than NaN pages or contact our Bespoke Team.
Size
Size
Orientation
Orientation
Printed sides
One side: Print your design on one side of the product only. The reverse side will remain unprinted.
Both sides: Print your design on both sides of the product. Choose this option when you want to apply a design on both the front and back.
Printed sides
One side: Print your design on one side of the product only. The reverse side will remain unprinted.
Both sides: Print your design on both sides of the product. Choose this option when you want to apply a design on both the front and back.
Cover
Foiling
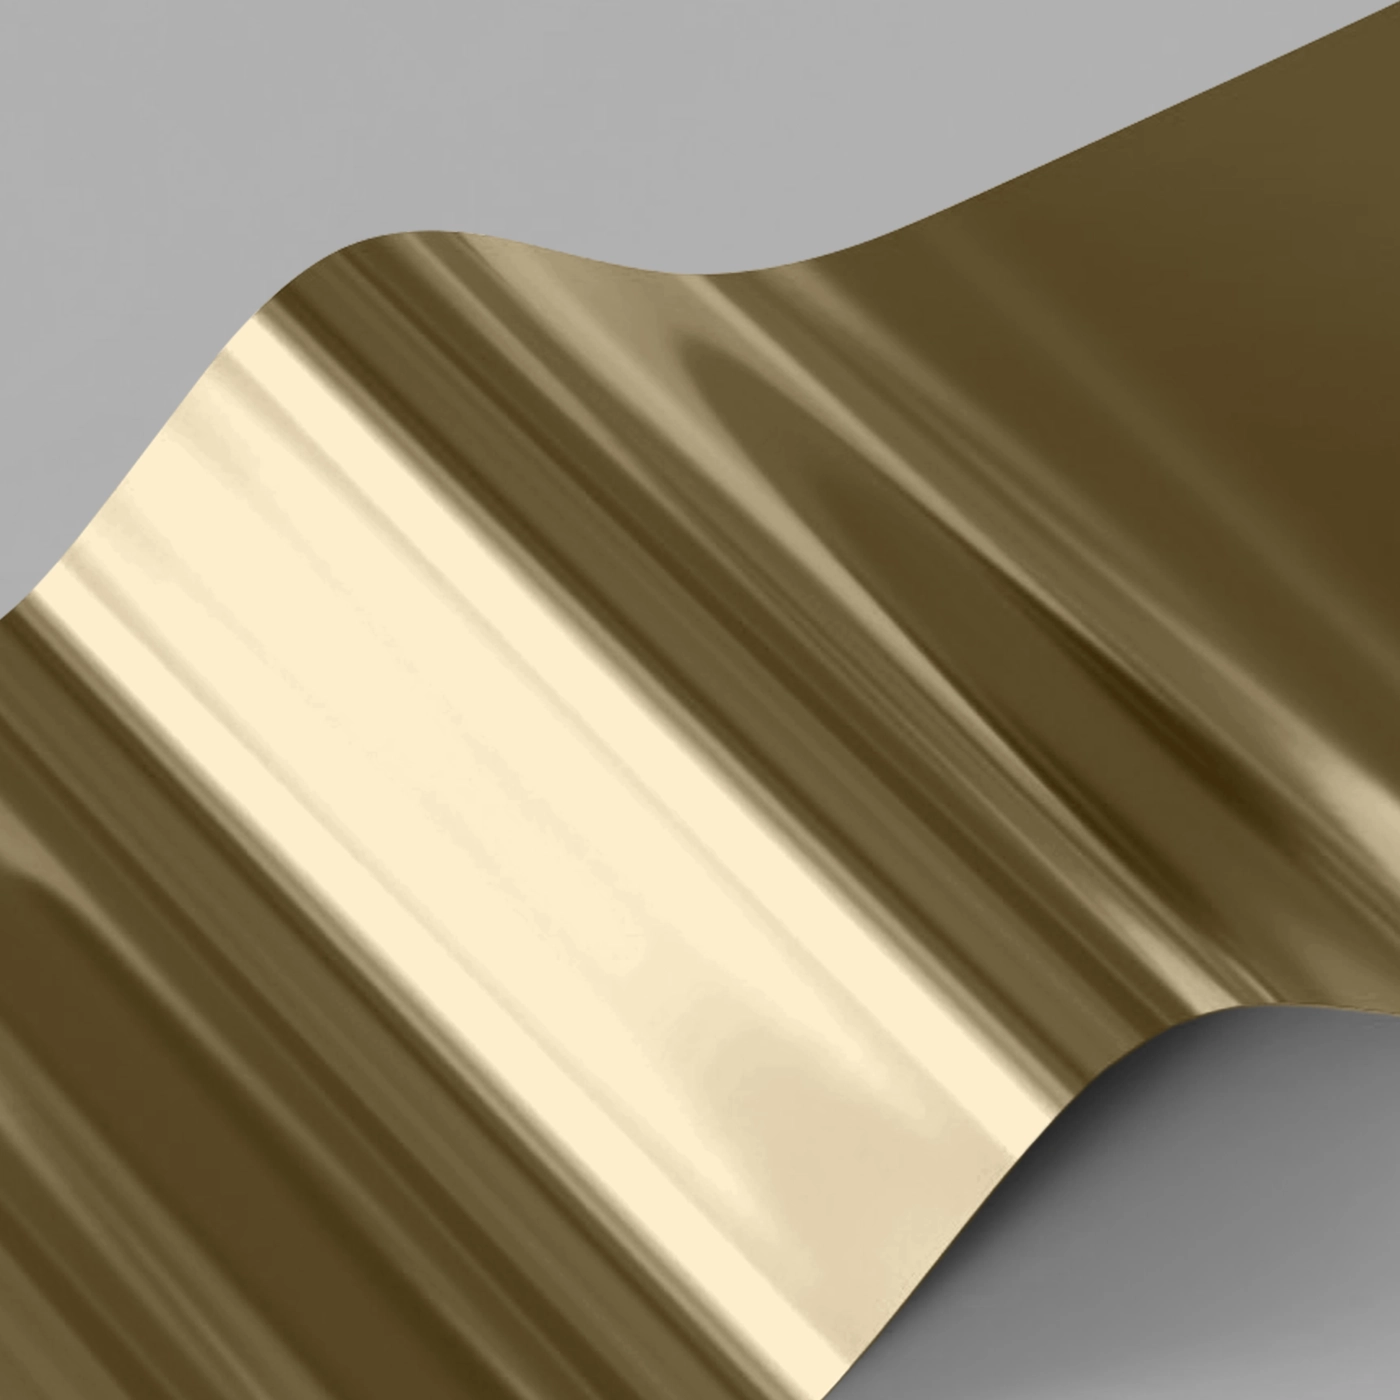
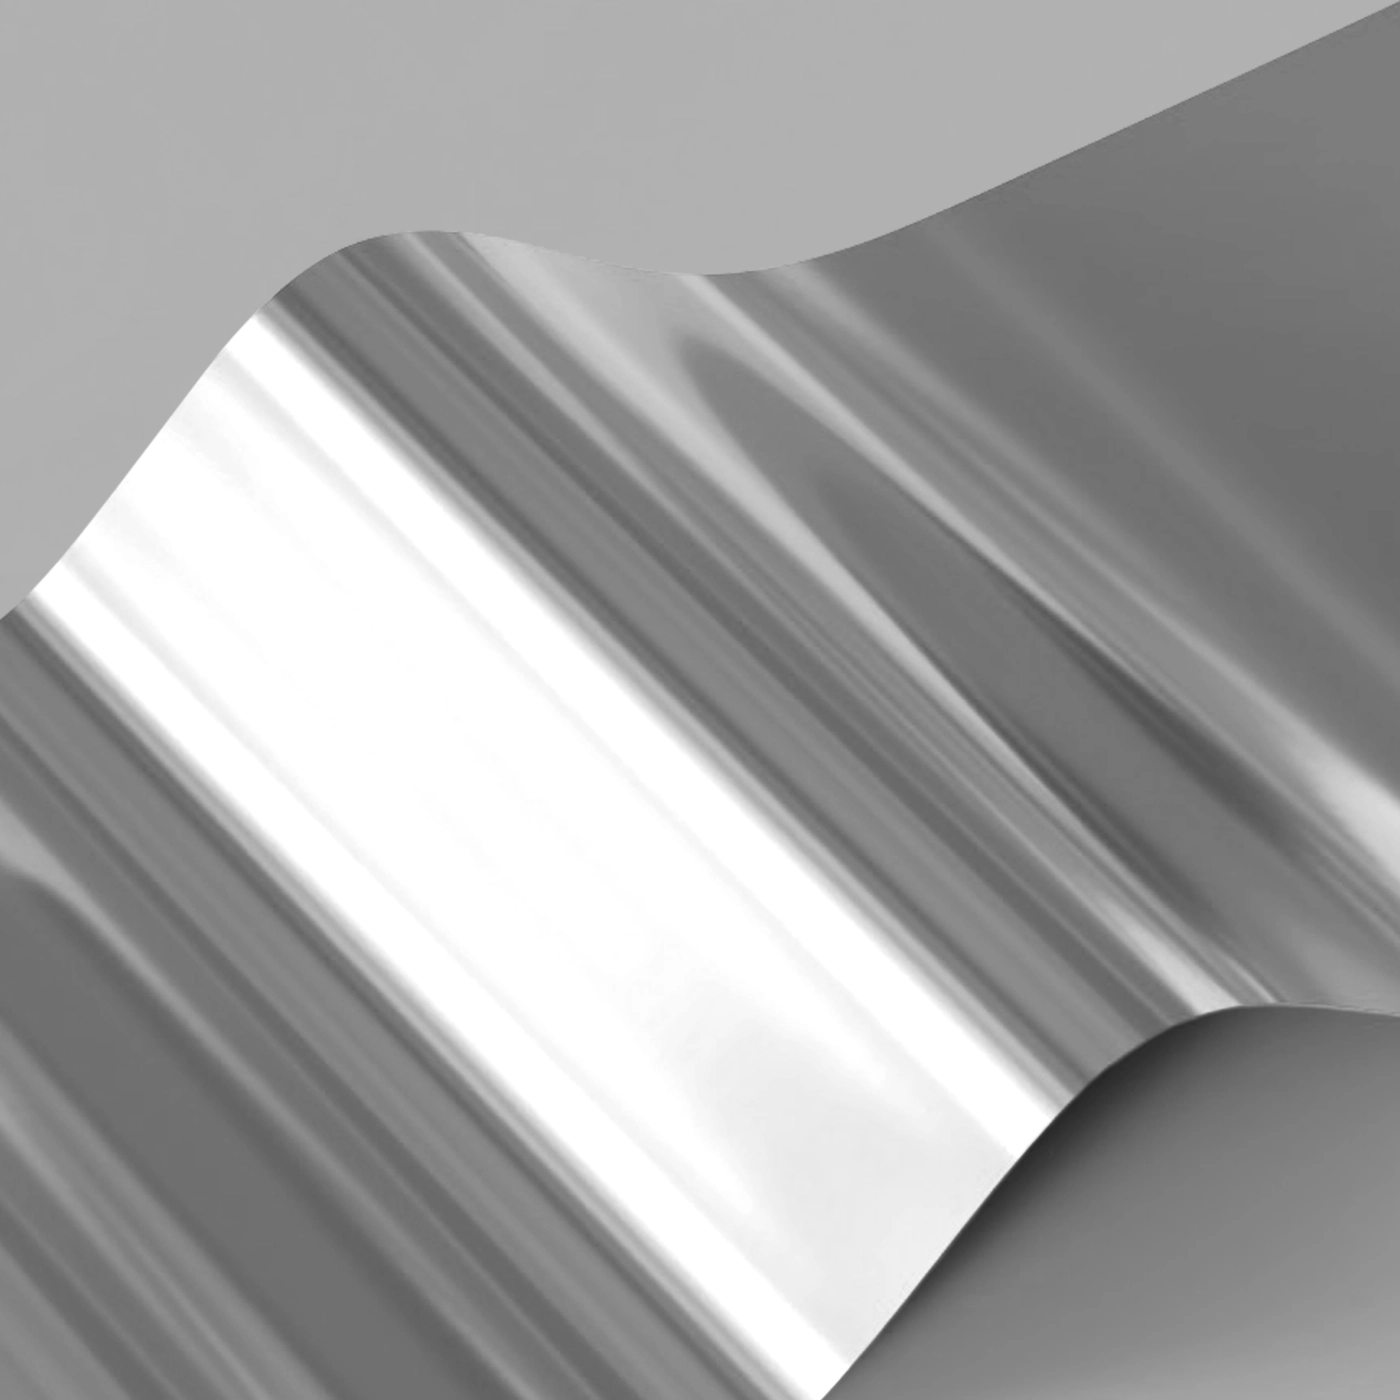
One-sided foil While your print can be double sided, you can only apply Foil to one side of your design.
Whichever side you choose to add Foiling to must be velvet laminated (this protects your Foil from slipping or scratching).
If you would like Foil on both sides of your print, please contact our Bespoke Team. Foiled Stickers cannot be laminated and can only be foiled on one side
Foiling
One-sided foil While your print can be double sided, you can only apply Foil to one side of your design.
Whichever side you choose to add Foiling to must be velvet laminated (this protects your Foil from slipping or scratching).
If you would like Foil on both sides of your print, please contact our Bespoke Team. Foiled Stickers cannot be laminated and can only be foiled on one side
One-sided foil
While your print can be double sided, you can only apply Foil to one side of your design.


Paper
Paper
Tip!
We recommend adding lamination to Silk paper for extra protection on designs with heavy ink coverage, as well as print which runs over a crease or fold, but only if you don't intend to write on it!
Tip!
We recommend adding lamination to Silk paper for extra protection on designs with heavy ink coverage, as well as print which runs over a crease or fold, but only if you don't intend to write on it!
Lamination
Lamination types
Matt: Protects your print while giving a subtle and soft finish.
Gloss: Offers a high shine that works well with images and solid colours.
Velvet: Gives a soft, touchable texture and non-shine finish.
Anti-Bacterial Gloss: This high-shine gloss is embedded with silver ions that prevents 99% of bacteria surviving.
Lamination Sides
None: Without lamination, you can feel the real texture of the paper, and it's easy to write on.
One side: We will always laminate on page 1 of your PDF when ‘one side’ is selected. If that isn't the page you want laminated, just swap the page order in your PDF.
Both sides: The most popular choice when laminating – choose both sides when you want double the protection.
Remember: Laminating will protect your print but you will not be able to write on it with certain types of pen. If you're printing with heavy ink coverage, we recommend using lamination to protect the print and prevent damage.
Inners
Foiling
One-sided foil While your print can be double sided, you can only apply Foil to one side of your design.
Whichever side you choose to add Foiling to must be velvet laminated (this protects your Foil from slipping or scratching).
If you would like Foil on both sides of your print, please contact our Bespoke Team. Foiled Stickers cannot be laminated and can only be foiled on one side
Foiling
One-sided foil While your print can be double sided, you can only apply Foil to one side of your design.
Whichever side you choose to add Foiling to must be velvet laminated (this protects your Foil from slipping or scratching).
If you would like Foil on both sides of your print, please contact our Bespoke Team. Foiled Stickers cannot be laminated and can only be foiled on one side
Paper
Paper
Lamination
Lamination types
Matt: Protects your print while giving a subtle and soft finish.
Gloss: Offers a high shine that works well with images and solid colours.
Velvet: Gives a soft, touchable texture and non-shine finish.
Anti-Bacterial Gloss: This high-shine gloss is embedded with silver ions that prevents 99% of bacteria surviving.
Lamination Sides
None: Without lamination, you can feel the real texture of the paper, and it's easy to write on.
One side: We will always laminate on page 1 of your PDF when ‘one side’ is selected. If that isn't the page you want laminated, just swap the page order in your PDF.
Both sides: The most popular choice when laminating – choose both sides when you want double the protection.
Remember: Laminating will protect your print but you will not be able to write on it with certain types of pen. If you're printing with heavy ink coverage, we recommend using lamination to protect the print and prevent damage.
Inner Page Style
You don't need to upload any artwork for the inner pages, we'll take care of these for you. Simply upload 4 pages for your outer covers in running order; front outer cover, front inner cover, back inner cover, back outer cover. If you'd like the inner covers of your Notebook to be blank, simply include 2 white pages in your artwork.
Inner Page Style
You don't need to upload any artwork for the inner pages, we'll take care of these for you. Simply upload 4 pages for your outer covers in running order; front outer cover, front inner cover, back inner cover, back outer cover. If you'd like the inner covers of your Notebook to be blank, simply include 2 white pages in your artwork.
Details:
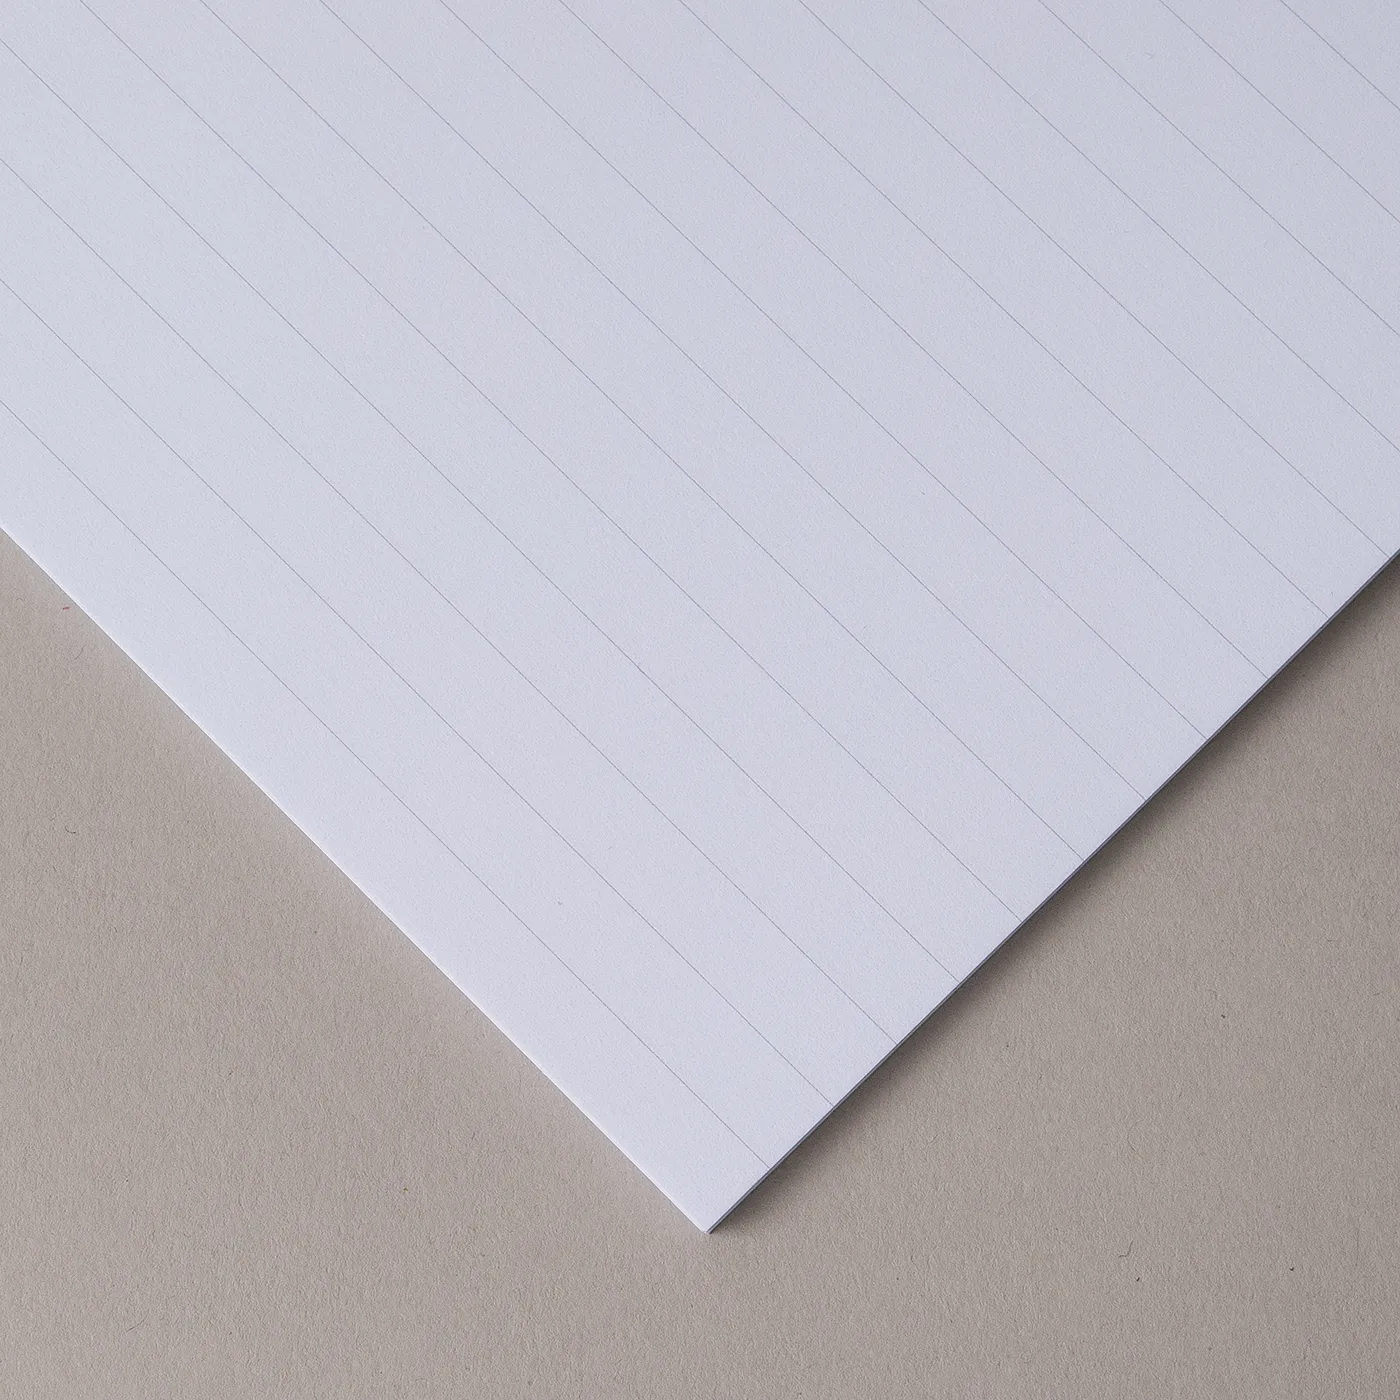
We use a light 100gsm uncoated paper for the inner pages of our Notebooks, so they're easy to write on.
Binding Colour
You can choose to finish your notebooks with black or white wire binding to complement the finished look. If you would like a different coloured wire, please contact our Bespoke Team
Binding Colour
You can choose to finish your notebooks with black or white wire binding to complement the finished look. If you would like a different coloured wire, please contact our Bespoke Team
Quantity
Please enter a quantity larger than 1
If there is a paper stock, size, quantity or finish you want but can't find, fill in our bespoke order form or contact our team .
The options you have chosen mean that your leaflets will be delivered creased but not folded. If you'd like your print to arrive already folded, please enter a lower quantity or a lighter paper weight.
Select your Delivery options
Delivery type
As you have previously selected a delivery option for a previous product we have grouped these items to lower your delivery costs. Due to the items added to your basket we are no longer able to offer your selected delivery option. Please reselect your delivery from the options below. If you are sending to multiple addresses you can ungroup your items.
Delivery type
Product Summary
The paper you have chosen is not available at this quantity.
To keep your paper choice please enter a quantity than .
- Silk - 350gsm
For documents with this number of pages, the maximum quantity available is units.
If you require a larger quantity, please reduce your number of pages to less than 1 or get in touch with our Bespoke Team.
This reorder job does not allow editing the original artwork. You may still upload a new piece of artwork but doing so will remove the original artwork. Do you want to continue?