News
Digital Foiling: our top 5 tips for sparkle-worthy print
We know that setting up your files for fancy finishes like digital foil printing can be a little daunting. But trust us when we say that it doesn’t need to be.
We’ve put together our top 5 tips to make sure that you artwork comes off the press sparkling, so read on to get to grips with this awesome special finish!
1: Counter misalignment
Due to the nature of the digital foiling process there is always a very slight amount of movement when positioning the foil elements over your design. This movement is only usually between 1-3mm at most, but it can cause misalignment (or ‘trapping’ as it’s more commonly known) in the final print. Luckily there are a few simple artwork tips to avoid this happening. So let’s press on… (get it?!).
2: Keep your lines thick
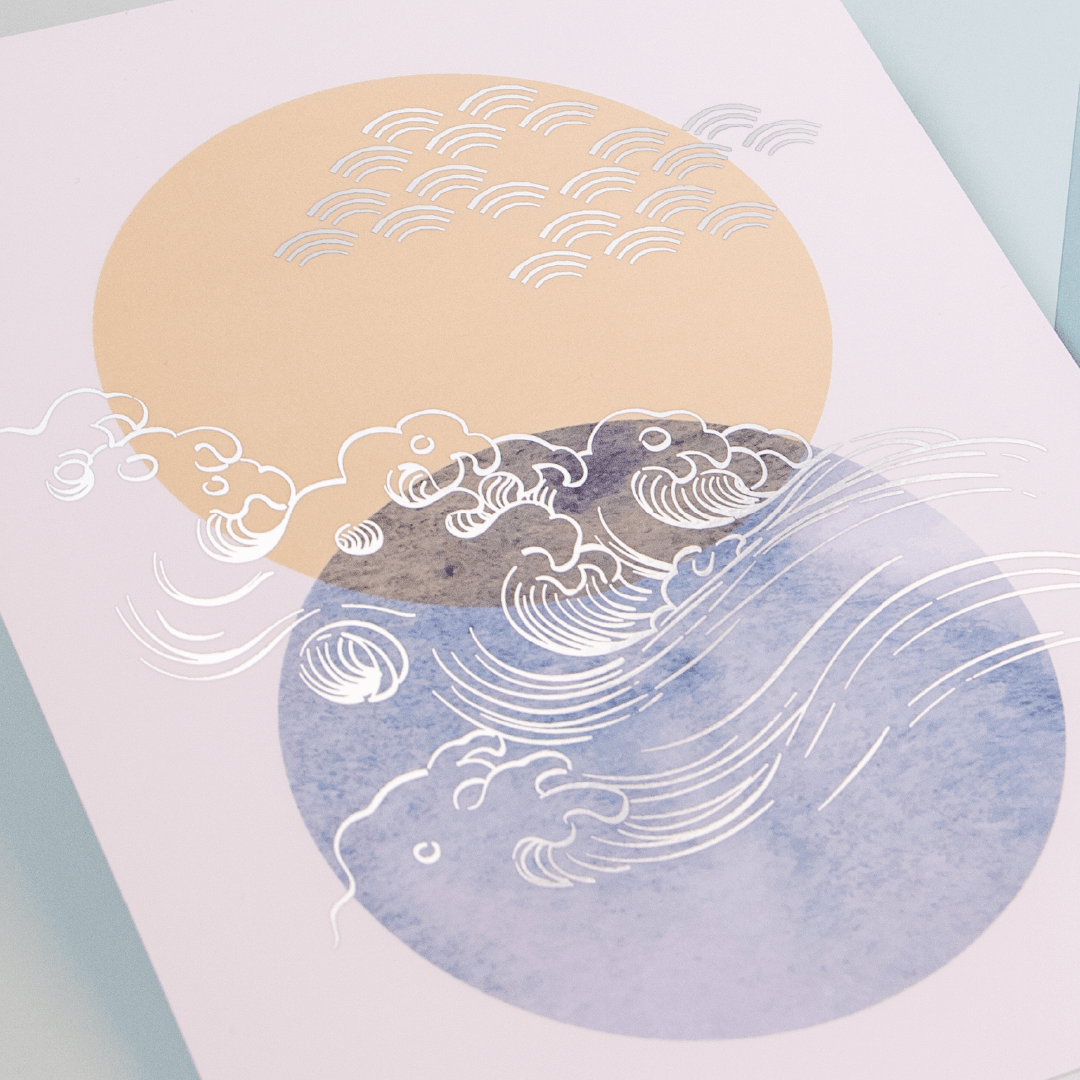
The digital foil elements of your artwork should always avoid using excessively thin lines or very intricate patterns. We would suggest that anything below 2 point won’t be big enough to give you a nice clean cut edge. If you choose lines that are too thin then the foil does not stick properly (and that’s not fun for anyone) – so add a few extra points to your designs if you can.
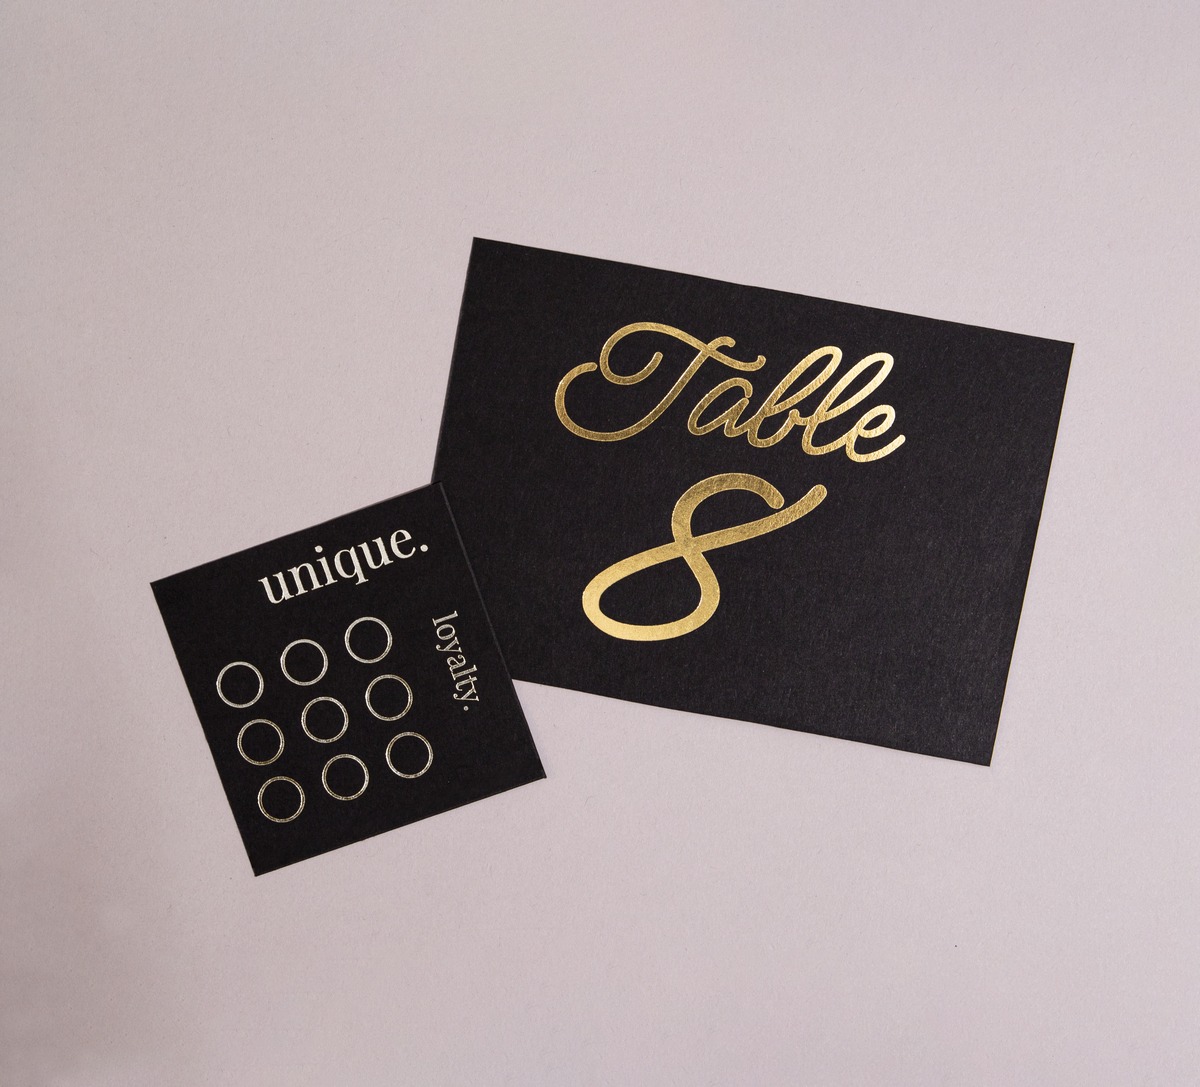
3: Avoid tiny fonts
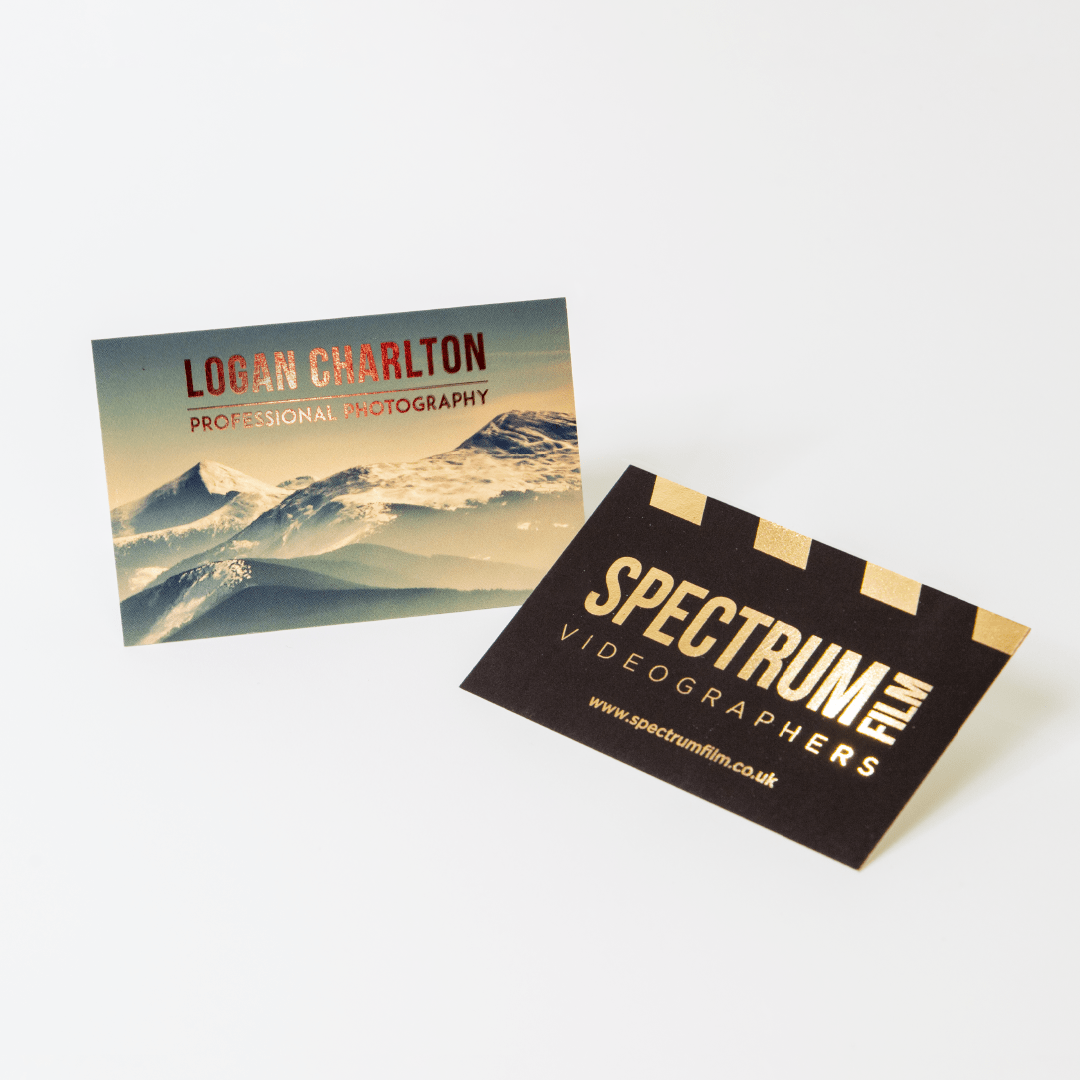
As a rule of thumb, make sure your artwork uses a font size 8 or above. Anything smaller and again, the foiling won’t be able to stick properly to your design. The above Business Card designs are a great example of how digital foiling a chunky type face can create something really eye-catching, and it provides enough surface area for the foil effect to really do it’s thing!
4: Check your artwork resolution
Pixelation in your designs should always be avoided, and the same applies to applying digital foiling techniques. If the printed elements of your design are of poor resolution, this then also makes the Foil finish look poor. Make sure that you artwork is created with minimum 300dpi (dots per inch). This ensures your print looks it’s absolute best, and in turn makes the Foil finish nice and crisp.
For a bit of extra help in exporting your artwork for Foil printing, check out our handy tutorial.
5: Foiled Sticker setups
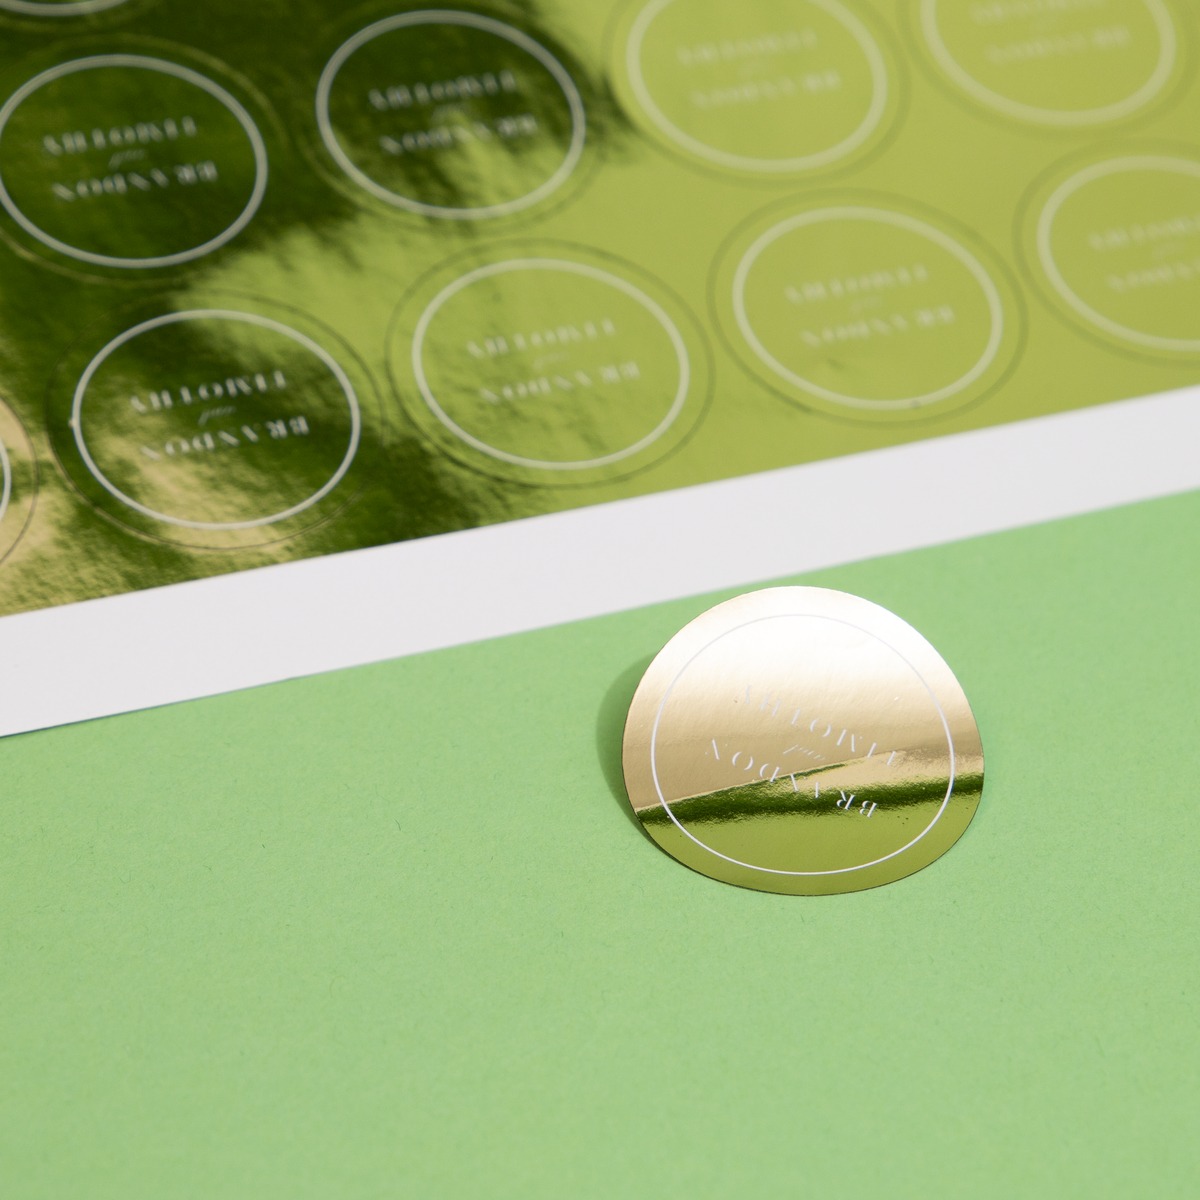
When it comes to foil Stickers, it’s important to remember that we can only foil vector-based shapes and text. We can also only print foil as a single element onto your stickers (so you can’t add any additional colours or layers). This means that the foil colour that you choose will be the only ‘coloured’ element in your design.
So with Foiled Stickers you really have two options; you can choose to foil your design, or foil your entire Stickers and cut out your design (so it shows through as white). Luckily we have 7 amazing foil shades to choose from, so you’re sure to find something that suits your brand.
So, what about Block Foiling?
Aside from our Digital Foiling option, you may be aware that we offer block foiling too. Traditional foil blocking (or hot foil stamping) involves applying metallic foil to paper or card, using heated plates (or die). This leaves your foiled elements slightly debossed and textured – as the foil is hot pressed onto your card or paper stock.
This process is better suited to smaller, intricate designs that feature fine details and serif style fonts, however due to the process requiring the use of plates, Block Foiling does come with a substantially bigger price tag. You can find out a bit more about the difference between the two right here.
Block Foiling is provided as part of our Bespoke service, and the same applies to double-sided digital foiling projects too. If you’d like to explore your foiling options in more detail then don’t hesitate to reach out to us on theteam@printed.com and we’ll be happy to help. And don’t forget to tag us on social with your sparkling creations using the hashtag #ProudlyPrinted.
About the author
Meet Drew! As part of the Printed.com marketing team, Drew spends her days crafting content. When she’s not working her magic on marketing, you’ll find her enjoying quality time with her daughter and her furry friend, Archie.