Tips and Advice
Your Ultimate Guide to Creating Perfect Print-Ready Artwork
Designing artwork for professional printing might seem like a tricky task at first, but it doesn’t have to be. With handy tools like Printed.com’s downloadable templates, combined with some know-how, you can create visually stunning designs with ease.
Whether you’re creating print artwork for Giclée Fine Art Prints, eye-catching Flyers, or bespoke Business Cards, this comprehensive guide will equip you with everything you need to prepare your artwork for a flawless print outcome. You’ll learn how to set up your files, incorporate design essentials, and export your work to ensure it turns out just right.
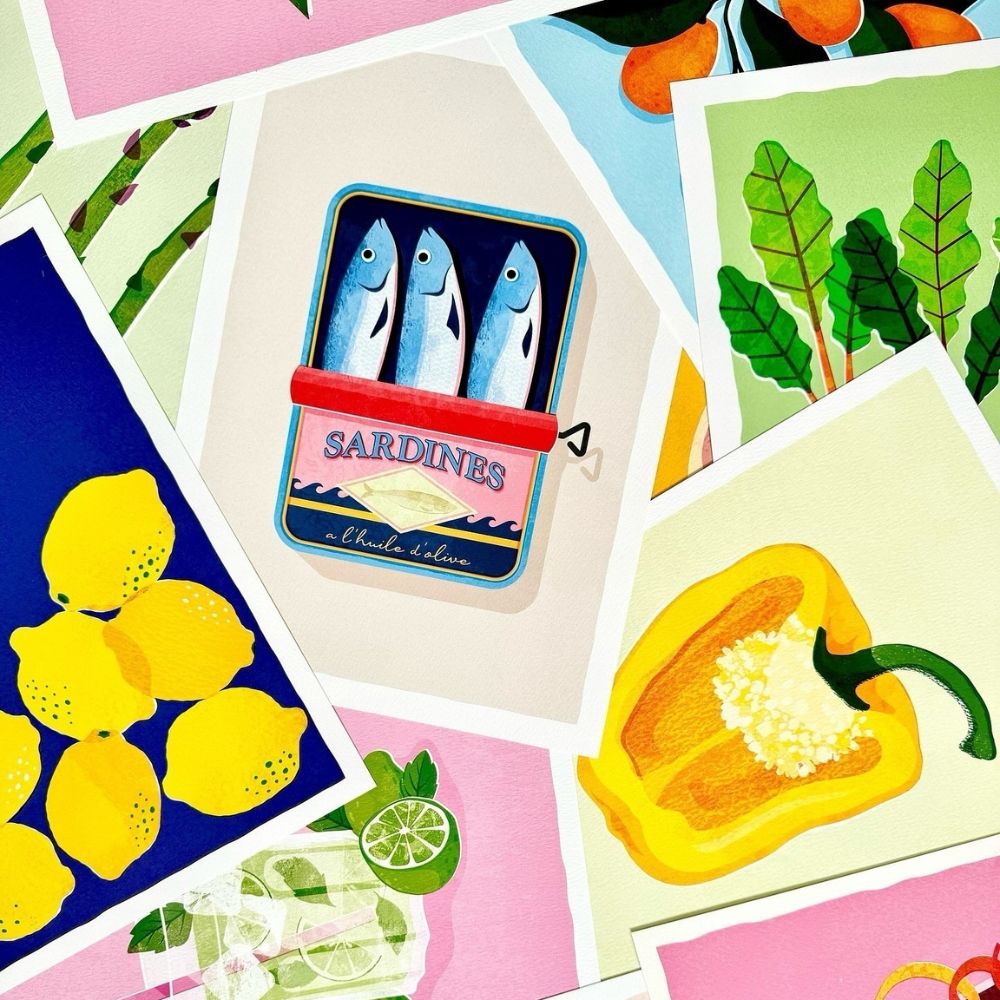
Image Credit – RH Illustration
Choosing the Right Design Software
Picking the right software is a critical first step. Your choice depends on your skill level and the complexity of your design. Here are some frequently used options to consider:
- Adobe Photoshop: Ideal for image-heavy designs or editing photos for print.
- Adobe Illustrator & Adobe InDesign: Both are excellent for creating vector-based designs, from logos to text-heavy layouts.
- Canva: A beginner-friendly option with customisable templates, ideal for simple designs.
Pro Tip
Printed.com provides free, easy-to-use downloadable templates in PDF, Illustrator, and InDesign formats to simplify file setup and ensure flawless prints. Each template includes built-in bleed and safe zones, so your designs are always print-ready. Download your templates here or find them on specific product pages.
Key Elements for Artwork Setup
Once you’re confident with your chosen software, you’ll need to keep a few essential elements in mind while setting up your design.
Colour Mode
What’s the difference between CMYK and RGB?
RGB (Red, Green, Blue) is the colour system used for digital screens, while CMYK (Cyan, Magenta, Yellow, Black) is designed specifically for printing. Knowing which to use helps ensure your designs come out exactly as planned!
When designing for print, in most cases it’s best to use CMYK colour mode instead of RGB. CMYK is tailored for ink-based printing, helping ensure the colours on your printed materials look just as you expect. On the other hand, RGB, designed for screens, can lead to colour discrepancies when used for printing, which is something you’ll want to avoid.
That said, when designing for Giclée Fine Art Prints and Photography Prints, RGB can be a better choice. Its wider and more vibrant colour range allows specialised printing methods to capture bright, vivid hues with incredible accuracy.

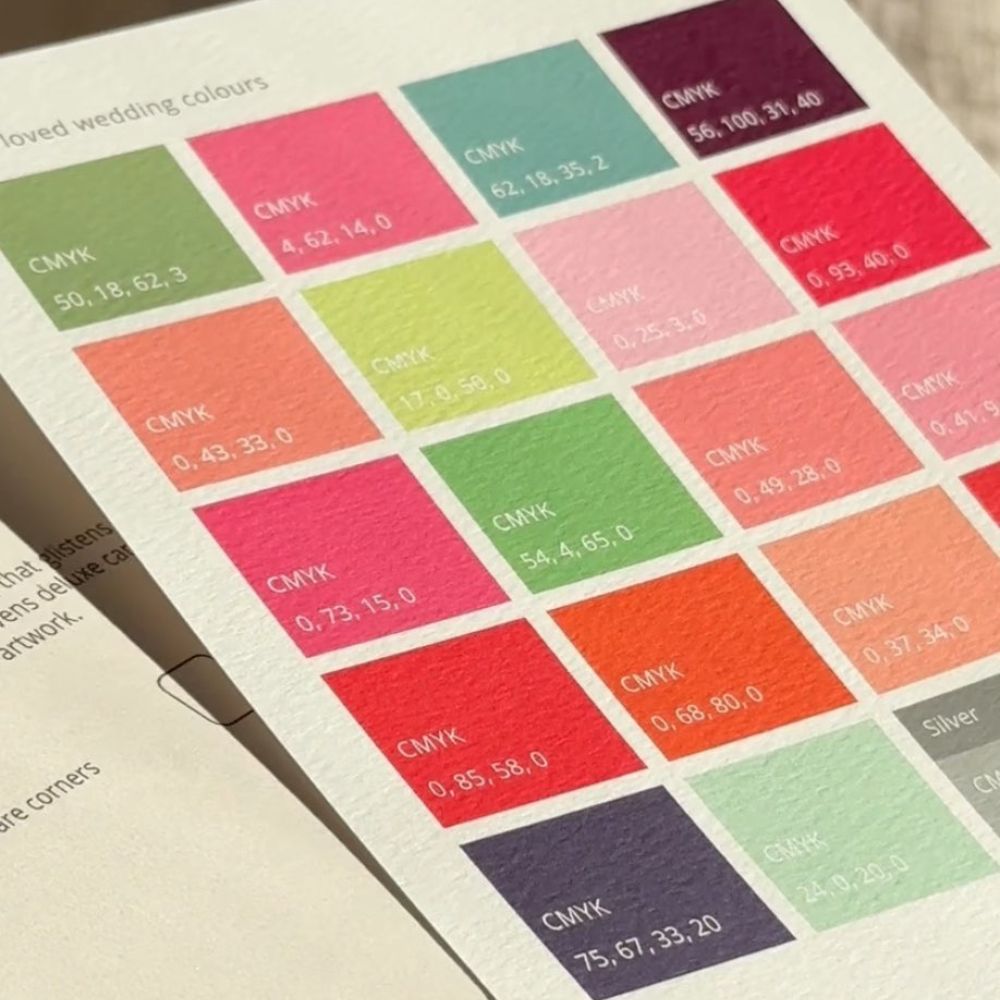
Image Credit – Printed.com
Why supply artwork in CMYK?
Simply put, CMYK and RGB are two very different colour systems. RGB has a much larger colour range, so for most prints, if you send artwork in RGB, the printed result often looks muted or dull compared to what you see on your screen. That’s probably not the effect you’re aiming for.
Before saving your PDF, make sure you’ve converted your file to CMYK. This way, what you see on your screen will be closer to how it looks in print. Tools like Photoshop can help you adjust colours if needed.
How do you get the best black in CMYK?
For text, using 100% black works perfectly. But for large, solid areas, it’s better to go for a rich black. We recommend a mix of 20% cyan, 20% magenta, 20% yellow, and 100% black. This blend gives you a deeper, richer black that looks polished and professional.
Learn More – CMYK and RGB Explained
Bleed, Safe Areas & Crop Marks
What is Bleed?
Bleed is the extra area around your design that extends beyond the document’s edges and is essential for print-ready artwork. Adding at least 3mm of bleed on all sides ensures your final piece is trimmed perfectly, with no unwanted white edges. This simple step keeps your design looking polished and professional.
How to Add Bleed in Adobe Illustrator
- Open your document and go to “File” > “Document Setup.”
- Set the bleed value (e.g. 3mm) in the bleed box.
- Ensure your design extends fully into the bleed area to avoid white edges during trimming.
- When saving your file, use “Save as PDF” and check the “Use Document Bleed Settings” option.
How to Add Bleed in Adobe InDesign
- Go to “File” > “New” > “Document” to set up a new project.
- In the “Bleed and Slug” section, enter your desired bleed value (e.g. 3mm).
- Extend all design elements that should bleed into the bleed area.
- Export your file as a PDF, making sure to select “Use Document Bleed Settings.”
How to Add Bleed in Adobe Photoshop
- When creating a new document, add 3mm to each edge of your canvas.
- Keep in mind the bleed is part of the total canvas, so design elements should extend to the edges.
- Save your file as a PDF or TIFF to preserve the bleed settings for printing.
How to Add Bleed in Canva
- Open a new file and click “Custom Size” to include the bleed dimensions.
- Use Canva’s “File Settings” to activate the bleed guidelines.
- Ensure all design elements extend beyond the bleed area to avoid white edges.
- Download your file as a “Print PDF” to include the bleed settings.
What is the Safe Area?
The safe area is key to making sure your print turns out perfectly once it’s off the presses. This area is close to the trim marks, so it’s important to keep any text or key design elements away from the edges. During the finishing process, a little natural movement can happen, and keeping your designs out of the safe area helps prevent anything important from being trimmed off.
When you’re on a product page, scroll down to the ‘Guide to Perfect Print.’ There, you’ll find downloadable templates with details about the safe area and bleed. It’s all set up to help you get the best results every time!
Learn More – What is Bleed?
What are Crop Marks?
Crop marks are small lines at the corners of a printed piece that show where to trim the paper. They’re especially important for designs with a bleed, ensuring your final product is cut to the perfect size. These marks make it easier for printers to align and trim accurately, resulting in a clean, professional finish. Since crop marks sit outside the trim area, they’re removed during the final cutting process.
The good news? You don’t need to add crop marks yourself. Most design tools that let you export PDFs include an option to add crop marks automatically when you save your file.
Image Resolution
What is resolution?
Resolution refers to the number of pixels or dots in a given space, which directly impacts the quality of your printed piece. It’s usually measured in DPI (dots per inch)—for example, 300dpi is the standard for high-quality printing.
How do I know if the resolution is good enough?
To get the best results, your artwork should ideally be at 300dpi when sized for printing. Thanks to our advanced technology, we can work with files as low as 200dpi in certain cases, but going any lower could lead to poor image quality. Low resolution often results in pixelated or jagged images and text—and we know you’d prefer a clean, polished finish.
For sharp, professional prints, set your file resolution to 300dpi and save it as a PDF at maximum quality settings. This ensures crisp, clear results with no pixelation.

Image Credit – Printed.com
File Format
For the best printing results, we recommend saving your artwork as a PDF. PDFs are reliable and help avoid common issues during printing, giving you a smoother process and high-quality results.
Keep Layers Intact
Don’t flatten your file unless explicitly requested. Keeping layers intact allows adjustments, should the print team make final tweaks.
Why not use PNG files?
While PNG files are great for online use, they’re not ideal for printing. PNGs are always in RGB colour mode, which doesn’t translate perfectly to print. When converted to CMYK for printing, your colours may look darker or different than expected. Plus, PNGs often have lower resolution, which can lead to blurry prints.
How to Create a Print-Ready PDF
Adobe Photoshop
- Make sure your artwork includes a 3 mm bleed (this is the area beyond the trim edge).
- Load all fonts used in your design.
- Go to File > Save As and select Photoshop PDF.
- In the Export Adobe PDF window, choose the preset PDF/X-4:2008 and click Save PDF.
Adobe Illustrator
- Double-check your design has a 3 mm bleed and that all fonts are ready to go.
- Head to File > Save As and choose Adobe PDF.
- In the Export Adobe PDF window, pick the preset PDF/X-4:2008.
- Under Marks and Bleed, enable crop marks and set the bleed to 3 mm.
- Click Save PDF to finish.
Adobe InDesign
- Ensure your design has a 3 mm bleed and all fonts are included.
- Select File > Export and choose Adobe PDF as the format.
- In the Export Adobe PDF window, select the preset PDF/X-4:2008.
- Under Marks and Bleed, enable crop marks and set the bleed to 3 mm.
- Click Export to save.
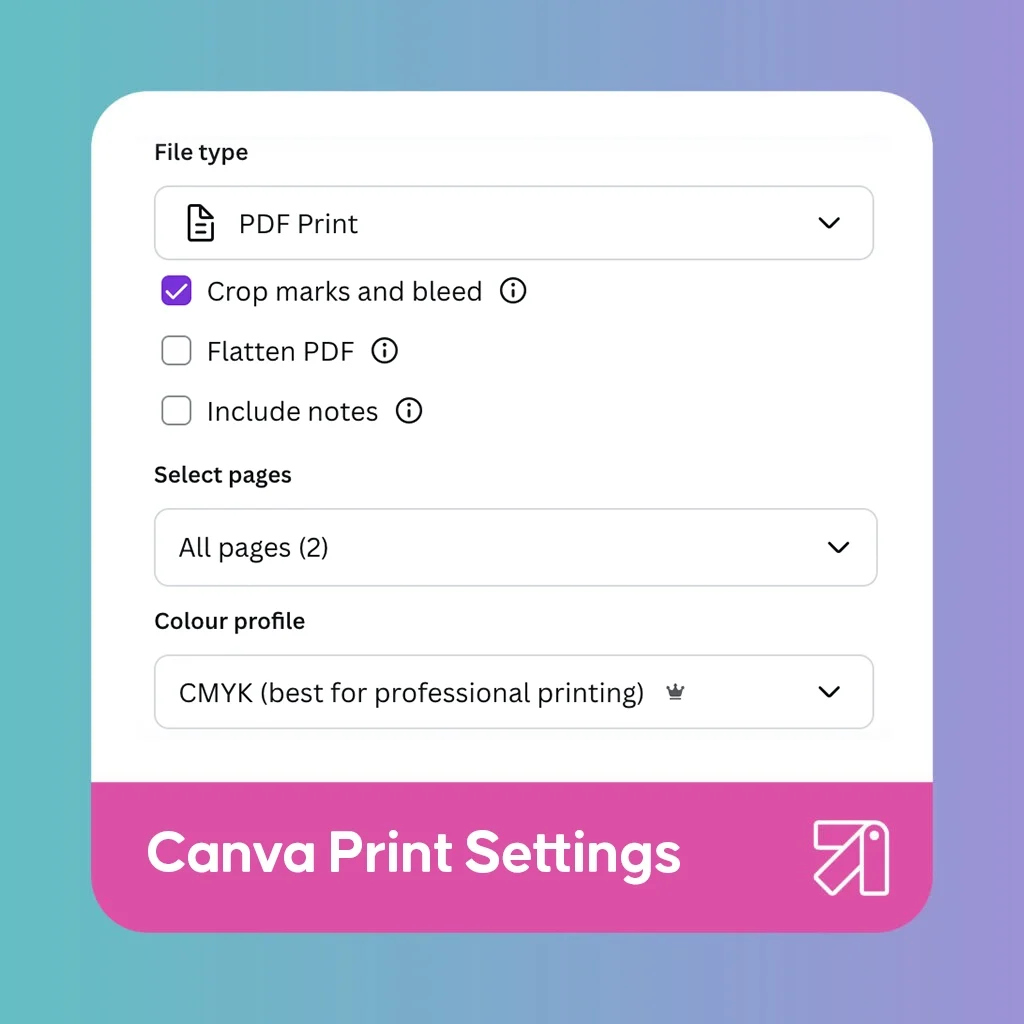
Canva
- Select ‘PDF Print’ as your file type.
- Tick the ‘Crop Marks & Bleed’ box.
- Set the colour profile to ‘CMYK (best for professional printing)’.
- Double-check you’re exporting the right pages if it’s a multi-page file.
Learn More – How to Create a PDF
By following these simple steps, you can create a print-ready PDF with vibrant colours, sharp resolution, and a polished finish. Need a little extra help? Check out our step-by-step video guides for popular design tools here.
Additional Checks
Size
Make sure your design is the perfect fit. Whether you’re creating A5 Flyers or an A0 Foam Board, double-check the exact size requirements to ensure your product turns out just right.
Why does size matter?
If your file doesn’t match the size you’ve ordered, we won’t be able to resize it for you. This means you’ll need to adjust your original file so it aligns with the ordered dimensions and resend it. To save time and effort, try using our downloadable templates, they’re designed to make sizing simple and stress-free.
Shape
Want something truly unique?
Looking for standout shapes like arched Display Board or wavy Wedding Invites? Our templates are designed to accommodate a variety of creative shapes, helping you bring your ideas to life. And for custom designs, our Bespoke Service is here to transform your most imaginative projects into reality.
Fonts
To make sure your file prints exactly how you envisioned, it’s important to handle fonts the right way. By converting them to outlines (in Illustrator) or embedding them properly, you can avoid potential issues that might disrupt your design during printing. Missing fonts can cause the layout to change if your file is opened on a system without the original fonts, leading to substitutions that could alter your final design.
Embedding or outlining fonts protects the integrity of your design and ensures your text looks just as you intended. It’s a simple step that prevents unexpected surprises, keeping your project polished and professional.
Here’s how to outline or embed fonts in different programs:
For Illustrator or InDesign:
- Open your document and highlight the text.
- Go to the ‘Type’ menu at the top and select ‘Create Outlines.’
- Your text will now be converted to outlines. Resave your file, and you’re good to go!
For Microsoft Word:
- Open your document and navigate to ‘Options’ in the drop-down menu.
- Click on the ‘Save’ tab.
- Check the box for ‘Embed Fonts in the File’ and click OK.
- Resave your file to complete the process.
Taking a few moments to outline or embed your fonts helps ensure your project prints exactly as you imagined. It’s a quick and easy way to achieve a professional, polished finish every time.
After finalising your masterpiece, it’s time to export it for printing.
Before You Print
Review Your Design
Before you send your design off for printing, take a moment for a final check. Is everything aligned and looking balanced? Are your fonts easy to read? Do the colours flow well together? Paying attention to these details now can save you time later and ensure your final product is top-notch. To help, here’s our simple final artwork checklist:
PDF Checklist
- Make sure your document is sized correctly.
- Arrange multi-page documents in the right order.
- Use CMYK for colours or RGB for any Photography or Giclée Fine Art Prints.
- Add a 3mm bleed.
- Include crop marks.
- Keep all critical details within a 3mm safe area.
- Set the resolution to 300dpi.
- Embed all fonts.
Attention to detail now means you’ll end up with a print you’re proud of!
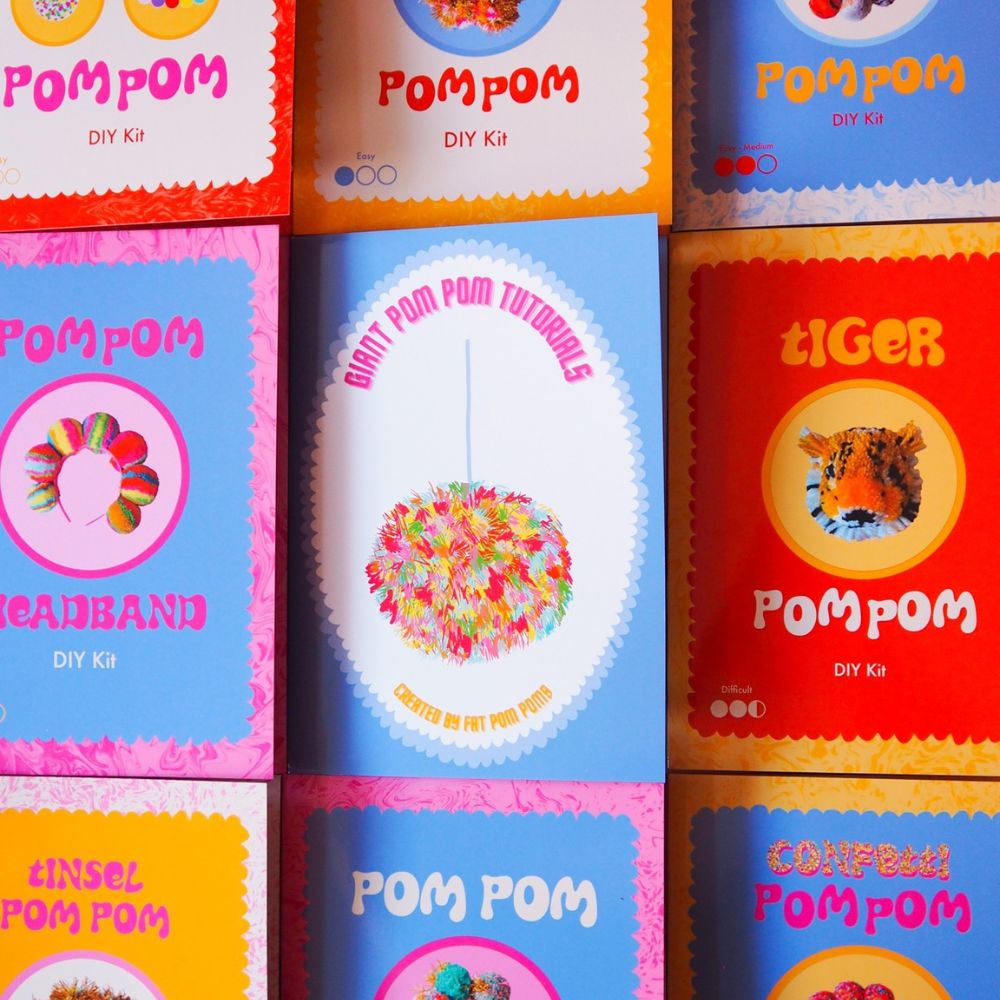
Image Credit – Fat Pom Poms
Artwork Check Service
If you’re feeling unsure, opt for our Artwork Check Service once your artwork has been uploaded. Our professional team thoroughly examines your file to ensure it meets all printing requirements!
Top Features of Printed.com
Printed.com makes creating high-quality printed products a stress-free experience. Here’s how they help you achieve perfection every time:
- Downloadable Templates with bleed and safe zones.
- Customisable options for unique shapes and projects.
- Expert knowledge of CMYK colour setups and file settings for vibrant results.
- Support for high-resolution designs with clarity.
- Helpful resources, like their extensive Knowledge Base.
Bring Your Design to Life
Creating perfect artwork ready for print doesn’t have to feel daunting. Armed with this guide and Printed.com’s tools, you’re fully equipped to prepare designs that translate beautifully onto paper. Whether you’re a seasoned graphic designer or a small business owner trying print for the first time, following these steps ensures your prints look polished and professional.
Now that you’ve mastered print preparation, why not get started today? Explore and bring your creative ideas to life. Take the first step by downloading a free template!
About the author
Our in-house designer Becca has a love of all things creative. When she’s not designing, you can find her in Newcastle checking out independent coffee shops or getting her hands dirty with her house renovation.