Tips and Advice
Greeting Card Printing Guide: Personalised, Custom & Professional Cards
Whether you’re celebrating a birthday, sending season’s greetings, or adding a thoughtful touch to a customer’s order, Greeting Cards are a timeless way to connect. They’re personal, tangible, and, when printed well, they leave a lasting impression.
In this guide, we’ll walk you through everything you need to know about Greeting Card Printing: from choosing the right size and paper stock, to adding those all-important finishing touches that make your design pop. Whether you’re creating one-off Personalised Greeting Cards or bulk printing for business, you’ll find expert tips to ensure every card is something worth keeping.

Image Credit: Type and Story
Why Print Your Own Greeting Cards?
Printed greeting cards allow you to:
- Express your brand personality – Perfect for businesses, creatives, and makers who want to share their unique style.
- Make it personal – A handwritten message on a printed card creates a deeper emotional connection.
- Create something one-of-a-kind – From bespoke holiday cards to illustrated art cards, the possibilities are endless.
- Add value to your products – A Thank You Card in a customer’s order can boost loyalty and repeat purchases.
And, of course, there’s something extra special about holding a beautifully printed card that you just don’t get with a quick email or text.
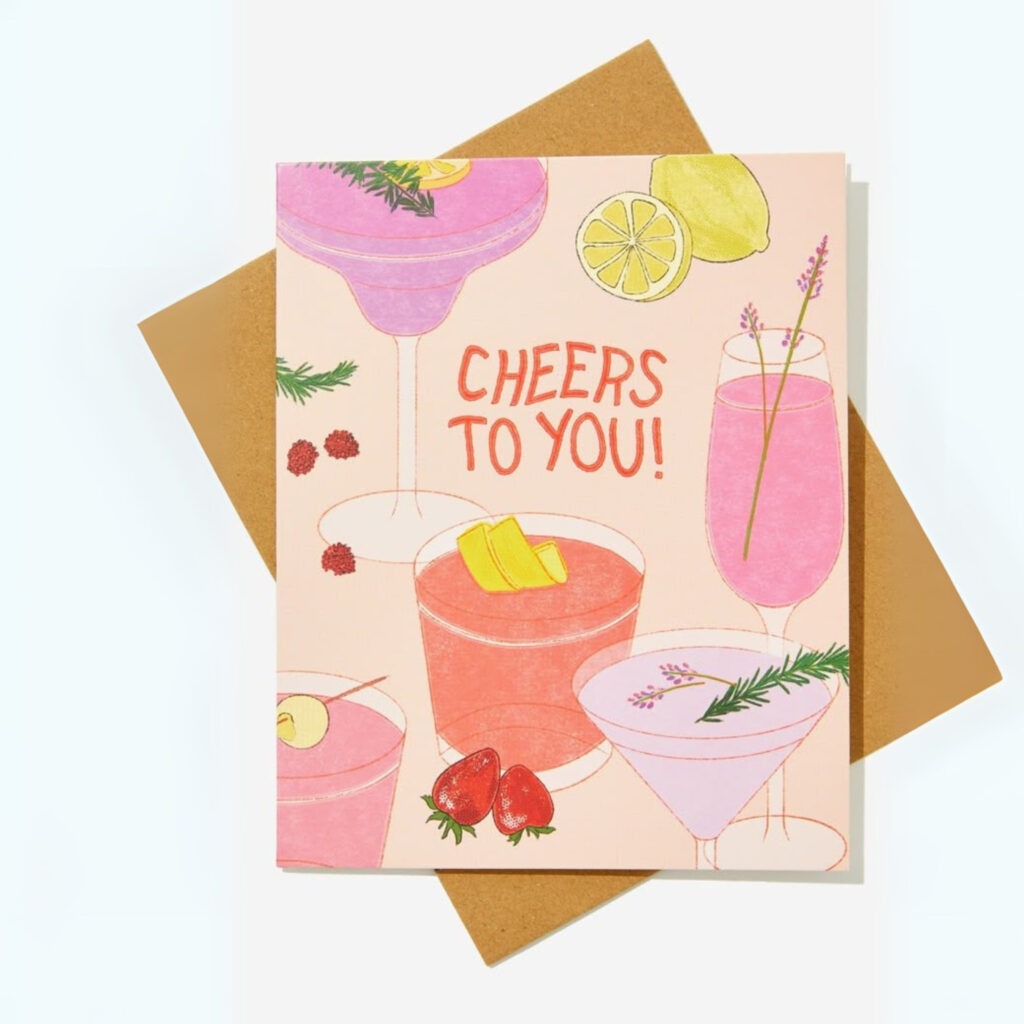
Image Credit: Typo
Choosing the Right Greeting Card Size
Your card’s size sets the stage for your design. At Printed.com, we offer a range of standard and custom sizes, so you can match your vision perfectly.
Popular greeting card sizes include:
- A7 (74mm x 148mm) – Our ‘mini card’, ideal for invitations and stationery items
- A6 (105mm x 148mm) – Compact and classic, ideal for simple designs or smaller greetings.
- A5 (148mm x 210mm) – Gives more space for creative layouts and bold imagery.
- Square (148mm x 148mm) – Modern and stylish, great for photo cards or minimalist designs.
- DL (99mm x 210mm) – Tall and elegant, perfect for special occasions or statement designs.
More sizes are available depending on the style requested but if you’re looking for something unique, our custom size printing available through our Bespoke Service lets you choose the exact dimensions.

Image Credit: Papier
Picking the Perfect Paper Stock
The feel of your card is just as important as the look. Paper stock can completely change the mood of your design — from luxurious and premium to playful and creative.
Top choices for greeting card printing include:
- Silk – Smooth, versatile, and great for designs with rich colours and crisp detail.
- Uncoated – Perfect for a writable surface; ideal for personal notes or signing.
- Textured (like Tintoretto Gesso) – Adds a tactile, artistic feel to your card.
- Recycled stocks – An eco-friendly choice without compromising quality.
Pro tip: Match your stock to your purpose. For example, if you want customers to write their own messages, avoid glossy finishes that resist pen ink.

Image Credit: arthouseandcompany.
Design Tips for Stand-Out Greeting Cards
Your design is where the magic happens. Here are our expert pointers to make your card truly shine:
- Keep it clear and uncluttered – Give your design breathing room so your message stands out.
- Use high-resolution images – Anything below 300dpi risks looking pixelated in print.
- Consider colour psychology – Warm tones feel inviting; cool tones create calm; bold colours energise.
- Think about typography – Choose fonts that match your theme — elegant scripts for weddings, clean sans-serifs for modern cards.
Plan for bleed and safe zones – Keep important details away from edges to avoid trimming mishaps.

Image Credit: Leif
Personalised Greeting Cards for Every Occasion
Personalisation is the secret ingredient that turns a standard card into something unforgettable.
You can personalise your cards by:
- Adding recipient names directly into the design.
- Featuring your own photography or artwork.
- Including your brand logo or tagline for business use.
- Writing a custom message inside for each recipient.
Popular uses include:
- Birthday and Anniversary Cards – Add dates, names, and personalised wishes.
- Wedding and Thank You Cards – Feature couple names, wedding dates, or venue illustrations.
- Corporate holiday cards – Include your logo and a seasonal greeting to strengthen client relationships.

Image Credit: Leif
Printing for Business: Branded Greeting Cards
For businesses, greeting cards can be more than a seasonal extra — they’re a marketing tool.
A branded card can:
- Enhance customer experience – A Thank You Card with an online order feels personal and memorable.
- Reinforce brand identity – Keep colours, fonts, and tone consistent with your other marketing materials.
- Drive future sales – Include a discount code or QR link inside to encourage repeat business.
With short-run printing, you can produce smaller batches to test designs, or go for bulk orders to keep costs low.

Image Credit: moonshineprints
Getting your artwork ready
Once your design is ready and you’ve chosen your paper size and your paper stock, there are some small details to consider:
- Have you added bleed? The bleed area should extend 3mm from the edges of your artwork to avoid any white lines or cut offs.
- Have you removed all guides and templates? Check, and check again. You’ll be surprised what can slip through unnoticed.
- Have you exported as a PDF? For the best results you should always upload as a PDF file.
- Which fold? We offer three different folds for greetings cards, which do you need?
Short and long edge folds
For cards that fold along the short or long edge, please set up your pages in the following order:
- Page 1: Back Cover, Front Cover
- Page 2: Inside Front, Inside Back
- Or as four separate pages in this order: Front Cover, Inside Front, Inside Back and lastly the Back Cover.
Each will be folded directly down the middle, so make sure each side is even.
Tent folds
Tent fold cards require a couple of extra steps to make sure none of your designs end up wonky after printing.
Set up your pages in this order:
- Page 1: Front Cover, Back Cover
- Page 2: Inside Front, Inside Back
- Or as four separate pages in this order: Front Cover, Inside Front, Inside Back and lastly the Back Cover.
For this type of fold, you must make sure that your front cover image is upside down. It might look a little strange at first but means it will be the right way up when it’s folded.
Adding the Finishing Touches
Finishing options can take your card from “nice” to “wow”. As standard you can add options including:
This includes:
- Foiling – Add shimmering metallic accents for an instant luxury feel.
- Rounded corners – Soften the look for a modern twist.
Or, ordering via our Bespoke Service offers a range of options that aren’t available as standard, including:
- Spot UV – Highlight key details with a glossy contrast.
- Embossing/Debossing – Create tactile depth for a premium touch.
Choosing the right finish depends on your design and audience. A foiled Wedding Card feels luxe, while a Spot UV logo can make a corporate card pop.

Image Credit: Kerrie Illustrates
Envelopes: The First Impression
Don’t underestimate the power of an Envelope. It’s the first thing the recipient sees, and it sets the tone before they even open your card.
We offer a wide range of envelope colours, textures, and sizes to match your cards perfectly — from classic white to vibrant shades that grab attention.
Tip: Match or complement your card’s design to create a cohesive look

Image Credit: Impact
Eco-Friendly Greeting Card Printing
If sustainability is important to you (and to your customers), there are plenty of eco-friendly greeting card printing options.
Choose:
- Recycled paper stocks – Reduce waste without sacrificing print quality.
- Plastic-free finishes – Opt for unlaminated or biodegradable coatings.
- More and more customers appreciate brands that make thoughtful environmental choices.

Image Credit: Bookishly
Why Choose Printed.com for Greeting Card Printing?
We’ve been helping creators, businesses, and designers bring their ideas to life for years. With premium stocks, expert finishes, and flexible order quantities, we make it easy to print greeting cards that impress — whether you’re ordering 10 or 10,000.
Plus, our online ordering system is quick and straightforward, with instant quotes and free downloadable templates to get your design just right.
Ready to Print Your Greeting Cards?
From birthdays to branding, weddings to “just because” moments, Greeting Cards are a versatile, creative, and powerful way to connect. Whether you’re designing one special card or launching a whole collection, we’ve got everything you need to make it happen.
Start your greeting card printing today and bring your vision to life with expert quality, beautiful finishes, and a personal touch.
About the author
When she’s not perusing the factory or planning our next product launch, you’ll find Emma doing some form of exercise. Whether it’s her favourite gym class or a walk around Northumberland with friends, she loves keeping fit!