


 UK
UK  Canva support with Printed.com

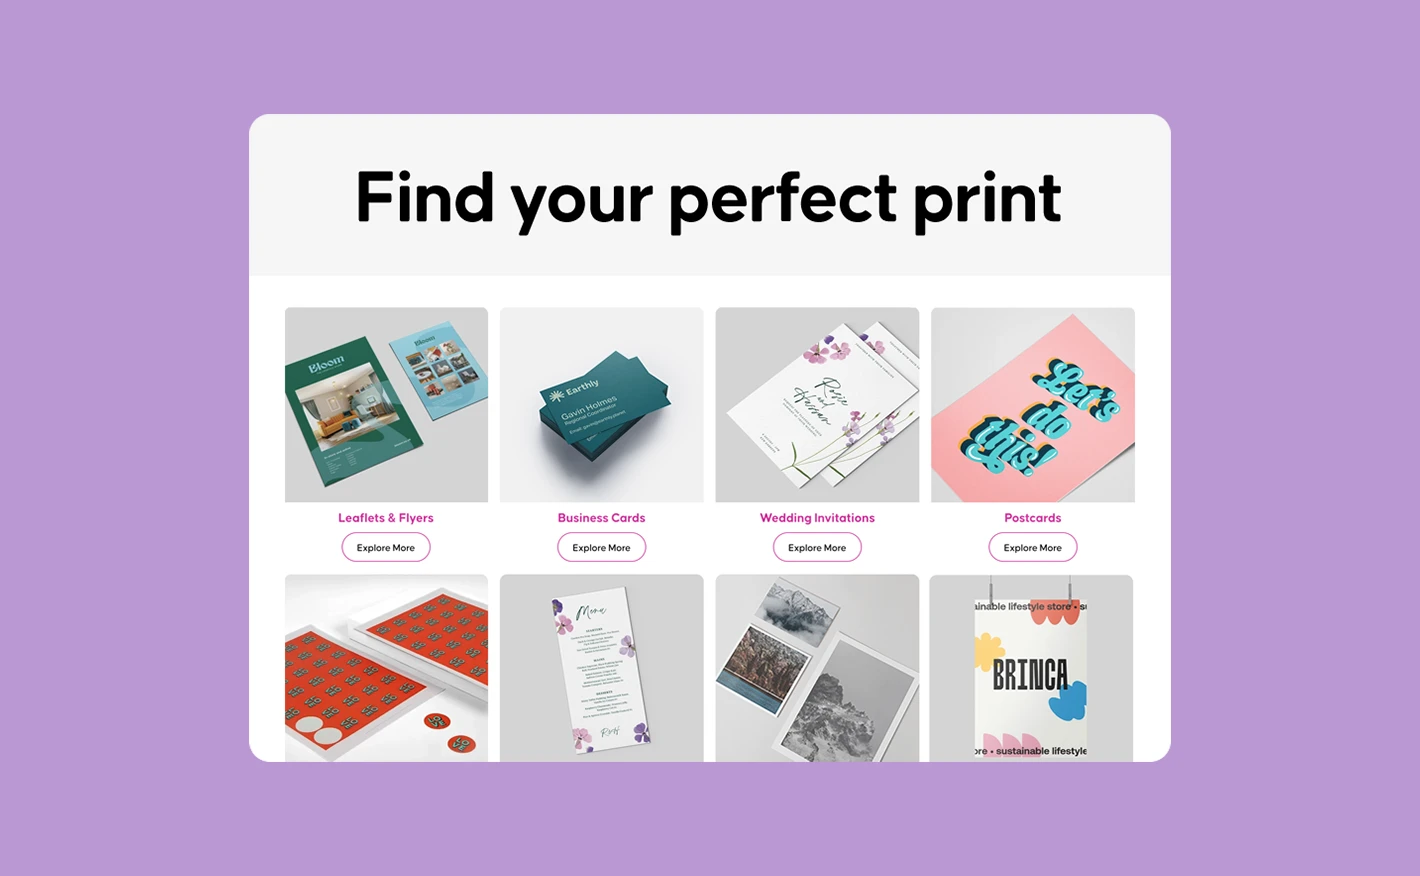 Choose your products Printed.com site interface
 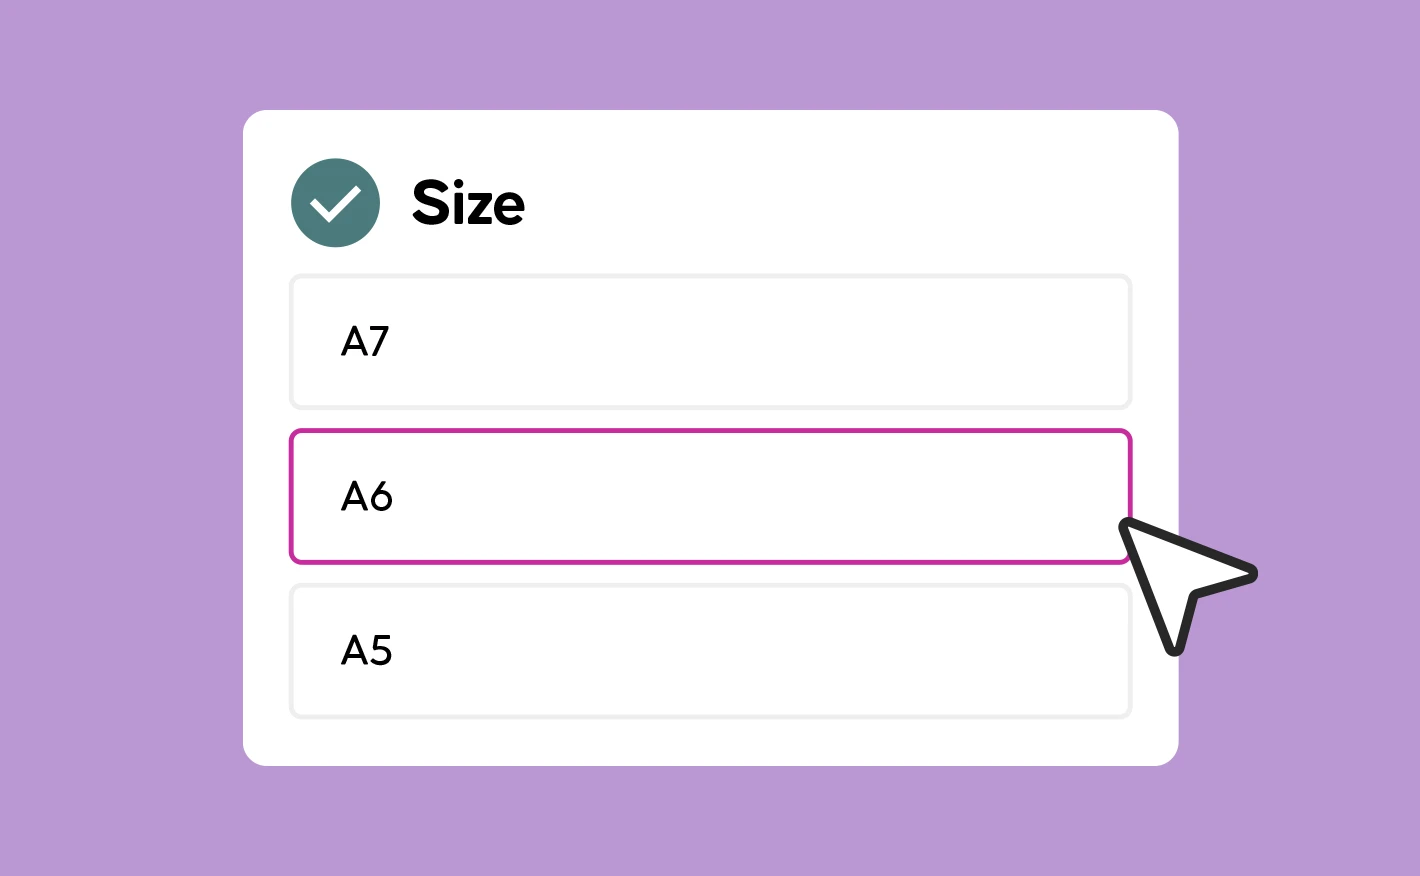 Customise your product specifications Printed.com interface
 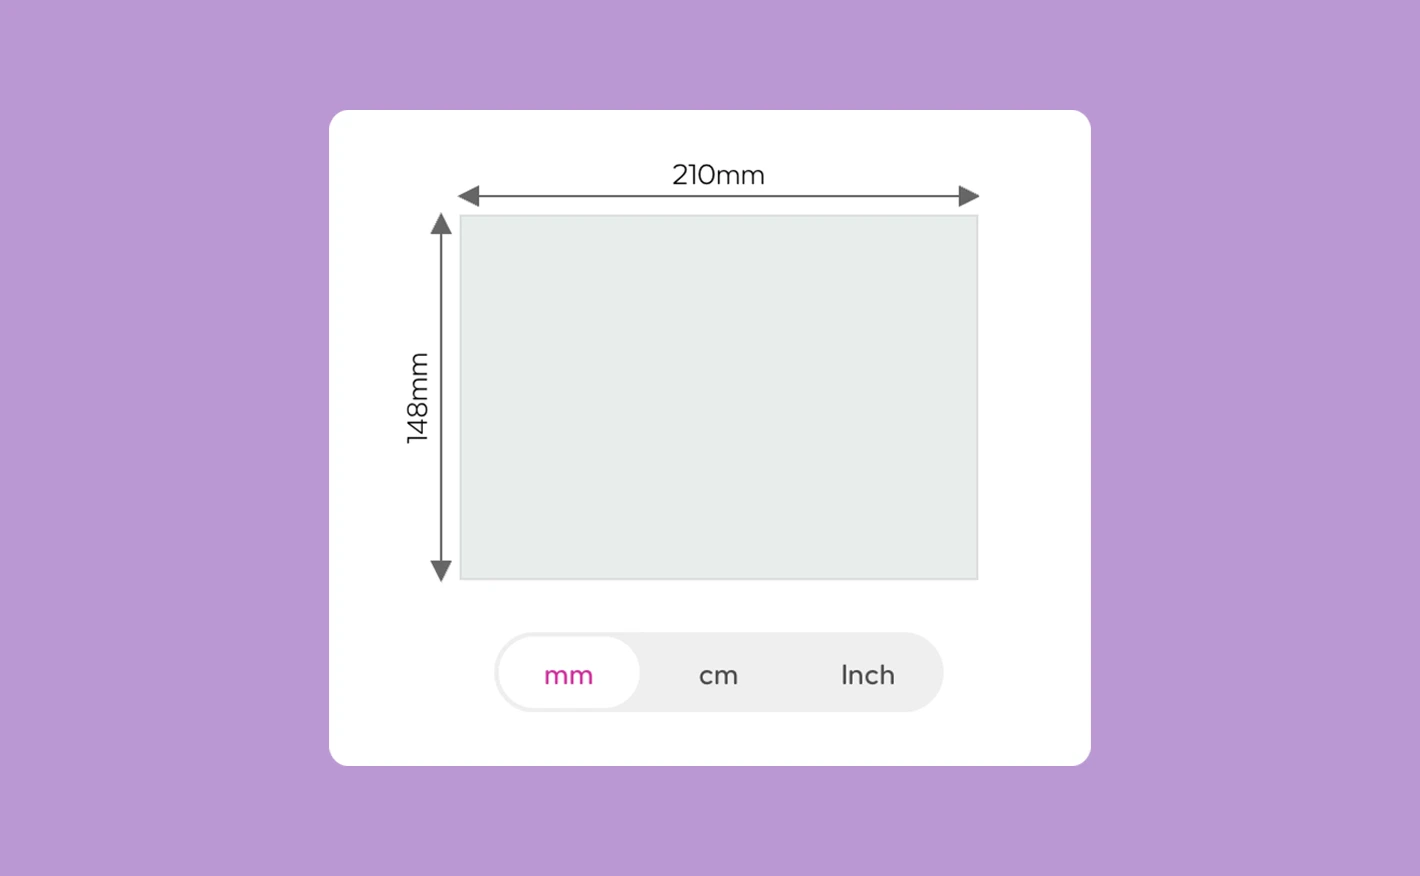 Check your product dimensions Printed.com interface
 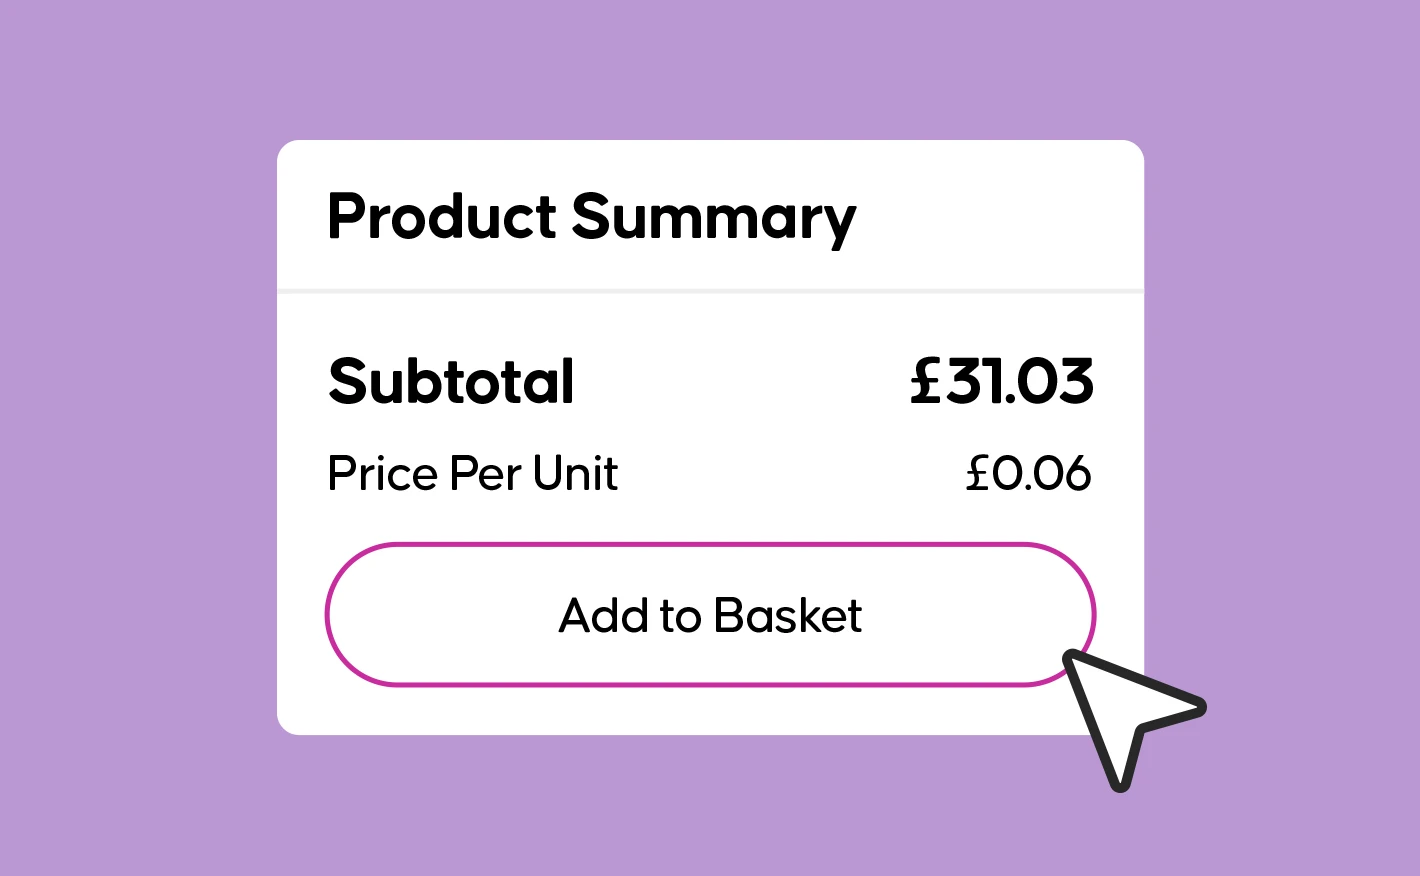 Add product to basket Printed.com interface
 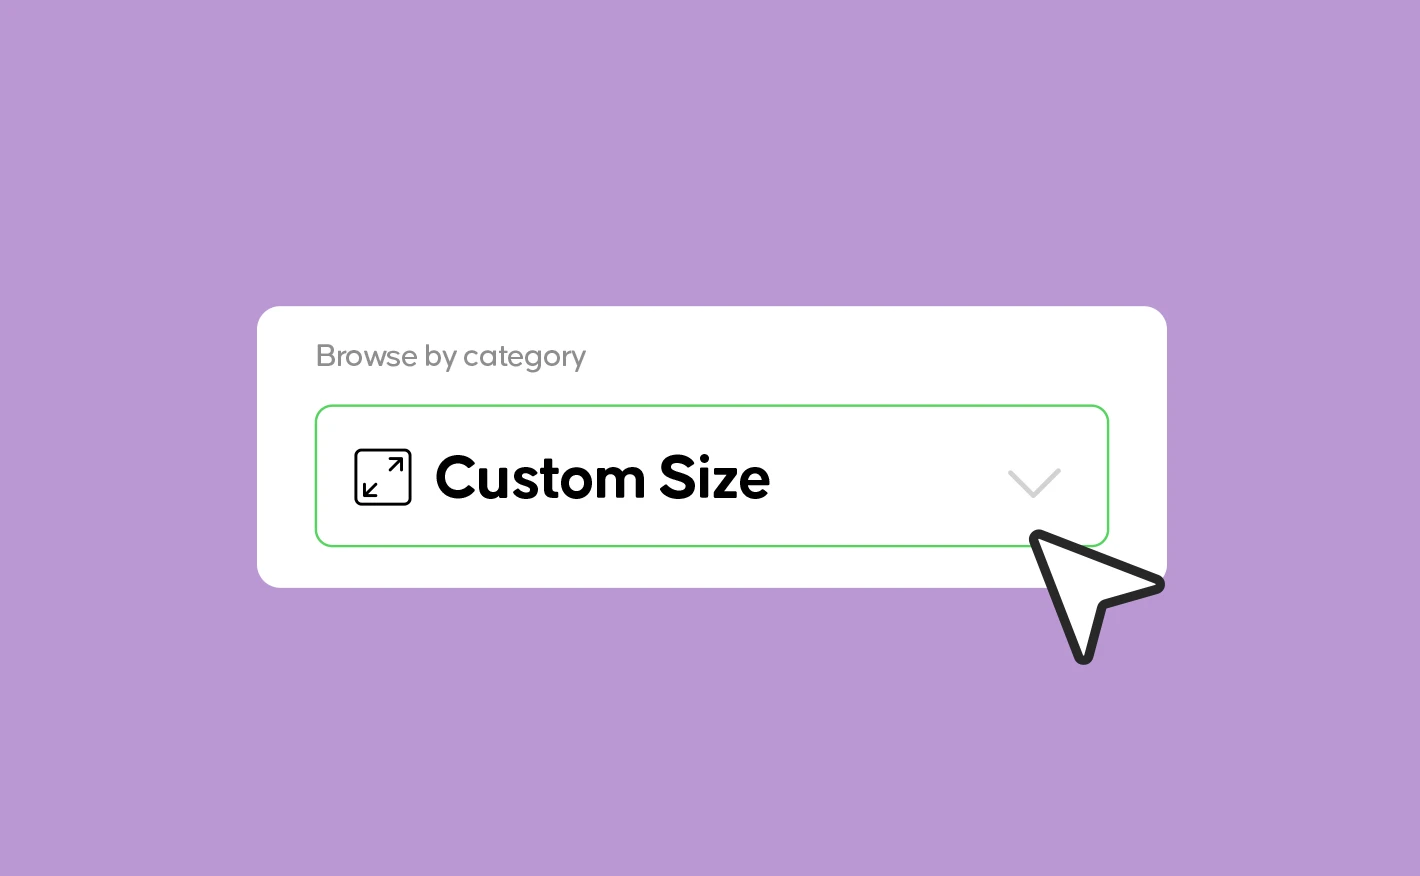 Canva custom dimensions
 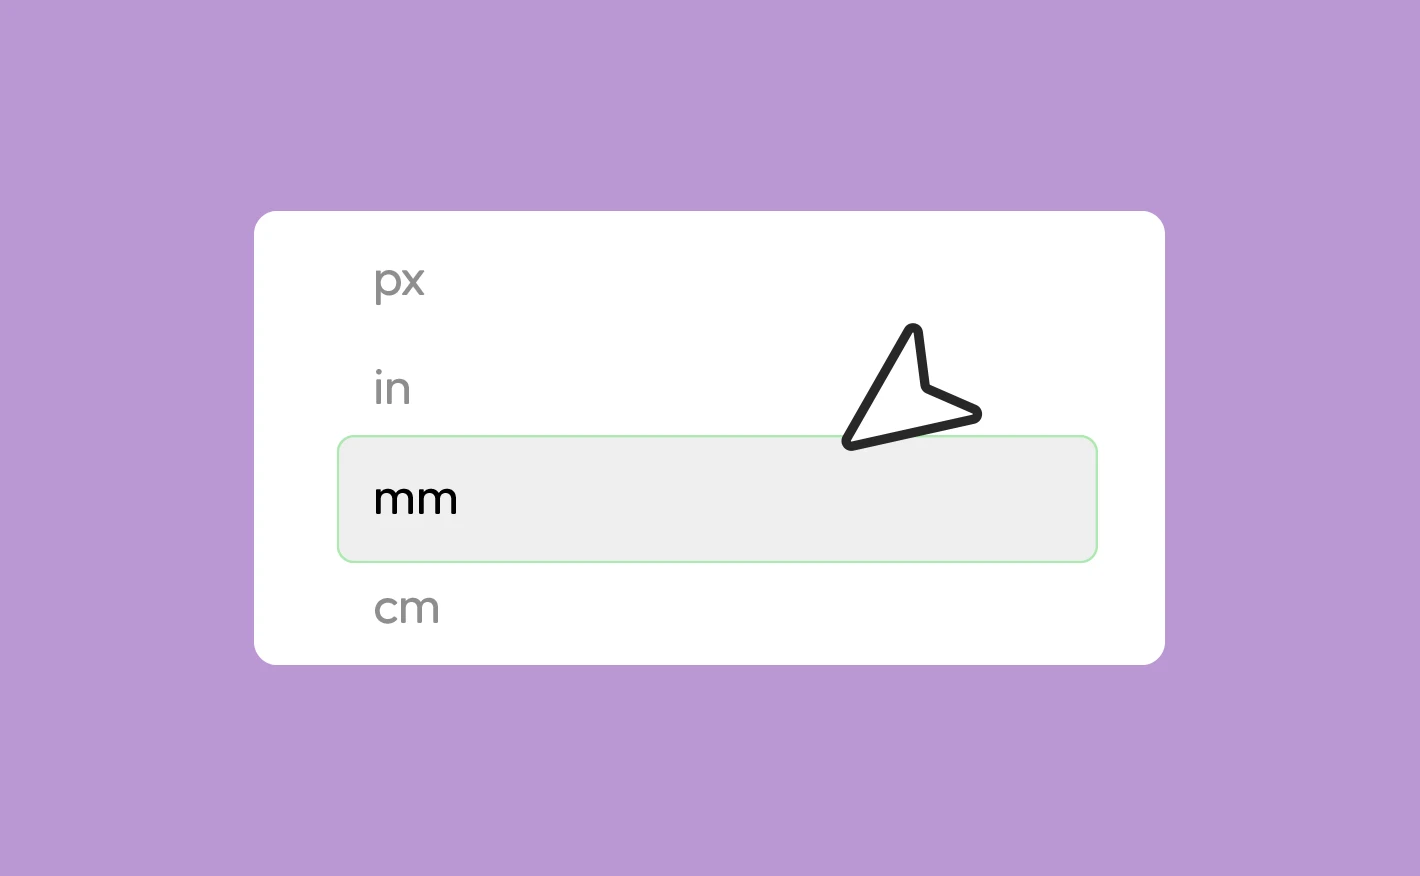 Canva correct mm units
 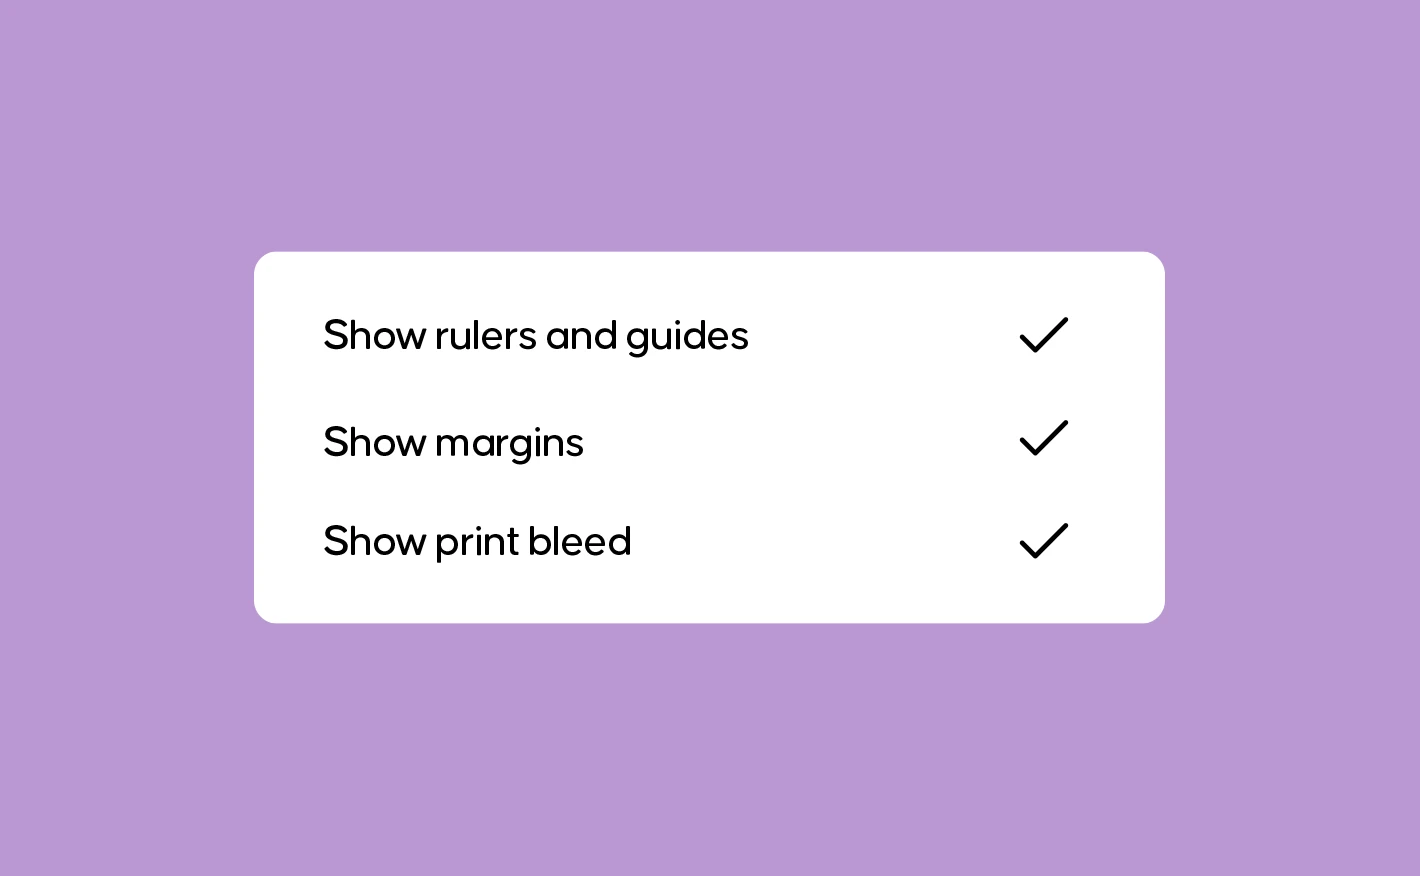 Canva print settings
 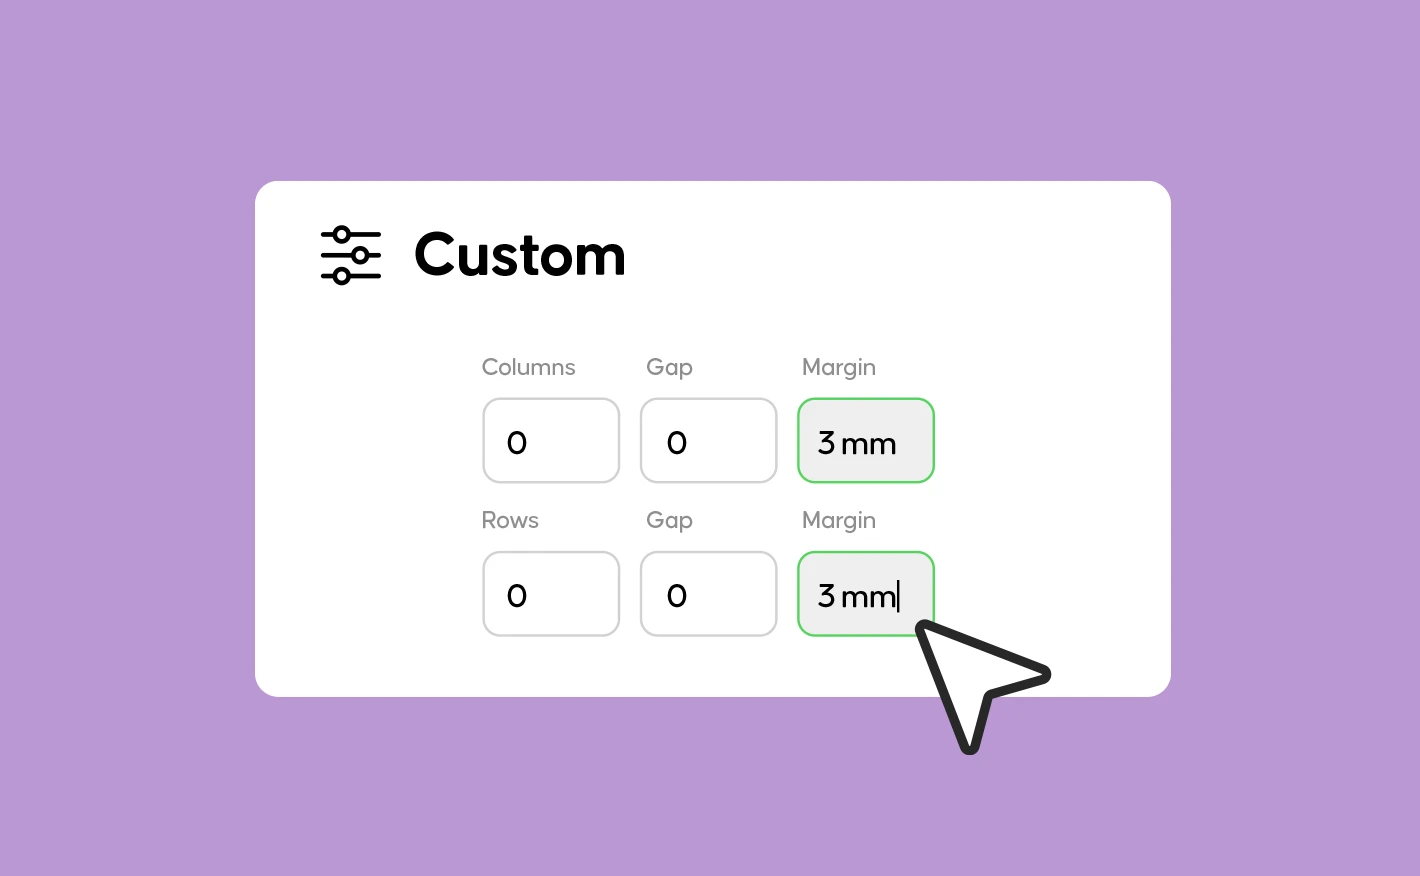 Adding guide lines in Canva
 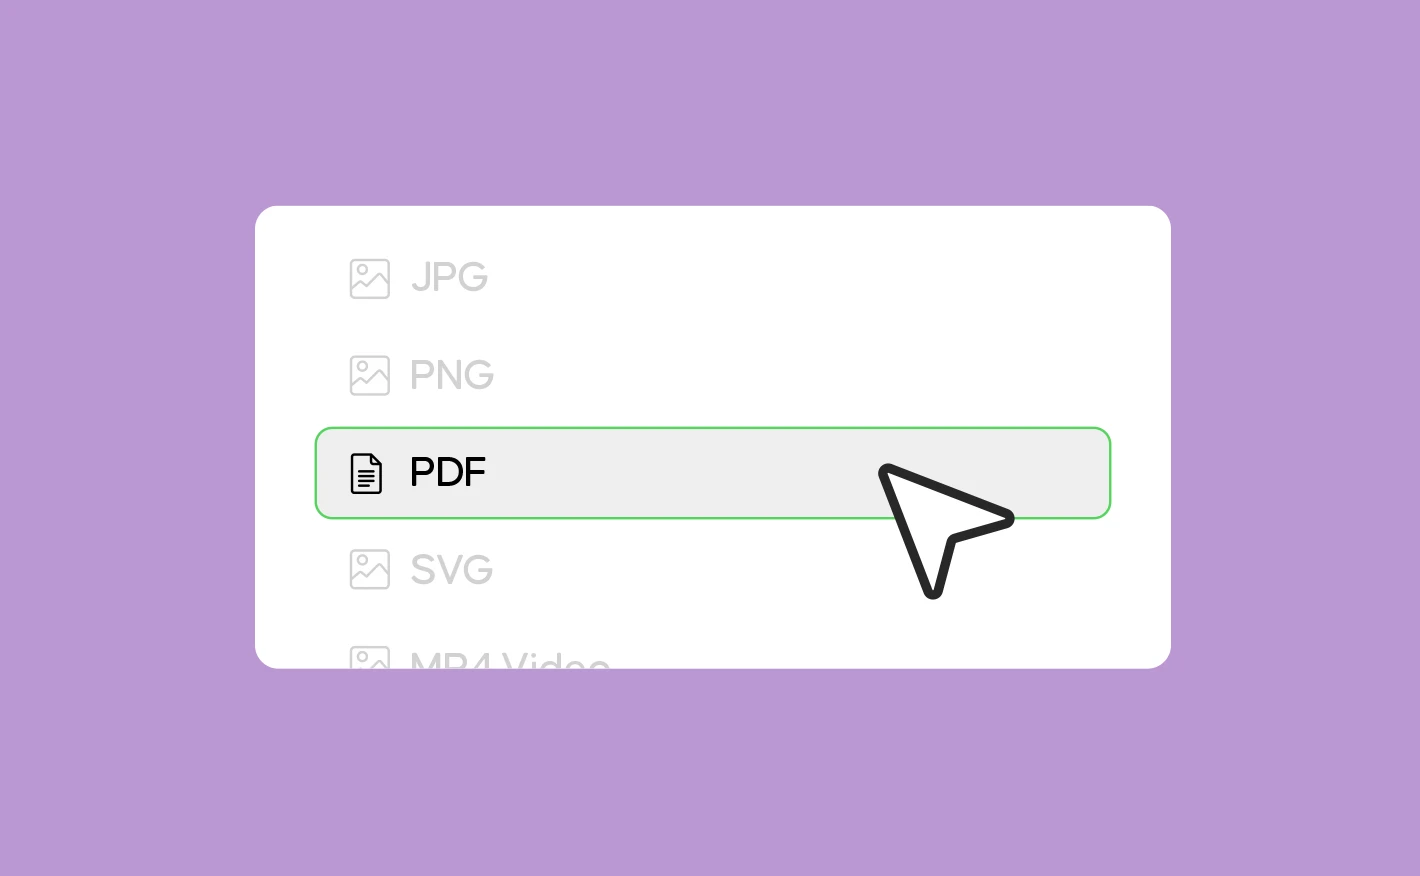 PDF printing in Canva
 When saving, change the file type from the default PNG to "PDF Print". This format provides the best resolution for crisp printing.
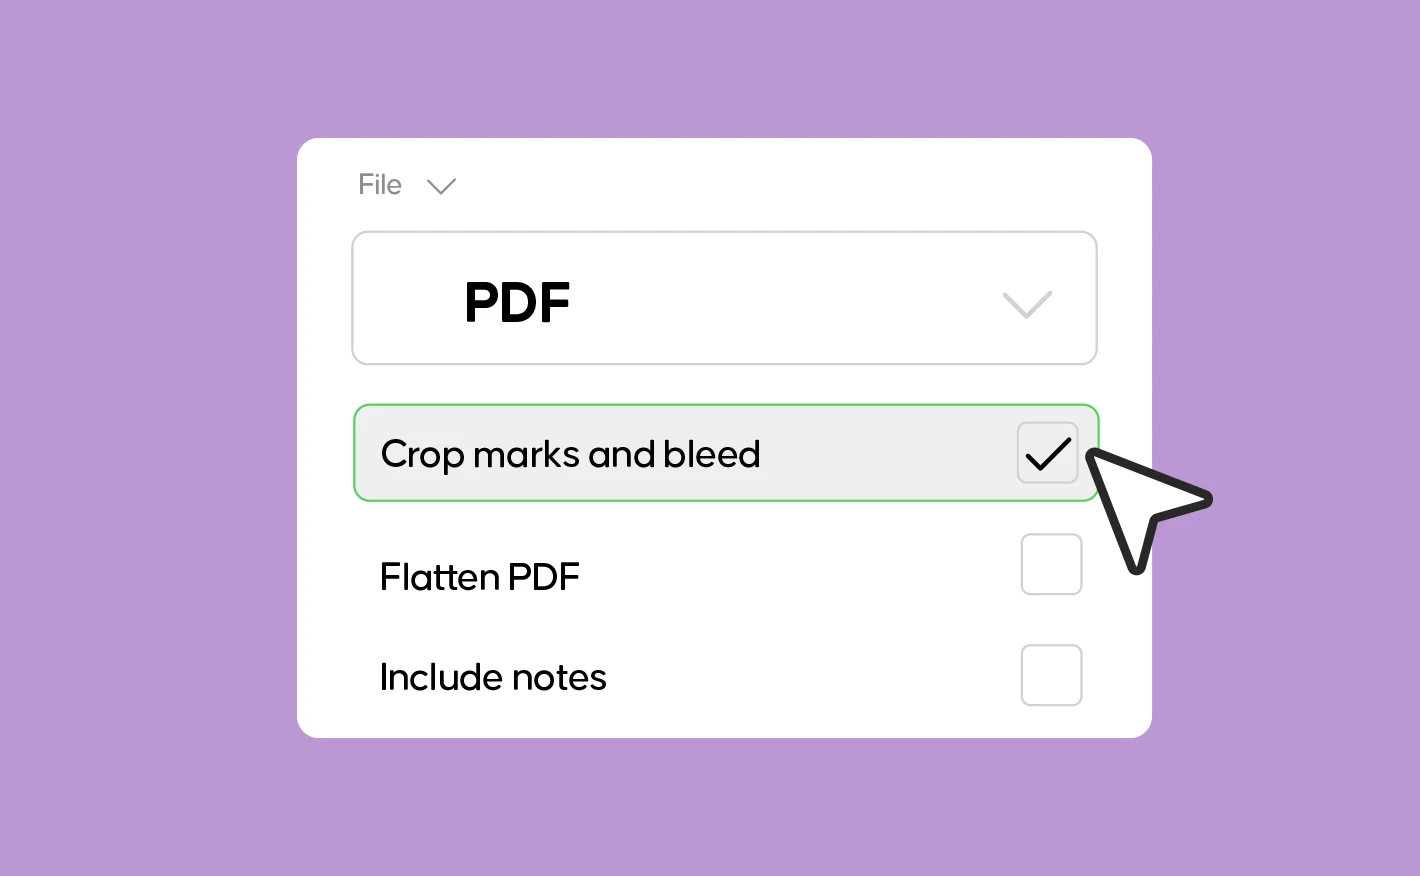 PDF settings in Canva
 Leave "Flatten PDF" unticked for perfectly sharp text.
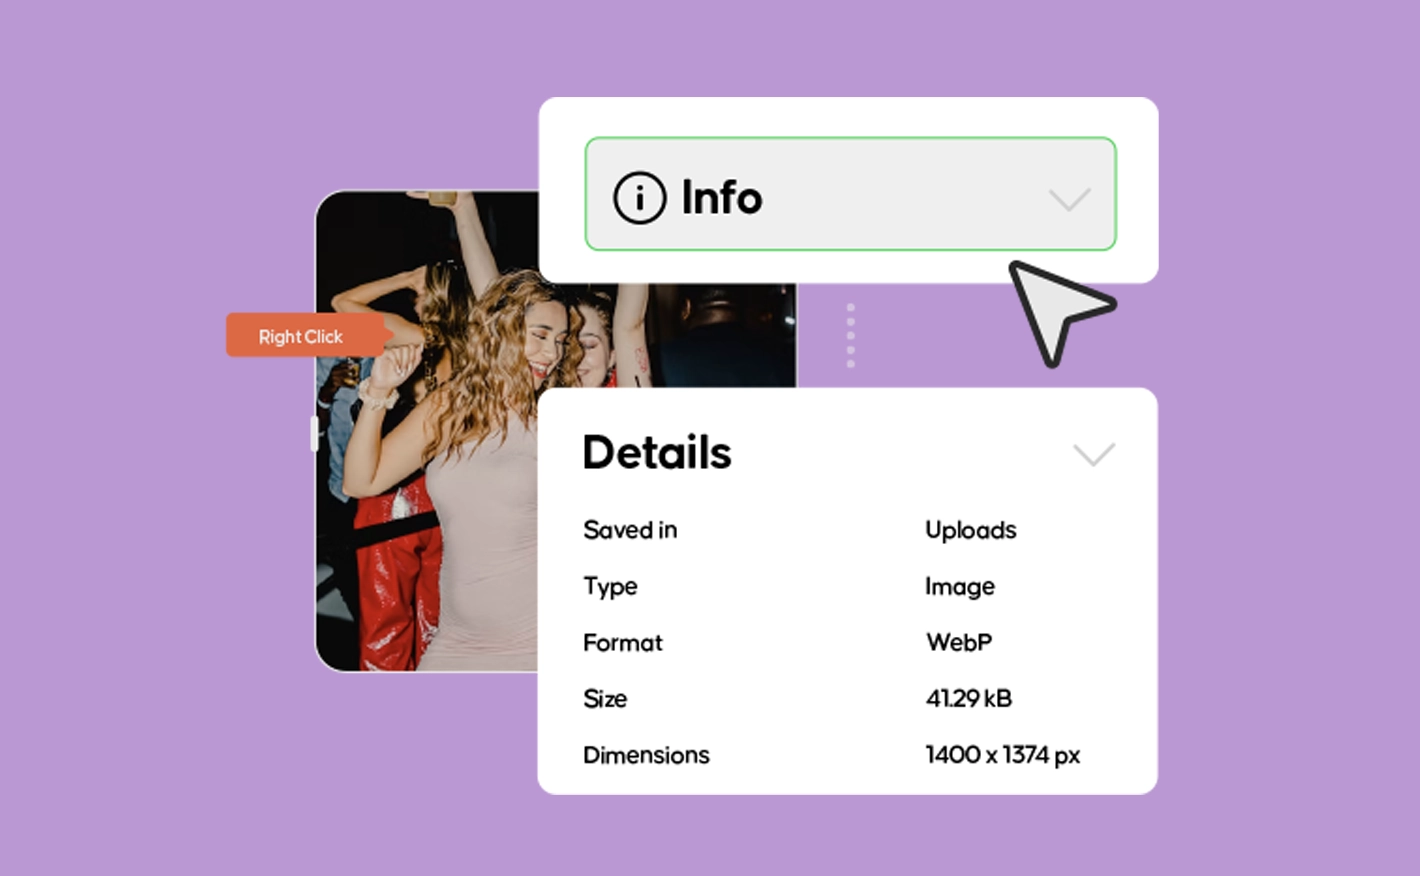 Canva image resolution printing
 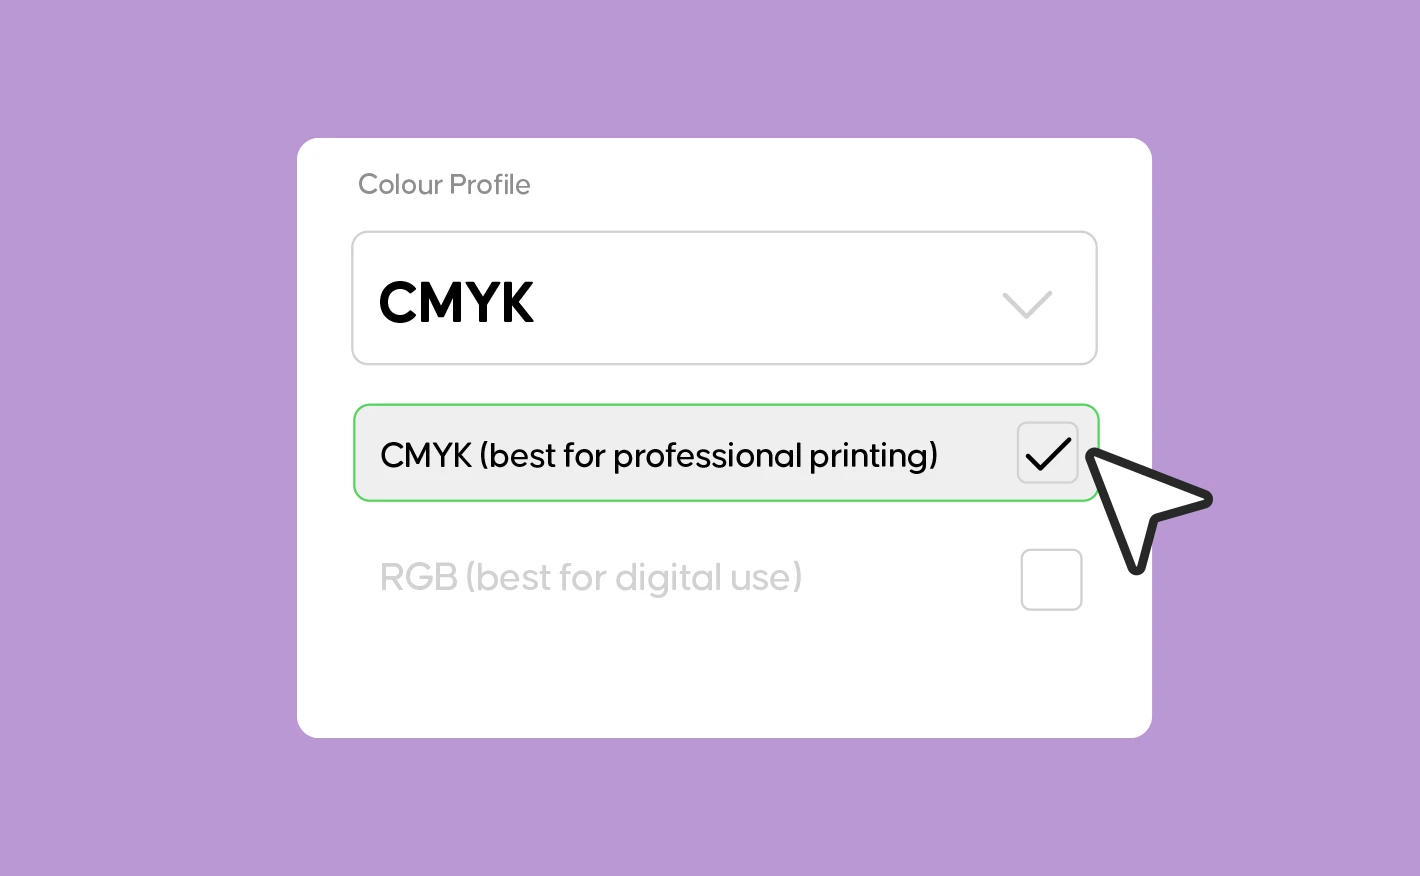 CMYK for professional printing in Canva.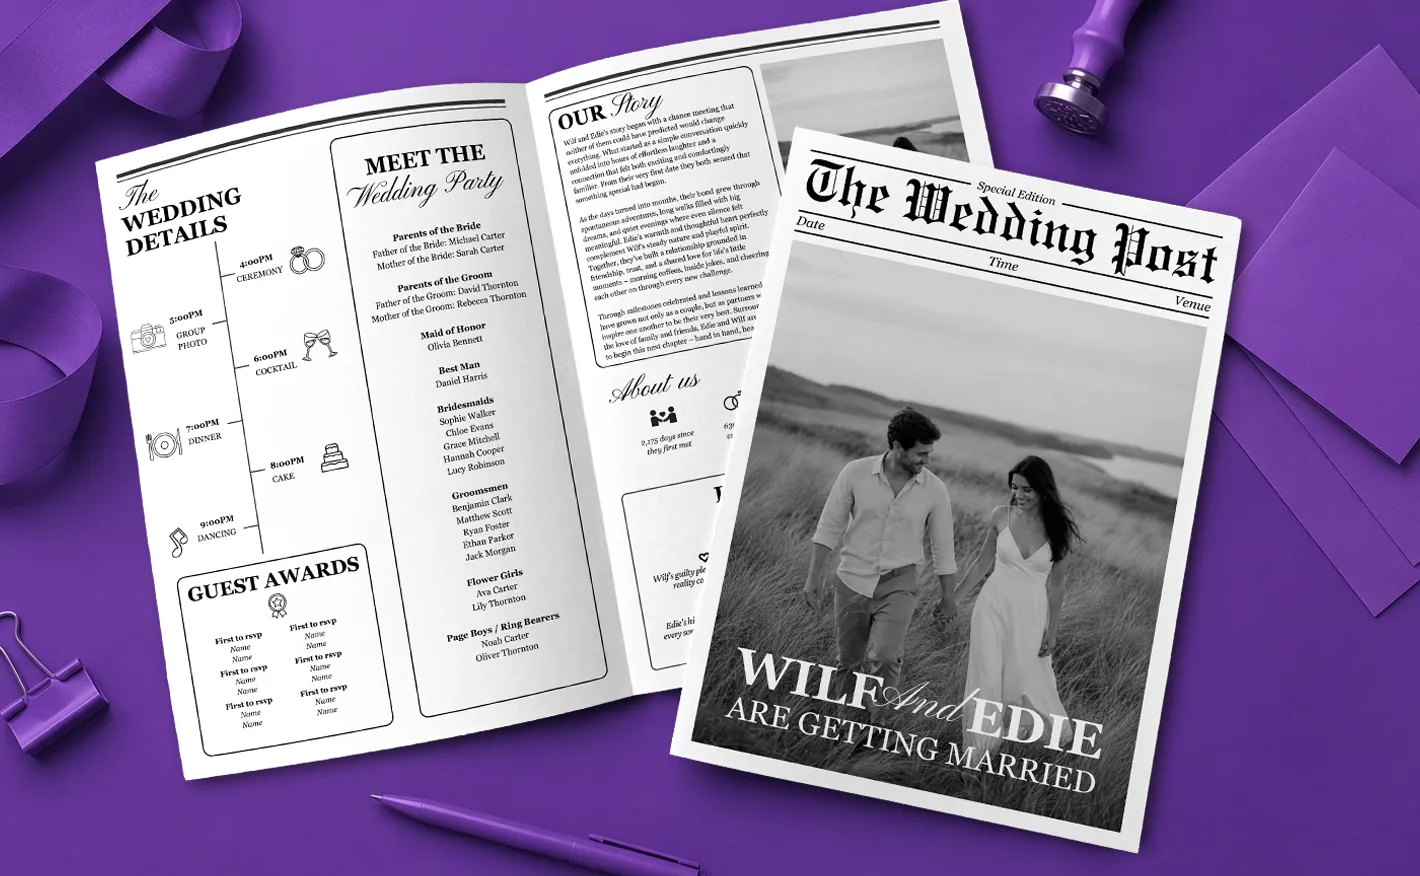
- Product: Wedding Newspapers.
- Size: A3 (folded to A4).
- Recommended Paper: Uncoated (for an authentic feel) or Silk (for a sharp finish).
- Printed Sides: Double sided.
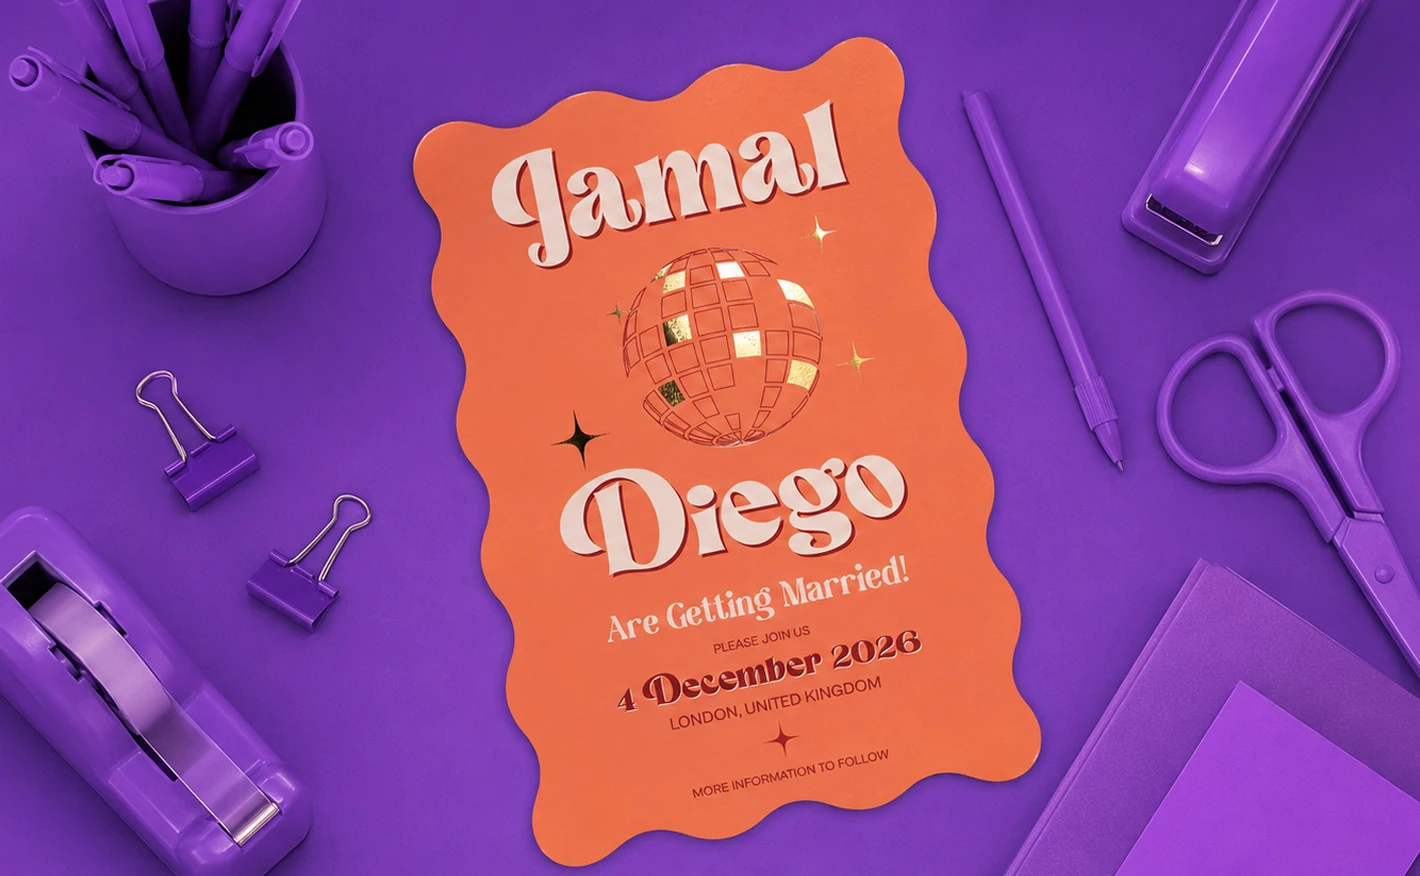
- Product: Wedding Invitations.
- Type: Foiling
- Shape: Wavy.
- Size: A5.
- Recommended Paper: Silk (for a sleek finish) or Uncoated (for a soft texture).
- Printed Sides: Single sided.
- Recommended Foiling: Gold.
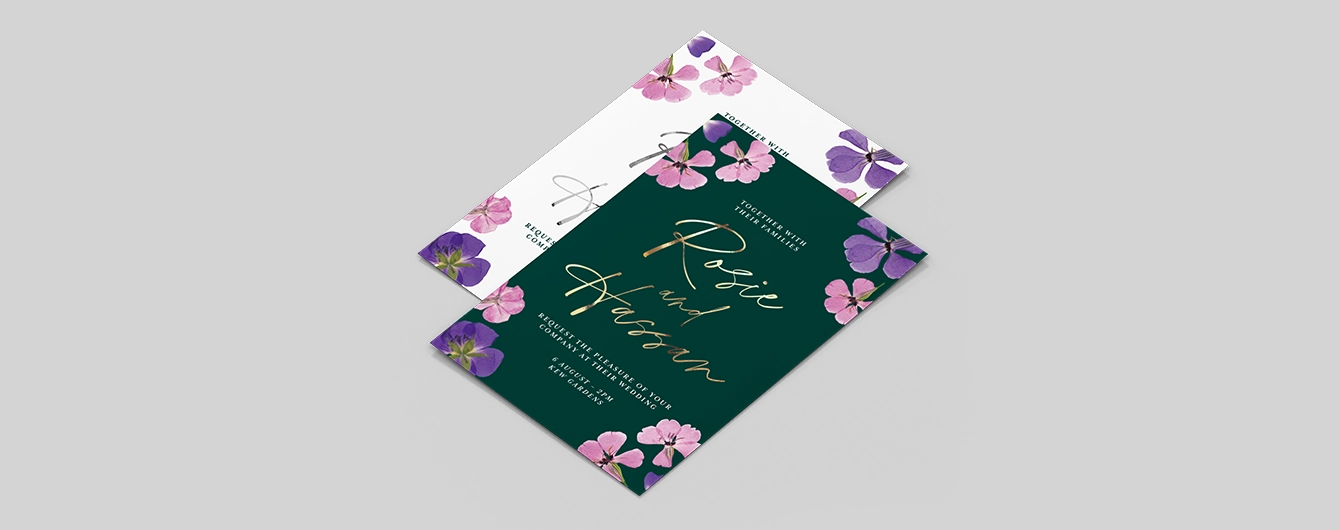
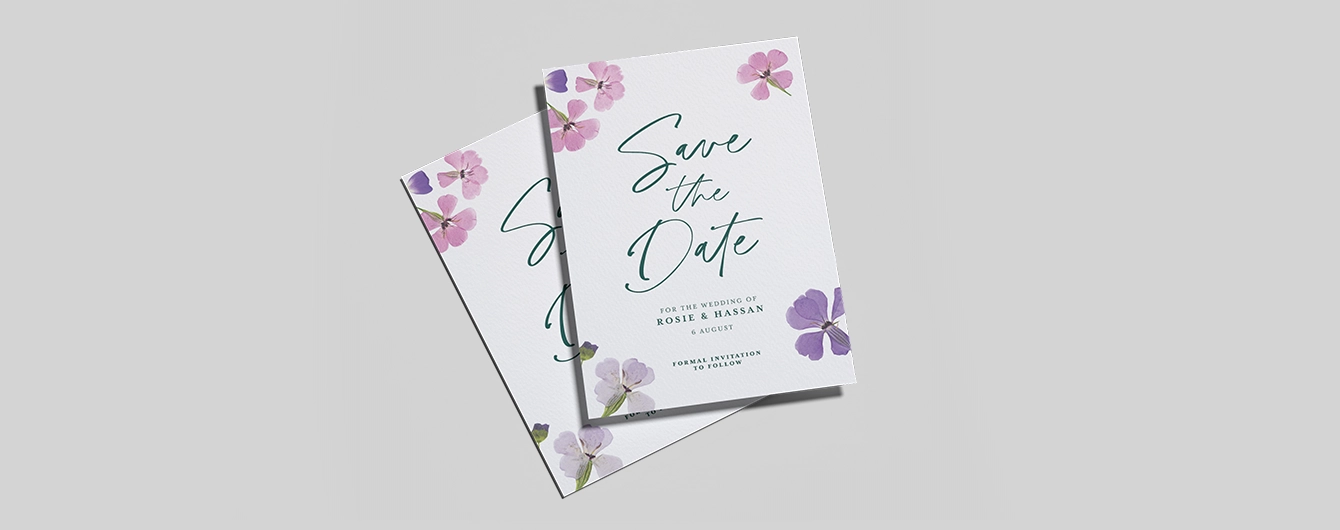

Here is some intro text that you can change.
Craft the perfect Save the Date Cards with a choice of 10 luxury papers and a range of finishes.
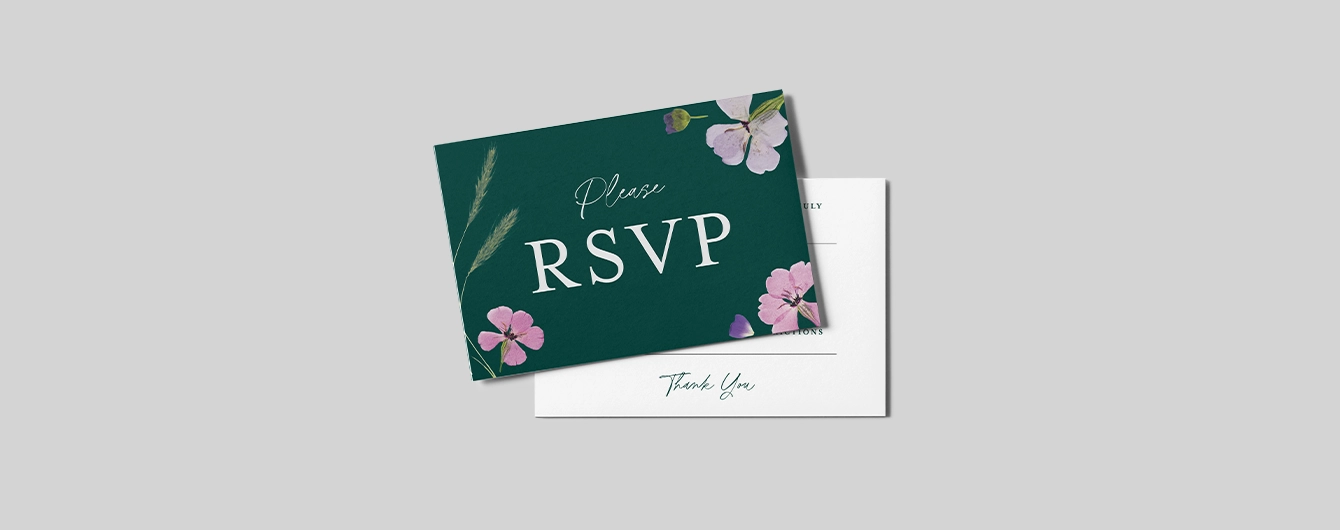
Receive the warmest response for the Big Day with stunning finishes like foiling and perforation.
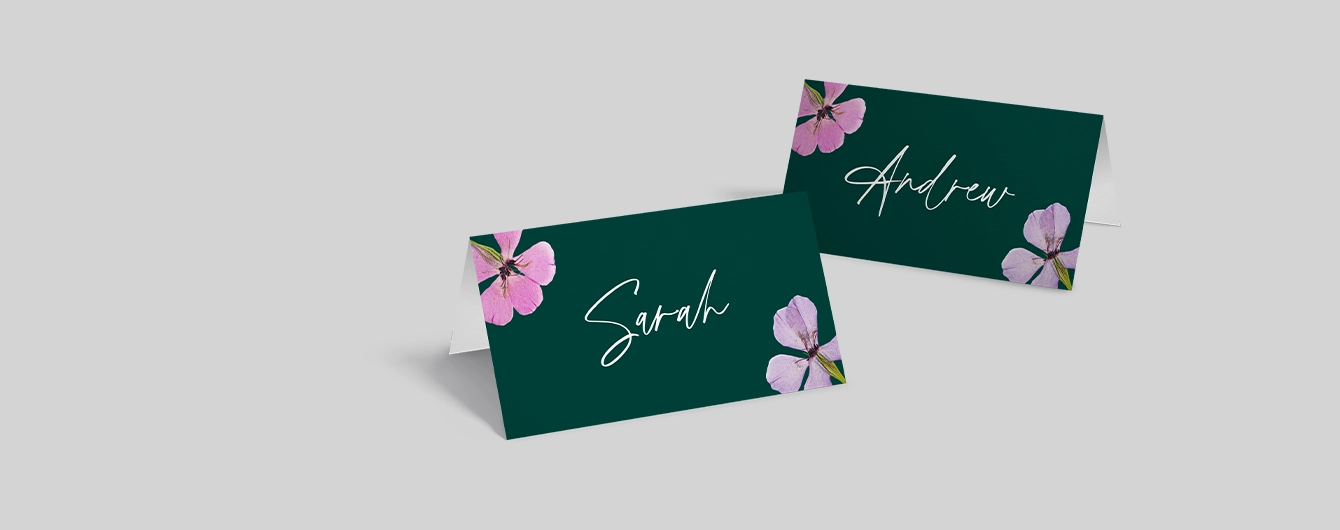
Keep the big day organised with our Wedding Table Plan Boards to display your seating plan and more. In a range of shapes, sizes and materials.
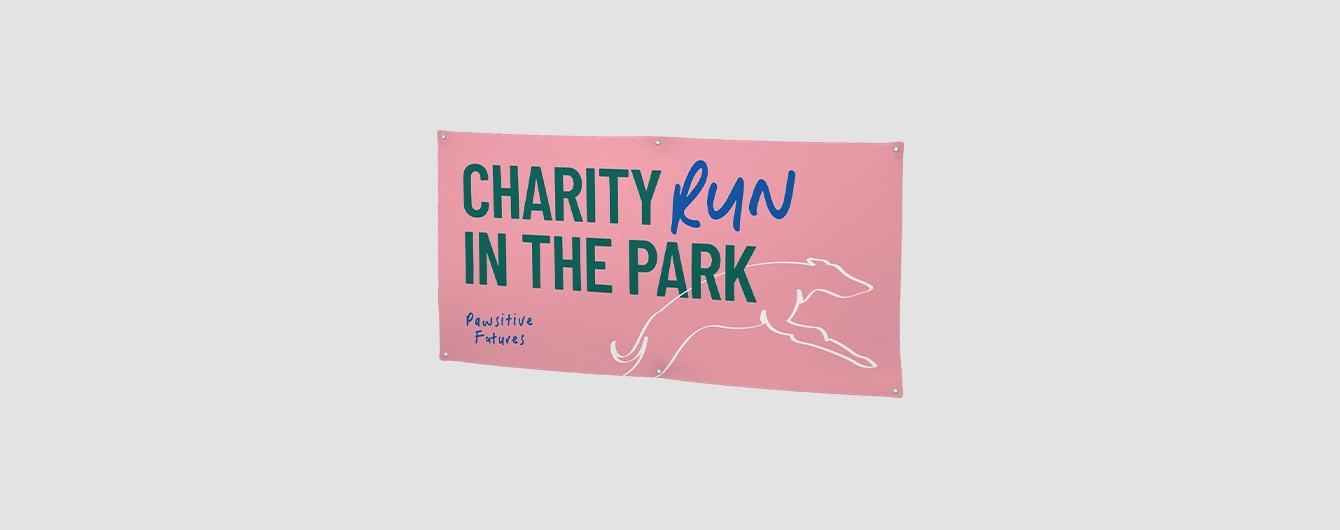
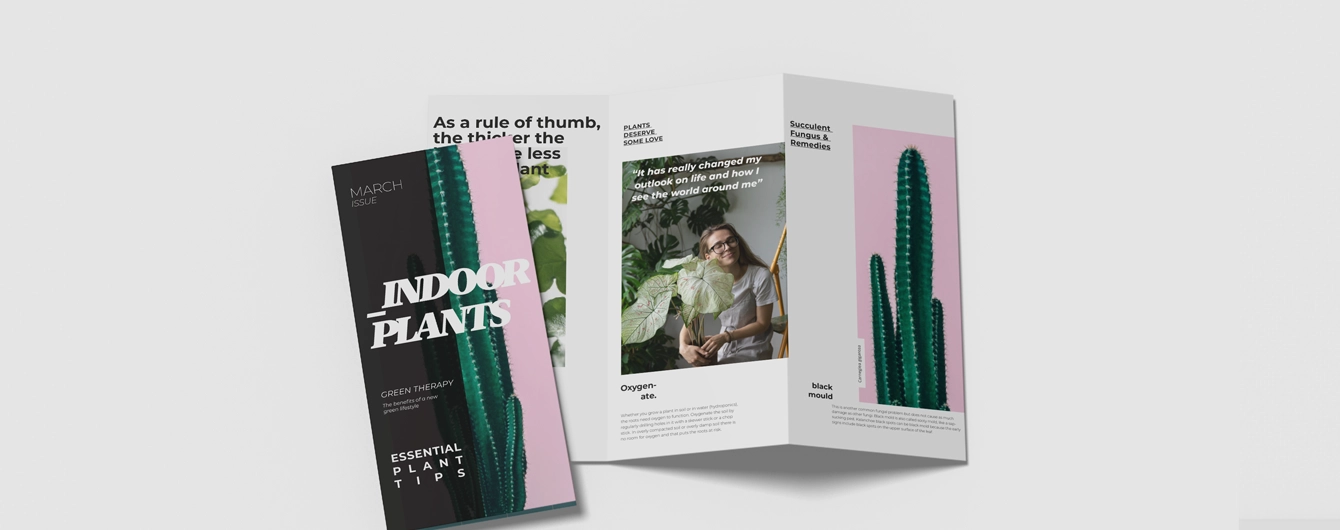
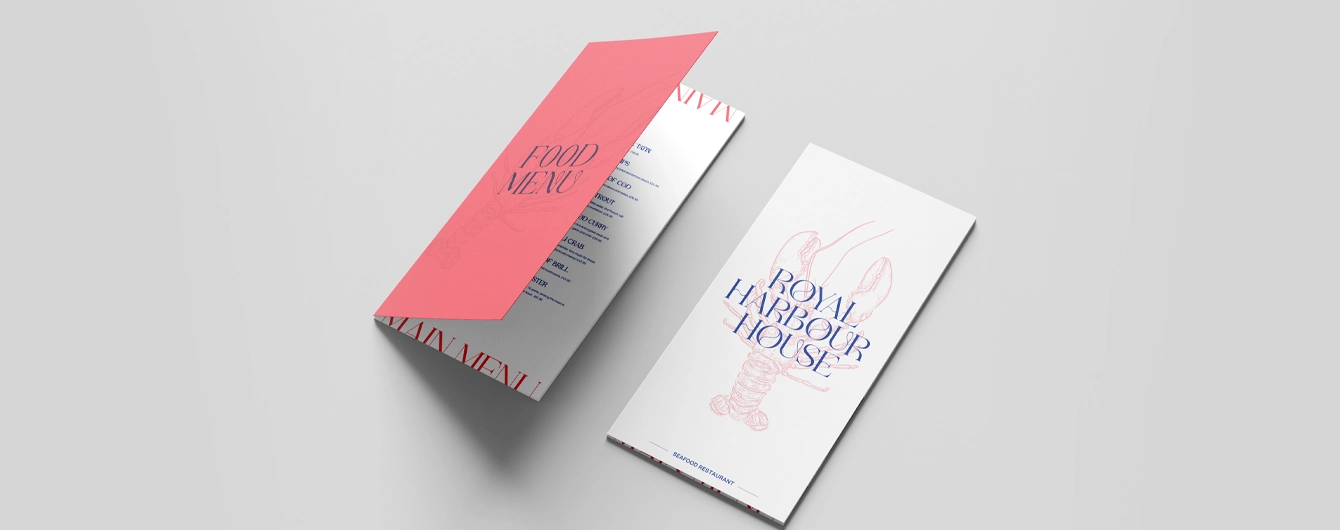
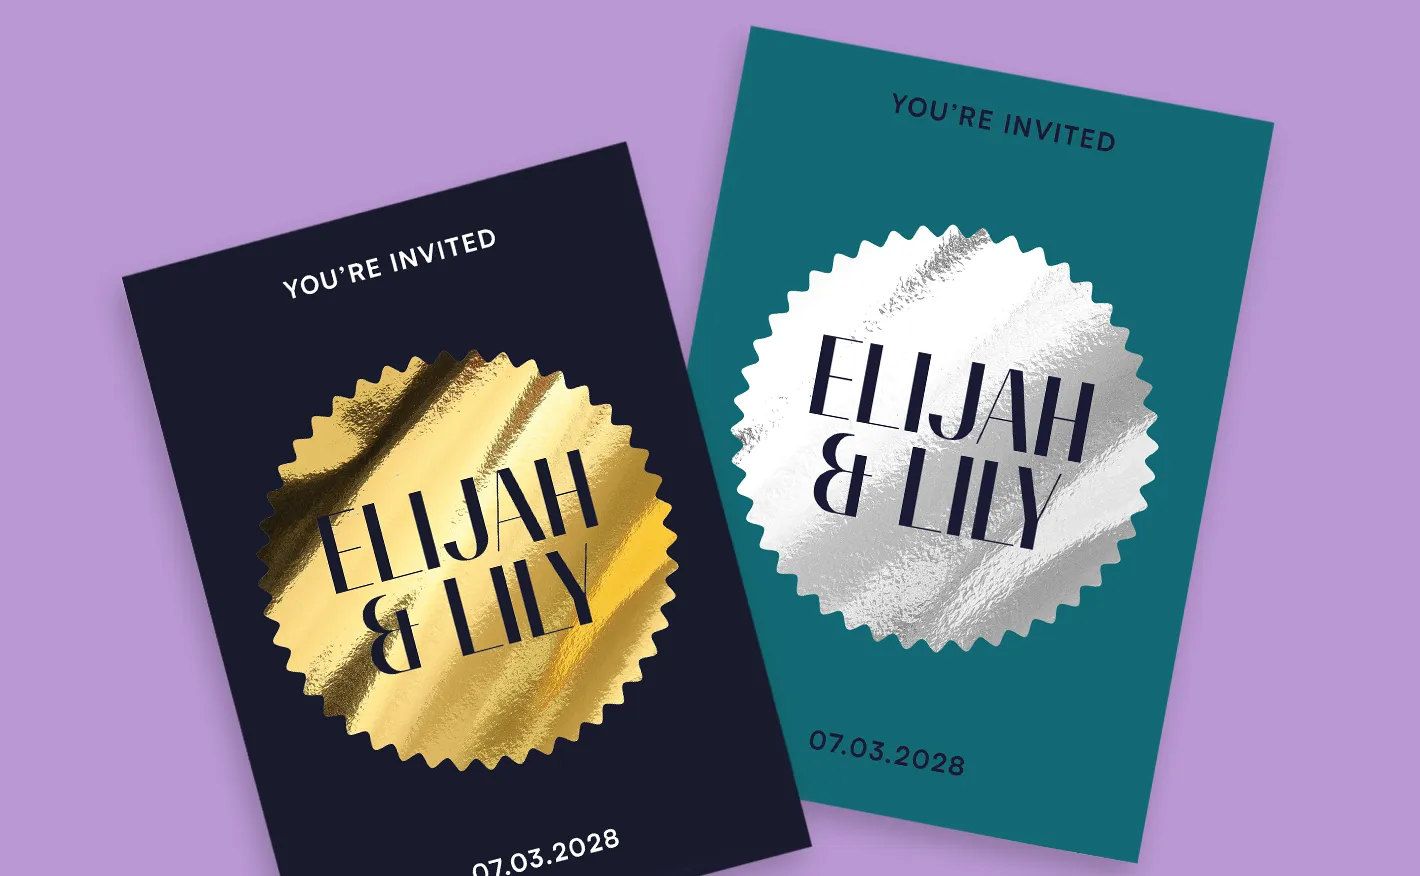 Gold and silver foil Wedding Invitations
 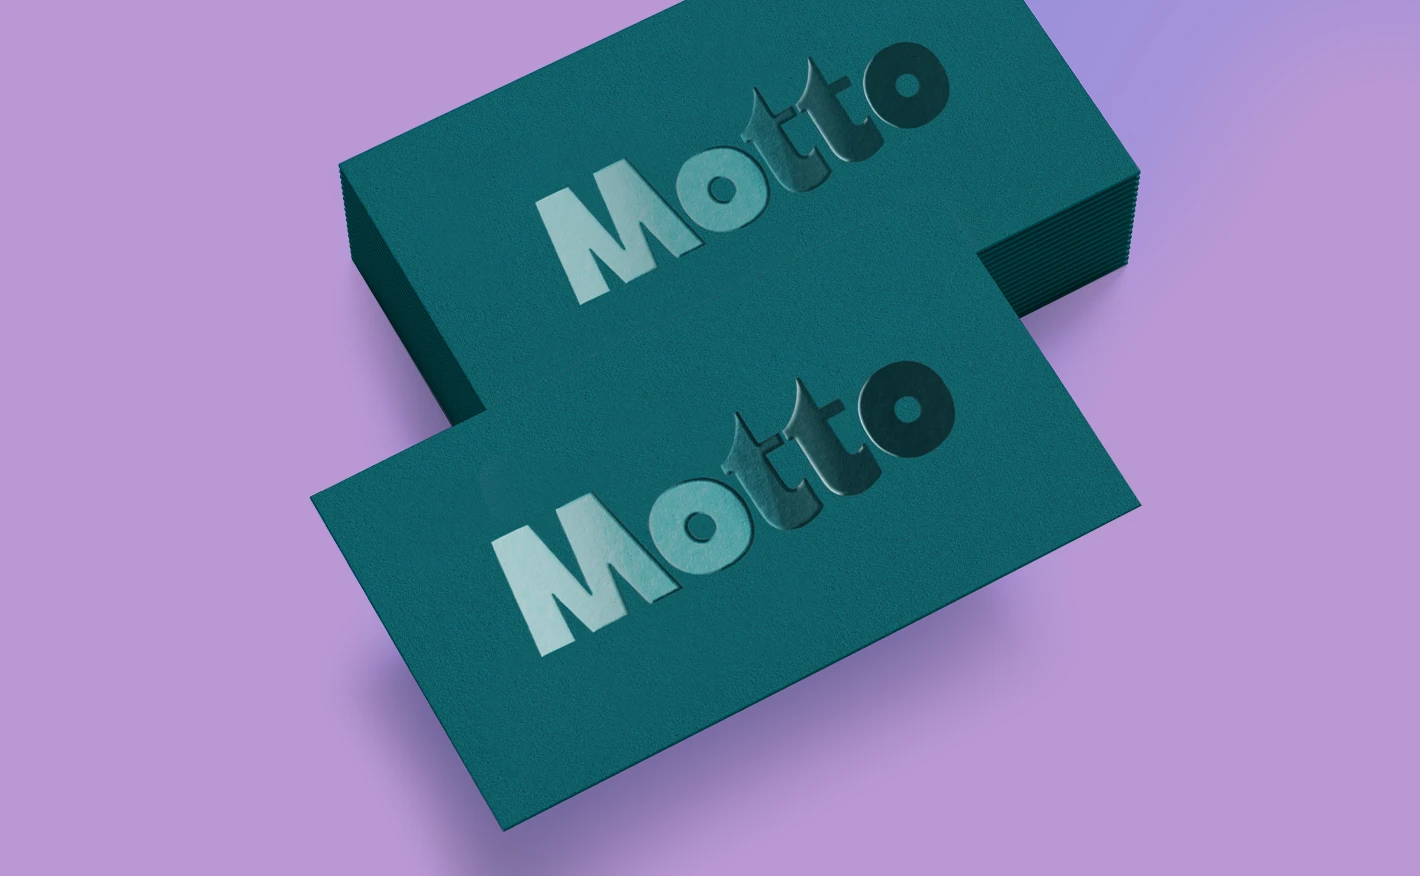 Spot UV logo Business Card
 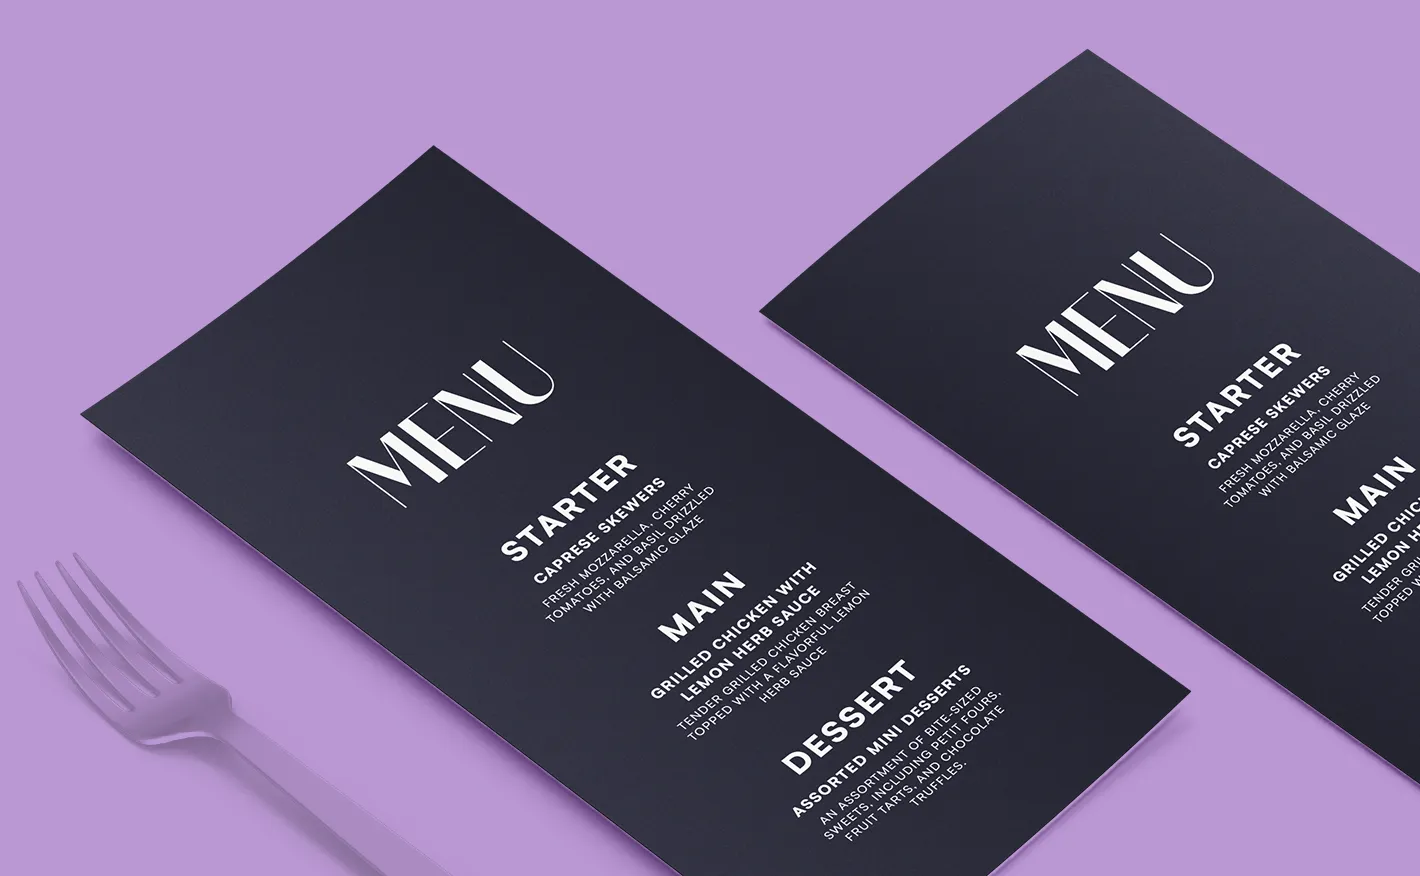 White ink Wedding Menu
 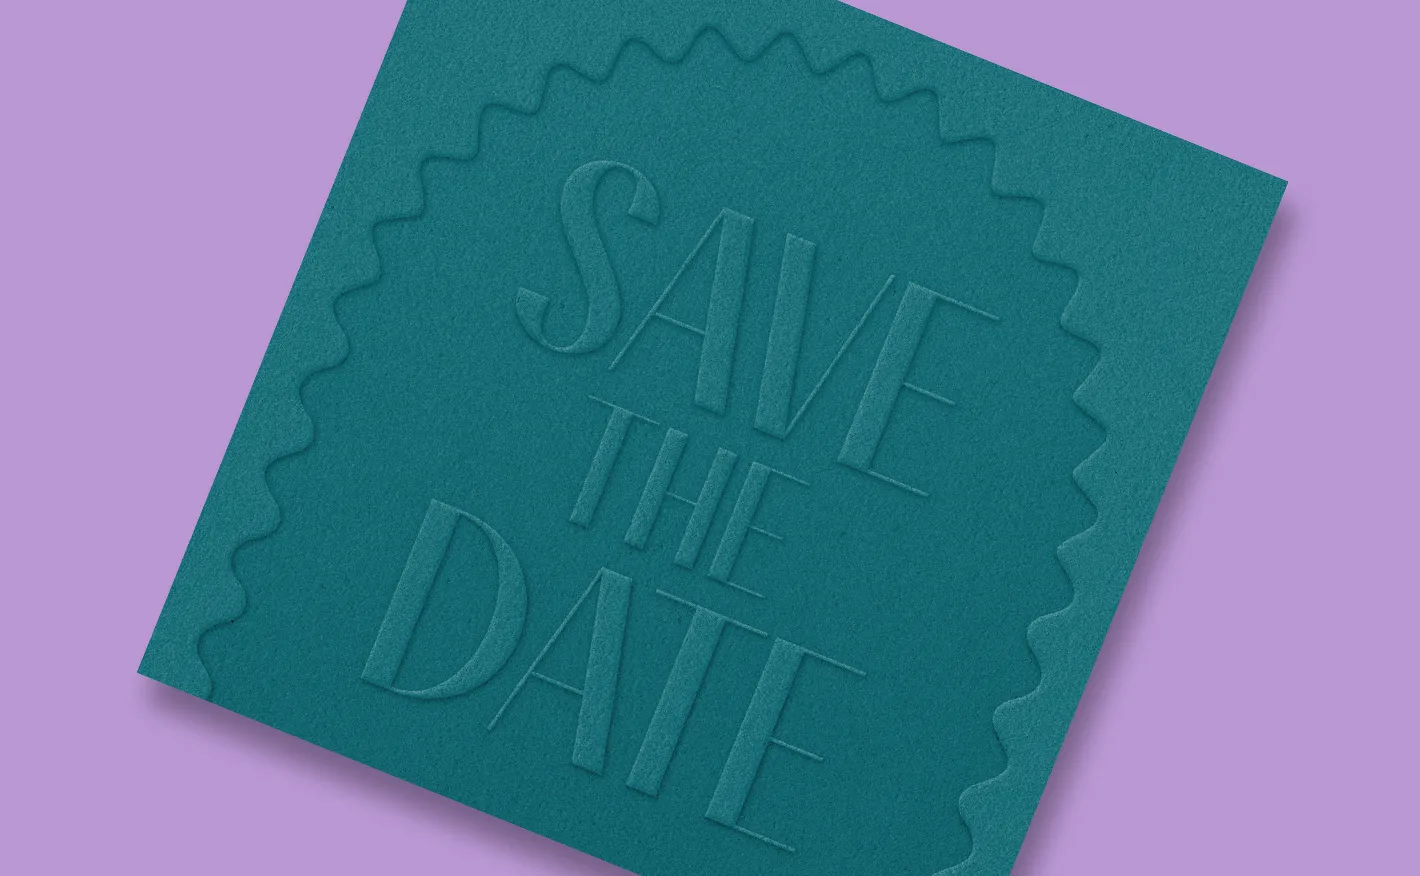 Emboss and deboss Wedding Save the Date
 Printed.com is the perfect place for printing with Canva. Getting your Canva designs ready to print with us is super easy. Once your artwork has been created, follow these simple steps to download your print-ready files and upload them to our site:
- Open your design and click “Share” in the top right corner.
- Click “Download".
- Under File Type, select “PDF Print”.
- Tick the “crop marks and bleed” box.
- Change the colour profile to CMYK.
- Click download.
Ready to print? Once you've downloaded your PDF, simply select your product on our website, choose your specifications, and upload your artwork to place your order! Explore our full product list here..
Canva makes it easy to customise your artwork's background. Depending on your design, here are the quickest ways to change it:
- Remove a background: Select your image and use the "Background Remover" tool.
- Change the color: Click your existing background, then select a new shade from the color palette in the top toolbar.
- Use a new image: Drag an image from the "Elements" or "Uploads" tab on the left, right-click it, and select "Set image as background".
- Swap images: Click your current background image and use the "Replace background" option to instantly swap it out.
Remove the background altogether with the “background remover” tool to create a canva transparent background.
Top Tip: If you download a file with a Canva transparent background (like a transparent PNG logo), remember that when printing, we don't print "transparent ink." Any transparent areas in your design will default to the colour of the paper you choose to print on!
If you have a Canva Pro account, you can easily resize any design:
- Open your design in the Canva editor.
- Click “Resize” on the left side of the top toolbar.
- Choose a preset format, or enter a custom size in pixels, inches, millimetres or centimetres. We recommend using custom size, because Canva defaults to US standard sizes for many presets, so entering your own dimensions ensures a perfect fit.
- Click “copy & resize” to keep the current design as well as creating the new size, or “resize this design” to edit your current design.
Got the free version? No worries!
- Click “create a design” on the Canva homepage using your desired dimensions.
- Open the “projects” tab in the side menu.
- Find your original design, then drag and drop it onto your new template.
- Make any necessary edits to your elements to fit the new dimensions.
No, you cannot print special finishes directly through Canva. However, you can absolutely design your artwork there and print it with us so you're in the right place!
From gold foil Wedding Invitations to spot UV Business Cards, we can bring it all to life. Find our step-by-step video tutorials, PDF setup guides, and pre-designed templates to get your files print-ready. Click the links below to view our helpful special finish tutorials:
Bleed is the extra 3mm area outside your design edges that prevents unsightly white borders after trimming. To ensure a flawless print:
- Stretch to the edge: Always extend background colors and images all the way to the outer bleed line. (Turn this on via File > View settings > Show print bleed).
- Stay in the safe zone: Keep all essential text and graphics well inside the inner margin line so they aren't cropped during trimming.
- Don't forget to export it: When saving your final design as a "PDF Print", always check the Crop marks and bleed box.
Make sure your image dimensions are large enough for your chosen print size so your final product doesn't look blurry or pixelated.
We advise a minimum printing resolution of 300 dpi (dots per inch) - for every inch of paper you want to print, you need about 300 pixels. This simply means that the larger your physical print is, the higher your pixel dimensions need to be. If you stretch a small image across a large page in Canva, it will lose quality and print poorly.
How to calculate required image dimensions for high resolution:
- Find your target print size in inches. (For example, a standard 4x6 inch postcard).
- Multiply the inches by 300. (4 inches x 300 = 1200 pixels and 6 inches x 300 = 1800 pixels).
- Compare it to your image. (For a 4x6 print, your image needs to be at least 1200 x 1800 px).
Starting with the correct template helps eliminate common artwork and formatting issues before they happen. Instead of guessing dimensions, orientation, bleed, or print setup, our templates ensure your design matches the exact specifications of the printed.com product you intend to order - giving you a seamless experience from design to print.
Canva templates are ideal for anyone creating print materials without specialist design software. They are especially useful for:
- First-time Canva users looking for a guided, mistake-free setup.
- Small businesses & Etsy sellers creating quick, professional marketing or product materials.
- Event organisers designing invitations, banners, stationery, or signage.
- DIY creators who want high-quality print results without technical design headaches.
Gone are the days when your choices were limited to Times New Roman or Comic Sans — with design tools like Canva, you now have thousands of fonts at your fingertips. With so many options to choose from, finding a font that fits your design, brand or message can be a challenge.
In our Guide to Canva Fonts blog, we’ll answer your most common questions about Canva fonts, explore some of our favourite font styles and share plenty of inspiration to help you find the perfect typeface for your next design.
RGB is designed for digital screens, while CMYK is the colour mode used for professional printing with physical inks.
If you create or submit artwork in RGB, the colours you see on screen may appear different when printed. Designing in CMYK helps ensure your colours are reproduced as accurately and consistently as possible on the finished print.
For further information, have a read of our handy RGB vs CMYK blog.
How do I print from Canva?
Printed.com is the perfect place for printing with Canva. Getting your Canva designs ready to print with us is super easy. Once your artwork has been created, follow these simple steps to download your print-ready files and upload them to our site:
- Open your design and click “Share” in the top right corner.
- Click “Download".
- Under File Type, select “PDF Print”.
- Tick the “crop marks and bleed” box.
- Change the colour profile to CMYK.
- Click download.
Ready to print? Once you've downloaded your PDF, simply select your product on our website, choose your specifications, and upload your artwork to place your order! Explore our full product list here..
How to edit a background in Canva?
How to edit a background in Canva?
Canva makes it easy to customise your artwork's background. Depending on your design, here are the quickest ways to change it:
- Remove a background: Select your image and use the "Background Remover" tool.
- Change the color: Click your existing background, then select a new shade from the color palette in the top toolbar.
- Use a new image: Drag an image from the "Elements" or "Uploads" tab on the left, right-click it, and select "Set image as background".
- Swap images: Click your current background image and use the "Replace background" option to instantly swap it out.
How to edit or create a Canva transparent background?
How to edit or create a Canva transparent background?
Remove the background altogether with the “background remover” tool to create a canva transparent background.
Top Tip: If you download a file with a Canva transparent background (like a transparent PNG logo), remember that when printing, we don't print "transparent ink." Any transparent areas in your design will default to the colour of the paper you choose to print on!
How to resize in Canva?
How to resize in Canva?
If you have a Canva Pro account, you can easily resize any design:
- Open your design in the Canva editor.
- Click “Resize” on the left side of the top toolbar.
- Choose a preset format, or enter a custom size in pixels, inches, millimetres or centimetres. We recommend using custom size, because Canva defaults to US standard sizes for many presets, so entering your own dimensions ensures a perfect fit.
- Click “copy & resize” to keep the current design as well as creating the new size, or “resize this design” to edit your current design.
Got the free version? No worries!
- Click “create a design” on the Canva homepage using your desired dimensions.
- Open the “projects” tab in the side menu.
- Find your original design, then drag and drop it onto your new template.
- Make any necessary edits to your elements to fit the new dimensions.
Can I print special finishes in Canva?
Can I print special finishes in Canva?
No, you cannot print special finishes directly through Canva. However, you can absolutely design your artwork there and print it with us so you're in the right place!
From gold foil Wedding Invitations to spot UV Business Cards, we can bring it all to life. Find our step-by-step video tutorials, PDF setup guides, and pre-designed templates to get your files print-ready. Click the links below to view our helpful special finish tutorials:
How to add bleed in Canva?
Bleed is the extra 3mm area outside your design edges that prevents unsightly white borders after trimming. To ensure a flawless print:
- Stretch to the edge: Always extend background colors and images all the way to the outer bleed line. (Turn this on via File > View settings > Show print bleed).
- Stay in the safe zone: Keep all essential text and graphics well inside the inner margin line so they aren't cropped during trimming.
- Don't forget to export it: When saving your final design as a "PDF Print", always check the Crop marks and bleed box.
What resolution should my images be?
What resolution should my images be?
Make sure your image dimensions are large enough for your chosen print size so your final product doesn't look blurry or pixelated.
We advise a minimum printing resolution of 300 dpi (dots per inch) - for every inch of paper you want to print, you need about 300 pixels. This simply means that the larger your physical print is, the higher your pixel dimensions need to be. If you stretch a small image across a large page in Canva, it will lose quality and print poorly.
How to calculate required image dimensions for high resolution:
- Find your target print size in inches. (For example, a standard 4x6 inch postcard).
- Multiply the inches by 300. (4 inches x 300 = 1200 pixels and 6 inches x 300 = 1800 pixels).
- Compare it to your image. (For a 4x6 print, your image needs to be at least 1200 x 1800 px).
Why should I use a Canva template for my print project?
Why should I use a Canva template for my print project?
Starting with the correct template helps eliminate common artwork and formatting issues before they happen. Instead of guessing dimensions, orientation, bleed, or print setup, our templates ensure your design matches the exact specifications of the printed.com product you intend to order - giving you a seamless experience from design to print.
Canva templates are ideal for anyone creating print materials without specialist design software. They are especially useful for:
- First-time Canva users looking for a guided, mistake-free setup.
- Small businesses & Etsy sellers creating quick, professional marketing or product materials.
- Event organisers designing invitations, banners, stationery, or signage.
- DIY creators who want high-quality print results without technical design headaches.
Which Canva fonts should I use?
Which Canva fonts should I use?
Gone are the days when your choices were limited to Times New Roman or Comic Sans — with design tools like Canva, you now have thousands of fonts at your fingertips. With so many options to choose from, finding a font that fits your design, brand or message can be a challenge.
In our Guide to Canva Fonts blog, we’ll answer your most common questions about Canva fonts, explore some of our favourite font styles and share plenty of inspiration to help you find the perfect typeface for your next design.
Why should I use CMYK instead of RGB?
Why should I use CMYK instead of RGB?
RGB is designed for digital screens, while CMYK is the colour mode used for professional printing with physical inks.
If you create or submit artwork in RGB, the colours you see on screen may appear different when printed. Designing in CMYK helps ensure your colours are reproduced as accurately and consistently as possible on the finished print.
For further information, have a read of our handy RGB vs CMYK blog.
Can I design my wedding print in Canva?
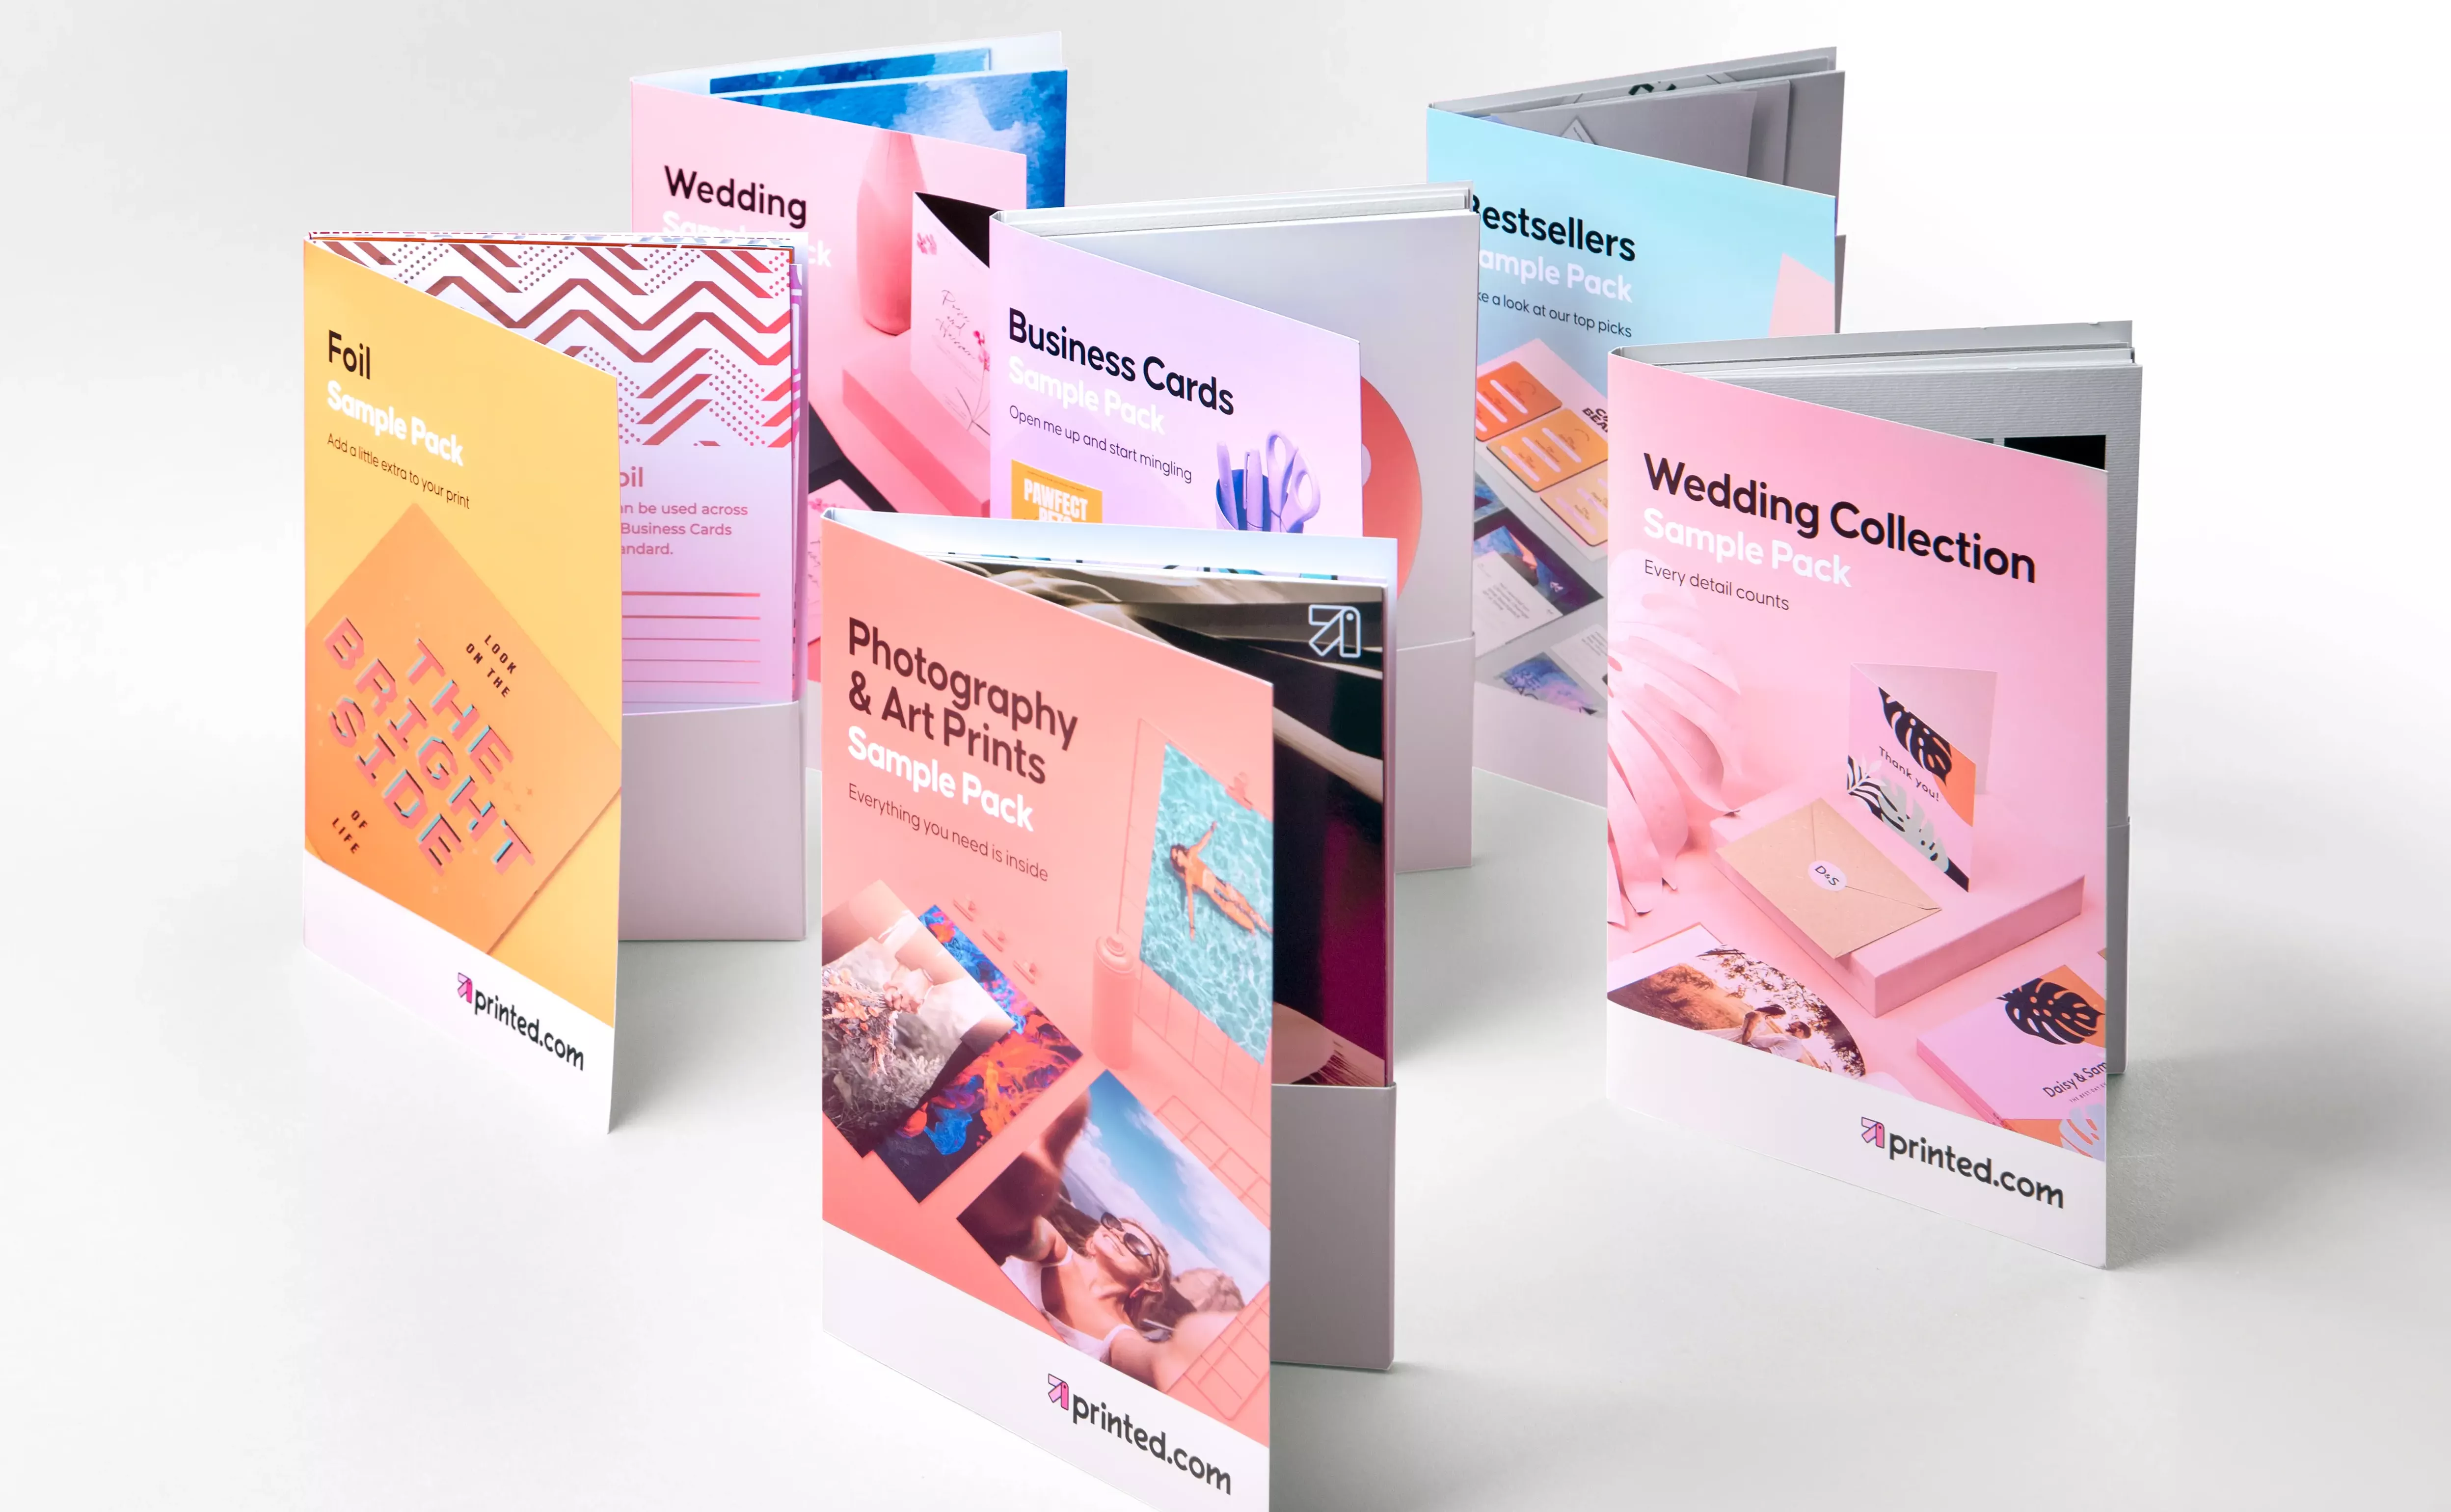 Free Sample Packs
  Contact Us
 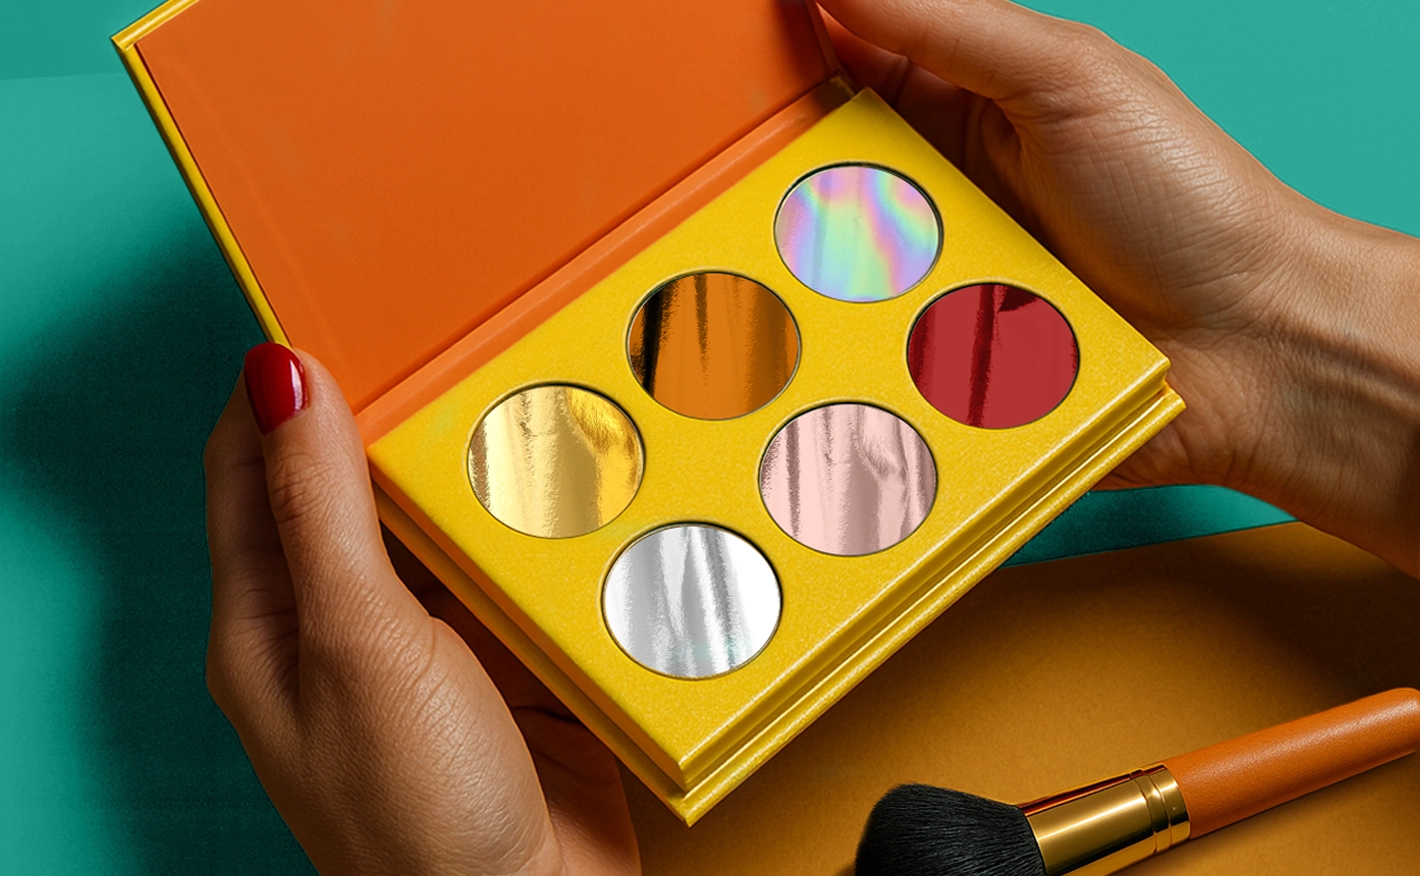 Lady holding a makeup palette with six metallic colours inside, on a blue background.
 Create custom print like no other with our collection of premium special finishes. In our curated hub, you can find out more information about each finish, FAQs, get inspiration, artwork support and more.