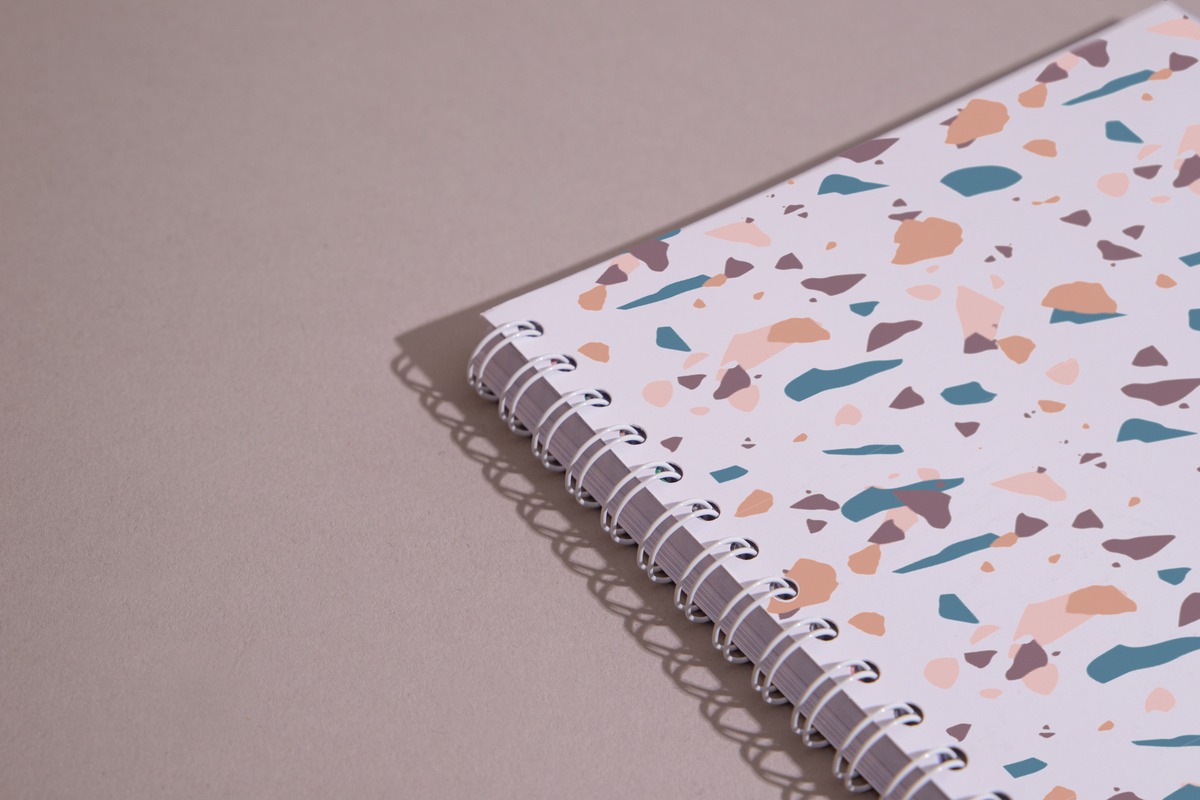
Tips and Advice
5 ways to get picture perfect print
Preparing artwork for print can be a little daunting (even for experienced designers), but we’re here to help. We’ve pulled together our top 5 tips to make sure your picture perfect print hits the press without delay. Discover them below!
1. Document sizing
Whether you’re printing Business Cards or Banners, it’s vital that your artwork is setup at the right size. Make sure to set your size and units when creating your document from the very beginning (and double check it marries up with the dimensions of the product you want to print).
Handily, we have a range of free templates available for most of our print products, which can you download directly from each product page. And if you’re after a custom size, you can speak to our Bespoke Team to discuss your project in more detail. (We love creating custom designs!).
2. Artwork Resolution

Our printers produce colour by combining thousands of tiny dots. If you have 300 of those dots in a square inch it is considered the standard for good quality print. Working in the wrong resolution can cause big problems, so make sure your documents are set up to 300dpi as standard before placing an order.
A resolution above 300dpi is unnecessary for your print (unless you move up to large format printing). For small format products you won’t spot the difference unless you’re looking through a magnifying glass.
You can read a bit more on this subject here.
3. Adding bleed

Bleed is the holy grail of print! And if you didn’t know, this is essentially an area of print at the edge of the document that gets trimmed off. That means you need to make your artwork slightly bigger, so it can be trimmed down to the right size. When print is cut to size, the cut isn’t always 100% accurate. So if you don’t add bleed, you risk having a white line at the edge of your print, or cutting off elements of your design completely.
We recommend adding a 3mm bleed to any document you are printing with us. You can learn how to do this with our Adobe tutorials available here.
4. Checking colour modes
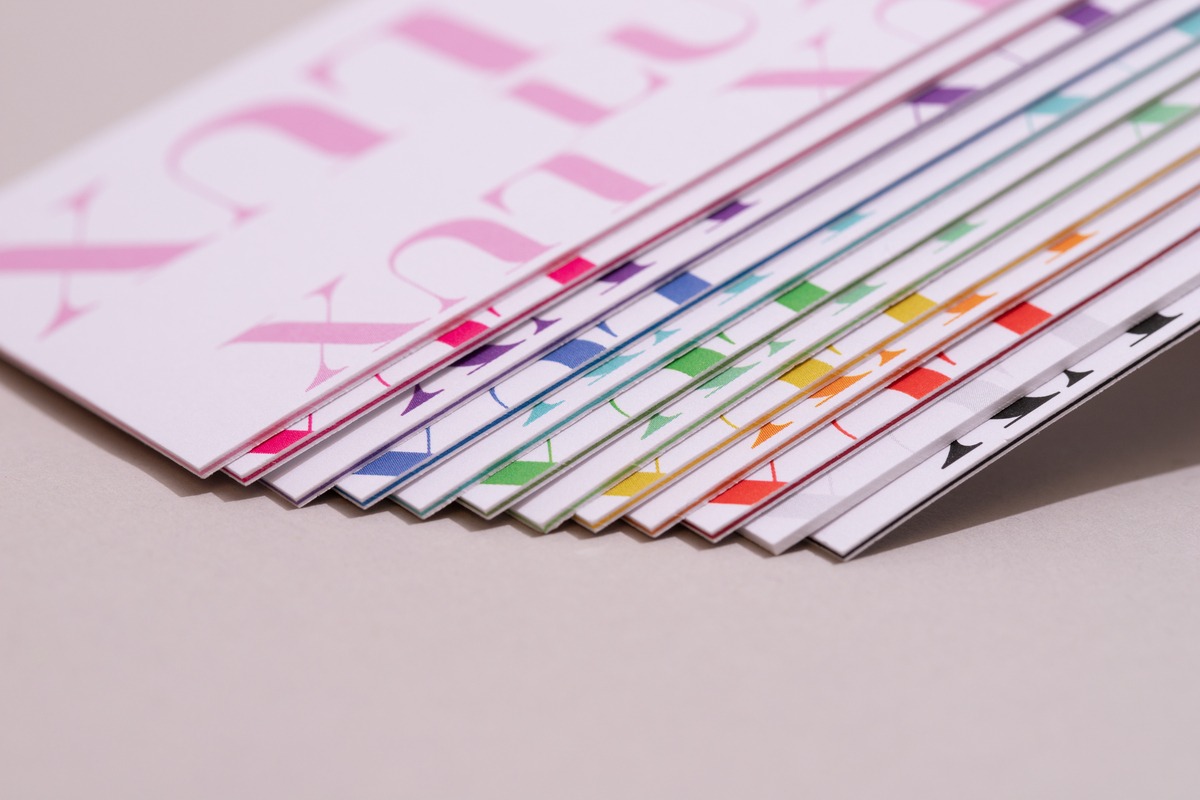
One of the major differences between creating images for print and images for your website is the ‘colour mode’. For print you need to save your images as CMYK, with RGB being the best colour mode for digital work.
‘Why’s that?’ you ask. Well, printing presses use four different colour inks – Cyan, Magenta, Yellow and Key (black) and all other colours you see are produced by blending those inks. Saving in this mode means that your chosen colours are saved in a language that the printer will understand and faithfully reproduce. It’s as simple as that!
5. Exporting correctly
Exporting your print files is the final stage before placing your order, therefore it’s very important to get right! At Printed.com, we require print-ready files exported as PDFs. For print we recommend the PDF/X-4:2008 preset, and make sure that ‘use document bleed settings’ is always checked. It’s also worth double checking your PDF once it’s been exported, to make sure that you’re 100% happy with it.
And there you have it! Simple tips to make sure your print is picture perfect this season. Don’t forget to check out our other tutorials and guides on foiling, Greeting Card artwork setup and even how to resize your artwork correctly.
And for anything else, you know where to find us! Phone, email, chat or carrier pigeon. Get in touch and we’ll be happy to help!
About the author
Our in-house designer Becca has a love of all things creative. When she’s not designing, you can find her in Newcastle checking out independent coffee shops or getting her hands dirty with her house renovation.