Tips and Advice
How to set up artwork for Saddle Stitched Brochure printing
Setting up print-ready artwork for Saddle Stitched Brochure printing is easy when you know how. Read on for our step by step guide to help you get perfect results every time. For more art working tips, don’t forget to check out our tutorials page and YouTube channel.
Step one: Using the right template

To jump-start the process for your Saddle Stitched Brochure print, we recommend using one of our downloadable artwork templates. From the template section, select ‘Bound Documents’ from the right hand side menu, select ‘Saddle Stitched Documents’ then scroll to find your chosen document size. You can click on the relevant icon to download this template for Adobe Illustrator and InDesign, or as a PDF.
Top tip: If you’re creating a template from scratch make sure you set the resolution to 300dpi, the bleed to 3mm on all sides and ensure the colour mode is set to CMYK.
Step two: adjusting bleed
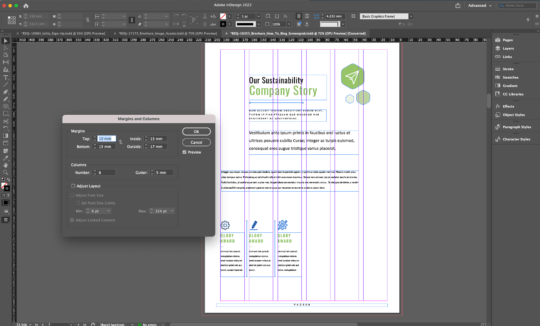
To avoid losing important information from the edge of your document, make sure text and images are set over 7mm away from the edge.
Similarly, if you have text and images running between pages, you might part them in the gutter. The gutter runs down the centre of the document, where the staples are. It’s best to keep text at least 10mm away from the gutter.
Step three: separate covers and pages
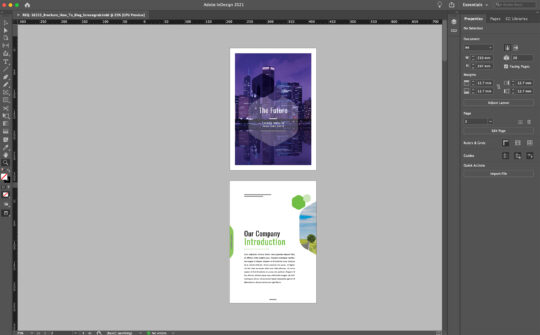
At Printed.com, we set up our print documents with single pages. The pages are lined up one after the other in the document, then pieced together in the printing process. That means that page one will be your front cover, and the last page will be the back cover.
Top tip: If you want to make sure your document stays flat and closed after it’s printed, we recommend keeping the inner paper weight under 200gsm.
Step four: exporting
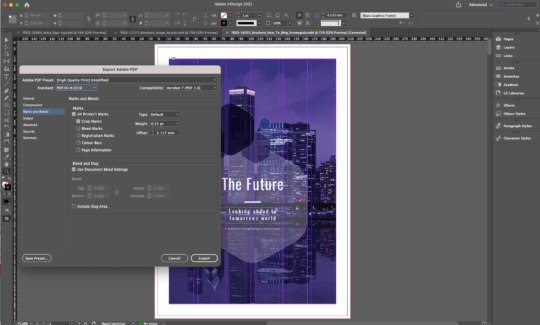
When it comes to exporting your Saddle Stitched Brochure for print, there are a few things to tick off the list. Below is a short checklist to use if you are exporting from Adobe InDesign, however additional Adobe platform exporting tips are also available here.
- Make sure Adobe PDF (print) is selected form the drop down menu
- Select the PDF/X-4:2008 preset
- Ensure that ‘use Document bleed settings’ box is checked (if you have set these up previously, otherwise make sure that the bleed is set to 3mm)
- Make sure to triple check you final PDF export before sending to print
If you’ve covered all these points, then you’re ready to go. If you’re in any doubt then please reach out to us on theteam@printed.com and we’ll be happy to support. Happy printing!
About the author
Our in-house designer Becca has a love of all things creative. When she’s not designing, you can find her in Newcastle checking out independent coffee shops or getting her hands dirty with her house renovation.
Comments are closed.