Inspiration
Our top five graphic design apps for iPad – and how to print with them
Discover our favourite graphic design apps and how you can use them to get your print designs to our presses.
While Adobe is certainly a software giant when it comes to design, other apps are available to help you create stunning artwork. If you like to work on a tablet (and Photoshop just isn’t your thing!) we’ve listed our top alternatives and a handy guide on each for exporting print-ready files.
Procreate

Procreate is one of the most popular graphic design apps out there – and for good reason! Available on the App Store for a one time purchase, Procreate delivers a fast and varied design experience. With HD canvases, over 130 brushes and a simple yet intuitive design dashboard, it’s great for sketching on the go as well as adding the finishing touches to existing designs.
Like many design apps, it takes some getting used to. However, it’s still a great place to start for beginners and you can check out their range of tutorials for extra advice!
Getting your design print-ready with Procreate
First you need to get your colours sorted. Like many graphic design apps and programmes, Procreate works with an RGB (Red, Green, Blue) colour profile. This is perfect for online viewing but no good for printing, which requires CMYK. You can set this up before you start designing by selecting a new canvas and then the + button. In the next screen, select ‘Colour Profiles’ on the lefthand side and then ‘Generic CMYK Colour Profile.’
Top tip: You MUST do this before you start designing as you can’t change your colour settings later.
With Procreate you can also set up your canvas dimensions. You can check the exact size you need by looking at our range of templates. Once you’ve chosen your preferred size, you must make sure to add an additional 3mm for bleed on every edge. This will stop any of your design from getting chopped off when it’s trimmed. For example, if you’re printing an A2 Poster (420mm x 594 mm) after adding in bleed your canvas should be 426 x 600 mm.
Once that’s done, make sure to also set your resolution to 300dpi (dots per inch). This is to keep your art high-quality once printed.
After you’ve finished up your design, you’ll need to export it to the correct file format – which in our case is a PDF. For Procreate, simply tap ‘Actions’, then ‘PDF’ under the ‘Share’ dropdown. You can check out the full tutorial on how to export a PDF at the Procreate website here.
Once that’s done, it’s ready to upload to Printed.com.
Affinity Designer
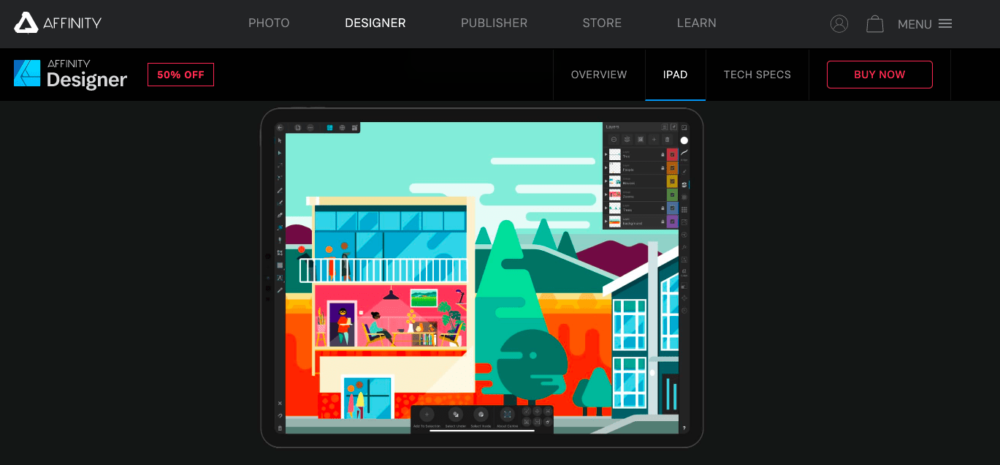
Another popular graphic design app is Affinity Designer. Also available for PC and Mac, this app has all the power of a desktop programme but is optimised for iPad. A cheaper alternative to similar programmes, it’s a great starting point for beginners thanks to its simple features. Plus it’s is also a popular choice for many designers on a budget. With no subscription required it has the ability to create and edit pixel layers as well as having over 100 brushes to try. Affinity Designer is ideal for everything from creating a new design to editing and enhancing existing images.
If you’re looking for somewhere to start, their website also has a range of beginner-friendly tutorials.
Getting your design print-ready with Affinity Designer
Setting up your file for print starts with your blank canvas. After you’ve opened the app, tap ‘File’ then ‘New’ so you can set up your dimensions. On the right-hand side, enter your desired size and add 3mm (1/8 inch) for bleed on every edge. Then make sure to select ‘CMYK’ under ‘Colour’ and hit ‘Create’ to start designing.
Once you’ve finished your design, it’s time to export it as a PDF. Simply tap ‘File’, ‘Export’ and then select ‘PDF for print.’ Now it’s ready for upload.
Top tip: ‘Raster DPI’ should be set to 0 so that nothing gets rasterised (pixelated) when you export.
Pixelmator Pro
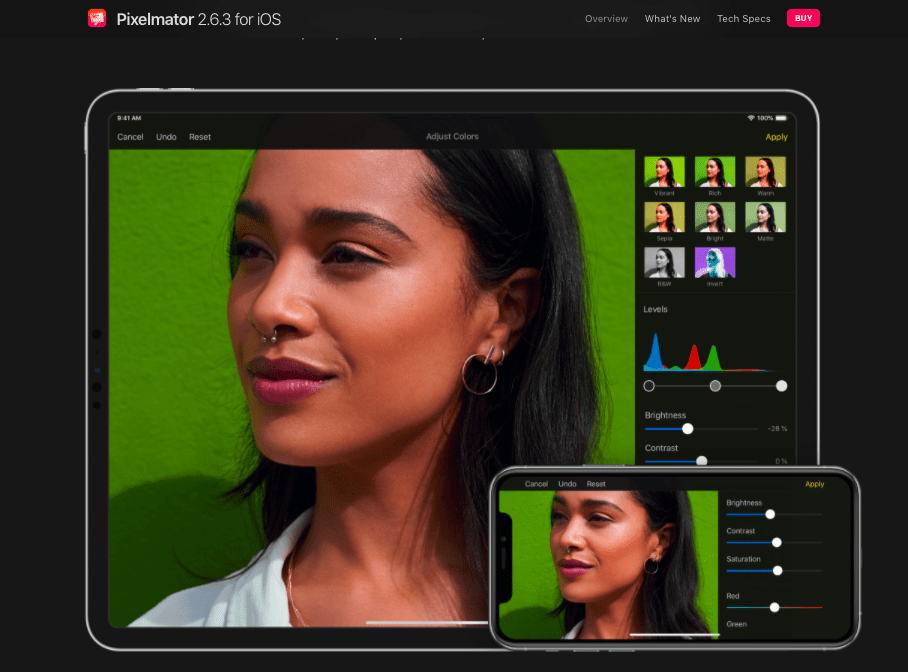
One thing that can scare design newbies away from Photoshop is the sheer volume of different features it has. Design apps like Pixelmator Pro sacrifice the more obscure and tricky features for a much more streamlined editing experience. While it has a range of precision drawing and vector tools for creating and illustrating designs, it’s most popular as a photo enhancement programme. Perfect for making quick edits while on the go. Plus, with its drag and drop support, you can quickly move graphics between other apps too. This makes it quick and easy to import the pictures you want to work on.
Their website also has a range of free tutorials covering everything from removing backgrounds, to recolouring sky in photos.
Getting your design print-ready with Pixelmator Pro
Start by opening the app and creating an ’empty new document.’ Here you can edit the size of your canvas. Simply change the unit to mm and add in your dimensions. Don’t forget to add another 3mm for bleed on every edge as well. If you’re going to be using this size multiple times, make sure to save it as a template. You can do that by tapping, ‘File’ then ‘Save as Template’. Then you just need to export your artwork when you’ve finished designing. To do this, tap ‘File’, ‘Export’ and then select ‘PDF.’
Graphic

Graphic is a professional graphic design app created especially for artists on the go. With an interface similar to Adobe Illustrator, this vector-based programme has a range of useful drawing and editing features. These include brushes, pencils, shape and text tools. While it doesn’t have quite as many features as some of the other apps we’ve listed, when used to the fullest it can create very polished-looking designs. You can add shadow and glow effects, and easily change units and scale for precise designing. Alternatively you can stick with the range of brush tools for sitting back and having a good sketch.
Originally a desktop programme, it keeps many of these features in its interface. So it’s a great choice if you prefer to use your iPad with a keyboard and mouse. If not, don’t worry, it still works very well solely on the touch-screen and can be used with an Apple pencil.
To get started, check out their range of helpful tutorials here.
Getting your design print-ready with Graphic
To set up a new canvas, select ‘File’ then ‘New’. Here you can customise the size and shape of your canvas. Change the units to mm and add in your size. Don’t forget to add an additional 3mm for bleed on each edge. Now change ‘Colour Mode’ from RGB to CMYK and you’re good to start designing. Once your design is done, tap ‘File’, ‘Export’ and select ‘PDF’. Here you can change your resolution to 300dpi too so your artwork will be the best quality for printing.
Clip Studio Paint
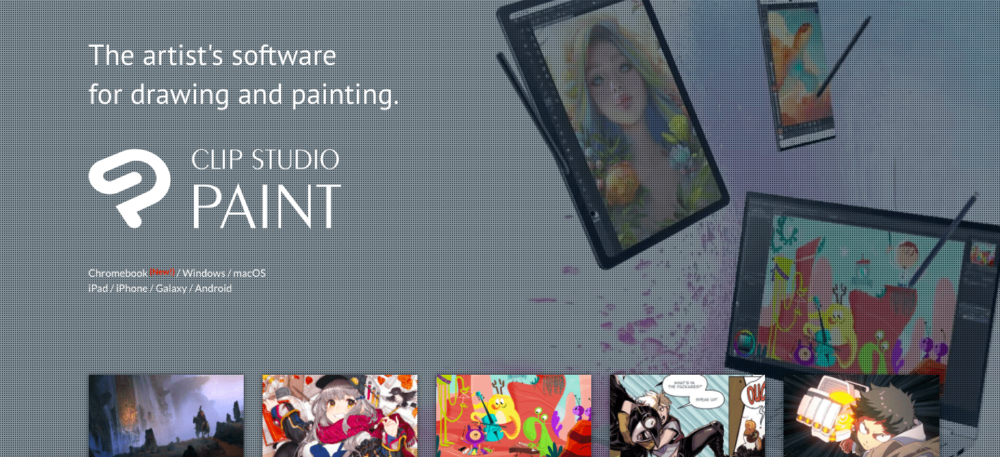
Price: £35.00
Clip Studio Paint has gained a reputation not only as one of the best Adobe alternatives, but as one of the most useful drawing apps out there. While a little more pricey than some of its counterparts, you certainly get a lot of bang for your buck! Not only does it come packed with hundreds of brushes, but each are customisable right down to the shape, colour density and stroke direction. That’s on top of a range of pre-rendered shapes including completely posable human figures.
While it’s certainly powerful, it comes at the cost of being a lot more in-depth of a programme. So isn’t a good jumping on point for beginners. (Unless you really like a challenge.) However, if you’ve already got some design skills under your belt or are looking for a programme with Photoshop levels of detail and customisation, Clip Studio Paint could be the choice for you.
Getting your designs print-ready with Clip Studio Paint
When creating a new canvas, add in your custom dimensions as well as an additional 3mm for bleed on every side. Underneath, you’ll be able to set your resolution to 300dpi and change the ‘Basic Colour Expression’ to CMYK. If you’d rather work in RGB first, you can change the colour profile later by tapping ‘View’, ‘Colour Profile’, then ‘Preview Settings’. Once here, you can choose CMYK.
Once you’ve finished your design, it’s time to export it as a PDF for print. Tap ‘File’, ‘Export’ and select ‘PDF’ from the dropdown menu. When the next window pops up make sure that the ‘Expression Colour’ is set to ‘CMYK’. Then you can hit save and your artwork is ready to print.
That’s it for our list of the best graphic design apps. If you’re more fond of working on a PC or Mac, check out our top free graphic design programmes too. Or if you ever feel like moving over to Adobe in the future we have a range of free tutorials you can check out right now.
About the author
Our in-house designer Becca has a love of all things creative. When she’s not designing, you can find her in Newcastle checking out independent coffee shops or getting her hands dirty with her house renovation.