Inspiration, News, Tips and Advice
How to Design a Banner in Photoshop: Step-by-Step Guide
Designing a Banner in Photoshop can feel like a mammoth and intimidating task, especially if you don’t know how to get the sizing, layout or print specifications right. Whether you’re trying to create a Banner for a Cafe Barrier, a Desktop Roller Banner, or a horizontal Fabric Banner, we’re here to guide you through it from start to finish.
In this post, we’ll walk you through how to design Banners in Photoshop, covering everything from setting up your Banner template in Photoshop to choosing the right Banner size – with a handy guide to every Banner type available at Printed.com.

Image Credit: Printed.com
What is Photoshop and Why Use It for Banner Design?
Adobe Photoshop is one of the most popular and powerful tools for graphic design. It’s used by designers around the world to create everything from web graphics to large-scale print materials. Photoshop’s flexibility, precision, and professional-quality features, it’s the perfect tool for creating Banners for print.
Whether you’re working on a Banner design Photoshop project for a trade show, retail display, or promotional event, Photoshop allows you to create high-resolution designs tailored to your exact print needs.
Step-by-Step: How to Design Banners in Photoshop
Here’s how to get started with your Photoshop Banner design, from initial setup to exporting for print.
1. Choose the Right Banner Size in Photoshop
Before you do anything, decide which type of Banner you’ll be printing. Each Banner type at Printed.com comes with its own size options. Below are common print sizes and design dimensions:
Fabric Banners:
- 1500mm x 2410mm
- 2000mm x 2410mm
- 2400mm x 2410mm
- Custom with a maximum print size available is 3000 x 50000
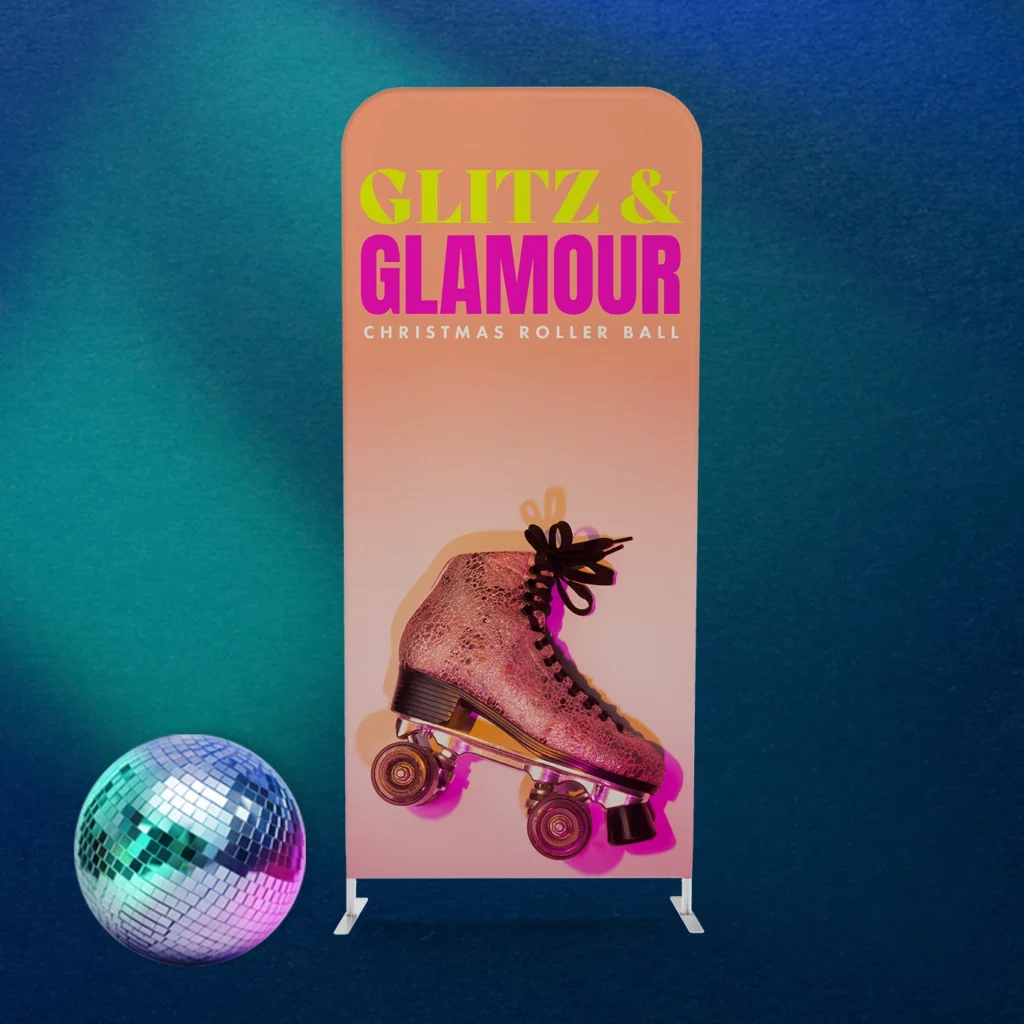
Image credit: Printed.com
Desktop Roller Banners:
- A4
- A3
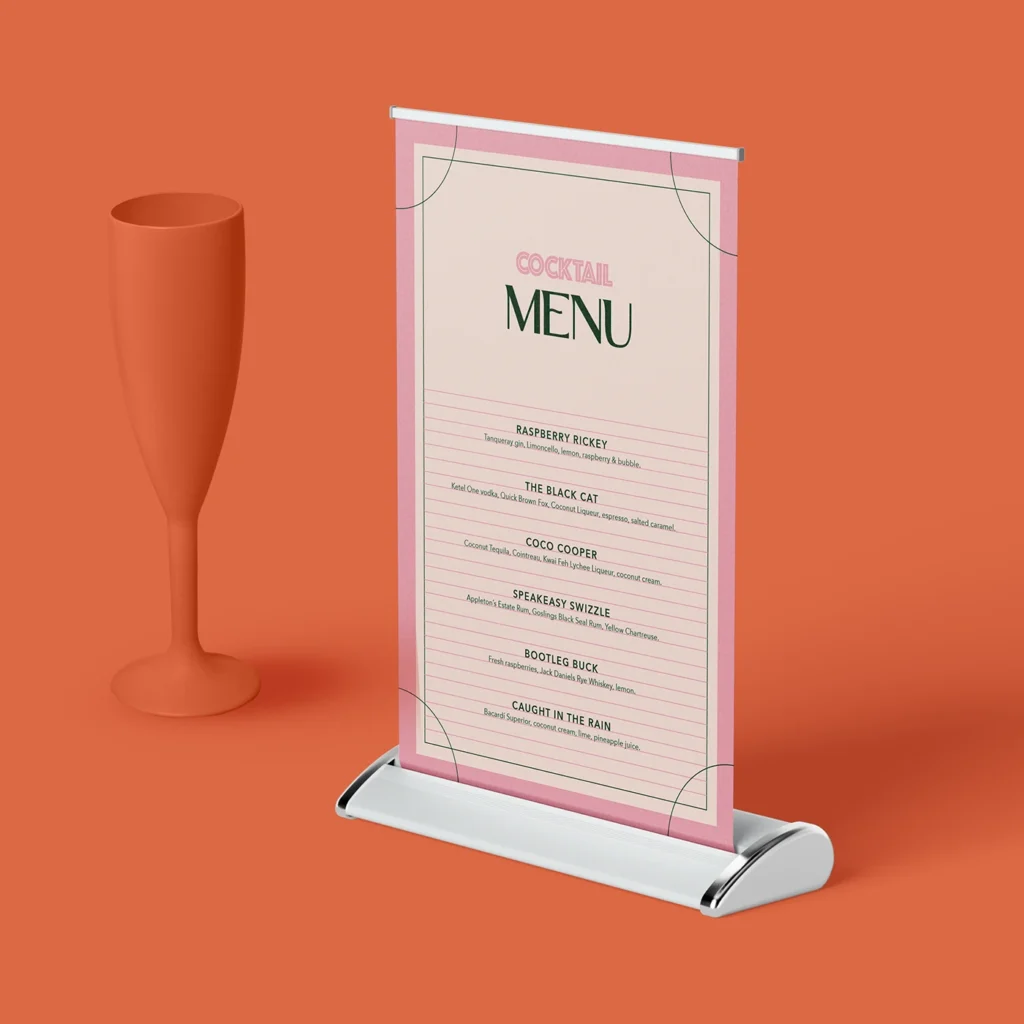
Image credit: Printed.com
Cafe Barrier Banners:
- 1000mm x 825mm
- 1500mm x 825mm
- 2000mm x 825mm

Image credit: Printed.com
Stretch Fabric Display Stands
- 850mm
- 1m
- 2m
- 3m
- 4m

Image credit: Printed.com
Roller Banners:
Depending on the type of Roller Banner you choose, the following sizes are available.
- 800mm x 2000mm
- 850mm x 2000mm
- 1000mm x 2000mm
- 1200mm x 2000mm
- 1500mm x 2000mm

Image credit: Printed.com
Curved Pop Up Banner:
- 2m
- 2.4m
- 3m

Image credit: Printed.com
Pop Up Banner:
- 1400mm x 700mm
- 2000mm x 1000mm
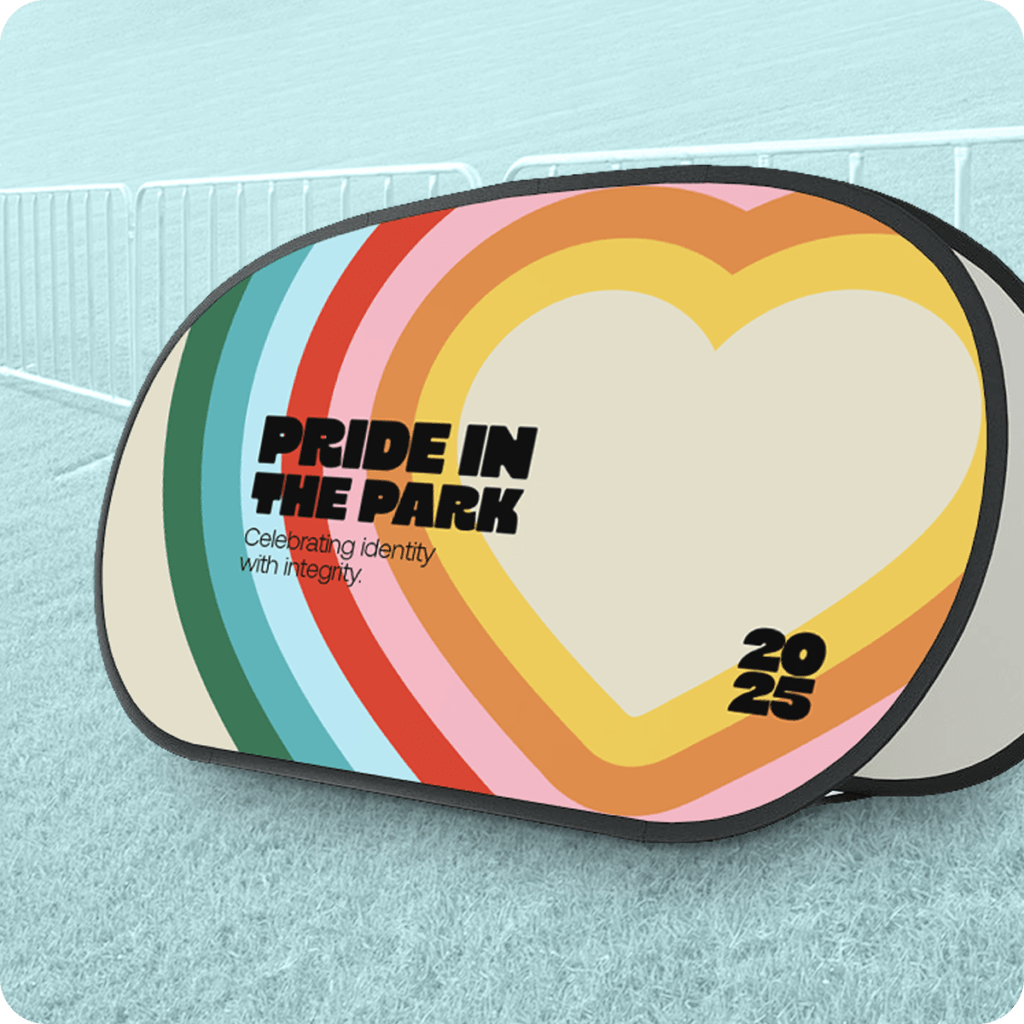
Image credit: Printed.com
X Frame Banner:
- 800mm x 1800mm
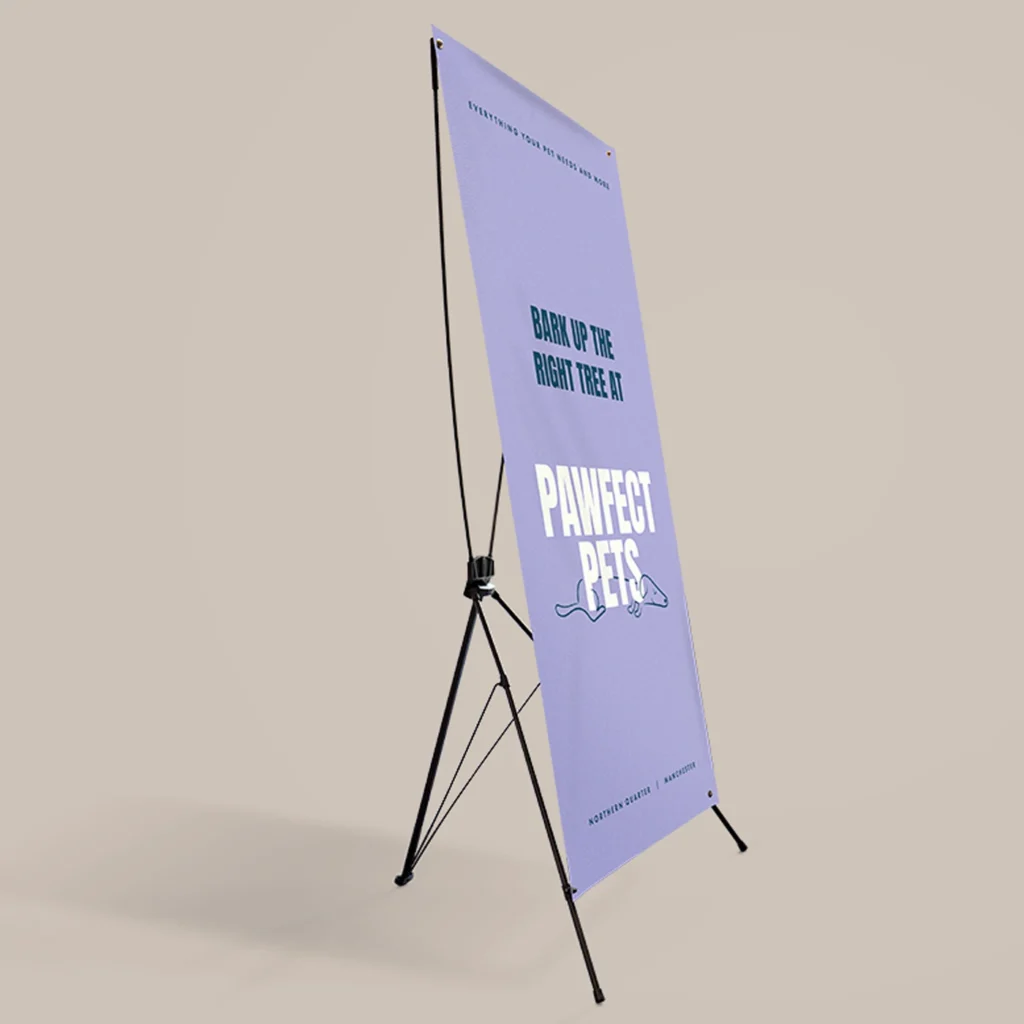
Image credit: Printed.com
Telescopic Banner:
- 1.5m
- 2m
- 2.4m

Image credit: Printed.com
Custom Banner:
- A0
- A1
- A2
- 1500mm x 500mm
- 2000mm x 500mm
- 2000mm x 1000mm
- 3000mm x 500mm
- 3000mm x 1000mm
- 4ft x 2ft
- 6ft x 2ft
- Custom size, with a maximum print size of 1500 x 10000
Top tip: Always design at 100% scale and 300 DPI to ensure the best print quality.
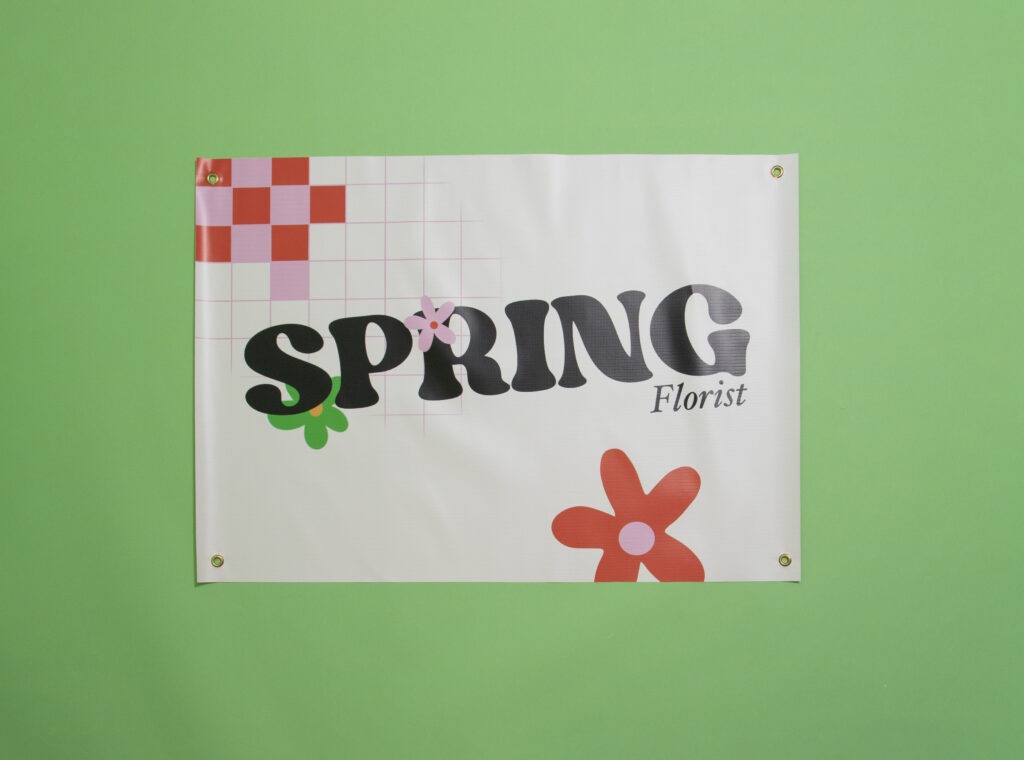
Image credit: Printed.com
Can’t find a size or style that is right for you? Reach out to our Bespoke Services and create something as unique as you.
2. Set Up Your Banner Template in Photoshop
Let’s create your Banner template in Photoshop step-by-step:
- Open Photoshop and click File > New
- Set your dimensions in millimetres (mm)
- Choose a resolution of 300 dpi
- Set Colour Mode to CMYK (best for print)
- Add a bleed on each side (you can do this manually by extending your canvas size or using guides)
To set your bleed go to Image> Canvas Size > add 6mm to the width and height. So for 850 x 2000mm it will be 856 x 2006mm. To get the safe text area, they can drag in a ruler 6mm from each side.

Image credit: C G Prints
3. Design Your Banner
With your canvas ready, it’s time to unleash your creativity.
Design tips for Banners:
Keep it bold and simple: Banners are often viewed from a distance, so use large fonts and high-contrast colours.
- Use high-resolution images (minimum 300 dpi)
- Include your logo and call to action (CTA)
- Make sure text is legible and aligned
- Use Photoshop’s Smart Objects and Layers to keep your file organised
Pro tip: Use Photoshop’s grid and alignment tools to make sure your design is balanced.
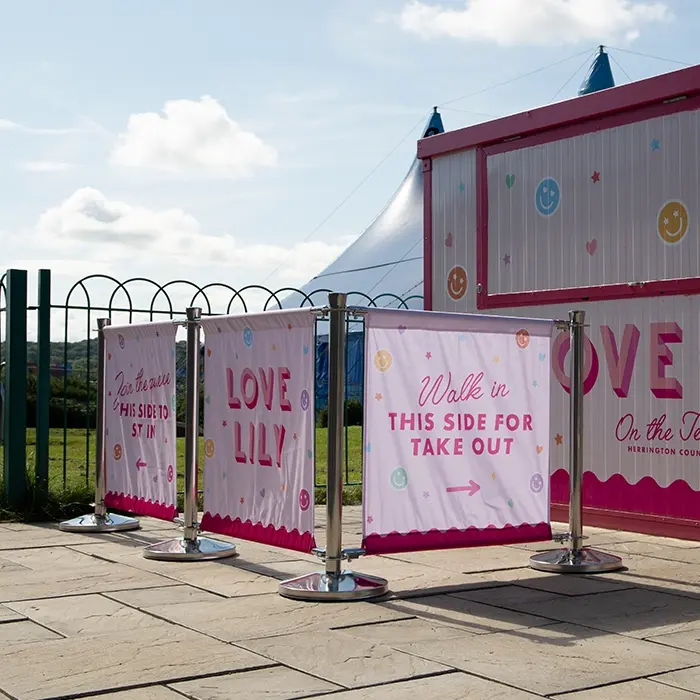
Image credit: Love Lily
4. Save Your Banner Design for Print
Once you’re happy with your design, save your file in a format that’s print-ready.
Recommended export settings:
- File > Save As
- Choose PDF (Print) or TIFF
- Make sure all fonts are either embedded or rasterised
- Flatten layers for compatibility
- Use CMYK colour profile

Image credit: Happy Badger
Printing Your Banner with Printed.com
Once your Photoshop Banner design is ready, uploading to Printed.com is easy.
Here’s how to do it:
- Go to Printed.com Banners page
- Select your Banner type
- Choose from available sizes, materials, and finishes
- Upload your print-ready file (PDF)
- Preview your design and place your order
Top tip: Before saving as a PDF, to outline the fonts they can select all text on the page, click ‘Type’ > Convert to shape and this will outline the fonts.
We’ll handle the rest – from high-quality printing to fast UK-wide delivery.
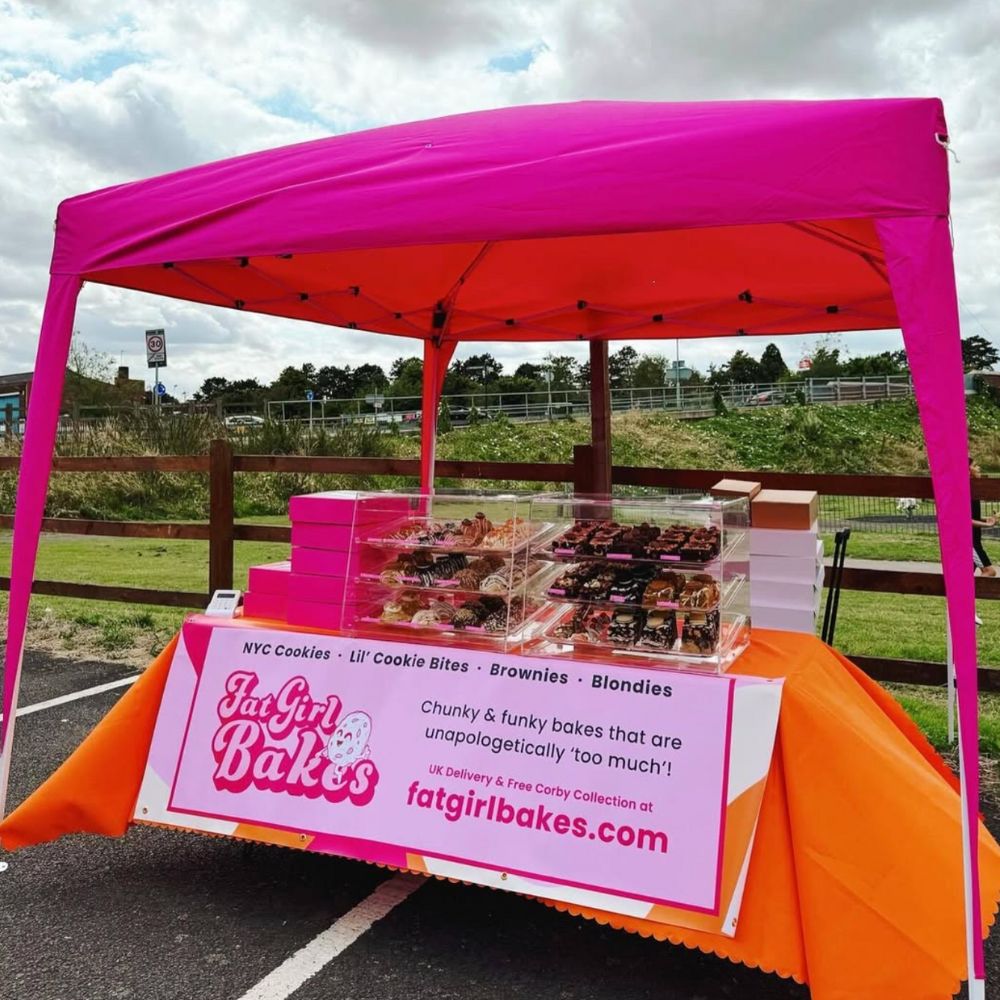
Image credit: Fat Girl Bakes
Create Stunning Banners for Print in Photoshop
Designing a Banner in Photoshop doesn’t need to be complicated. By following the correct sizing, using professional templates, and uploading your design to Printed.com, you’ll get stunning results every time.
Whether you’re creating a bold display for an event or an elegant desktop Banner for your business, Photoshop offers the tools to bring your vision to life. And Printed.com is here to help you turn that vision into reality—with print quality you can count on.
Ready to print your design? Explore all our Banner printing options and start creating today.
About the author
Meet Drew! As part of the Printed.com marketing team, Drew spends her days crafting content. When she’s not working her magic on marketing, you’ll find her enjoying quality time with her daughter and her furry friend, Archie.